Pages

Thursday, January 31, 2019

Sticky Friends Giveaway WINNERS

Good morning! It just hit me this morning that I never picked the winners for the giveaway of the cute Heffy Doodle exclusive 2018 Creativation Stamp set (yes, last years set) - I was planning on doing it when I got home and had a couple days to recover from Creativation, but it apparently took me longer than I thought! :-P

So without further ado...here are my 3 winners:


YAY! Congrats ladies! Please send me an email at housesbuiltofcards@gmail.com and I will attempt to be more prompt in my mailing than I was in my announcing! Haha!

Also - I am announcing 3 winners on my Instagram account today as well in celebration of reaching 9,000 followers during Creativation! Woohoo! More giveaways coming soon as well. You can find me HERE on Instagram!

Thanks so much for stopping by today - have a wonderful day!!!


Technique Tuesday February Release Sneak Peek Day 3

Good morning! Just sharing a quick sneak peek today of one of the new sets coming in the Technique Tuesday February release! Sneak peeks shown here - and all the new products will be available at Technique Tuesday on February 1st in the new product category HERE!


GIVEAWAY:
We are super excited to share all the sneak peaks and new projects with you. And we’d love to hear what you think. Please leave a comment here and on each of the creative team members’ blogs telling them what you like about the sneak peek, project, or post. If you leave a comment before February 2nd you will be entered for a chance to win one of three $20 gift certificate to the Technique Tuesday store. We’re going to pick 3 people from all the comments and announce the winners on February 5th. Hope you enjoy seeing the projects!

Thanks for stopping by! Have a fabulous day!


Wednesday, January 30, 2019

Altenew January 2019 Blog Hop Winner

Good morning! It's time to announce the $30 gift certificate winner from the January 2019 Altenew release blog hop!


I used Random.org to pick my winner:


Please contact Altenew at winner@altenew.com by 2/15/2019 with the subject line "Altenew January 2019 Stamp/Die/Stencil Release Blog Hop Winner from Heather Hoffman's Blog.

Thanks so much for all the lovely and sweet comments, and to all who hopped along! Have a wonderful day!!!


Happiest Birthday Watercolor - Simon Says Stamp

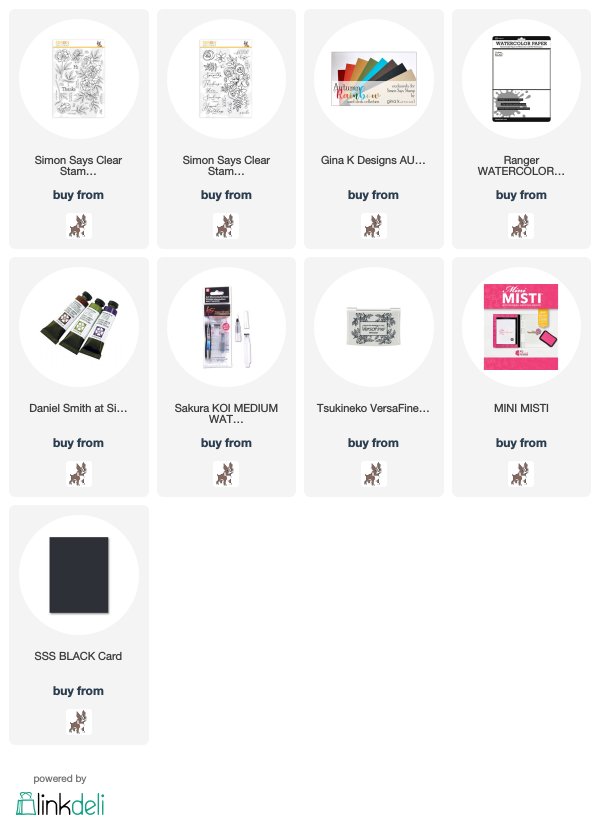
Good morning! Sometimes it is fun to just stamp a few images on watercolor paper and spend some relaxing time watercoloring! And for this card, I used some beautiful floral and sentiment stamps from Simon Says Stamp!


I used some of the lovely single flower images from Beautiful Flowers 2 Stamp Set - then watercolored them in with my Daniel Smith Watercolors.


Once that dried, I stamped a sentiment from Sketched Flowers, matted the panel with black cardstock, and mounted on a cardbase created with some cardstock from the Gina K Autumn Rainbow exclusive pack for Simon Says Stamp!


Product links are all below - including affiliate links where possible, which simply means if you use one of the links below that I receive a small commission at no additional cost to you. Thanks so much for stopping by! Have a wonderful day!!!


Technique Tuesday February Release Sneak Peek Day 2

Good morning! Just sharing a quick sneak peek today of one of the new sets coming in the Technique Tuesday February release! Sneak peeks shown here - and all the new products will be available at Technique Tuesday on February 1st in the new product category HERE!


GIVEAWAY:
We are super excited to share all the sneak peaks and new projects with you. And we’d love to hear what you think. Please leave a comment here and on each of the creative team members’ blogs telling them what you like about the sneak peek, project, or post. If you leave a comment before February 2nd you will be entered for a chance to win one of three $20 gift certificate to the Technique Tuesday store. We’re going to pick 3 people from all the comments and announce the winners on February 5th. Hope you enjoy seeing the projects!

Thanks for stopping by! Have a fabulous day!

Faux Painted Bouquet - on the Reverse Confetti Blog

Hello! I have a special new edition of Wednesday in the Works on the Reverse Confetti Blog and YouTube Channel this morning! Have you ever wished you could paint? While I haven't put in the time and practice to be able to do that well, I was super excited to be able to achieve these results with a stamp set and my Zig Markers! Come see how!


Thanks so much for stopping by - have a great day!

Tuesday, January 29, 2019

50th Wedding Anniversary Card - Altenew

Hello! This past Sunday we celebrated my parents 50th Wedding Anniversary! I shared some photos over on Instagram if you want to see them - and the beautiful cake my sister made for them! For such an important occasion, I wanted to make a super special card for them! I also shared a sneak peek of this card last week on Instagram, but since they have now received it, I am free to post it here!

Lots of love, time, and effort went into this card - and I am so pleased with how it came out! I loved how it sort of matched the cake my sister made - without even trying. I used some of the newest release from Altenew that I had the privilege of guest designing for this past week - and it was perfect for what I wanted to create!


I started off by cutting and assembling lots of the new Garden Picks 3D Die Set in shades of pink, rose, and white, and the leaves from some nice soft greens. I also heat embossed the large Fancy Frame in gold on vellum, and die cut it with the Coordinating Dies.


I created a white cardbase that was nice a large - 5x7 inches to use as a canvas for my creation. I did it this large for two reasons - first of all so that I could fit everything on, but also since I was sharing it with my siblings and their family so we could all sign it together I needed plenty of room for us all to sign on the inside! I layered the frame and all the florals on the card front until I was happy with the arrangement, then picked it all up with a large piece of Press and Seal, applied foam adhesive on the back (hiding the foam adhesive on the vellum under the floral elements), and pressed it back into place on my cardfront.


I discovered I seem to have a fairly sad shortage of anniversary sentiments, but happily found the perfect one on a much older set, Vintage Roses, and heat embossed that on a thin strip of black cardstock. The flower that it is tucked under wasn't adhered down fully, since the foam didn't cover the entire area, so I was able to pull it up a bit, sneak the sentiment banner under, and then adhere it with a bit of fresh foam over the top of that for extra dimension. I also did that with the bottom far right flower so it had a bit more dimension as well.


I masked off the sentiment a bit, then added some gold splatters with my Starry Colors Palette and a waterbrush. The final finishing touch is some Metallic Gold Jewels from Pretty Pink Posh for extra sparkle! Since it was their "golden" anniversary, I wanted to make sure there was plenty of gold on there as well!


Product links are all below - including affiliate links where possible, which simply means if you use one of the links below that I receive a small commission at no additional cost to you. Thanks so much for stopping by! Have a wonderful day!!!


Technique Tuesday February Release Sneak Peek Day 1

Good morning! Just sharing a quick sneak peek today of one of the new sets coming in the Technique Tuesday February release! Sneak peeks shown here - and all the new products will be available at Technique Tuesday on February 1st in the new product category HERE!


GIVEAWAY:
We are super excited to share all the sneak peaks and new projects with you. And we’d love to hear what you think. Please leave a comment here and on each of the creative team members’ blogs telling them what you like about the sneak peek, project, or post. If you leave a comment before February 2nd you will be entered for a chance to win one of three $20 gift certificate to the Technique Tuesday store. We’re going to pick 3 people from all the comments and announce the winners on February 5th. Hope you enjoy seeing the projects!

Thanks for stopping by! Have a fabulous day!

Congratulations Friend Leafy Stencil - Simon Says Stamp

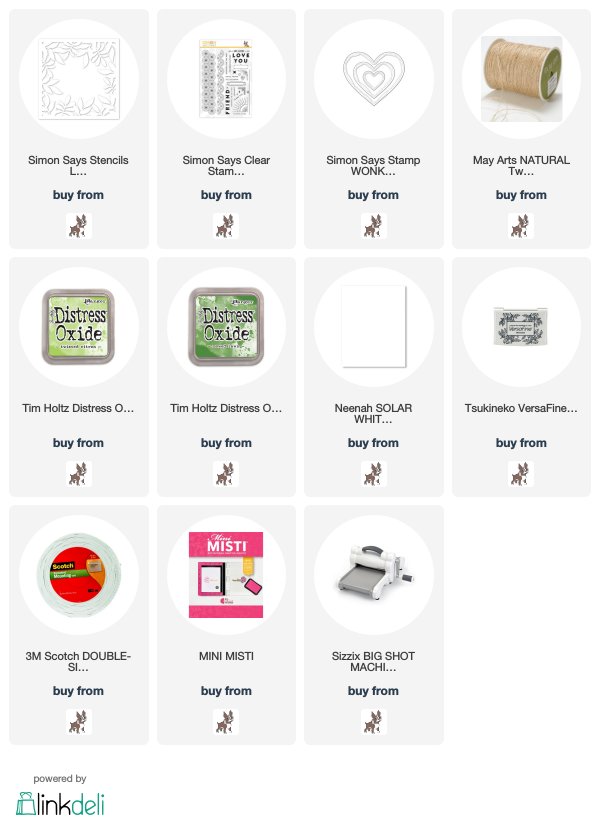
Good morning! Popping by today with a card I put together this past weekend featuring some Distress Oxide ink blending (a favorite technique of mine lately!) and some stamps, dies, and stencils from Simon Says Stamp!


I did some double layer ink blending - basically I blended some Twisted Citron around the outside edges, then over the top of that I used the Leafy Frame stencil and Mowed Lawn ink over the top.


I then die cut the center out using Wonky Hearts Die (the negative of that makes a great basic heart cut!) - and stamped my sentiment from Deco Borders and Corners inside that heart on my white cardbase.


Finished off by wrapping some jute twine around the front and tying in a bow (love how you can see the twine on both sides of the heart!) - then mounted that panel with foam adhesive over my cardbase with the stamped sentiment.


Product links are all below - including affiliate links where possible, which simply means if you use one of the links below that I receive a small commission at no additional cost to you. Thanks so much for stopping by! Have a wonderful day!!!


Monday, January 28, 2019

Adventure is Out There - Pinkfresh Cityscape

Good morning! I'm stopping by this morning to share details on another card using Pinkfresh Studio's BRAND NEW January Release! I shared a little peek at this card during the new release blog hop earlier this month - and it was also one of the ones displayed at Creativation  in Phoenix, so I thought it was high time to share the details here!


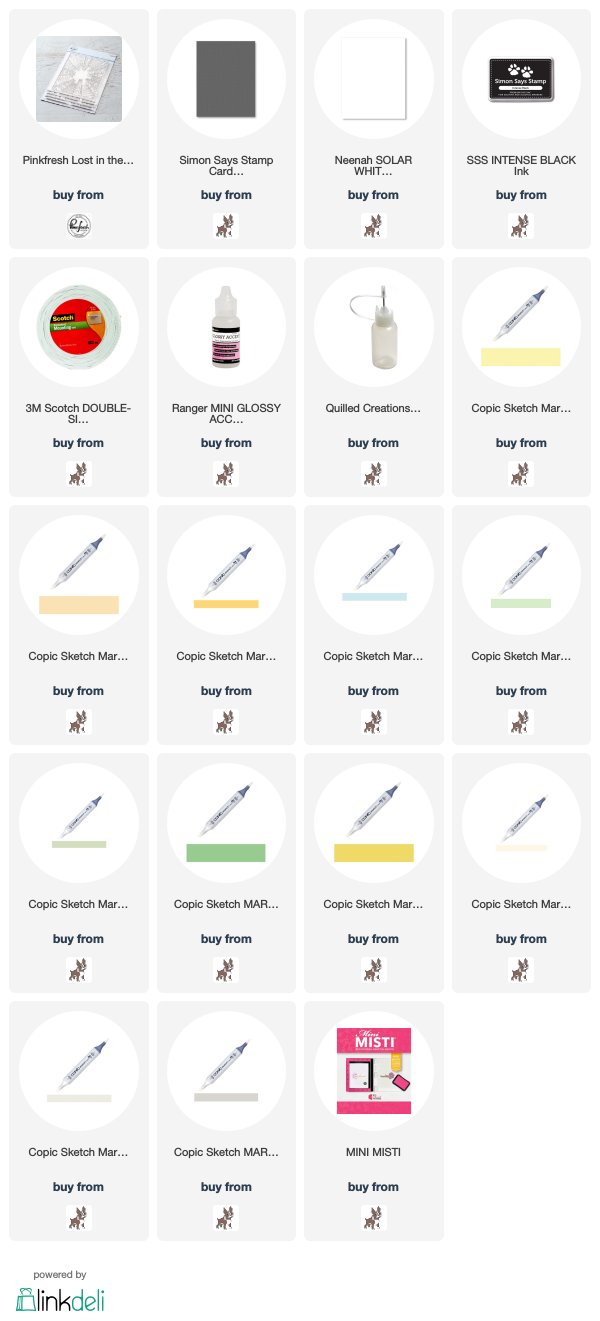
Instead of using the coordinating dies for this stamp set (which I still want to do, and plan on working on very soon!) - I simply stamped the image, and took my time coloring it in with Copic markers.


Once I finished coloring, I added a coat of Glossy Accents to all the windows, let that dry, then repeated - this gave a nice dimensional look to those windows!


I trimmed that panel down and mounted it with foam adhesive on a dark gray cardbase.


Finally, I stamped one of the sentiments on a nice thin strip of white cardstock, and mounted that with foam adhesive over my city! Does anyone else think of the movie "Up" with this sentiment?!?!?!?


Product links are below - including affiliate links where possible, which simply means if you use one of the links below that I receive a small commission at no additional cost to you. Thanks so much for stopping by! Have a wonderful day!!!


Mirror Tool Technique - Distress Ink and White Paint

Good morning! Just wanted to share a peek with you at the third and final of my 3 week series I have up on the Unity Stamp Company Blog this morning using the Mirror Stamping Tool with some fun techniques! There is of course, as always, a tutorial video! You can check out all the details HERE!


Thanks for stopping by - have a wonderful day!


Sunday, January 27, 2019

Stenciled Hearts Great Things - Simon Says Stamp

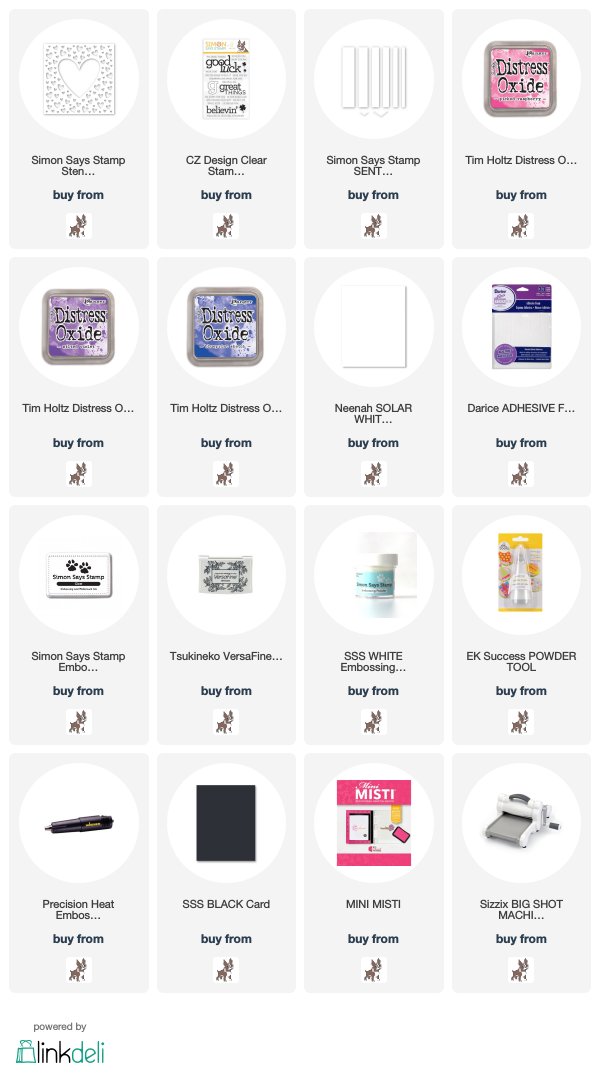
Hello! I was super excited when I got back from Creativation to break out a few of the goodies I got in a swag bag from an even put on by Simon Says Stamp and Scrapbook & Cards Today Magazine - this fabulous CZ Design Great Things Clear Stamp set and Sentiment Labels Wafter Dies! I paired them up with a stencil from the the latest You Are Loved release from Simon Says Stamp called All My Heart that I hadn't had a chance to use yet!


I started off by stenciling on a white cardbase using Picked Raspberry, Wilted Violet, and Blueprint Sketch Distress Oxide inks. I love how smoothly and beautifully these inks blend!


Next, I stamped the larger sentiment directly on my card base, then heat embossed the additional sentiment on some black cardstock, then die cut with the clever Sentiment Labels Wafer Dies - so perfect for creating custom sentiment banners!


Product links are all below - including affiliate links where possible, which simply means if you use one of the links below that I receive a small commission at no additional cost to you. Thanks so much for stopping by! Have a wonderful day!!!


Saturday, January 26, 2019

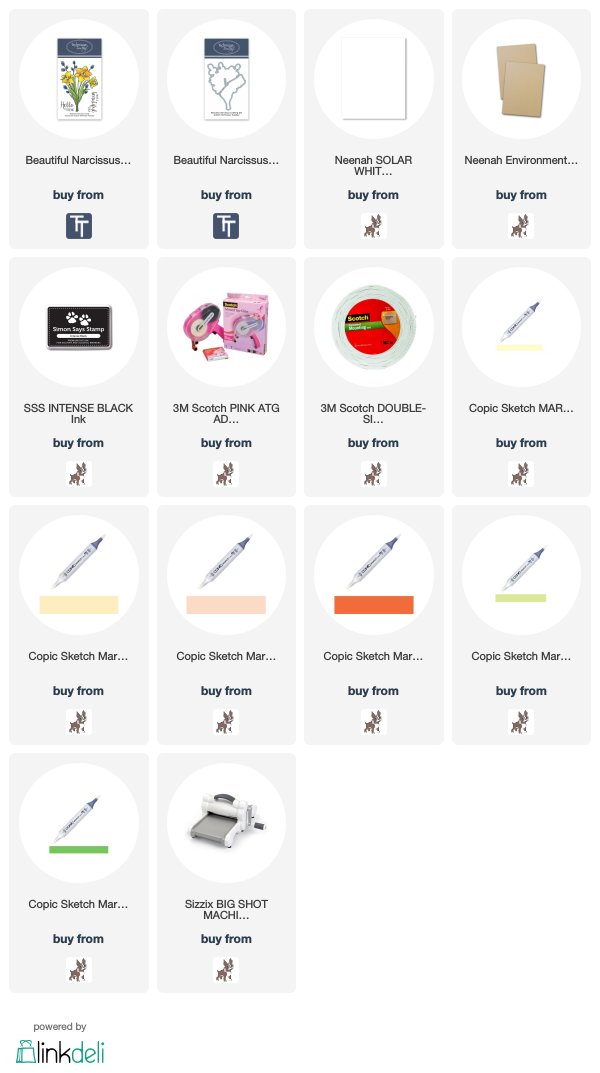
Beautiful Day Narcissus - Technique Tuesday

Good morning! I'm popping by this morning to share a card I made a little while back with a couple of the newest Technique Tuesday stamps and dies! 


I used the appropriately named Beautiful Narcissus Stamp Set, and die cut it with the coordinating dies after coloring it up with Copic markers in nice soft and simple colors.


I tore the edges from a panel of white cardstock to give it a handmade paper look, stamped my sentiment on it, and mounted it with foam on a kraft card base. Finally, I mounted my colored florals - also with foam adhesive!


Product links are all below - including affiliate links where possible, which simply means if you use one of the links below that I receive a small commission at no additional cost to you. Thanks so much for stopping by! Have a wonderful day!!!


Friday, January 25, 2019

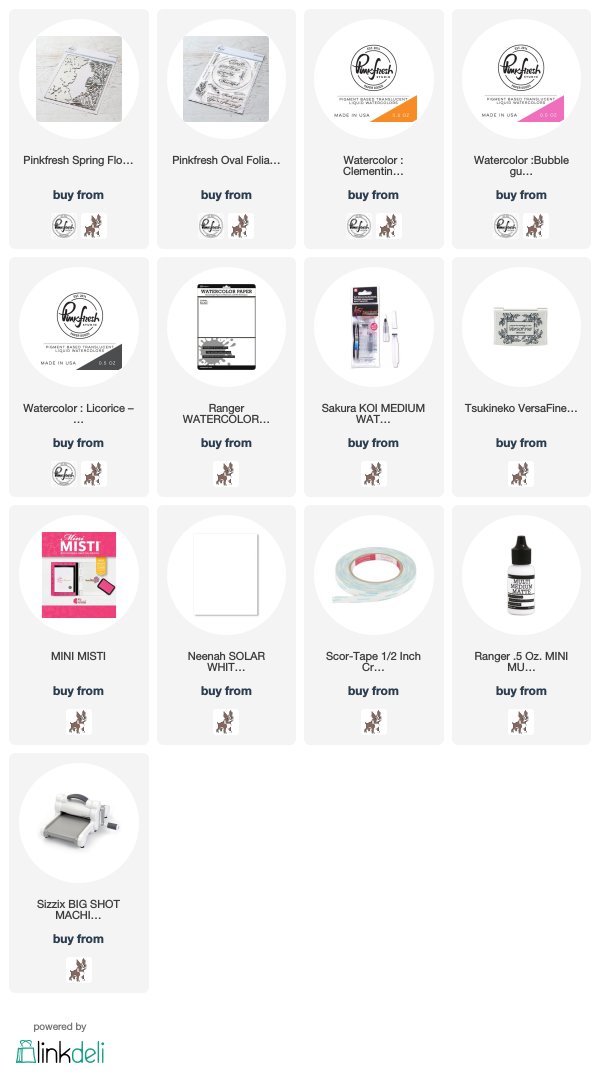
You're Amazing - Pinkfresh Florals and Watercolor

Good morning! I'm stopping by this morning to share details on another card using Pinkfresh Studio's BRAND NEW January Release! I shared a little peek at this card during the blog hop last week - and it was also one of the ones displayed at Creativation this past weekend in Phoenix, so I thought it was high time to share the details here!


This is one of my favorite cards from the new release actually! I just love this intricate Spring Floral Die, and of course, Pinkfresh's liquid watercolors are amazing!


For this card, I created a simple watercolor background using Bubble Gum and Clementine Liquid Watercolors, and added some white paint splatters. Next, I layered the beautiful and intricate Spring Floral Die (cut twice) over the top with some sturdy liquid adhesive.


I stamped my sentiment from Oval Foliage Wreath Stamp Set - using my MISTI to make sure and get a perfect impression - then carefully masked that out so I could add some tiny black splatters with my Licorice Liquid Watercolors - the perfect finishing touch!


Product links are below - including affiliate links where possible, which simply means if you use one of the links below that I receive a small commission at no additional cost to you. Thanks so much for stopping by! Have a wonderful day!!!


Thursday, January 24, 2019

Altenew January 2019 Stamp/Die/Stencil Release Blog Hop + GIVEAWAY

Good morning! I can't tell you how delighted I am this morning to be hopping along with Altenew to celebrate the BRAND NEW January 2019 Release! You may have seen this release at Creativation this past weekend, or in photos from those who attended - and I can tell you it is just as beautiful as you might imagine! You can find the entire release HERE.

So - fair warning - this is a VERY photo heavy post! I have a total of 7 cards to share, so make sure to get all the way to the bottom for the giveaway info! 


So I'm starting off with a card using one of my favorite items from the new release - Garden Picks 3D Dies! I love all of Altenew's layered floral stamp images - so adding it in a 3D option has been something I loved from the first set I saw! These are just as gorgeous as I would have hoped, and really quite easy and fun to layer as well!


There is also a bit of soft stenciling in the background behind the flowers - do you see it there? I used Elegant Swirls Stencil and Morning Frost Ink.


I used varying tones of cardstock to die cut the layers and build the flowers, then planned my placement and picked them up with some Press and Seal while I prepared the background. 


I was then able to press it into place quite easily after applying adhesive to the back of each die cut piece.


Finally, I added the sentiment from Beautiful Blossoms using Moon Rock ink. Aren't those flowers stunning?!?!?


And speaking of stunning florals - how can you not fall in love with these beauties from the new Wonderland stamp set?!?!?


For this dreamy card, I used an ink blended background that I created with Distress Oxide inks and splattered with gold.


I heat embossed the florals from Wonderland in white on vellum, then die cut with the coordinating Wonderland Dies.


I layered them on my card, using tiny dots of sturdy liquid adhesive to hold them in place - which works perfectly, since you don't see those tiny dots!


Finally, I heat embossed a sentiment from Wonderland stamp set on a strip of black cardstock, and tucked it under one of the stems, adhering it in place!


And then, because I loved this set so much, I used it again, this time paired up with the clever new Wonderland Mask Stencils!


I started off by stamping all my images on a panel of white cardstock. Then comes the fun part!


These stencils are so clever! They are thinner than ordinary stencils, and include both the negative and positive die cut! I used the main stencil to lay over the stamped images, and then carefully did a bit of ink blending over the outer edges of the petals in 3 different colors of distress oxide inks.


Next, I layered up the negative pieces of the stencils over the images - holding in place with a bit of removable adhesive - and blended some ink around the edges of the flowers and added some flicks of water before removing the masks. So fun!


Finally, I added a bit of sparkle with some clear glitter Nuvo drops - squeezing them around the edges of the flowers, and then smearing inward with my finger tips for a lightly frosted edge to each one, and stamped the sentiment in place as well - before tearing the right edge for texture and layering over a bit of black cardstock.


And carrying on my seeming love of ink blending - next up we have this card that uses several of the new release items!


For this card I also used another previously prepared blended ink background (my new hobby when I'm bored is to create backgrounds for fun - so relaxing!)


I thought it would be fun to use that lovely Garden Picks 3D Die with all white layers - I love the effect it gave! Such a different and elegant feel I think!


I heat embossed the larger image from Fancy Frames in gold on vellum, and die cut with the coordinating Fancy Frames Dies - then layered that on my background along with a sentiment from Beautiful Blossoms that was heat embossed on a strip of navy cardstock. A splattering of gold over the entire top and a few sparkly clear sequins finish this card off!


And again...another ink blended background! Some of these were from a trip to visit my friend Crystal Thompson in Wyoming, and some were created on a day I was having trouble focusing - but needless to say, I've been grateful to have them on hand, since they make it super easy to put together a card in a hurry!


For this card I used mostly die cutting - with a simple sentiment stamped and heat embossed on a strip of black cardstock.


I die cut the beautiful new Floral Heart Frame Die from white cardstock, and punched out most of the elements - leaving some of the smaller pieces in place. I die cut the lovely new Simply Friend die 3 times, once from silver glitter cardstock, and once from white cardstock, and layered them together for a nice dimensional sentiment. I adhered that to the Floral Heart Frame Die, then used that to hide my liquid adhesive just behind that large sentiment to adhere to my card. Love doing this with intricate dies, since it leaves the edges floating free and looks so elegant and dreamy!


Finally, I added the heat embossed sentiment from Wonderland over the top. Check out the sparkle from some soft gold splatters on the background, and that lovely silver glitter cardstock!


I promise we are nearing the end! So many beautiful cards with this release! This card features the beautiful Angelique Motifs stamp set - another lovely layering set!


I also used the handy Angelique Motifs Mask Stencil for this card - it allowed me to stamp and mask my images so easily!


For a bit of interest, I added 5 score lines down the left side - it's hard to see them in the photos, but it adds a nice touch of texture on the card, without adding any bulk or layers.


Finished off with a sentiment from Beautiful Blossoms (in case you can't tell - this set is loaded with great sentiments!) - and added a mat of kraft cardstock before mounting on a coordinating green card base.


You've almost reached the end! I have one last simple card to share using the adorable new baby stamp set - Gift From Heaven!


For this card, I stamped the lovely image on watercolor paper, along with a pairing of a few of the sentiments to build one large sentiment. 


I then did a bit of very simple watercoloring around the image to make it pop. I kept the colors very neutral, so this would easily work for either a boy or girl card! This style of card would be very easy to recreate in bulk for baby shower invitations or thank you cards as well!


I would love to hear which set is at the top of your wish list - or which of these 7 cards is your favorite! I seriously had WAY too much FUN with this release!

GIVEAWAY INFO:
Altenew is giving away 6 $50 gift cards for comments left on the Altenew Card Blog and Altenew Scrapbook Blog. Winners will be announced on the Altnew blogs on 2/3/19. In addition, I have a $30 gift card up for grabs for comments left just on my blog here! My winner will be announced 1/30/19 on my blog here!

Here is the entire blog hop line-up so you don't get lost along the way - there are lots of giveaways along the hop as well:

Heather Hoffman (you are here)

Product links are all below - including affiliate links where possible, which simply means if you use one of the links below that I receive a small commission at no additional cost to you. Thanks so much for stopping by! Have a wonderful day!!!