Pages

Saturday, August 31, 2019

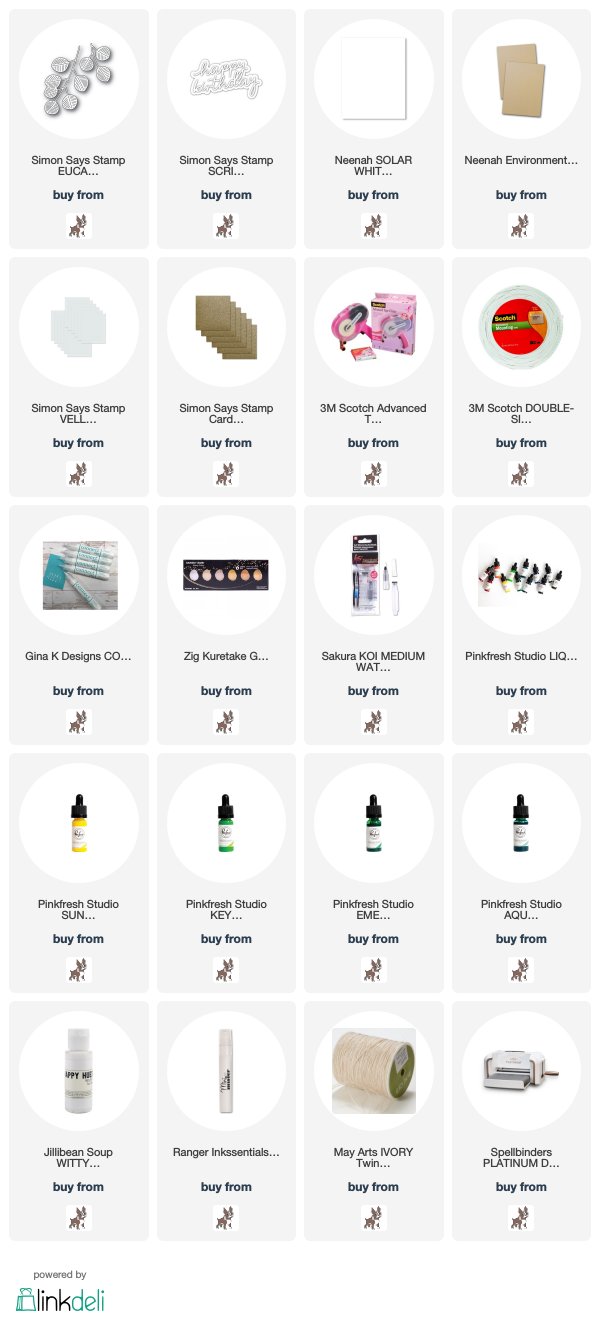
Happy Birthday Eucalyptus Wreath - Simon Says Stamp STAMPtember Release

Hello! Happy STAMPtember! Can you believe how fast this summer went? But fall is one of my favorite seasons, so I don't mind at all! And...today is also the beginning of a special month-long party at Simon Says Stamp known as STAMPtember! Woohoo! I'm stopping by to share my first card with the BRAND NEW STAMPtember Release from Simon Says Stamp! And the irony is not missed on me that my card is created entirely with die cuts, and no stamping whatsoever, but...it's really about cardmaking anyway, right? And these ARE fabulous new dies that released in celebration, so it's all good, right?


I'm using two new releases in particular on my card - Eucalyptus Leaves Wafer Die and Scripty Happy Birthday Die. I started off by die cutting lots of the Eucalyptus Leaves from Neenah 110 lb cardstock, then I watercolored them with some of my Pinkfresh Studio Liquid Watercolors - I loved how it worked even on the white cardstock, and gave a totally different look to the colors! I also added a bunch of gold splatters using my Gansai Tambai Starry Colors Palette, then let those dry thoroughly.


I then die cut a couple of circles, one in white and one in pale yellow, and layered them together, arranging the Eucalyptus Leaves around the edges to form a wreath. I then die cut the beautiful new Scripty Happy Birthday Word - this is an awesome layering die, so I cut the base layer from vellum for a soft background, then the detail words from gold glitter cardstock, and layered that with tiny bits of foam adhesive over the top of the wreath.


I created a square cardbase with kraft cardstock, and added some white paint splatters to the background to soften it a bit and add to the splattery watercolor effect, and let that dry.


Added some ivory jute twine wrapped around the entire circle piece, and then adhered the entire circle element with foam adhesive on the square cardbase! super fun - tons of die cutting, but so bright and happy that it was worth it!


Product links are all below - including affiliate links where possible, which simply means if you use one of the links below, I receive a small commission at no additional cost to you. Thanks so much for stopping by - have a wonderful day!!!

Friday, August 30, 2019

Hugs and Happy - Pinkfresh Studio Facebook Live Cards

Good morning! Yesterday was the day for my regular weekly Facebook Live video - featuring some of the BRAND NEW August release from Pinkfresh Studio! If you missed the Live video and want to take a peek, you can find it on the Pinkfresh Facebook Page - this week's video is available HERE. As always today, there was one giveaway for someone who watched live, so make sure and pop in next week to win that live giveaway - 10 AM Pacific time on Thursday morning! I also always try to post info here the next day on the card we make - for those that aren't on Facebook or maybe didn't see it over there.

So...here is some more info and photos of the card we made, as well as links to all the products used!


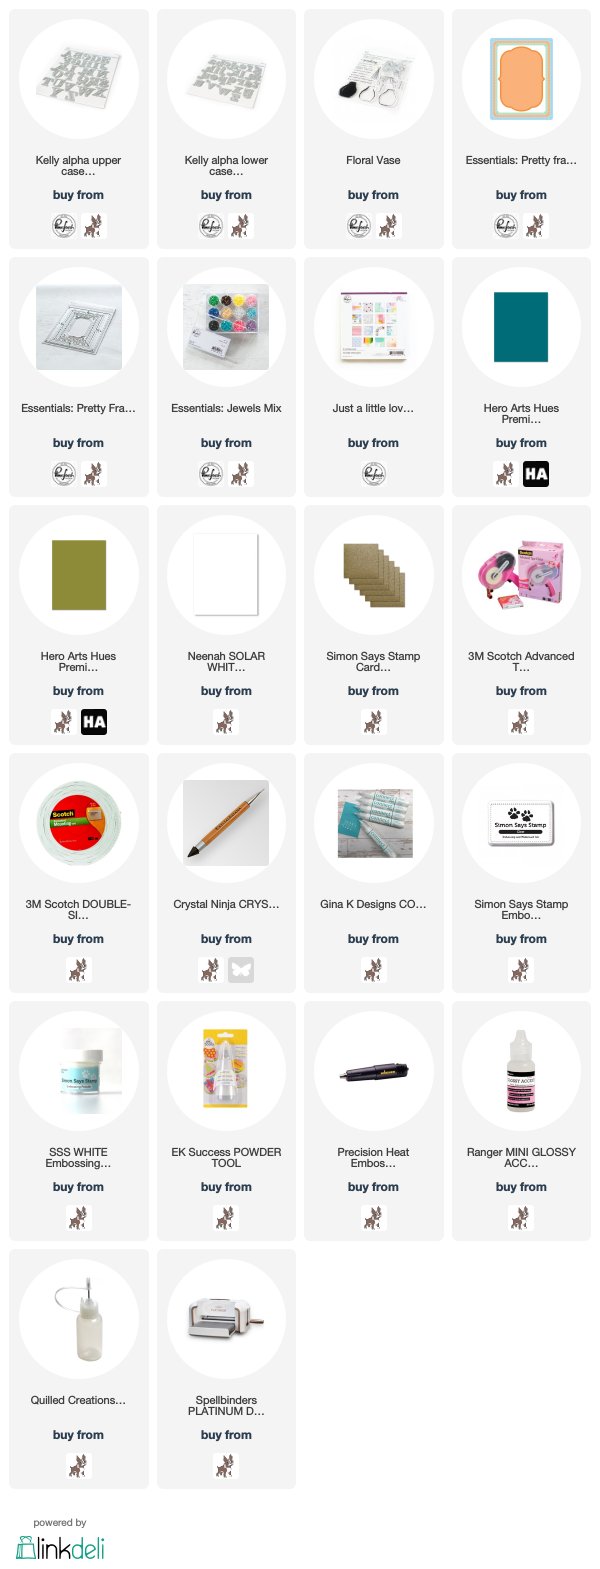
I have two cards to share today - one using each of the new Kelly Alpha Dies. I was going to combine them on one card, but ended up having so much fun die cutting, that I just kep going and came up with these. First up, this card using the Kelly Alpha Uppercase Dies:


I die cut them all from white cardstock, and then mounted them on a trimmed down panel of some of the beautiful pattern paper from the Just a Little Lovely 6x6 Paper Pad.


I added a frame using Essentials: Pretty Frames 2 dies - I die cut it twice, once from white cardstock, and once from gold glitter, and layered them together for extra dimension.


Added a heat embossed sentiment from the beautiful Floral Vase stamp set, heat embossed on a strip of teal cardstock that I thought complimented the color of those florals along the bottom! Couldn't resist a few of the Essentials: Jewels Mix for a bit of bling!


Next up, this cheerful and happy card using the Kelly Alpha Lowercase Alpha Dies:


I followed a fairly similar process on this card - just used a brighter pattern paper!


For this one I used Essentials: Pretty Frames (the original) and again, added them the same way.


This one has the same jewels added, and a bright pop of green cardstock for the sentiment which is also from the same Floral Vase stamp set - SOOO many great sentiments in this set, not to mention the beautiful image!


So, which version do you like best? Soft or bright colors? Upper or lower alpha? Or would you prefer to mix and match?


I really love how clean these alphas cut, the fun details on them, and I love how perfect the size is for both Scrapbooking and Cardmaking! Can't wait to use them more!


Product links are all below - including affiliate links where possible, which simply means that if you use one of the links below, I receive a small commission at no additional cost to you. Thanks so much for supporting my blog, and stopping by! Have a wonderful day!!!


Thursday, August 29, 2019

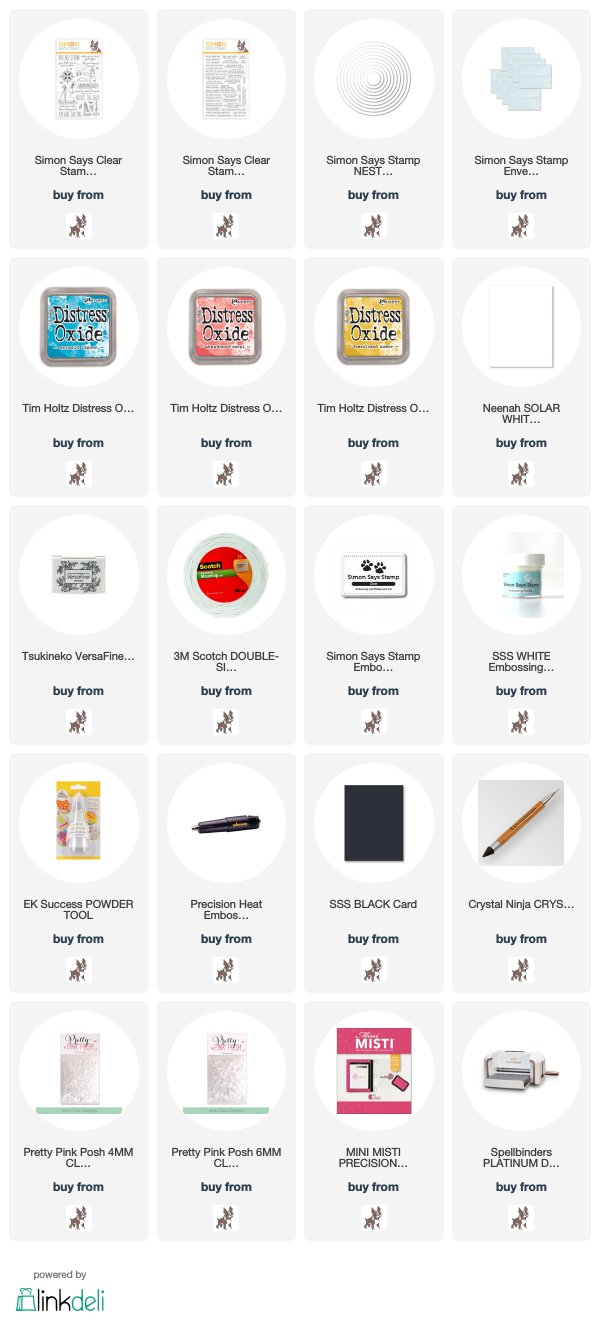
Ocean Porthole Card - Simon Says Stamp

Good morning! Earlier this summer, Simon Says stamp released  their fabulous Rest and Refresh collection. My summer has been so crazy, I hadn't had a chance to play with any it much since the release in June, so this week I broke out one of my favorite sets from the release to put this bright and airy card together - I was so thrilled with how it all came together!


I die cut 3 different size windows from a white cardstock panel using Nested Circles Dies. I then masked and blended Distress Oxides behind those circles on my cardbase using 3 colors of Distress Oxide inks - Mermaid Lagoon, Abandoned Coral, and Fossilized Amber


I then planned out a little scene in each window using images from the adorable nautical themed Your Light stamp set - using my MISTI to stamp them with perfect placement. I then adhered the window panel over my cardbase using foam adhesive for dimension, so those scenes were visible through the windows.


I finished off with 3 sentiments from Tiny Words Birthday stamp set, heat embossed on black cardstock and trimmed into thin strips. I also adhered those with foam adhesive for that extra dimension (maybe not a card to pop in the mail?). Finished off with a few clear Pretty Pink Posh Droplets scattered around - something I love to do on cards that have anything to do with the ocean or water, since they feel like little water droplets!


Product links are all below - including affiliate links where possible, which simply means that if you use one of the links below, I receive a small commission at no additional cost to you. Thanks so much for supporting my blog, and stopping by! Have a wonderful day!!!

Wednesday, August 28, 2019

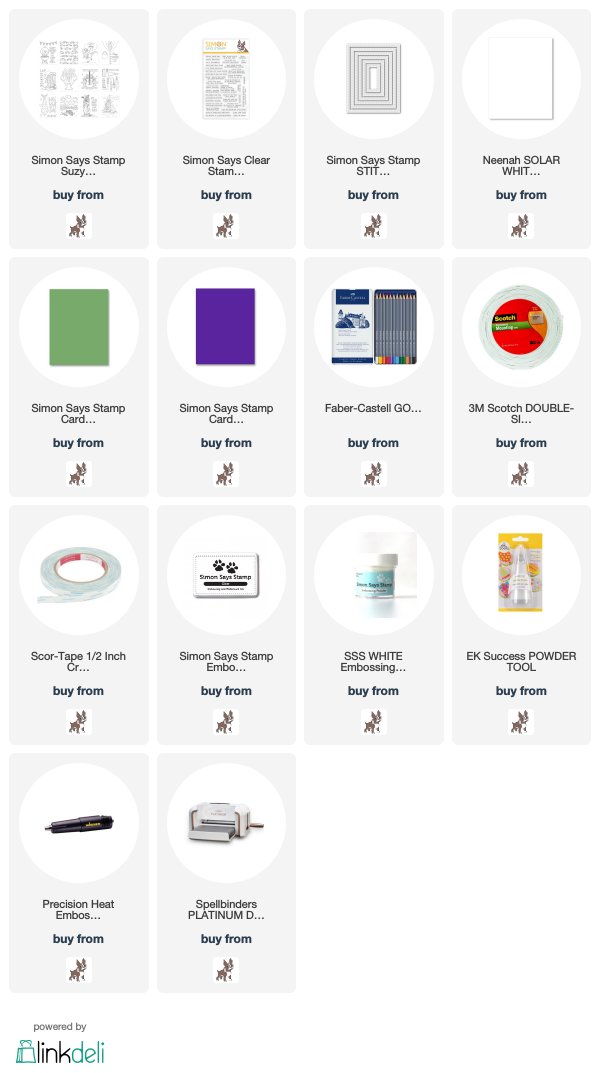
Birthday Holiday - Simon Says Stamp Watercolor Prints

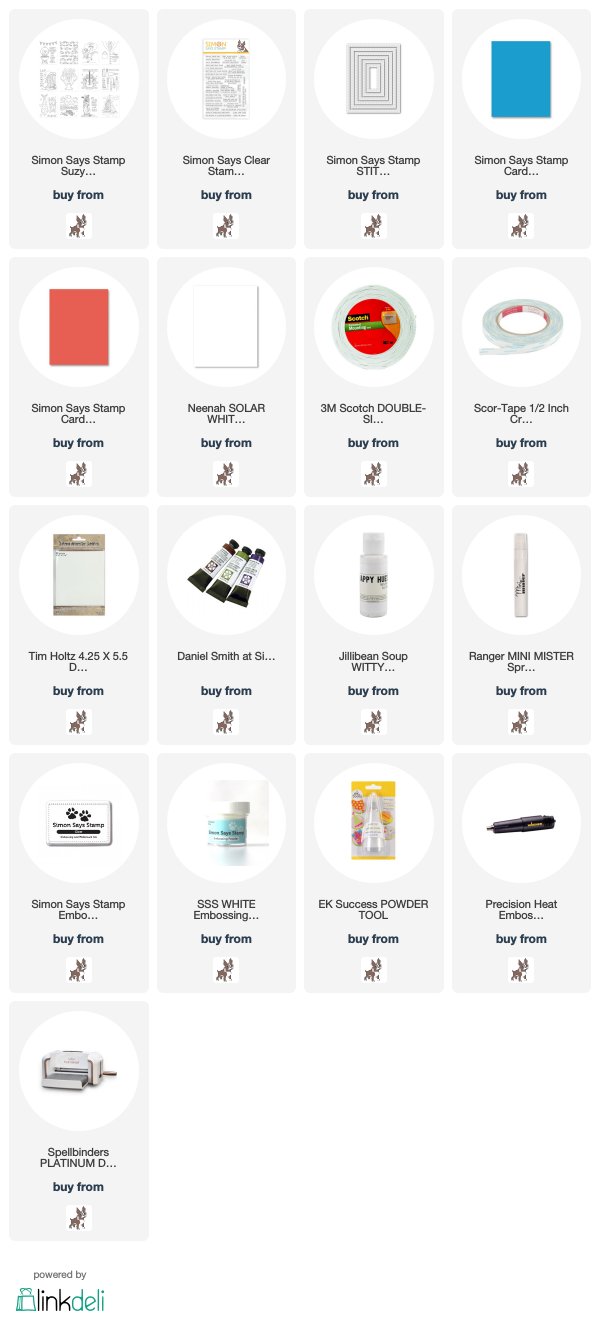
Good morning! Dropping by once again today with another fun birthday card that I created recently using one of the adorable prints from the Suzy's Watercolor Prints - Celebrate Dads from Simon Says Stamp! Even though there are several images in there for Father's Day, there are also lots of images that are super versatile for other times of the year as well! Still working to replenish my depleted birthday stash, so I figured I'd make a birthday card again with one of the prints!


This image I decided to color with watercolor pencils - which is actually a medium I haven't used much at all, so it was super fun to play with them on this! I basically colored the entire image in with the pencils, then went over one section at a time with a wet brush to soften and blend the colors. I couldn't help but feel like I was doing one of those paint with water books from when I was a kid - so very fun!


Once that dried VERY thoroughly, I die cut it with Stitched Rectangle, then came back in with some of the colors to add additional shading and blending to finish it off. That was matted with a bit of white cardstock, then mounted on a Green Leaf top folding cardbase.


Finished off with a fun little sentiment from Tiny Words Birthday Stamp Set - heat embossed on a bit of Royal Purple cardstock and popped up with foam adhesive. Isn't this sentiment fun with this image?!?!?


Product links are all below - including affiliate links where possible, which simply means that if you use one of the links below, I receive a small commission at no additional cost to you. Thanks so much for supporting my blog, and stopping by! Have a wonderful day!!!


Dual Ink Stamped Florals - on the Reverse Confetti Blog

Good morning! I have a new edition of Wednesday in the Works on the Reverse Confetti Blog and YouTube Channel this morning - this week I'm sharing a fun way to use multiple colors of ink to stamp solid floral images - a technique I learned as "rock and roll" technique! I hope you'll pop over HERE and check it out for more details!


Thanks so much for stopping by - have a great day!


Tuesday, August 27, 2019

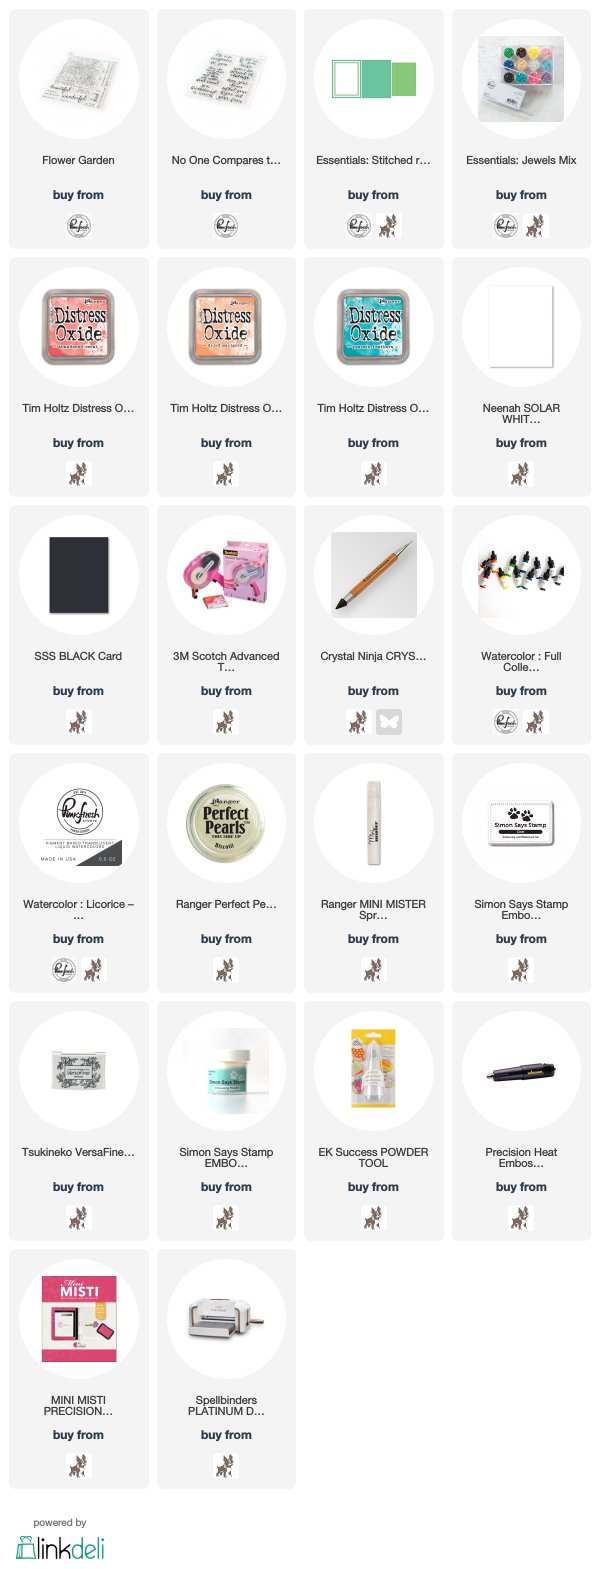
No One Compares to You - Pinkfresh Studio Facebook Live Card

Good morning! Yesterday was a special Facebook Live video - featuring the BRAND NEW August release from Pinkfresh Studio! If you missed the Live video and want to take a peek, you can find it on the Pinkfresh Facebook Page - this week's video is available HERE. As always today, there was one giveaway for someone who watched live, so make sure and pop in later this week to win that live giveaway - 10 AM Pacific time on Thursday morning as usual! I also always try to post info here the next day on the card we make - for those that aren't on Facebook or maybe didn't see it over there.

So...here is some more info and photos of the card we made, as well as links to all the products used!


This card uses a "dual layer" embossing technique - the video is much easier to see it with, but basically we inked up the beautiful large floral image from the new Flower Garden stamp set in clear embossing ink and stamped on a white panel of cardstock. THEN, before adding embossing powder, we stamped our sentiment from the new No One Compares to You stamp set in black pigment ink over the top. Once that was all done, we sprinkled on clear embossing powder over all and heat set the entire image.


Once this heat set, we were able to use it as an emboss resist and do some ink blending over the top with various distress inks (linked below). Trimmed the panel down with Essentials: Stitched Rectangles, matted with some black cardstock, and added some splatters with Perfect Pearls and Pinkfresh Studio's Liquid Watercolor in Licorice - my FAV for adding black splatters!


Finally, we added a few jewels from Essentials: Jewels Mix and added it all to a white top folding cardbase!


Product links are all below - including affiliate links where possible, which simply means that if you use one of the links below, I receive a small commission at no additional cost to you. Thanks so much for supporting my blog, and stopping by! Have a wonderful day!!!


Never Saw it Coming - Simon Says Stamp Watercolor Prints

Good morning! Dropping by today with a fun birthday card that I created recently using one of the adorable prints from the Suzy's Watercolor Prints - Celebrate Dads from Simon Says Stamp! Even though there are several images in there for Father's Day, there are also lots of images that are super versatile for other times of the year as well! Since my birthday stash seems to be running a bit low, I figured I'd make a birthday card with one of the prints!


I started off by randomly watercoloring the image - I did it pretty quick and messy, just slapping some color on there and not worrying about staying in the lines or making it perfect. Sometimes that is my favorite way to watercolor! Once it dried, I die cut it with a Stitched Rectangle Die, then added some white paint splatters and let it dry again. I love adding splatters to watercolor - to me it adds so much to the messy and whimsical feel of watercolors.


I heat embossed this hilarious sentiment from Tiny Words Birthday Stamp Set on a bit of Burnt Orange Cardstock (I thought it was hilarious with this image!). I matted my watercolored print with a bit of white cardstock and mounted on an Island Blue top folding cardbase, then added the sentiment popped up with foam adhesive!


Product links are all below - including affiliate links where possible, which simply means that if you use one of the links below, I receive a small commission at no additional cost to you. Thanks so much for supporting my blog, and stopping by! Have a wonderful day!!!


Monday, August 26, 2019

Gouache Paint Swiped Backgrounds - on the Unity Blog

Good morning! I'm back with another card for my series on the Unity Stamp Company Blog this morning! I'm so excited to be featuring the amazing Kit of the Month on Monday's on the Unity Stamp Company Blog! Since the Kit of the Month was the first thing I purchased from Unity, and what got me hooked to begin with, they hold a special place in my heart, so I'm super excited about this opportunity to give these kits some love! You can check out all the details HERE for today's card!


Thanks for stopping by today - have a WONDERFUL day!!!


Pinkfresh Studio August Release Blog Hop

Good morning! So excited today to be hopping along with Pinkfresh Studios as we celebrate the BRAND NEW August Release! This release is super fun and full of gorgeous products! You aren't going to want to miss a stop along the way - TONS of inspiration and prizes up for grabs! YAY! You also might want to pop over to the Pinkfresh Studio Facebook Page at 10 AM Pacific Time this morning - I will be going LIVE featuring the new release, and there will be a gift certificate up for grabs as well!


For the blog hop today, I have a $25 gift card up for grabs here on my blog (details below) - and the ENTIRE RELEASE is up for grabs as well! See details on the Pinkfresh BlogPinkfresh Studio is also offering free shipping on all orders over $100 at Pinkfresh Studio Store! You can also snag this die for free with any purchase while supplies last:


I have a couple cards to share with you today - having so much fun with this beautiful release! Starting off with this soft and dreamy card using several new items from the release:


The main wreath image is from the beautiful new Delicate Wreath stamp set - I stamped and heat embossed it twice, once in gold glitter on vellum, and once on white cardstock with sage glitter embossing powder.


I die cut those wreaths with the coordinating Delicate Wreath Dies, then layered them together offset so that part of the vellum/glitter wreath peeks out from behind the front one. This added a fun bit of dimension and layering!


Next, I die cut the new Leafy Branch Die from gold glitter cardstock and layered that on the front lower corner of the wreath. I used a scrap of pattern paper to die cut a flower from the Lovely Blossoms Coordinating Dies (no stamps used - just the die), and layered on an enamel dot to the center of it before layering it on over a bow tied with ivory jute string.


I stamped my sentiment in the center of a white card panel die cut using Essentials: Stitched Rectangles, then layered the wreath over the top with foam adhesive. Finished off with a few more enamel dots sprinkled around, then layered it on two shades of coral cardstock set at jaunty angles.


Next up I have a card featuring the beautiful new Modern Bloom Die and some paper piecing!


As soon as I die cut the white image, I couldn't help but think how fun it would be to layer in the flower and leaf images! So I die cut it once more each from a mint and yellow cardstock, and pieced the entire thing together on a soft blue cardbase. I was going to piece in the smaller leaves as well, but ended up like the effect of leaving those open - I think it softens the image a bit more.


I grabbed a sentiment from the new Floral Vase stamp set and stamped it 3 times in coordinating inks, trimmed those into strips, and then attached those over the top with foam adhesive.


Finished off with a few white jewels from Essentials: Jewel Mix to add a touch of sparkle!


And finally...here is a peek at the card we are going to be making on Facebook Live today - I hope you'll tune in and join me at 10 AM Pacific Time this morning! And if you don't have a Facebook account, feel free to check back here tomorrow, as I always try to post details on my blog the next day for Facebook Live cards. :)


GIVEAWAY INFO:

Make sure and leave a comment before you leave for a chance to win a $25 gift certificate to Pinkfresh Studio! All winners will be chosen and posted on the Pinkfresh Blog on Monday, September 2, 2019 - so make sure and check back to see if you were a winner! Winners must check that page and claim their prize within 2 weeks.

Here is the entire blog hop line-up so you don't miss a single stop - and product links are below - including affiliate links where possible, which simply means if you use one of the links below that I receive a small commission at no additional cost to you. Thanks so much for stopping by! Have a wonderful day!!!

You are invited to the Inlinkz link party!
Click here to enter