Pages

Monday, September 28, 2020

STAMPtember Collaboration - Art Impressions

 Hello - and HAPPY STAMPtember - a month long party by Simon Says Stamp to celebrate all things stamping. 


Today we are getting to see the next in the progression of the special SUPER SECRET collaboration stamp sets that will be happening throughout the month! Today we have...Art Impressions!


I have a fairly simple card to share today using this fun and quirky little set:


I kept my card pretty simple, and stamped the image on the bottom left corner of a panel of white card stock - leaving it over hanging the edge so that it was a partial stamp of the image. I added the sentiment next to it, and then did some simple Copic coloring on the image.


Once that was done, I stamped a bunch of the little snowflakes from the stamp set around the negative space using two shades of gray ink, and mounted it with foam adhesive on a light gray cardbase to finish off!


Here is a closer look at this funny set:


Product links are all below - including affiliate links where possible, which simply means if you use one of the links below that I receive a small commission at no additional cost to you. Thanks so much for stopping by! Have a wonderful day!!!


Gold Layered Christmas Tree - on the Unity Stamp Company Blog

 Good morning! I'm back with another card for my series on the Unity Stamp Company Blog this morning! I'm so excited to be featuring the amazing Kit of the Month on Monday's on the Unity Stamp Company Blog! Since the Kit of the Month was the first thing I purchased from Unity, and what got me hooked to begin with, they hold a special place in my heart, so I'm super excited about this opportunity to give these kits some love! You can check out all the details HERE for today's card!


Thanks for stopping by today - have a WONDERFUL day!!!


Sunday, September 27, 2020

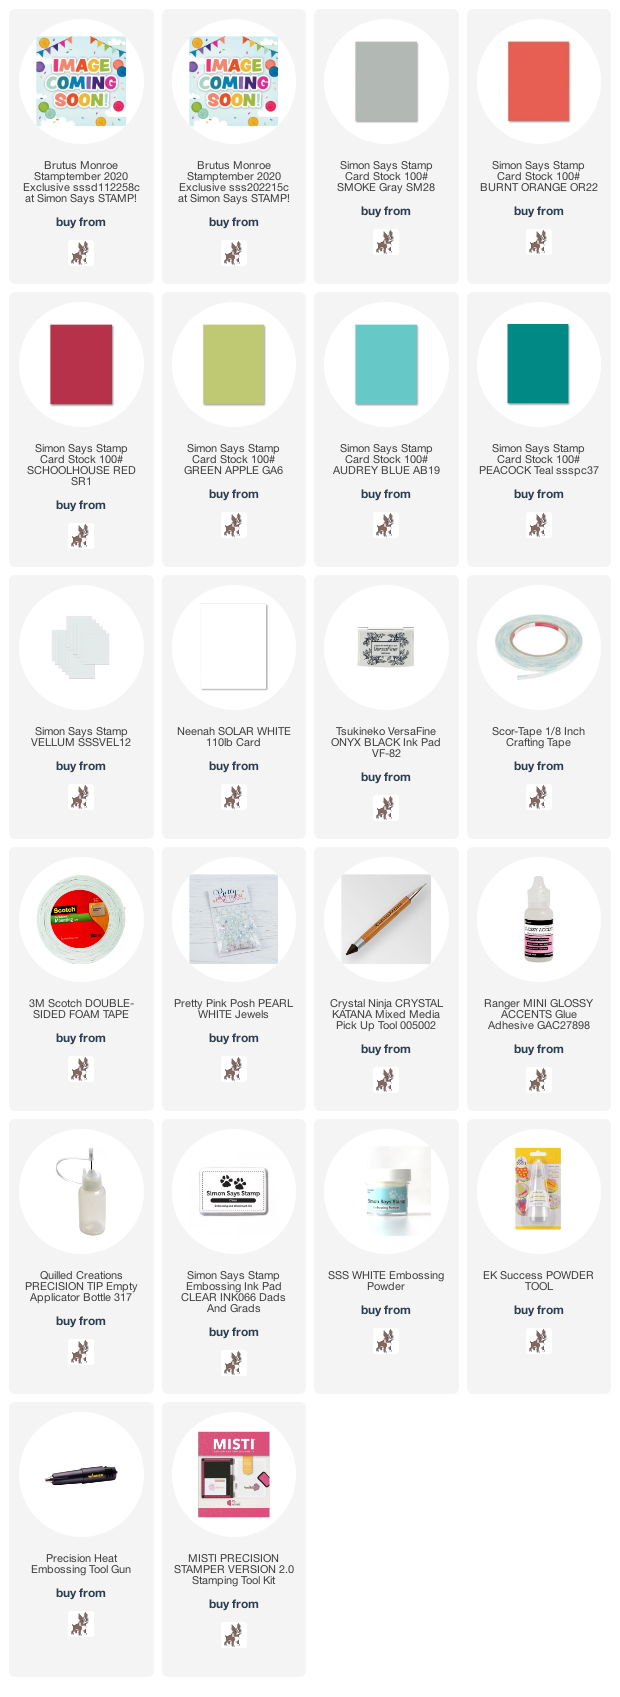
STAMPtember Collaboration - Brutus Monroe

  Hello - and HAPPY STAMPtember - a month long party by Simon Says Stamp to celebrate all things stamping. 


Today we are getting to see the next in the progression of the special SUPER SECRET collaboration stamp sets that will be happening throughout the month! Today we have...Brutus Monroe!


I have a simple card with some layered cardstock strips in fun colors, layered vellum, and jewels!


I used thin strips of 5 different colors of cardstock layered over white cardstock for a pop of color - I stamped the Christmas wreath image on my white panel first using my MISTI, and leaving it lined up, added the strips of cardstock, masked off the rest, and stamped again to have my image in one solid piece.


I added the sentiment, heat embossed in white on a thin strip of vellum, and wrapped around the card front at a fun angle before adhering in the back. A few sparkly white jewels finish off that panel, then I mounted it with foam on a gray cardbase.


Here is a closer look at this fun seasonal set:


Product links are all below - including affiliate links where possible, which simply means if you use one of the links below that I receive a small commission at no additional cost to you. Thanks so much for stopping by! Have a wonderful day!!!


Saturday, September 26, 2020

STAMPtember Collaboration - The Greeting Farm

  Hello - and HAPPY STAMPtember - a month long party by Simon Says Stamp to celebrate all things stamping. 

Today we are getting to see the next in the progression of the special SUPER SECRET collaboration stamp sets that will be happening throughout the month! Today we have...the Greeting Farm!


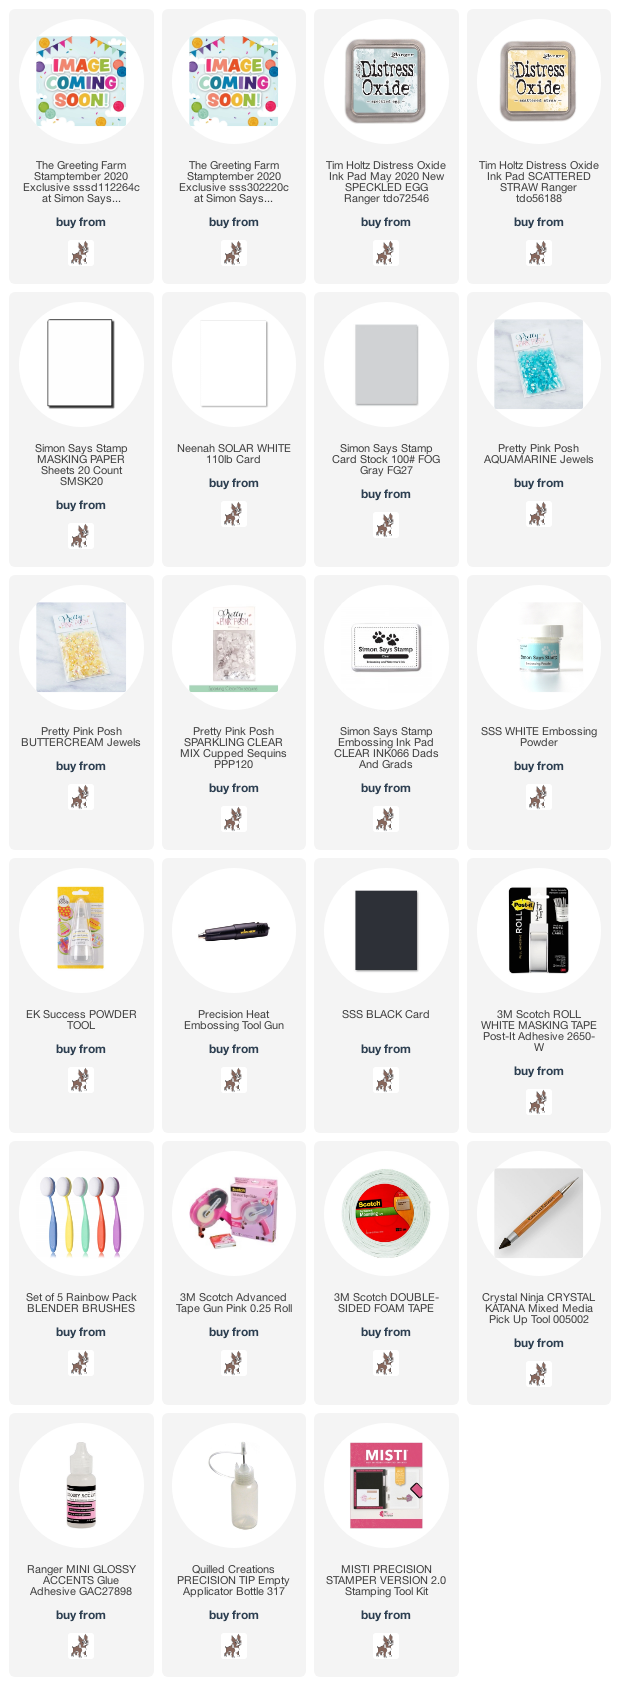
I have this cute simple masked card to share today!


I started off by stamping the sweet little girl on a panel of white cardstock, then stamping it again on masking paper to apply over the top. I masked off a panel with Post it tape, and blended Speckled Egg and Scattered Straw Distress Inks over the top before removing the tape and the mask.


I trimmed that panel down, mounted with foam on a fog cardbase, then added a heat embossed sentiment at the top. Finished off with a few Sparkling Clear Sequins, with jewels added in the center in colors to coordinate with the ink blending.


Here is a look at this celebratory set:


Product links are all below - including affiliate links where possible, which simply means if you use one of the links below that I receive a small commission at no additional cost to you. Thanks so much for stopping by! Have a wonderful day!!!


Friday, September 25, 2020

STAMPtember Collaboration - Tim Holtz

  Hello - and HAPPY STAMPtember - a month long party by Simon Says Stamp to celebrate all things stamping. 

Today we are getting to see the next in the progression of the special SUPER SECRET collaboration stamp sets that will be happening throughout the month! Today we have a favorite annual collaboration - Tim Holtz!


I used this super funny stamp set to create a set of 4 cards - I just couldn't decide which combo of funny image and sentiment I wanted to use - so I used all the images and paired them up with a fitting sentiment!


I used a fairly similar layout on each one, just changing up the placement of the focal point on each card. I started by stamping each of the images in Verafine ink, and heat embossing in clear for some texture and shine. Then I blended a colored background for each one with Distress Oxide inks, and stamped some of the smaller images from the set in the same color of Distress Ink for a tone on tone effect. Added some white and black splatters, and gave them lots of time to dry. Added touches of color to the image with coordinating Copic marker colors, mounted them with foam adhesive, and added the sentiments heat embossed in white on a bit of black cardstock.


I trimmed down each of the panels and matted with black cardstock before adhering to white card bases. Here is a closer look at each of the monochromatic combos:


Which one is your favorite? Or like me, could you not decide? Haha!


Here is a closer look at this hilarious Christmas set:


Product links are all below - including affiliate links where possible, which simply means if you use one of the links below that I receive a small commission at no additional cost to you. Thanks so much for stopping by! Have a wonderful day!!!


Thursday, September 24, 2020

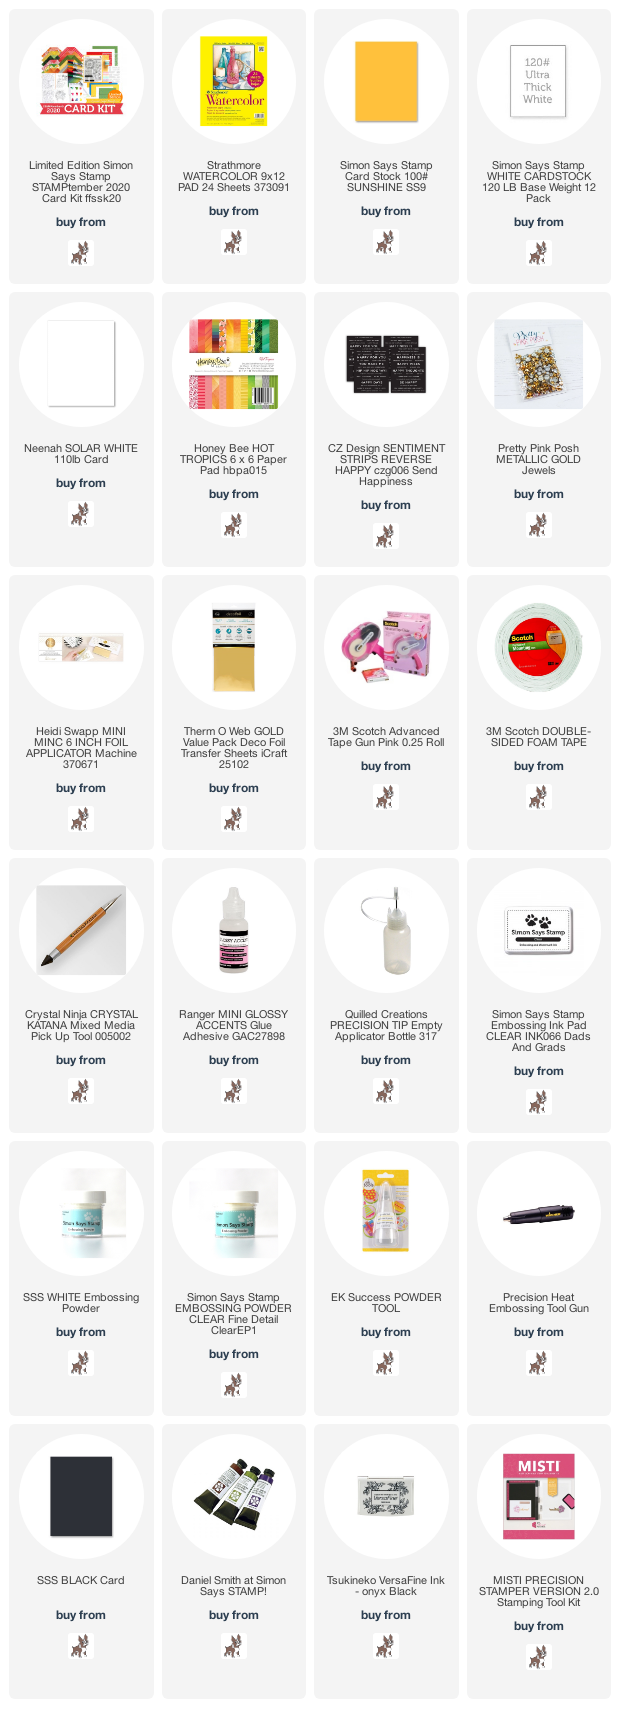
Simon Says Stamp STAMPtember Limited Edition Card Kit

  Hello - and HAPPY STAMPtember - a month long party by Simon Says Stamp to celebrate all things stamping. 


Today is the reveal of a special limited edition STAMPtember Card Kit! Here is a look at this super fun kit:


I have two cards to share with you using mostly this new kit - only a few small additions!


This first card may be my favorite! Haven't tried this technique before - but it was super fun, and I love the effect. I used the included Freestyle Flowers 6x6 stencil to blend clear embossing ink over watercolor cardstock, then heat embossed with the included clear embossing powder. Then I randomly watercolored over the image with the sheet of Daniel Smith watercolor samples, and left that to dry overnight before cleaning the stray watercolor off the embossing. Such a fun dimensional watercolor look!


I trimmed my panel down and mounted it with foam on a cardbase created with the white cardstock in the kit, then added some sentiments. The sentiment at the top is not from the kit - I used a CZ Design Sentiment Strip - Reverse Happy, and added gold foil to it - be still my heart! Now I want to foil all the things - haha! I did the same thing with the sentiment underneath, but that one is one of the ones included in the kit. Either way, the foil adheres to the black areas of the preprinted sentiments which is awesome!


I adhered both of those with foam adhesive again, then tucked a few Pretty Pink Posh gold jewels around for some finishing sparkle!


The next card is bright, bold, simple, and just plain happy!


As soon as I saw this pattern paper, I knew I wanted to use it on a card - and this stamp image was just perfect to complement it!


I stamped it with black versamark ink, and heat embossed with some of the clear powder in the kit. Love the simple gorgeous shine and gloss this adds to the image! I then trimmed it down, matted with some white cardstock from the kit, and added that to a cardbase created with some of the Sunshine cardstock in the kit.


Finally, added a sentiment from the kit, heat embossed in white on black cardstock and mounted with foam adhesive. Isn't it so sunny, bright, and happy?!?!?


Product links are all below - including affiliate links where possible, which simply means if you use one of the links below that I receive a small commission at no additional cost to you. Thanks so much for stopping by! Have a wonderful day!!!