Tuesday, December 26, 2017

January 2017 Favorites

Good morning! The past couple years I have had so much fun looking back over the past year and sharing a recap of my favorites from each month - and it's time of year again! It's so fun to see how my style has changed or sometimes stayed the same throughout the year and to be reminded of techniques I haven't tried in a while either. It is also nice to have a little time to catch my breath and spend time with family, and spend a bit less time in the craft room - or at least spend time working ahead for a busy new year! :)

In January 2017, I had 42 posts (not counting last years favorites) just on this blog, and every month I had posts on other Design Team blogs! That's a LOT of blog posts!

I have posted links to the original post in case you missed it or would like more details! I am also going to box up some surprise goodie boxes filled with some gently used (and a few new) crafty goodies and pick a winner or two from any comments left on these 12 monthly recap posts (not each individual link from these posts!) - so if you're interested, make sure and leave a comment! I'm so grateful for each of you that has been part of this journey for me!

Original post HERE

Original post HERE

Original post HERE

Original post HERE

Original post HERE

Original post HERE

Original post HERE

Original post HERE

Original post HERE

Original post HERE

Original post HERE

Original post HERE

Original post HERE

Original post HERE

Thanks so much for stopping by - have a wonderful day!!!


Thursday, December 21, 2017

Advent Calendar Extravaganza with Taheerah Atchia

Good morning! I'm super excited today to be one of the guests hidden behind today's door for the Advent Calendar Extravaganza! Today's sponsor is the fabulous Lil' Inker Designs - so it was a super fun day for me to play along!


Advent Calendar Extravaganza is the- festive event of the season! This ‘hop with a twist’ was dreamed up by Taheerah Atchia and features surprise destinations each day! Joining in the fun with Taheerah are ONE HUNDRED special guests - each serving up some fantastic Christmas inspiration! Just like an Advent Calendar, you’ll never know where you’re going to be visiting next until you ‘open the door’!

And that’s not all! With 25 *amazing* sponsors taking part as guests as well, your crafty wish list is bound to get a boost with a chance to win a prize EVERY SINGLE DAY!!

Join in the fun every day at taheerah-atchia.com to see what special surprises await behind the door!


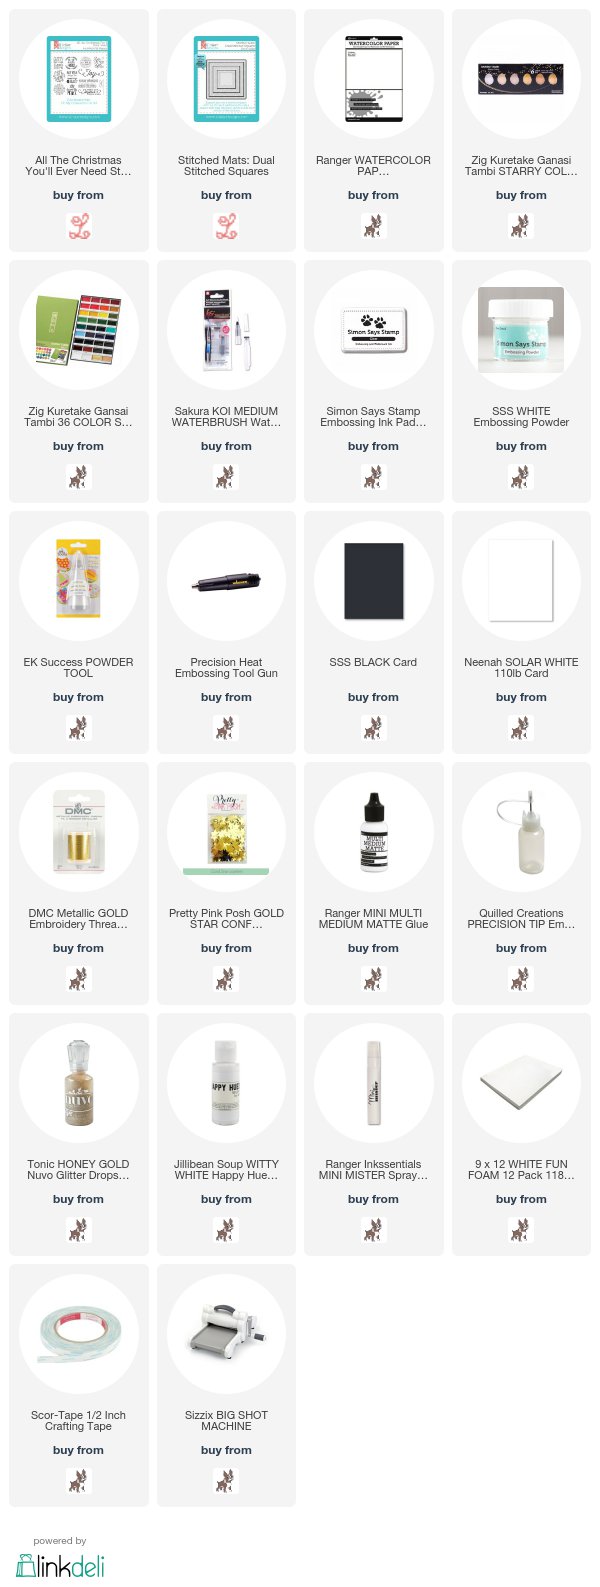
I hadn't made a galaxy style background in a while, so I decided to break out the watercolors and create a perfect background to feature a fabulous sentiment from Lil' Inker Designs All the Christmas You'll Ever Need stamp set!


I masked off the edges of my panel of watercolor paper, then went crazy with the watercolors. I added some gold splatters and white paint splatters to complete the background - I always love the surprise and mystery of how those background are going to turn out!


I heat embossed my sentiment on a panel of black cardstock die cut with Stitched Mats: Dual Stitched Squares, matted that with a bit of white cardstock, then mounted with foam tape on the background after tucking a twirl of gold thread underneath. I added some Gold Star Confetti from Pretty Pink Posh, and then mounted that entire panel on a white cardbase.


It’s not a party without a prize - and with prizes every day there are several chances to win! Today’s prize is generously supplied by Lil' Inker Designs so you’ll definitely want to win! Simply leave a comment on this post - then head back to taheerah-atchia.com and leave a comment there too! You must leave a comment on Taheerah’s blog as well as mine in order to be eligible to win! Don’t forget to grab the other surprise destinations from Taheerah’s blog and head over to them to leave comments there as well to improve your odds even more! You have until 23:59 EST on 31st December 2016 to enter.

Don’t forget Advent Calendar Extravaganza runs from 1st-25th December inclusive so make sure you visit taheerah-atchia.com every day for fabulous inspiration and amazing prizes every single time! Merry Christmas!

Product links are all below - including affiliate links where possible, which simply means if you use one of the links below that I receive a small commission at no additional cost to you. Thanks so much for stopping by! Have a wonderful day!!!


Wednesday, December 20, 2017

PPP Soft Wild Roses Card

Good morning! Until recently I hadn't had a chance to play with Wild Roses stamp set from Pretty Pink Posh - part of the newest release. One of my mom's favorite flowers is the wild rose - so I was glad to recently have a chance to pull this stamp set out and play with it a little!


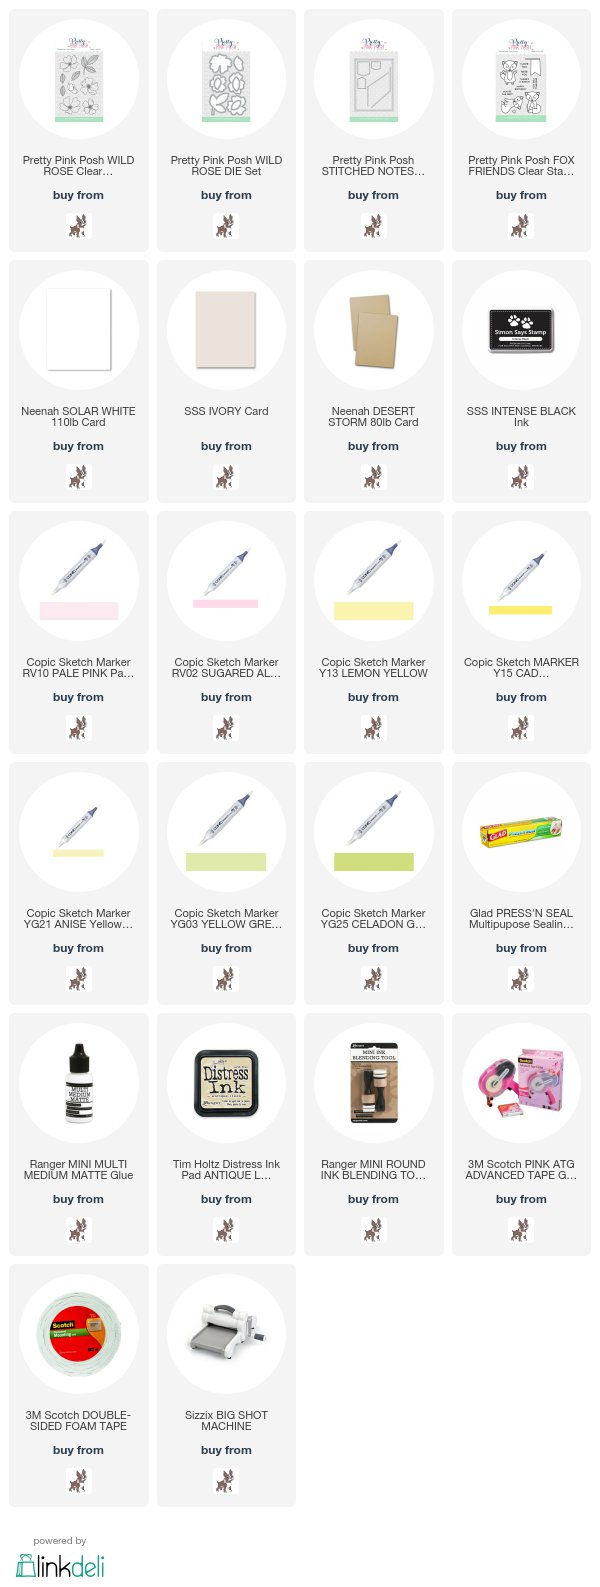
I stamped every flower from the stamp set colored them very softly with Copic markers before cutting out with the coordinating dies. I also stamped the leaves, but for these I stamped each image a couple times to have multiples of. I colored these up in layers of green, then cut with the coordinating dies. I then took a panel of Ivory cardstock, used some distress ink on the edges, and then added a bit of white paint splattering -  nearly impossible to see in the photos, but adds a great bit of texture to it.


I layered everything on that panel of Ivory cardstock until I was happy with the arrangement, picked it all up with a piece of Glad Press and Seal, added adhesive to just the centers of the flowers and enough to hold the leaves in place, then adhered back on my card front. This allows the flowers and leaves to have a touch of dimension and movement, but still keep the card nice and flat and easy to mail or fit in an envelope. Once that was done, I stamped a tiny sentiment from Fox Friends onto a small banner cut with Stitched Notes dies, and adhered just that piece with foam adhesive. I then matted that front panel with a piece of white cardstock, then adhered the entire thing onto a kraft cardbase. 


Product links are all below - including affiliate links where possible, which simply means if you use one of the links below that I receive a small commission at no additional cost to you. Thanks so much for stopping by! Have a wonderful day!!!


Tuesday, December 19, 2017

Snowman Day to Celebrate


Hello! I'm dropping by today a fun little snowman card I put together using some stamps and dies from Reverse Confetti - I can't get enough of this darling little snowman from Cool Friends!


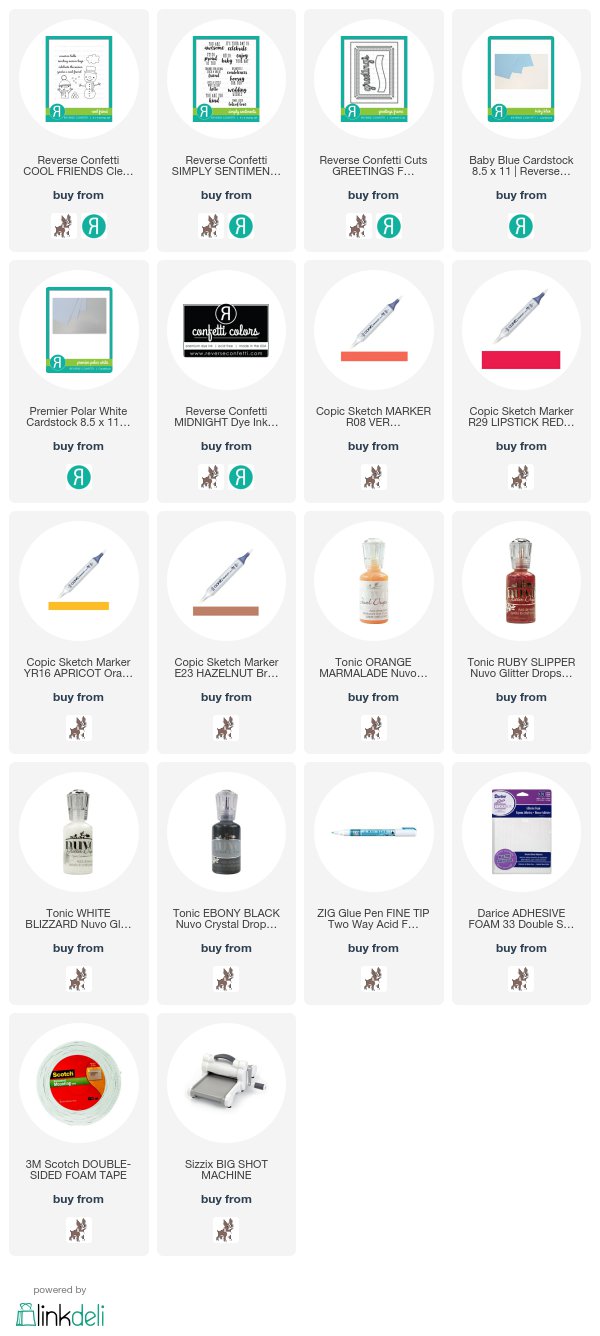
Instead of using the coordinating Confetti Cuts, I decided to fussy cut out and paper piece the snowman on there for a different look - I love how it came out! I first stamped the sentiment from Simply Sentiments and the snowman on my Baby Blue cardstock, then masked off the edges and the sentiment and added some white paint splatters for snow. Once that dried, I glued down my colored and fussy cut snowman.


I added some Nuvo drops to accent the snowman - Ebony Black Gloss for the eyes and buttons (for a more 3D effect), Orange Marmalade Jewel Drops on the nose and stick arms, White Blizzard Glitter for the top of the hat, and Ruby Slippers Glitter over the hat and scarf! Finished off by adding a frame cut with Greetings Frame Confetti Cuts and mounted with foam adhesive over the front panel.


Here are the Reverse Confetti products I used on this card - click on the picture if you want to learn more about any of these items!


I am linking this up with this week's Simon Says Stamp Wednesday Challenge - Stitch It (thanks to the lovely stitching on the Greetings Frame Confetti Cuts):


Also linking up with the current Simon Says Wednesday Challenge - Party:


Product links are all below - including affiliate links where possible, which simply means if you use one of the links below that I receive a small commission at no additional cost to you. Thanks so much for stopping by! Have a wonderful day!!!


Monday, December 18, 2017

Wish We Lived Closer - Pretty Skyline


Good morning! I'm back with another card using some of the goodies from the new Friends Release from Simon Says Stamp? I used the same new set - From the Rooftops - that I used the other day, only this time I used the city skyline instead of the mountain peaks!


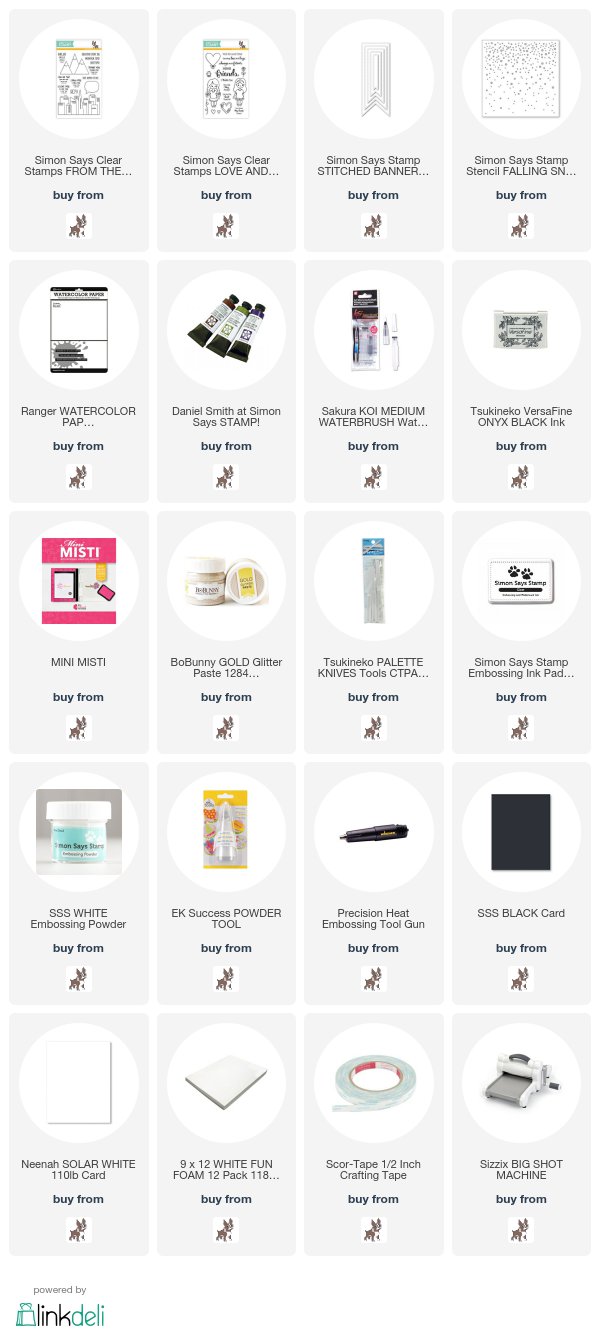
I used my MISTI to stamp the skyline on a panel of watercolor cardstock, then trimmed the panel down so that I trimmed off the sides and bottom of the city skyline. I watercolored the scene, let that dry, then used my SSS Falling Snow Stencil and Gold Embossing Paste to add a touch of glamour to the scene!


Finished off with a sentiment from another new release - Love and Friendship - that I thought was a perfect fit for my scene! I heat embossed it on a Stitched Banner, adhered that at the top, then adhered the entire panel with some foam underneath on a white cardbase. Simple, clean, and artsy!


Make sure and check out this entire fabulous release HERE:


Product links are all below - including affiliate links where possible, which simply means if you use one of the links below that I receive a small commission at no additional cost to you. Thanks so much for stopping by! Have a wonderful day!!!


Friday, December 15, 2017

Lots of Hearts - SSS January Card Kit

Good morning! I'm back once more with a couple MORE cards that I created using BRAND NEW January Card Kit from Simon Says Stamp: Favorite Person! This time I focused more on the stamp set that is included in the kit!


For this card I used a rainbow of SSS inks to create a fun rainbow pattern on the bottom corner of my card. I used 3 of the solid stamp images from the included stamp set, Really Like You.


I stamped a sentiment over the top with Versafine Ink, then added some of the outline hearts in black around the sentiment. Finished off with some coordinating Nuvo Jewel Drops added randomly around the hearts. PERFECT finishing touch!


Next up, I pulled out my Distress Oxide Inks to put together this card that is all about the pink!


I masked off a rectangle on some white cardstock, and blended 3 colors of Distress Oxide Inks on. Peeled off the mask, and used my MISTI to stamp the solid heart and my sentiment in black over the top, stamping several times for a nice dark impression.


I used Stitched Rectangles to die cut that panel, then matted it in black. Added some of the pattern paper from the kit - also matted in black - and added them all to a white cardbase. I mounted the front panel with foam adhesive for a bit of dimension.


The card still felt just a bit flat, so I added some Nuvo Jewel Drops all over the heart to make it nice and shiny and bumpy - it was just the touch it needed!


Here is a look at the entire kit contents - you can find it HERE:


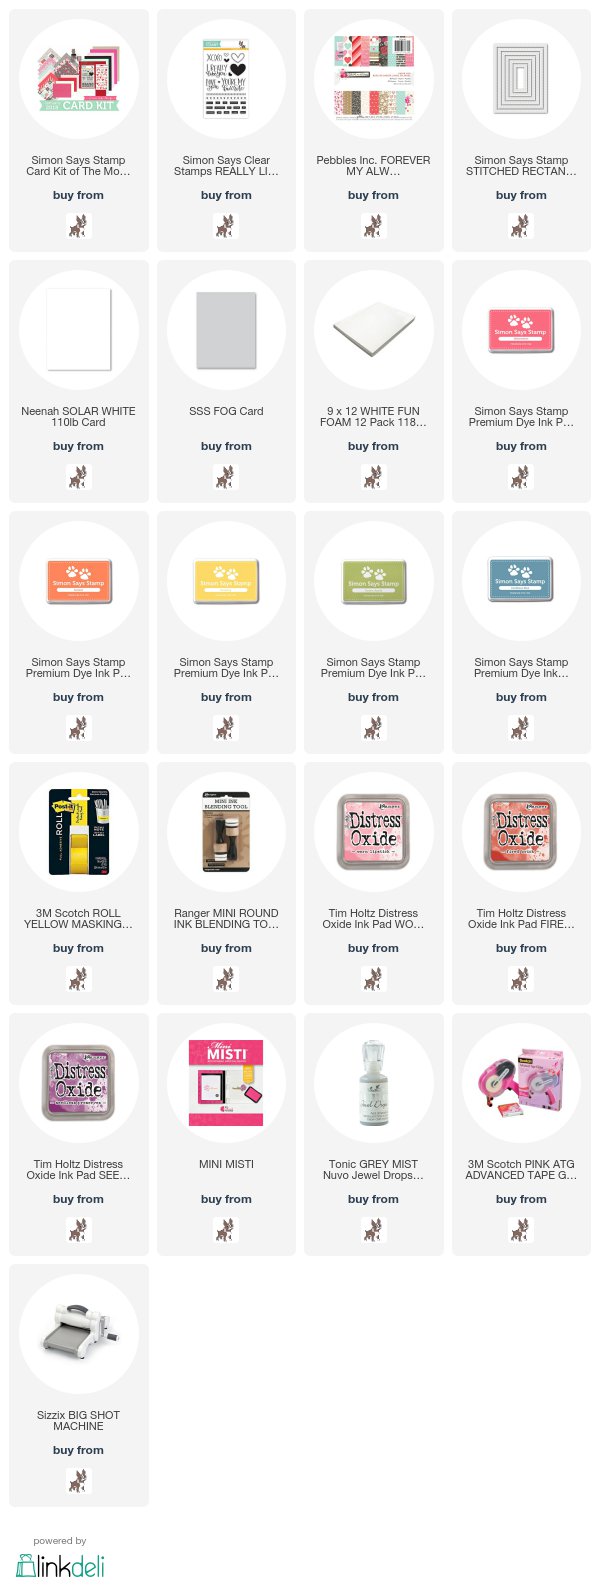
Product links are all below - including affiliate links where possible, which simply means if you use one of the links below that I receive a small commission at no additional cost to you. Thanks so much for stopping by! Have a wonderful day!!!