Showing posts with label Simon Says Stamp Stencils. Show all posts

Wednesday, March 4, 2026

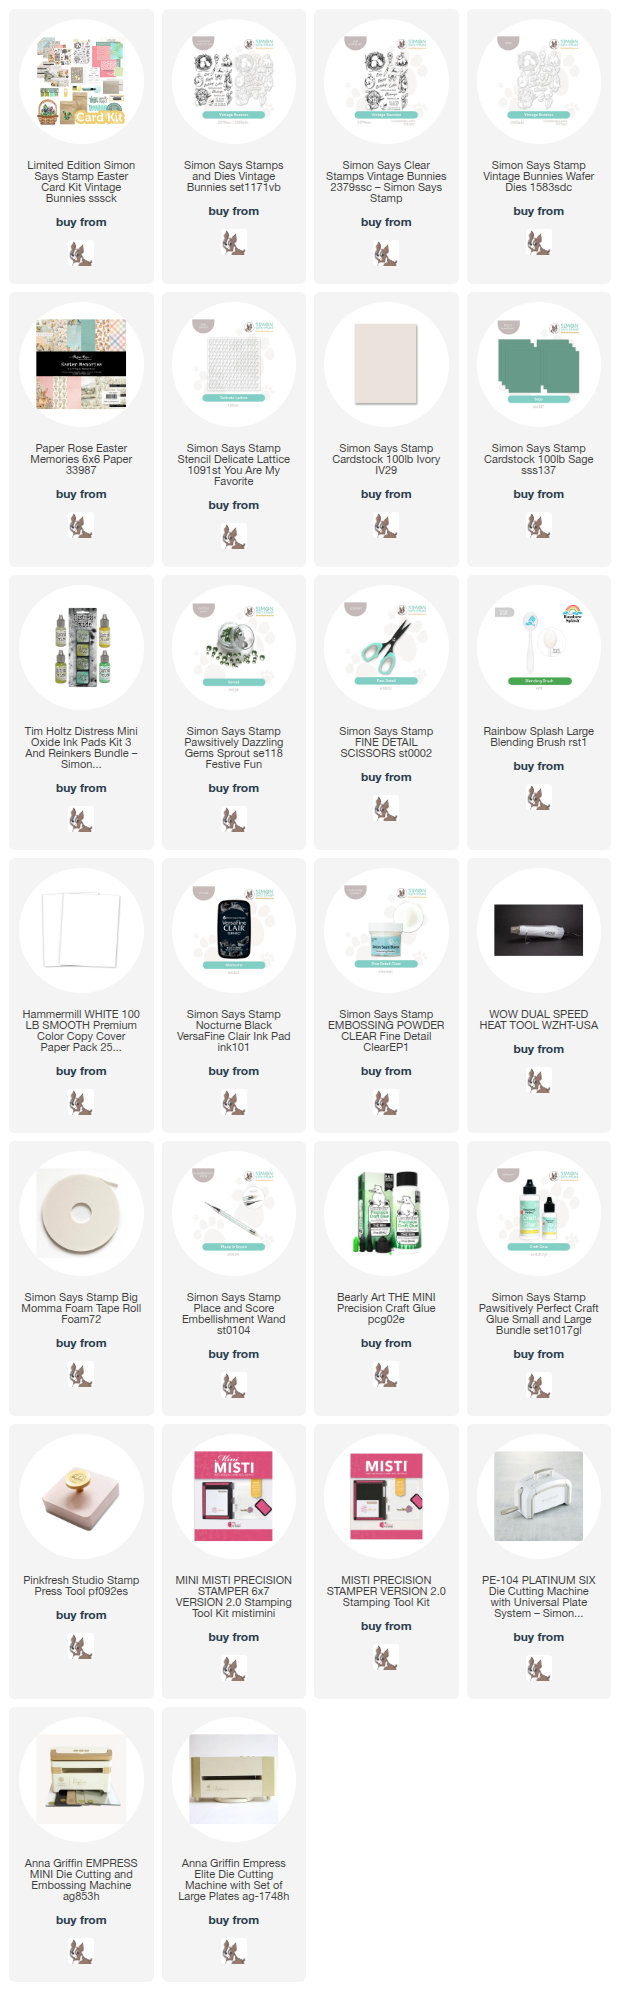
Full of Blessings - Simon Says Stamp Limited Edition Easter Card Kit

 Good morning! I've got another card to share using the BRAND NEW and Limited Edition Easter Card Kit from Simon Says Stamp! This card has a bit of a fresh but vintage feel to me!


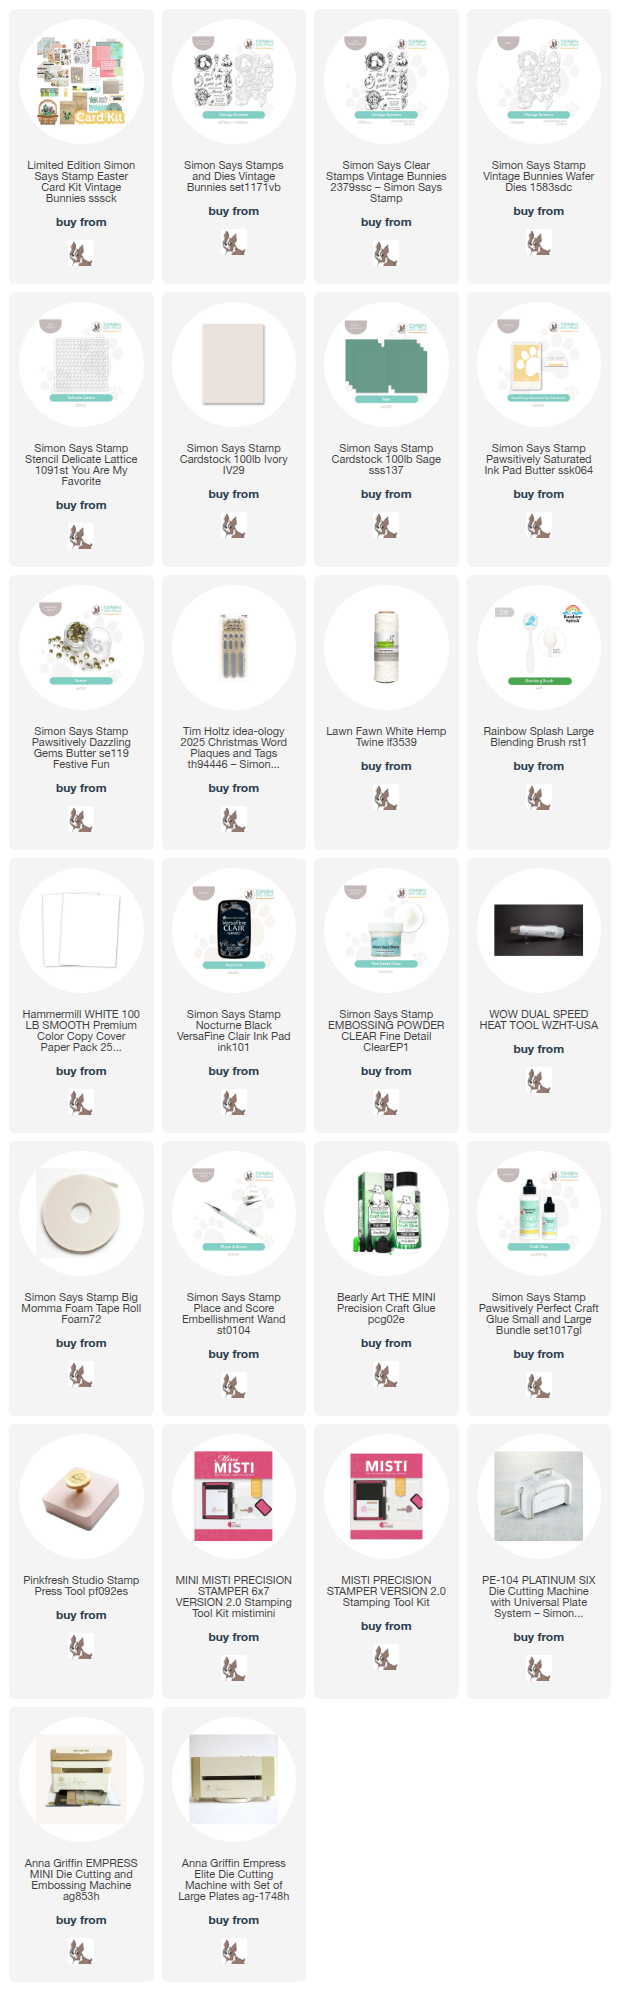
I started off by stamping several of the adorable images from the stamp set in the kit in Nocturne black ink on the Sage cardstock in the kit, then heat embossing with clear ink. Next, I die cut them with the coordinating dies (available to purchase separately). I used the Delicate Lattice stencil with the Butter ink to add some texture to a cardbase created with the Ivory cardstock in the kit, then arranged the images in a cluster, adhering with foam adhesive for dimension. I tied the little metal embellishment in the kit onto the top of the basket with some Lawn Fawn white twine, stamped a sentiment to trim into a banner shape, and added a sprinkle of Butter Dazzling gems for sparkle! Here is a closer look at the finished card:


Product links are all below - including affiliate links where possible, which simply means if you use one of the links below that I receive a small commission at no additional cost to you. Thanks so much for stopping by! Have a wonderful day!!!

Tuesday, March 3, 2026

Easter Floral Bunny - Simon Says Stamp Limited Edition Easter Card Kit

 Hello! I'm dropping by with a card tonight using the BRAND NEW and Limited Edition Easter Card Kit from Simon Says Stamp! This kit is full of fun products to mix and match together!


I always love a good pattern paper, so when I saw this pretty one from the Easter Memories paper pad with the sweet bunny tucked in the florals, I knew I wanted to use it! I fussy cut two corners of the paper to add to my cardbase. I created a cardbase out of some of the Ivory cardstock in the kit, and then added some interest to that cardbase with the included Delicate Lattice stencil in the kit and some of the distress oxide cubes. I stenciled in the opposite corners of where I was going to adhere the pattern paper, fading off as I came towards the center. I added the pattern paper with foam adhesive, then heat embossed a bow from the Vintage Bunnies stamp set in the kit on a different little piece of the pattern paper in the kit, heat embossing it with clear powder after stamping with Nocturne ink. I used the coordinating dies (available separately) to die cut that image, as well as the "Easter" sentiment, die cutting it an extra time from the Sage colored cardstock in the kit for a small shadow element. I stamped the secondary sentiments directly on the cardbase, then added the shadowed "Easter" with foam adhesive. Finished off with a few Sprout Dazzling Gems for sparkle! Here are more photos of the finished card:


Product links are all below - including affiliate links where possible, which simply means if you use one of the links below that I receive a small commission at no additional cost to you. Thanks so much for stopping by! Have a wonderful day!!!


Monday, April 29, 2024

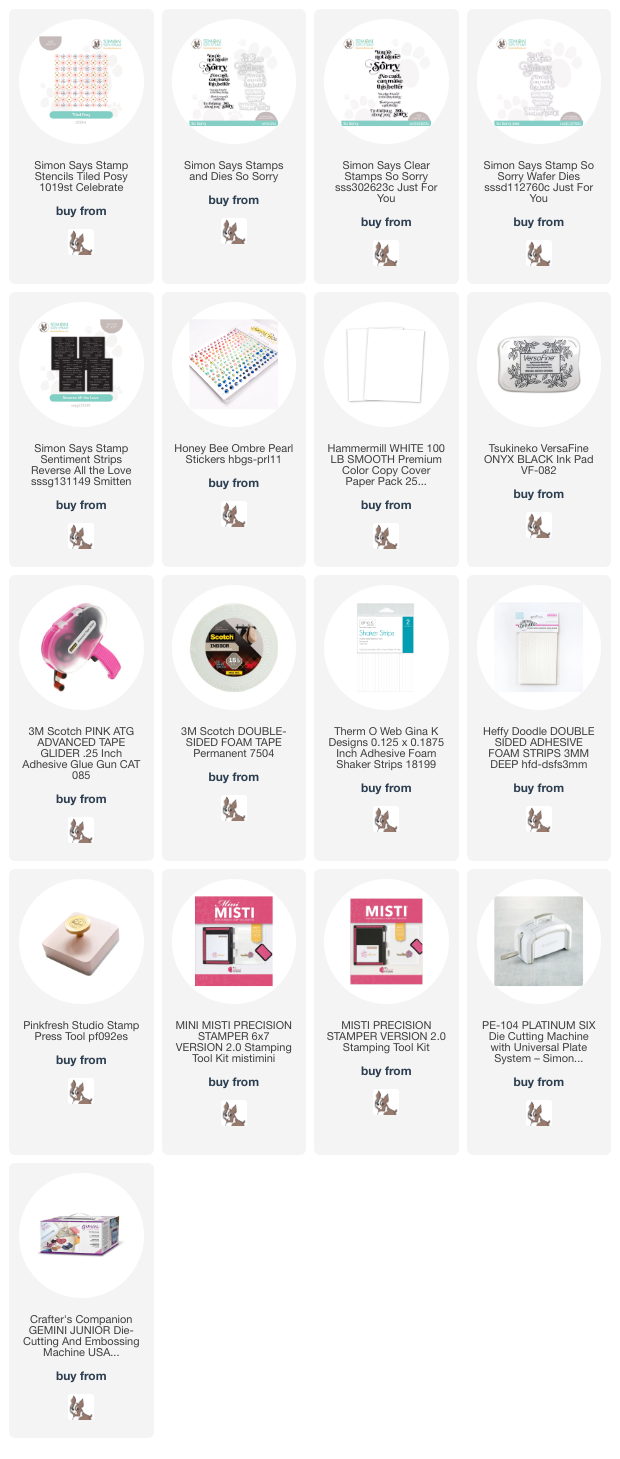
Stenciled Sorry Duo - Simon Says Stamp Celebrate Release

 Good morning! Today I'm stopping by with a couple more cards featuring a stencil set from the recent  Celebrate Release from Simon Says Stamp! I created one stenciled panel, and got two similar cards out of it - I love using angles on cards!


I used the Tiled Posy layering background stencil to create a fun panel, then trimmed it in half and created two cards with the one panel. I used the pattern of the flowers to pick where to create my angled trim of the panel. Then I used the So Sorry stamp and die set to create the large part of the sentiment, and added secondary sentiments to each one from the Reverse All The Love preprinted sentiments, popping both sentiments up with foam adhesive. Finished off with a few Honey Bee ombre pearl stickers - they so fun! Here are more photos of these cards:


Product links are all below - including affiliate links where possible, which simply means that if you use one of the links below, I receive a small commission at no additional cost to you. Thanks so much for supporting my blog, and stopping by! Have a wonderful day!!!


Wednesday, May 13, 2020

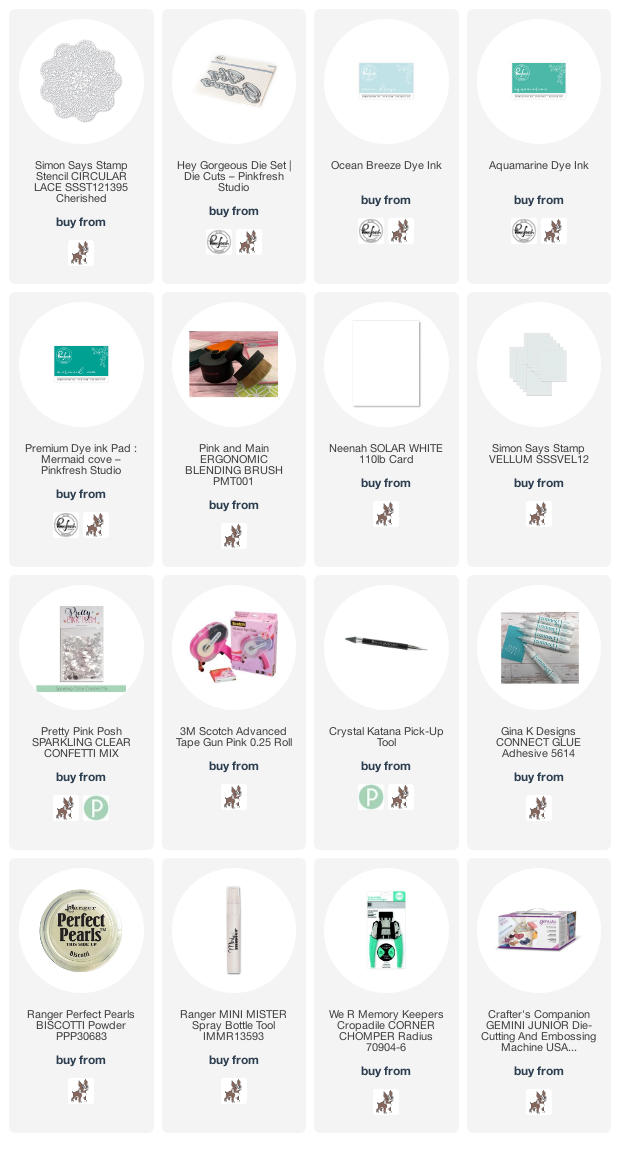
Hey Gorgeous - Stencil Embossing with Inking

Hello! Dropping by this morning with a quick card. I am super excited to be part of the Online Card Classes Spring Card Camp as a Guest - but I also thought it would be fun to play along with some of the lessons when I have time as well! This is for Day 3 of the class. You can find all the supplies I used linked at the bottom of this post! Oh - and you can go HERE to check out the card camp, it's not too late to sign up!

Today's lesson was on stencil embossing - something I haven't spent much time doing! I combined it with some ink blending over the top and a simple die cut sentiment!


Product links are all below - including affiliate links where possible, which simply means that if you use one of the links below, I receive a small commission at no additional cost to you. Thanks so much for supporting my blog, and stopping by! Have a wonderful day!!!


Saturday, November 23, 2019

Stenciled Tree Winter Scene - SSS December 2019 Card Kit

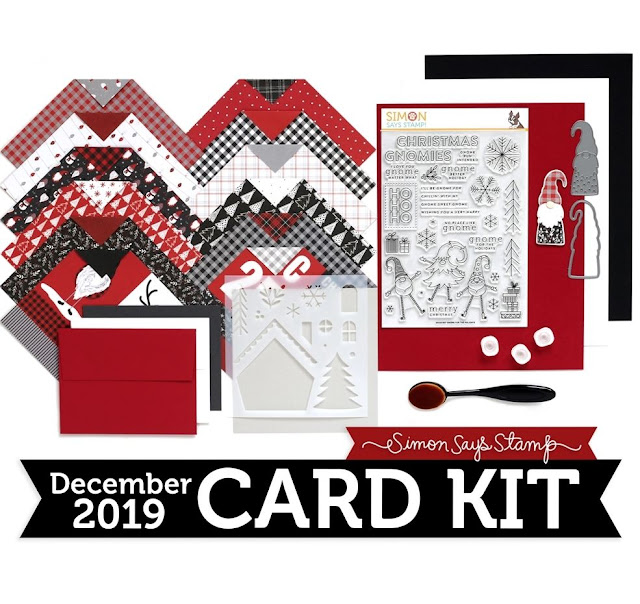
Good morning! I'm stopping by to share another card created with the BRAND NEW December Simon Says Stamp Card Kit - Gnome for the Holidays! This kit is SOOO much fun - the included large stamp set by the same name is absolutely ADORABLE, the pattern paper is GORGEOUS, the adorable Lil' Gnome Die is the CUTEST - not to mention fun stencil, mini action wobbles, blending brush, envelopes, and more!

I once again filmed a video for this card! I've posted it on my YouTube channel HERE, and also below so you can watch either place you prefer. :)


Here is the video - let me know what you think!


I loved how just using the tree images from the stencil, varying the heights, and switching up the colors made it so simple to create this fun scene!


And lots of splatters add to the snowy scene effect as well!


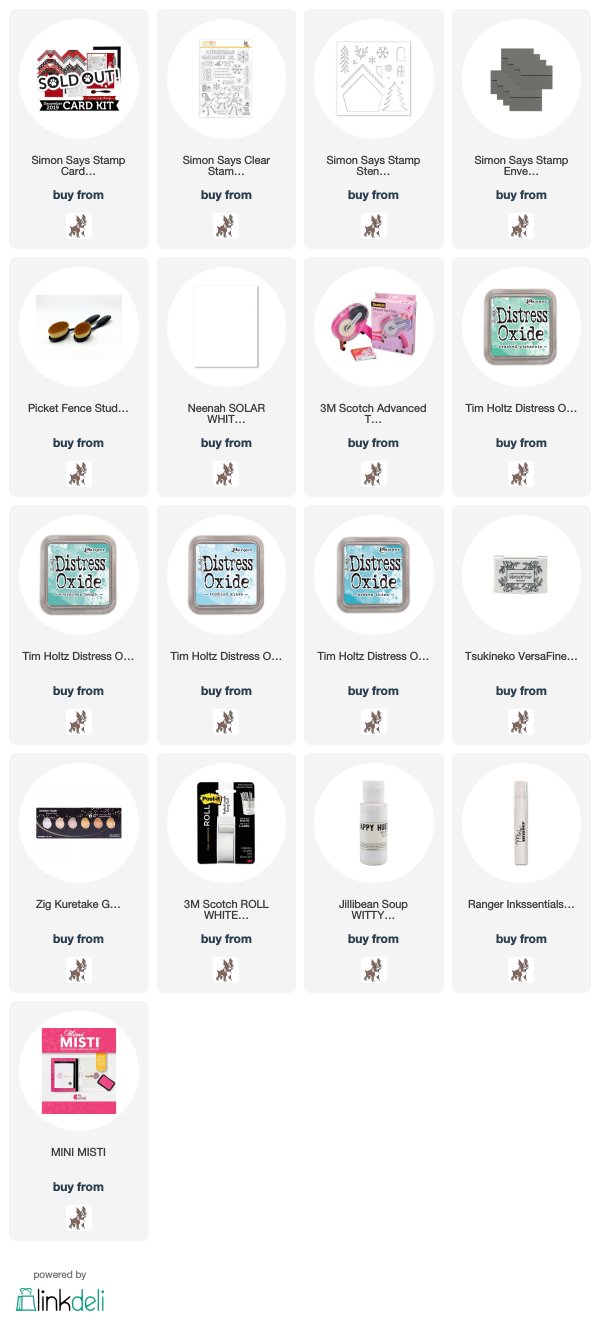
Here is a closer look at the entire kit contents - you can find all the details HERE:


Product links are all below - including affiliate links where possible, which simply means if you use one of the links below that I receive a small commission at no additional cost to you. Thanks so much for stopping by! Have a wonderful day!!!


Saturday, January 21, 2017

Gelato Tinted Embossing Paste

Good morning! Stopping by again with another card and Quick Tip video for another sweet Unity Stamp Company release!


Here is the video showing how I used Gelatos to make my custom colored embossing paste for my background:


I love how perfectly the stencil matched with the tiny hearts on the image - perfectly carried through the theme!


I struggle sometimes with how to use Gelatos - really need to play with them more and learn more techniques! But this was a fun simple way to put them to use. I used Zig markers to color the kitty in nice and soft and sweet.


Product links are all below - including affiliate links where possible, which simply means if you use one of the links below that I receive a small commission at no additional cost to you. Thanks so much for stopping by! Have a wonderful day!!!


Wednesday, October 14, 2015

Congratulations Owl

Good morning! Just stopping by to share a card with you that I made this past weekend for a family baby shower using Unity Stamps and a sentiment from Altenew:


I started off by stamping the owl from Unity Stamp's Going to be OWL-Right on watercolor paper. I watercolored the owl, and added a circle of watercolor around him. Once that all dried, I masked off the owl, and used Simon Says Stamp Falling Stars Stencil and embossing paste to add the star background. I added my sentiment from Altenew's Baby Zoo stamp set - using SSS ink. I also added a dot of black Ranger Enamel Accents to the eyes - just to make them pop a bit extra, then attached the sentiment using Tim Holtz's Tiny Attacher, and machine stitched the panel to my card front.


I also got a little extra creative - I didn't have a great gift bag on hand, so I used an exacto knife to slit a hole in the front of a simple kraft gift bag and slipped my card into it. No need for an envelope - and it decorated the bag as well!


Here is a closer look:


Thanks for stopping by today! Have a wonderful day!