Showing posts with label simon says Stamp ink. Show all posts

Wednesday, May 7, 2025

Cup of Thanks - Pretty Pink Posh May Release

 Good morning! Today I have a card to share using some of the newest release from Pretty Pink Posh! It's such a fun release - and I fell in love with the lovely tea theme - and couldn't wait to use that adorable background layering stencil. I was inspired by some vintage tea cups that my mom had, and went with a classic blue and white combo!


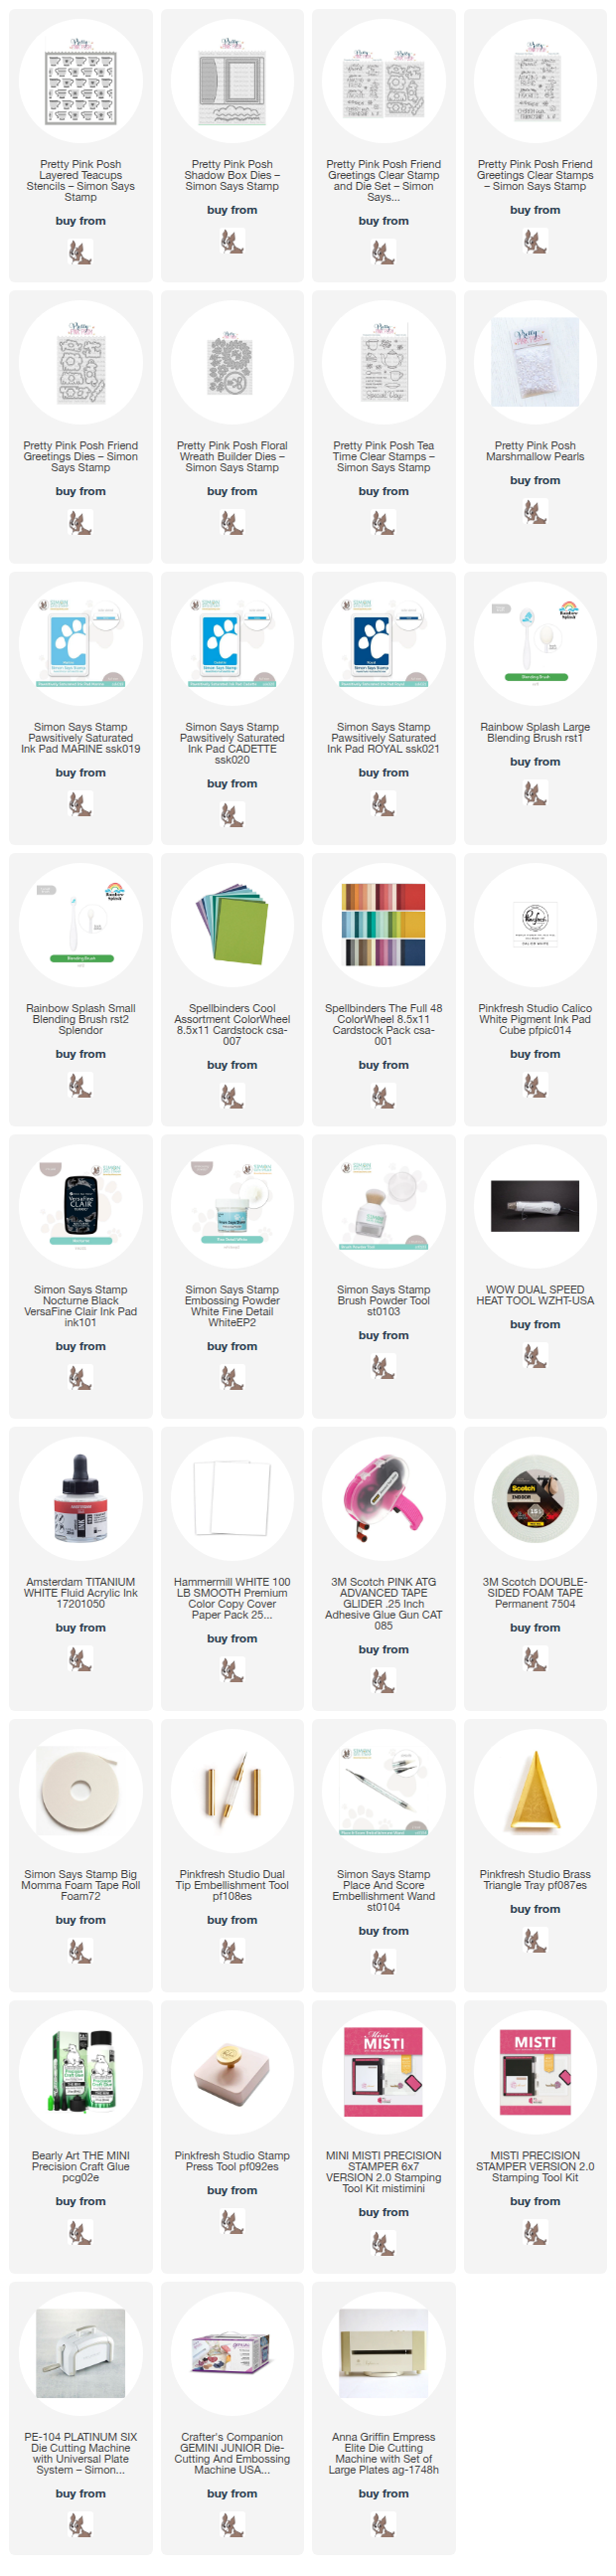
I started off by using the Layered Teacups stencils, using Marine, Cadette, and Royal inks. I also added a soft shadow to the edges with the lightest of those inks, just to soften the white edges a bit and make it look more cohesive. Next, I die cut part of the new Shadow Box die from white and navy cardstock - love those scalloped and stitched edges! So perfect for a focal point frame! I added some florals from Floral Wreath Builder cut from more shades of blue cardstock, and a touch of white.  I grabbed a sentiment from Friend Greetings, and heat embossed in white on some more of that navy carstock, then paired it with a secondary sentiment from Tea Time stamp set. Finished off with a heavy dose of Marshmallow pearls in the flower centers, and on each of the stenciled tea cups. Here are more photos of this finished card:


Product links are all below - including affiliate links where possible, which simply means if you use one of the links below that I receive a small commission at no additional cost to you. Thanks so much for stopping by! Have a wonderful day!!!


Tuesday, February 14, 2023

Happiest Birthday Balloons - Pretty Pink Posh February Birthday Release Instagram Hop

Good morning! Today I'm celebrating the new February Birthday Release from Pretty Pink Posh by joining Day 2 of the Instagram Release Hop! You can head over to Instagram to join that hop, and enter to win today's giveaways, and you can find the new release HERE. I thought I would share more details here on my blog on my card - since it is always tough to put enough info in an Instagram post! 


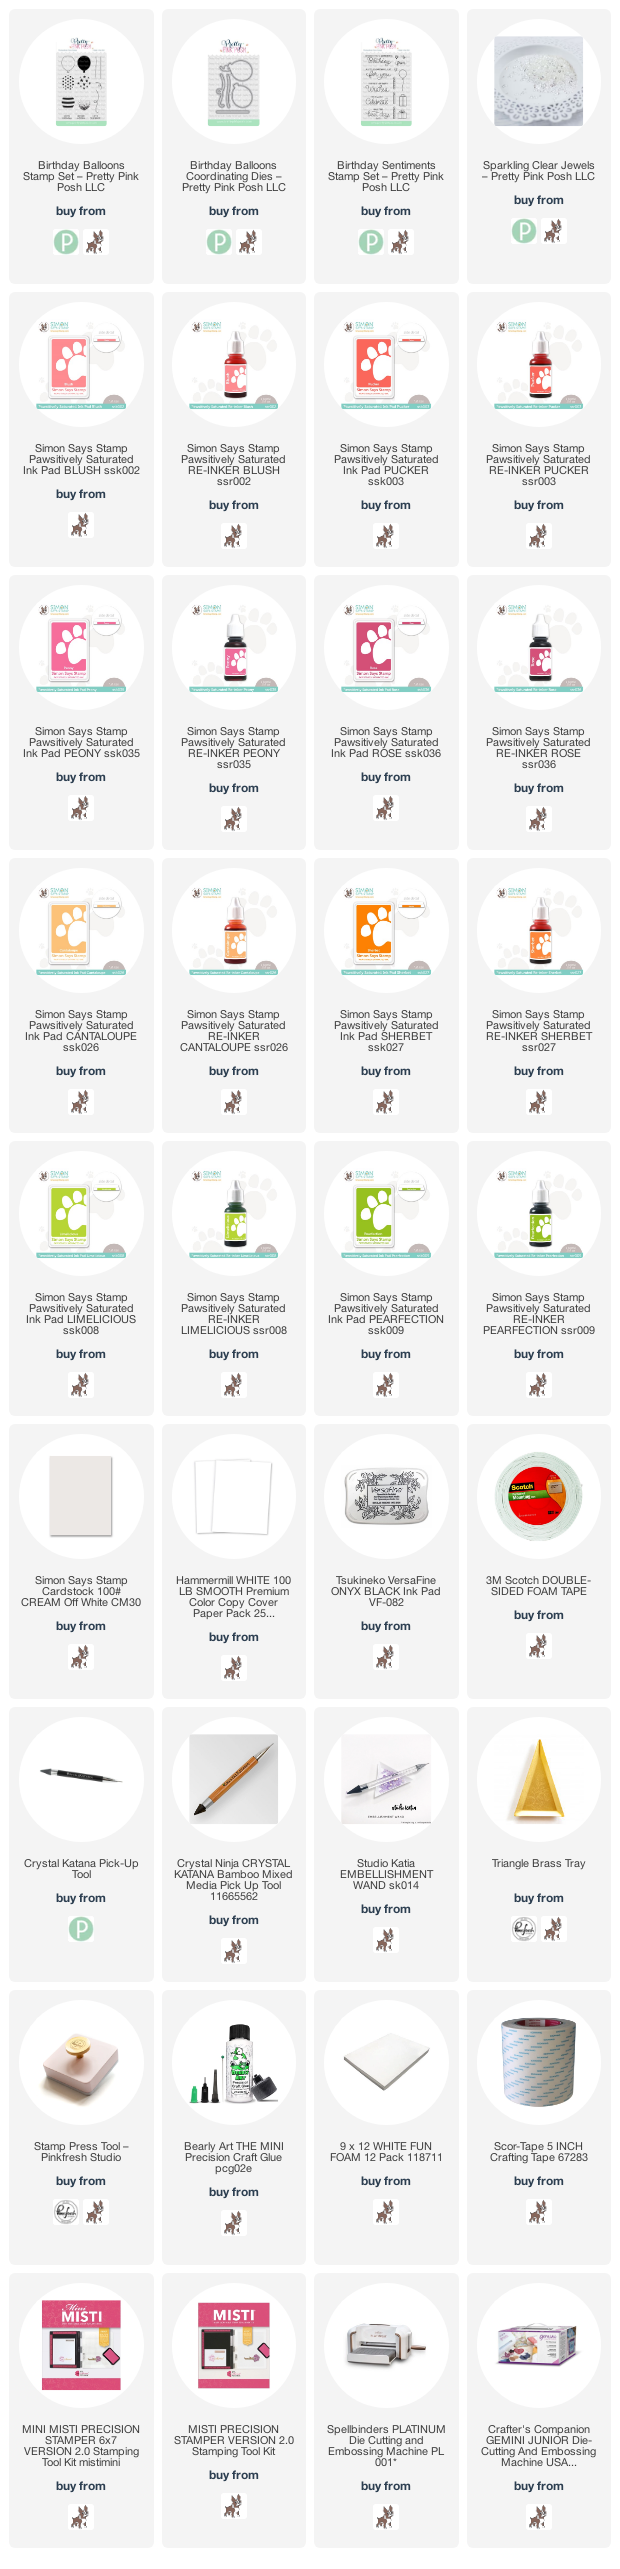
I fell in love with the fun layering stamps in the Birthday Balloons set - so fun to do tone on tone stamping like this, especially in bright and fun party colors! I used medium and dark shades of ink to stamp the balloons. I did the base layer in the medium color, then added a different layer to each one. Then I die cut them with their coordinating die!


Instead of stamping the strings, I pulled some twine out of my stash, attached it to the back of the balloons, and then gathered them all together, holding in place on the card with a couple tiny staples, and popping the balloons up with foam adhesive.


I added a sentiment from the new Birthday Sentiments stamp set, which has that fun scripty font we know and love from Pretty Pink Posh! I stamped it in black on my white cardstock panel, then mounted that panel with foam adhesive on an Ivory cardbase.


I finished off with some trios of Sparkling Clear Jewels - I adhered them upside down to maximize the sparkle on them! I love doing this with these - it doesn't make them any thicker on the card, but I do think it makes them more sparkly!

It wouldn't be a birthday without gifts, right? This adorable little stamp set and coordinating dies are up for grabs with a $125 purchase, and you can also get 10% off your purchase with the code CELEBRATE9. Check out this graphic for all the info:


Which color or balloon layer do you like best? I'm a bit partial to that coral in the left corner...but I love the dots on the green one!


Product links are all below - including affiliate links where possible, which simply means that if you use one of the links below, I receive a small commission at no additional cost to you. Thanks so much for supporting my blog, and stopping by! Have a wonderful day!!!


Thursday, February 9, 2023

Succulents Card Sets - Spellbinders and Simon Hurley

Hello! I'm stopping by today to share a few cards I made using the new Succulents stamp and die set by Simon Hurley for Spellbinders - there are a couple other stamp and die sets that released, but I had tons of fun playing with this stamp set. It took me forever to get these posted, but I hope they were worth the wait!

I have a total of 6 cards to share - the next 4 are more clean and simple, but these first 2 have a few more layers and elements to them!

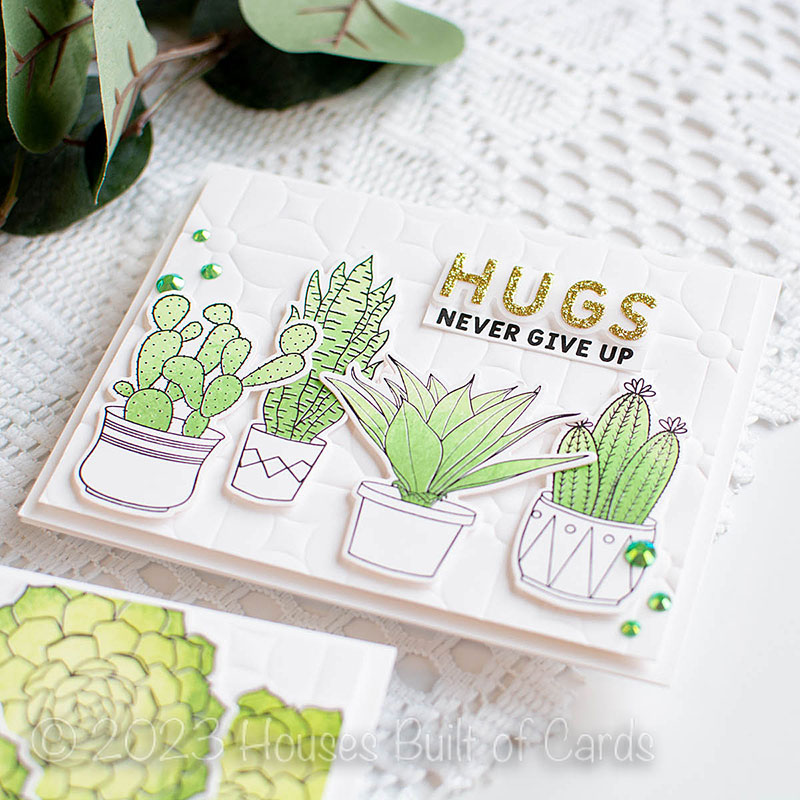
For both of these cards, I chose some elements from the stamp set, and used a mix of greens to stamp them. I stamped the outlines first in black, then stamped the inner portions with 3 shades of those green inks using my MISTI to keep them all aligned. I used the lightest green first, then wrapped a bit of Saran wrap around my finger, dipped it in the ink, and blended a bit of a deeper shade at the base or outer edges, and stamped again. I repeated with the darkest color. It is a similar technique to a video I created 4 years ago - but you can watch it HERE if you want to see what I mean!


Once that was done, I cut out all the images with the coordinating dies, and set off to create my cards!


For both cards, I dry embossed a background using the Geometric Flower Background hot foil plate - while it is beautiful foiled, I really love the texture you can get by dry embossing hot foil plates - it was perfect for these cards! I trimmed the panels down a bit to matte on white cardbases.


For both cards, I die cut the "hugs" word that is included in the coordinating dies for the stamp set from gold glitter cardstock. For one card I cut the shadow layer from vellum for a soft look, and for the other I die cut it from black cardstock for a slightly bolder look.


I arranged multiples of the same image across the front of this card, glued down with liquid glue after fluffing up the edges for a touch of dimension. I trimmed off the extras to fit the panel, and mounted the panel and the "hugs" sentiment with foam adhesive.


For the second one, I mounted the background with foam on my cardbase, then each of the potted plants and the "hugs" sentiment with foam adhesive on the background.


I added secondary sentiments from the stamp set, trimmed to to thin strips and adhered underneath the "hugs" sentiment with liquid glue, and the edges slightly curled up. Finished off with a few coordinating Emerald jewels from Pinkfresh Studio for an extra bit of sparkle!


Next up - the set of more clean and simple cards!


You might notice I used very similar supplies for these cards - including the dry embossed background. I also used the exact same technique and colors for stamping the potted plants.


The main difference on these, aside from only using one plant per card, is that I also used the Floral Reflection etched dies to add some interest to each panel. I die cut a window in two of the dry embossed panels, and used both the window and the piece I die cut to create two different cards.


For the cards with the windows, I blended a bit of green ink on my cardbase to show at the bottom of the window. For the ones that I used the die cut panel, I carefully blended so that it would peek out behind all sides of those panels to help them pop off my background.


I added all of the embossed windows or frames with foam adhesive to my cardbases, then added the plants, using more foam adhesive to pop them off the backgrounds. I used double foam adhesive for the parts off the frames to make sure they were level and stable.


I added sentiments directly onto the cardbases, whether within the frames, or along the bottom. I actually planned and stamped those before I adhered everything down, and after I planned all the placement. I always prefer to do that, in case I mess up stamping my sentiment - I can easily redo it on a fresh cardbase, and not ruin all my work!


Once everything was adhered down, I added a few more of those Emerald jewels from Pinkfresh Studio to embellish and add some sparkle!


I love what a perfect and simple note card set these make - it would be easy to mix up the sentiments however you need as well!


Which one of all these cards is your favorite?!?


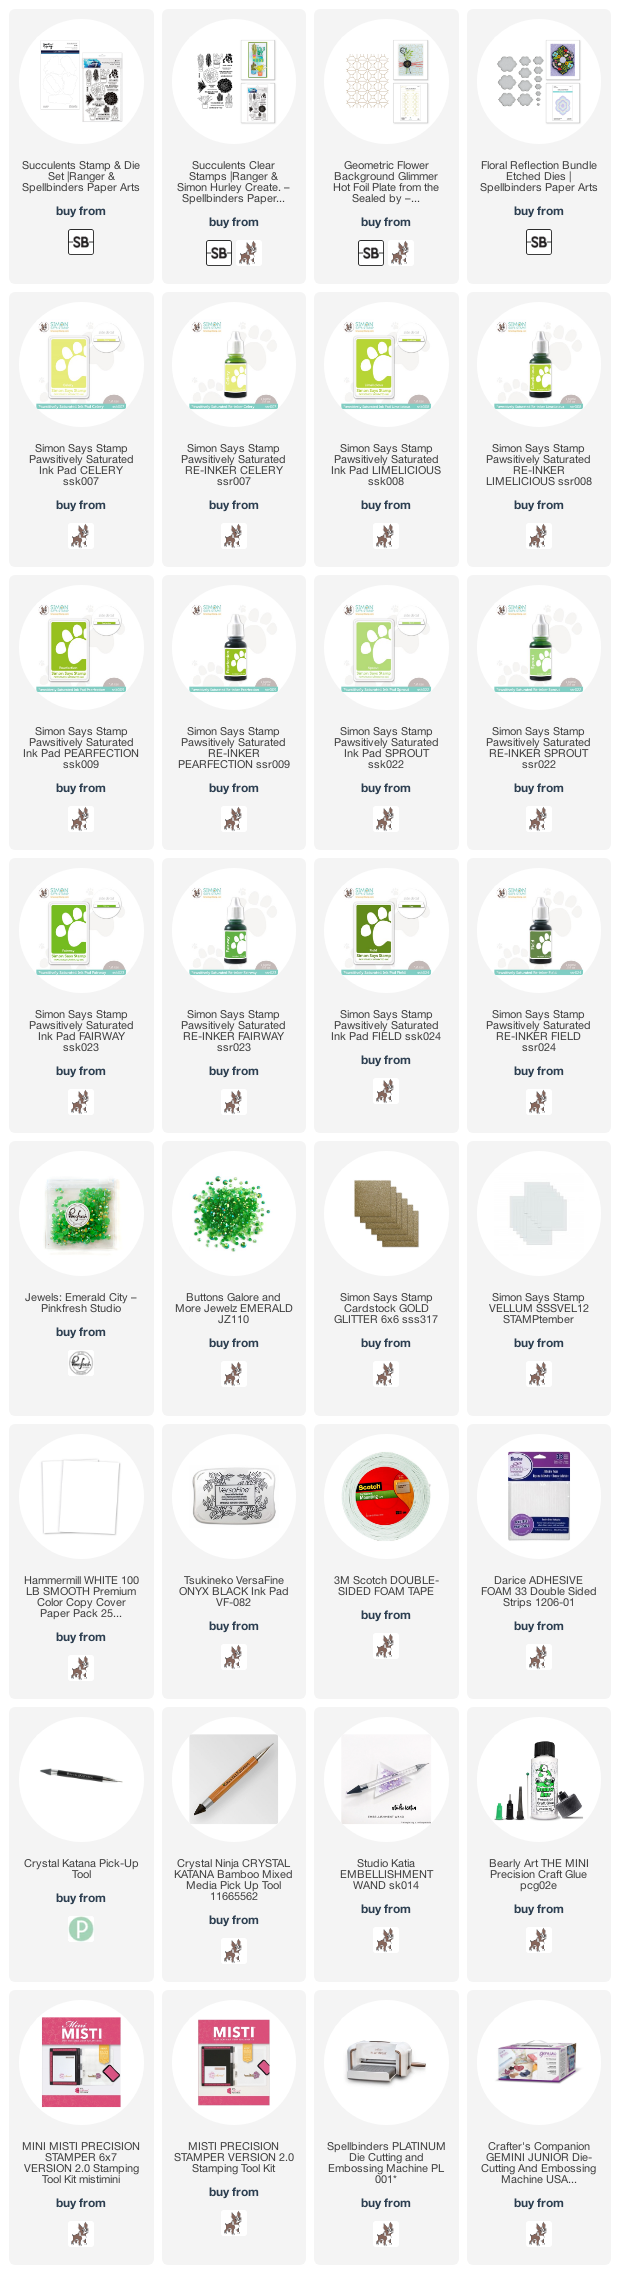
Product links are all below - including affiliate links where possible, which simply means if you use one of the links below that I receive a small commission at no additional cost to you. Thanks so much for stopping by! Have a wonderful day!!!

Sunday, September 25, 2022

Inked and Embossed Daisies card - Simon Says Stamp October Card Kit

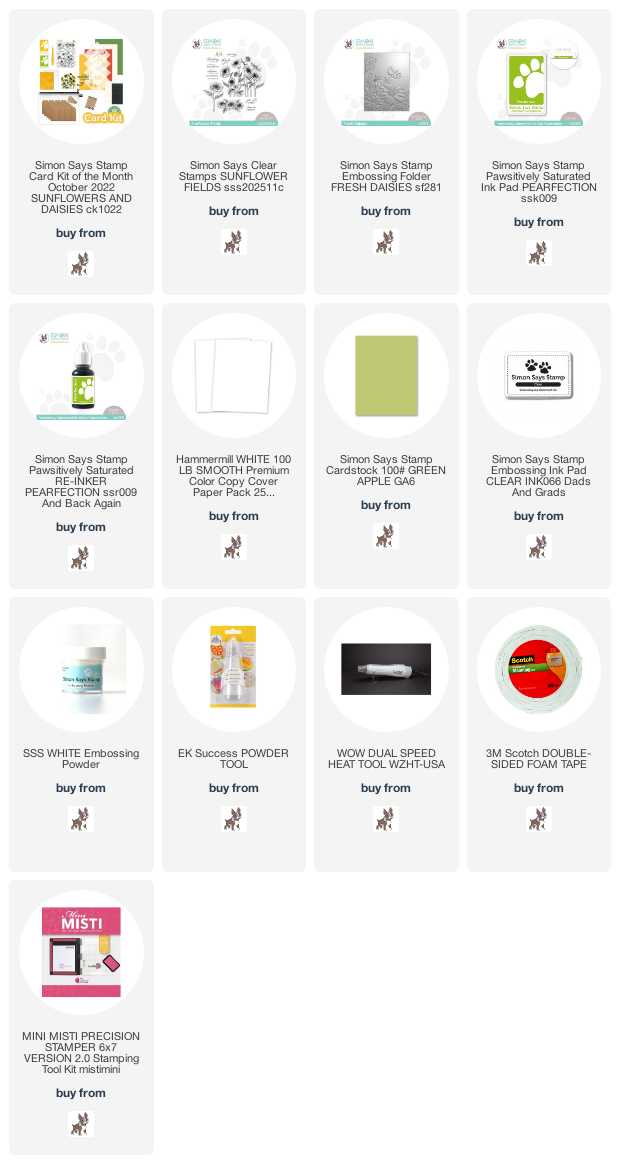
 Good morning! I'm back today with another card using the BRAND NEW (well...at least still fairly new!) October 2022 Simon Says Stamp Card Kit - Sunflowers and Daisies! This month's kit is full of floral goodness! The included stamp Sunflower Fields stamp set has some fun sunflower images to pair with the the lovely scripty sentiments, and a layering stencil that coordinates with the stamp set! There is also a fun 3D Embossing folder, of course some lovely embellishments...that's all not to mention the cardstock, envelope, FULL SIZE ink pads, and more!

I created my cards at a craft retreat I attended in Wisconsin with a good friend - and it was a new challenge to try to stick as close as possible to the kit contents, since that is what I brought with me! Not a lot of additional supplies on my kit cards this month! This card is particularly clean and simple, but was kind of fun to create as well!

For this card, I used the the Fresh Daisies 3D embossing folder in the kit, but I wanted to add some different texture and color to it. I grabbed the ink pad in the kit, and swiped it across the recessed side of the embossing folder. That way the embossing ink only stick to the flat portion of the design. 

I carefully put my white cardstock in the folder so it didn't shift any, then ran it through with my usual 3D folder sandwich (Spellbinder: bottom white plate, closed embossing folder, and the cardboard backing from the embossing folder packaging - that seems to work perfectly for me!). Look at the fun detail that ink gives around the daisies!

I popped that panel up with foam adhesive on a white cardbase, then heat embossed a small and simple sentiment from the stamp set on some of that Green Apple cardstock in the kit, trimmed it down to a small strip, and mounted that with foam on top, nestled in those flowers.

Here is a closer look at the entire kit contents - you can see it all HERE:


Product links are all below - including affiliate links where possible, which simply means if you use one of the links below that I receive a small commission at no additional cost to you. Thanks so much for stopping by! Have a wonderful day!!!

Friday, May 20, 2022

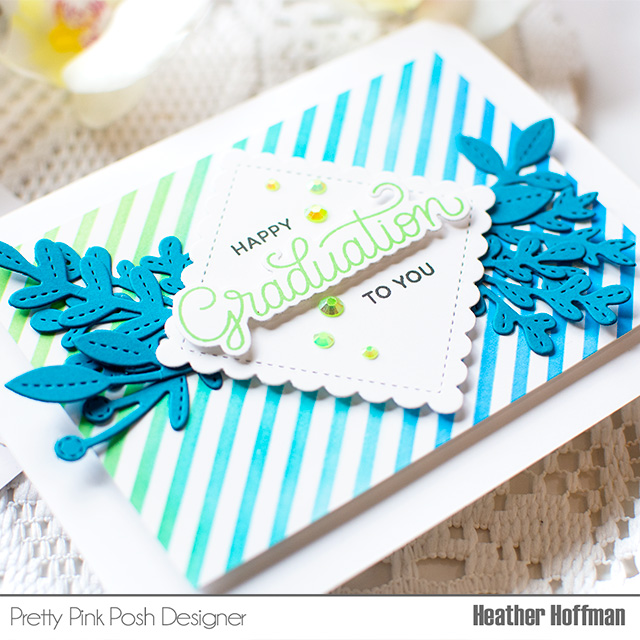
Stenciled Congratulations - Pretty Pink Posh May Release Instagram Hop

 Good morning! Today I'm celebrating the new May Release from Pretty Pink Posh by joining Day 2 of the Instagram Release Hop! You can head over to Instagram to join that hop, and enter to win today's giveaways, and you can find the new release HERE. I thought I would share more details here on my blog on my card - since it is always tough to put enough info in an Instagram post!

I'm sharing two cards featuring some of the new stencils, dies, and sentiment stamps! I also recently got some of the Simon Says Stamp Pawsitively Saturated inks - and I'm loving the colors, and how fun they are for ink blending like this!


For this first one, I used the Pinstripe Stencil - a great one layer stencil. I used 3 different colors of ink to get a bit of interesting variation: Fairway, Ocean, and Cadette. I then trimmed the panel down to mount on my white cardbase.


I die cut the frame from Crafty Days coordinating dies from white cardstock, and used that to build my sentiment. I stamped the larger sentiment from Celebration Scripts stamp set with Fairway ink, and die cut with the coordinating die. I stamped the supporting sentiments in black on the frame, and then mounted the larger word with foam adhesive. I then mounted that panel with foam adhesive on my stenciled panel, and tucked several of the die cuts from the super fun Spring Foliage die under the edges. Finished off with some Spring Green Jewels sprinkled around the sentiments!


For the second card, I used the new Layered Spring Flowers stencil. It is a fabulous 3 layer floral stencil, and super easy to use! I stenciled it with Cheeky, Grapefruit, and Watermelon ink, then trimmed the panel down to mount on my cardbase. Before adding it with foam adhesive, I also die cut two of the Floral Arch die from white cardstock and adhered that to my cardbase with a glue pen to add a touch of fun and neutral texture to the background.


I build the sentiment on this one the same way as the last card - used Celebration Scripts stamp set to stamp the larger sentiment with Watermelon ink, and stamped the supporting sentiment with black ink on the stenciled panel. I then mounted that larger sentiment with foam adhesive over the top, and added a few Pink Blush jewels around the sentiment for a touch of sparkle!


I love how bright and fun these are - and how easy it is to use stencils to create your own simple and fun backgrounds!


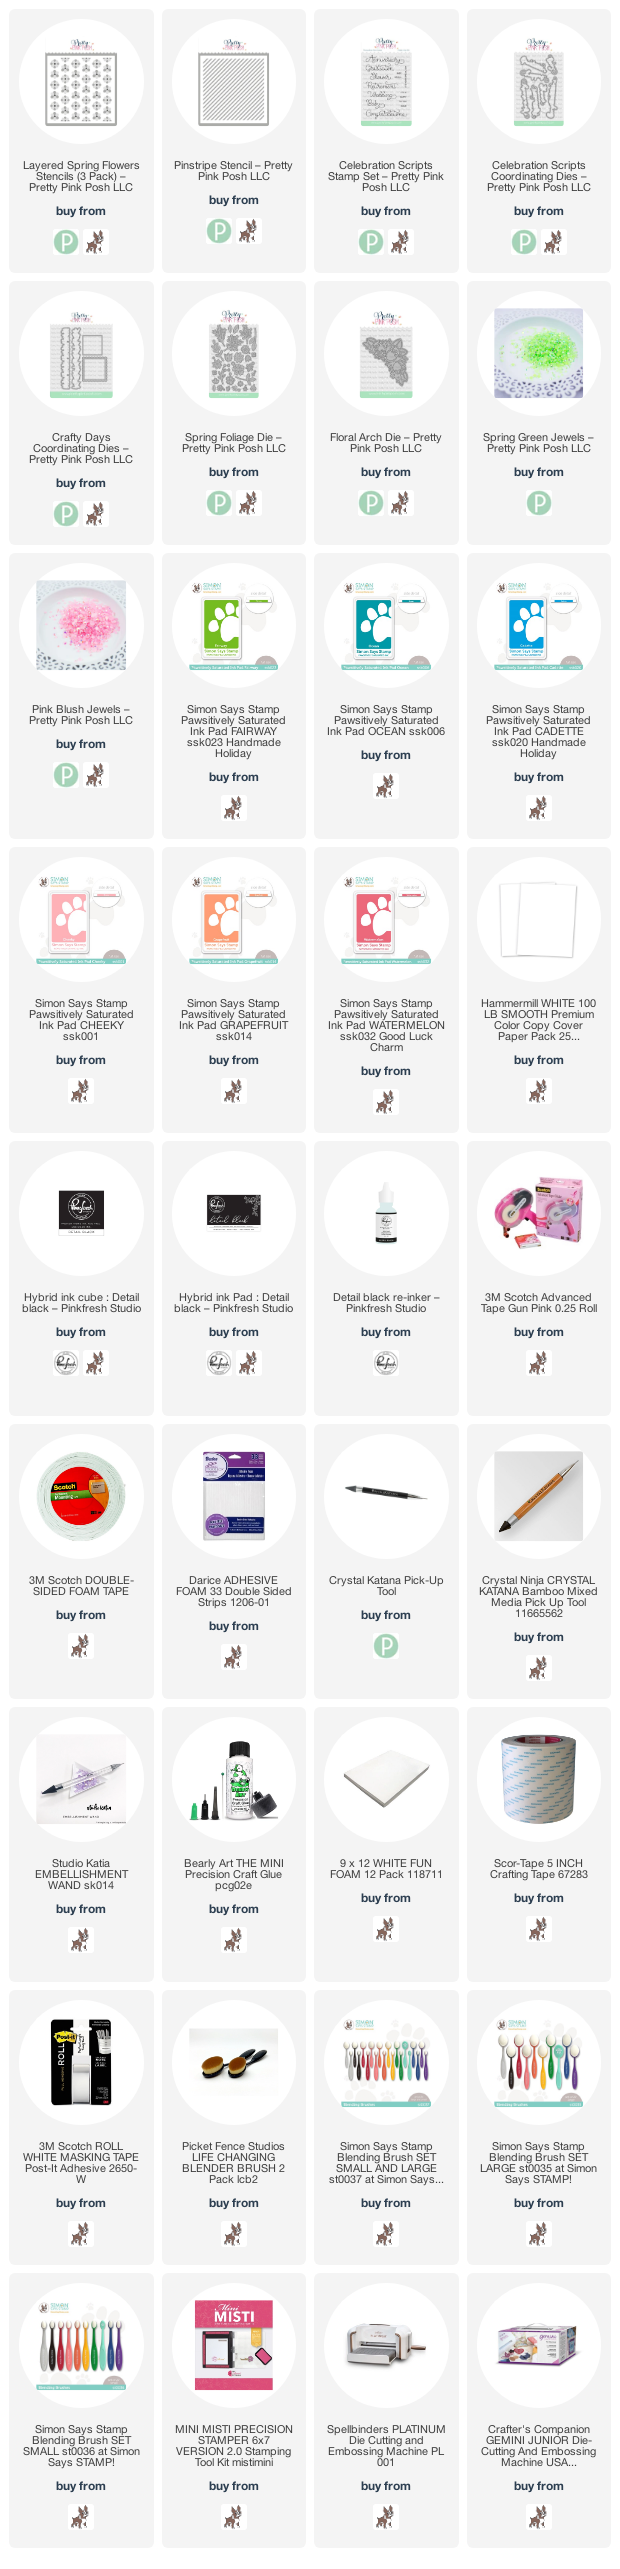
Product links are all below - including affiliate links where possible, which simply means that if you use one of the links below, I receive a small commission at no additional cost to you. Thanks so much for supporting my blog, and stopping by! Have a wonderful day!!!


Thursday, August 15, 2019

You Make a Difference Blog Hop - Hero Arts/Pinkfresh Studios Collaboration Set

Good morning! I'm super excited today to be hopping along to celebrate the release of a very special collaborative stamp set between two amazing companies - Hero Arts and Pinkfresh Studios! This set  called You Make a Difference is part of Hero Arts 45th Anniversary, and also celebrating this AMAZING industry. It's so wonderful to see companies supporting and cheering each other on - everyone is more successful when we work together! Keep reading for giveaway info - there are 3 giveaways up for grabs! :)


I have several cards to share with you today using this gorgeous stamp set - so let's start with this first one:


I adored the sketchy style to this stamp set, so this card was a way to embrace that style and give it a different look. I'm TOTALLY not artistic on my own - I mean, give me a stamp set, and I can make a card - but don't expect me to draw something on my own! Know what I mean? However...


...with this stamp set, I felt like I could almost fake being able to draw! I stamped it in a super soft and neutral ink color, then used a variety to Polychromos colored pencils to draw over the lines and color it in softly. Kind of fun!


Once I finished coloring, I heat embossed my sentiment in the center in gold, then did a bit of distress ink blending around the edges right over the coloring. I also added some white paint splatters and perfect pearls splatters.


These next few cards are a little peek at a set of four cards that I created a video for today on the Pinkfresh Studio YouTube Channel - you can check out all the details HERE - but here is a few photos you can check out, then pop over and watch the video to see how I put them together!


And finally - pop on over to the Pinkfresh Studio Facebook Page at 10 AM Pacific Time for a special Facebook Live as we create this card LIVE with the new set! There is a giveaway up for grabs, and we always have tons of fun hanging out and chatting - hope to see you there!


GIVEAWAY INFO:

There are a total of THREE giveaways up for grabs today for comments left along the hop - you may leave comments until Sunday, August 18, 2019 - winners will be announced on the Hero Arts Blog the following week.

One winner will receive this amazing stamp set:

One winner will receive a $25 shopping spree to Hero Arts:


And one winner will receive a $25 shopping spree to Pinkfresh Studio:
Here is the entire blog hop list so you don't get lost along the way:

Heather Hoffman (you are here)

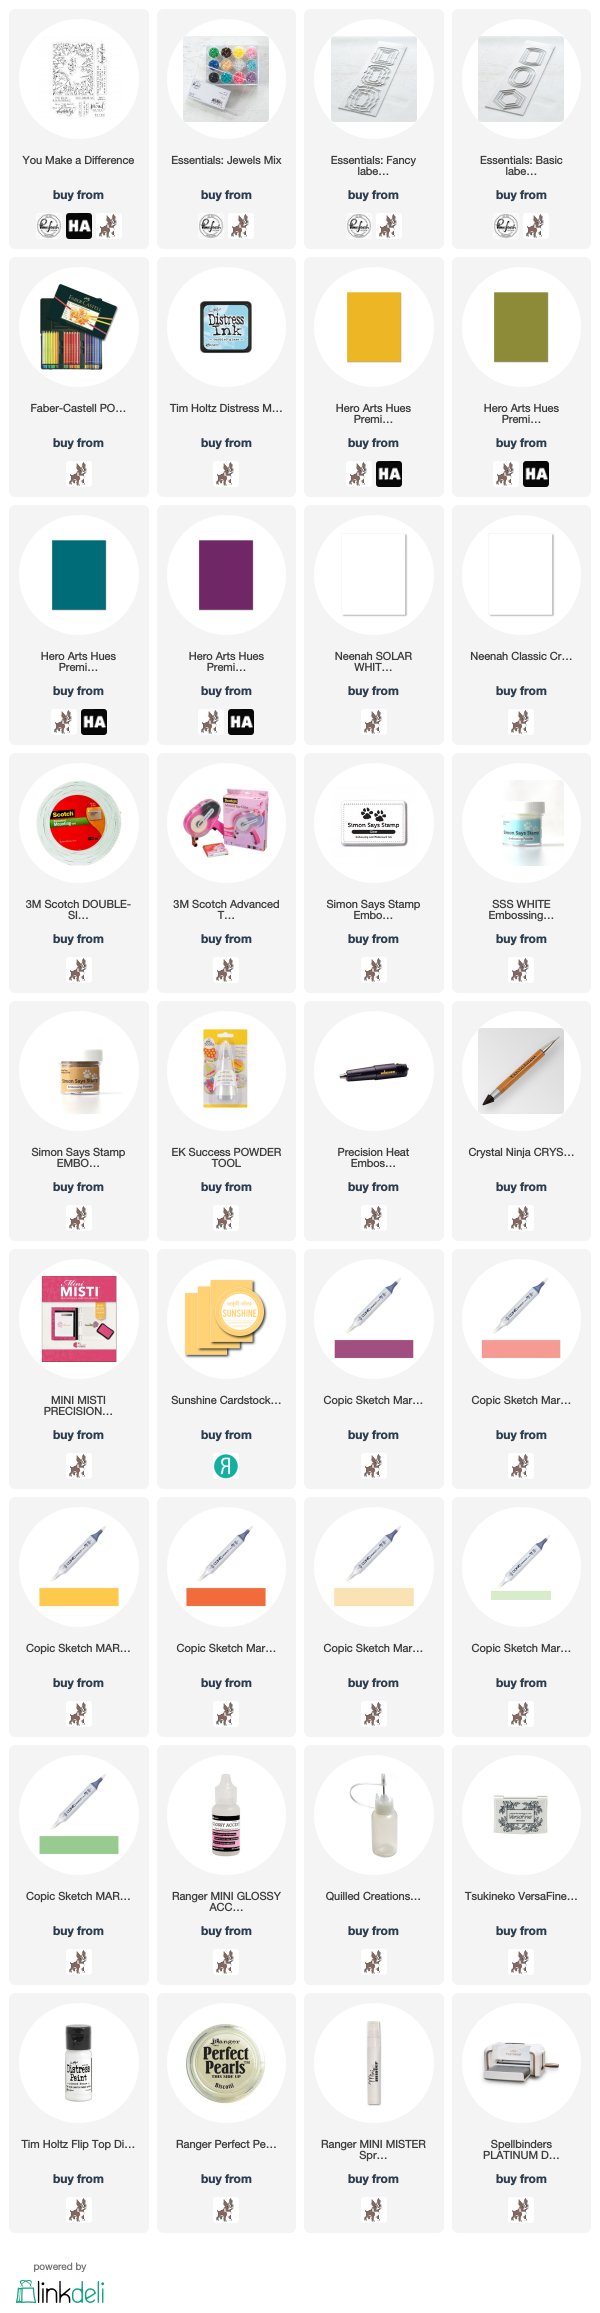
Product links are all below - including affiliate links where possible, which simply means that if you use one of the links below, I receive a small commission at no additional cost to you. Thanks so much for supporting my blog, and stopping by! Have a wonderful day!!!