Thursday, November 18, 2021

Merry Christmas Rustic Snowflake - Simon Says Stamp Handmade Holiday Release

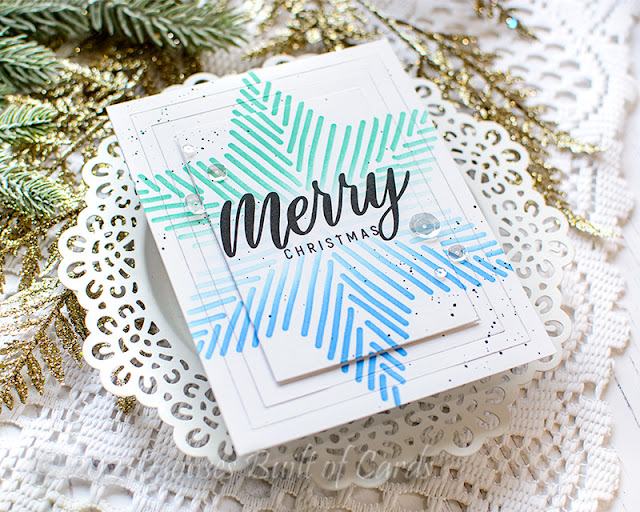
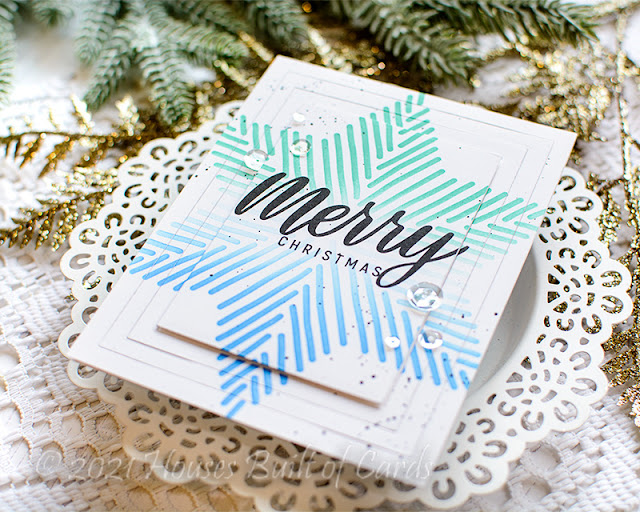
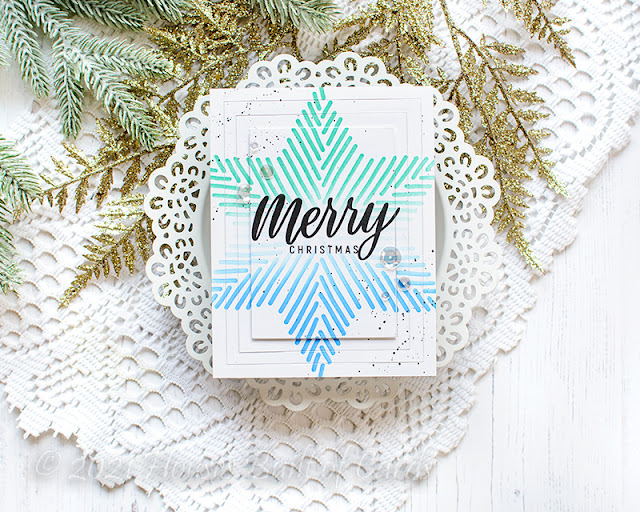
 Good morning! I'm back to share some more inspiration with the Handmade Holiday Release from Simon Says Stamp! I actually created this card last week before the release, but didn't have a chance to write up a post for it before now! I love this new stencil from the release, and paired it up with a sentiment from a previous release, and some simple creative die cutting!

Also - if you haven't checked the winner list from last week's release blog hop yet, it was posted on the Simon Says Stamp blog HERE!


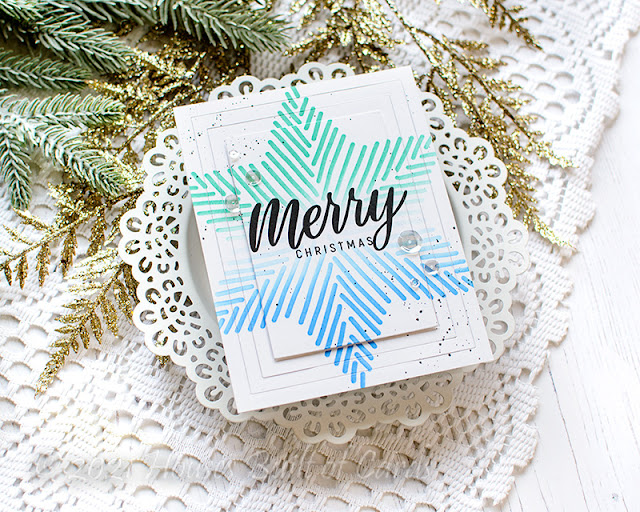
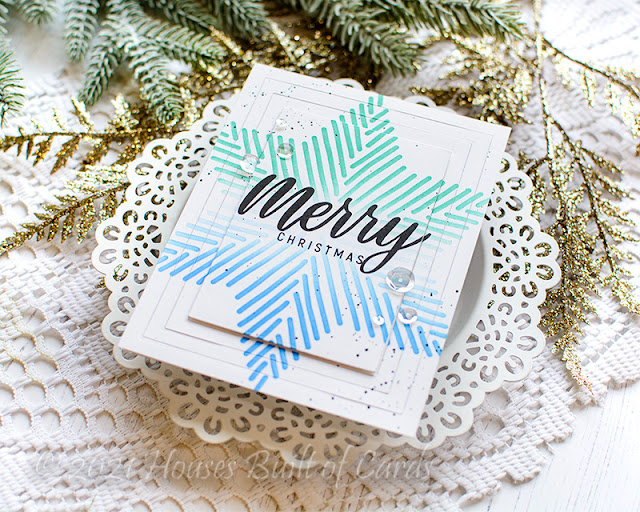
I started off by ink blending the new Rustic Snowflake Stencil on a panel of white cardstock using Pinkfresh Aquamarine and Seaside inks. I kept the center super soft, not really blending the colors together, and giving a great faded area to add my sentiment!


Sentiment is from the previously released XL Christmas Greetings stamp set - stamped using my MISTI and Versafine ink for a nice and crisp black sentiment. I added some black splatters, and once those dried thoroughly, I die cut several times with Basic Rectangles dies, keeping all the negative and positive pieces. I found it easiest to start with the largest die, then work my way down to the size that mostly fit the sentiment.


I adhered the outer layers directly on my cardbase, then popped the center portion up slightly with some layers of scrap paper. Foam adhesive would work as well, but I wanted a more subtle amount of dimension, and this helped me use up some scrap paper as well!


Finished off with a few PPP Sparkling Clear Sequins - just a touch more dimension and a bit of added sparkle!


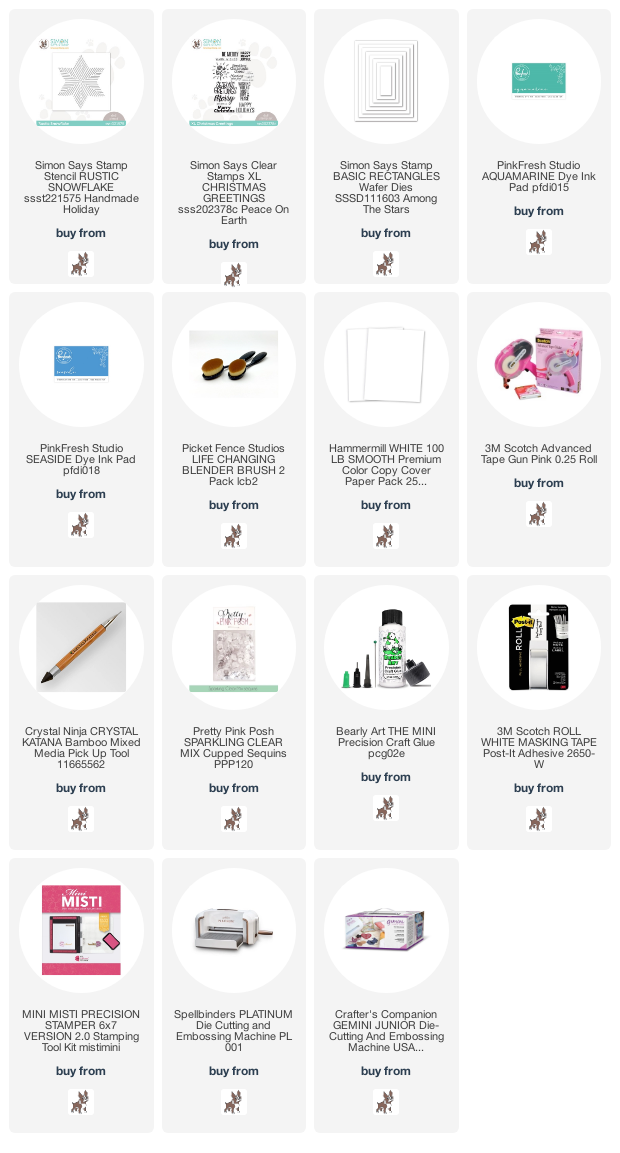
Product links are all below - including affiliate links where possible, which simply means that if you use one of the links below, I receive a small commission at no additional cost to you. Thanks so much for supporting my blog, and stopping by! Have a wonderful day!!!


Tuesday, November 16, 2021

Merry and Bright Card Set - Simon Says Stamp December Card Kit

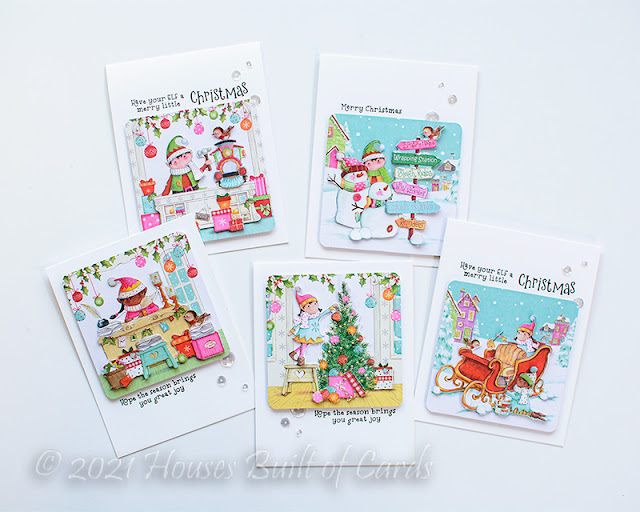
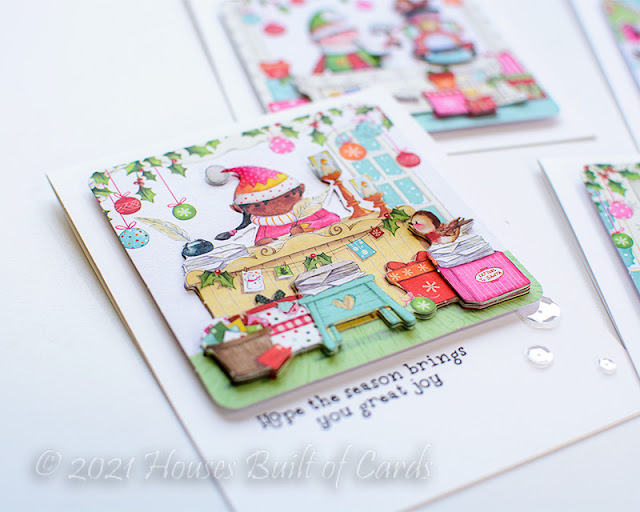
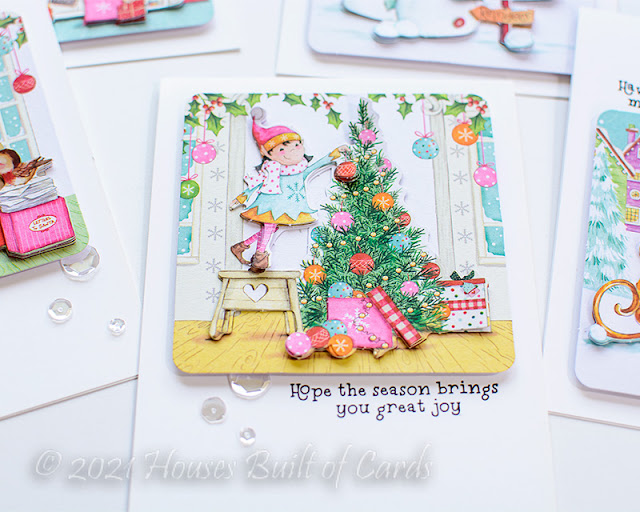
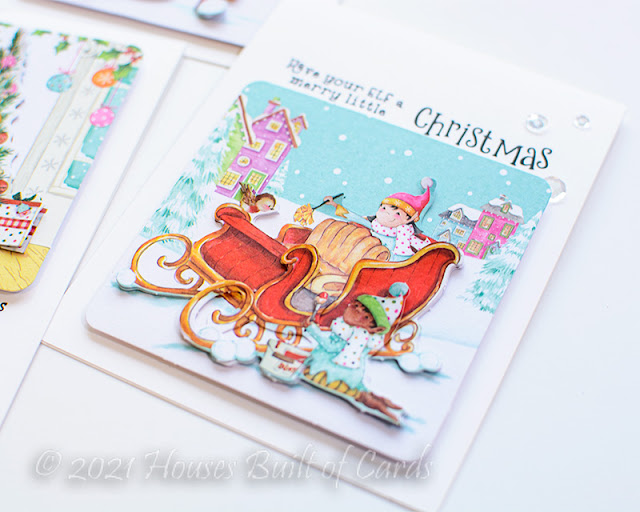
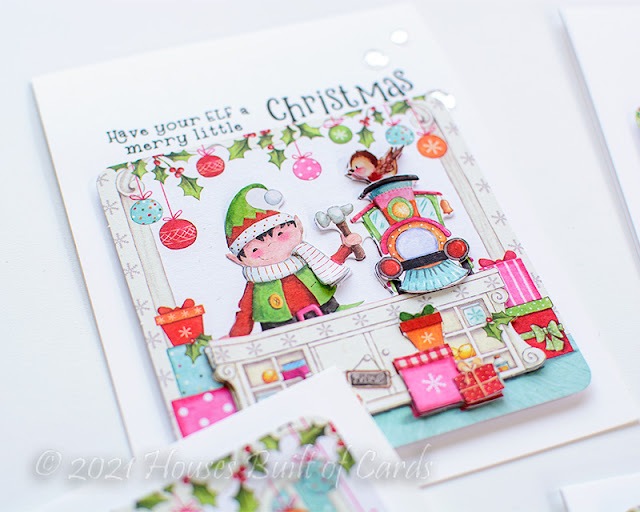
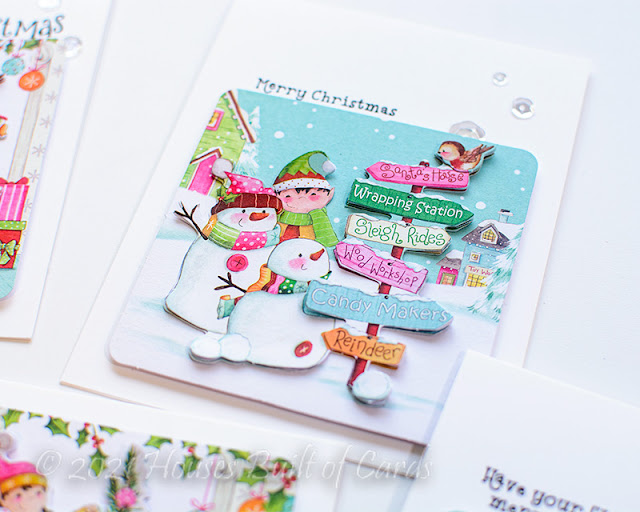
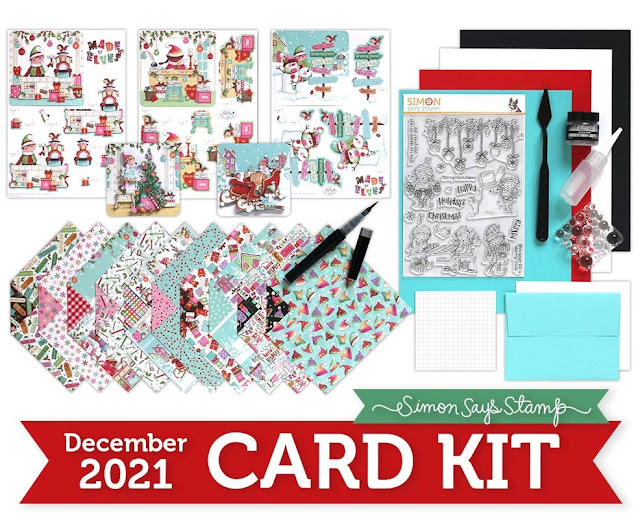
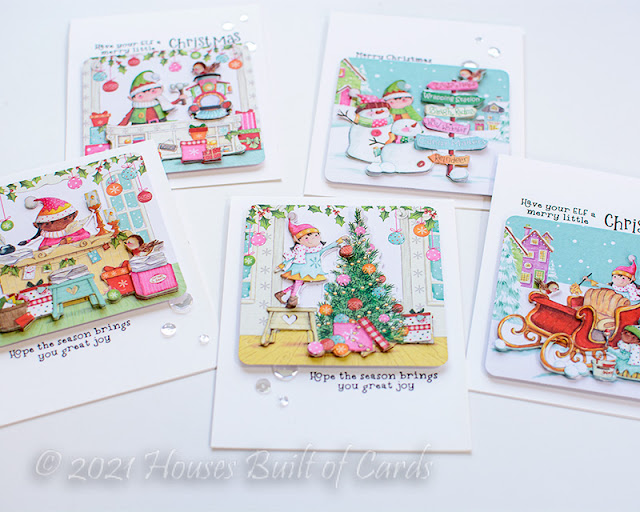
Good morning! I'm here today to share my first cards with the BRAND NEW December 2021 Simon Says Stamp Card Kit - Santa's Helpers! This month's kit is festive, bright, and fun! The included stamp set by the same name is full of adorable images and sweet sentiments, there is some cute pattern paper, some unique sparkly elements, a set of 3-D layering sheets that I used on my cards today - that's all not to mention the cardstock, envelopes, and more!

I had so much fun playing with those 3-D layering sheets! I had an evening when I was tired and had no creative energy - and these were so fun and relaxing to put together, and then turn into simple cards!


They are basically sheets that you punch out all the elements to adhere together. It felt a bit like punching out paper dolls from when I was a kid!


There are several layers to each set, and you could easily use foam between layers to get a super dimensional effect.


I wanted these to be reasonable to go on my cards, however, so I curled up the edges of each layer of paper with my fingers for dimension, and then used a touch of liquid glue in the centers of each layer, leaving the edges to float free and curl up to give that feeling of dimension.


Once I had them all assembled, I adhered them with foam to my white A2 cardbases, either at the top or bottom of the card, leaving room to stamp some sentiments.


Sentiments all came from the stamp set in the kit - stamped in black around those fun images. Final finishing touch of each of these was a trio of sparkly clear sequins to add some movement and sparkle to the designs!


Here is a closer look at the entire kit contents - you can see it all HERE:


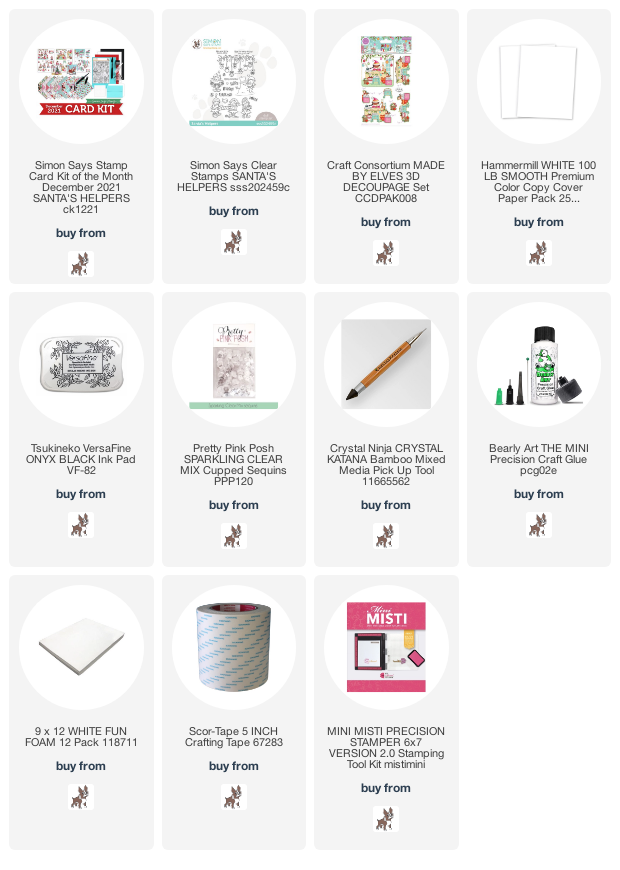
Product links are all below - including affiliate links where possible, which simply means if you use one of the links below that I receive a small commission at no additional cost to you. Thanks so much for stopping by! Have a wonderful day!!!


Monday, November 15, 2021

Wishing You Snowflakes - on the Unity Stamp Company Blog

 Good morning! I'm back with another card for my series on the Unity Stamp Company Blog this morning! I'm so excited to be featuring the amazing Kit of the Month on Monday's on the Unity Stamp Company Blog! Since the Kit of the Month was the first thing I purchased from Unity, and what got me hooked to begin with, they hold a special place in my heart, so I'm super excited about this opportunity to give these kits some love! You can check out all the details HERE for today's project!


Thanks for stopping by today - have a WONDERFUL day!!!


Thursday, November 11, 2021

Joy at Christmas - Simon Says Stamp Handmade Holiday Release Hop Day 1

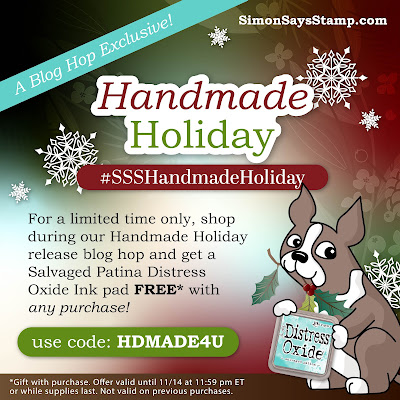
Good morning! Excited today to be joining in on Day 1 of an incredible blog hop to celebrate the BRAND NEW Handmade Holiday from Simon Says Stamp! Make sure and check out all the inspiration with this new release AND link up your creations as you receive your orders HERE in the Gallery created just for this release! And check out the graphic below to receive a FREE Art Supplies die set with the coupon code below through November 14, 2021 as well - while supplies last (code expires at 11:59 PM EDT)!!!


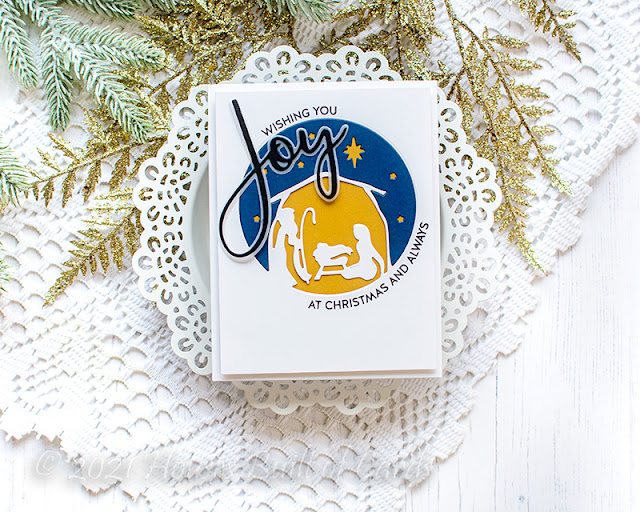
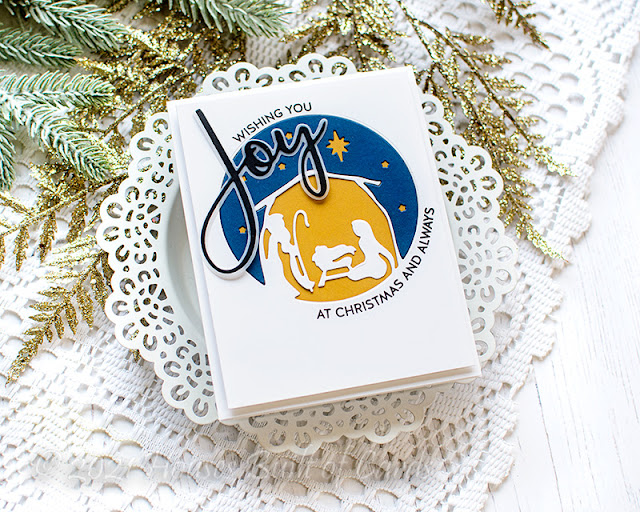
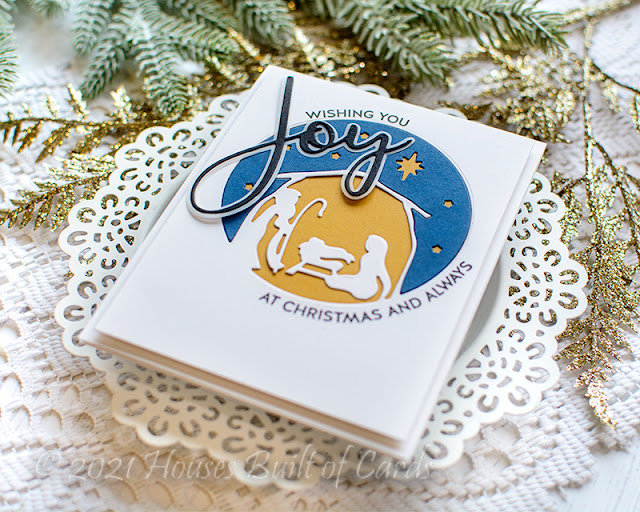
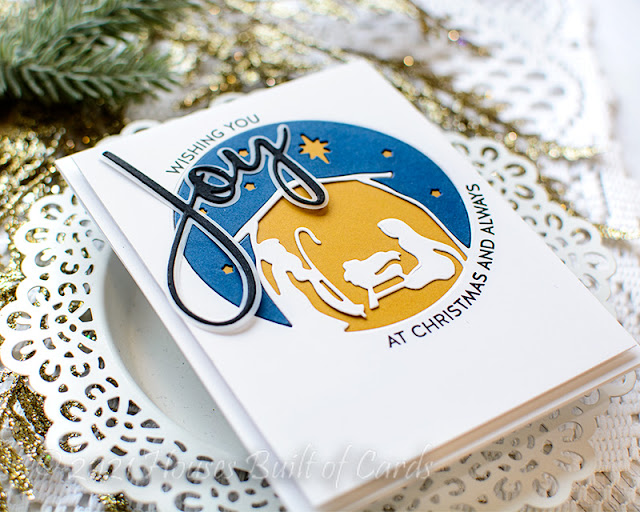
Today I'm sharing a bright, but also clean and simple Christmas card design using a new die and stamp set - and a large word die from another recent release!


I love the pretty First Night die - and had fun piecing it together. I die cut it first from a panel of white cardstock to create the main cardfront, then die cut it from some solid blue paper to piece in the top section. I then layered some yellow paper behind. I could have just ink blended or used one color - but I really wanted to utilize those fun stars in the sky background portion!


I die cut the Large Joy die, using black cardstock for the detail layer, and vellum for the shadow layer. I adhered that at the top, making sure to arrange it around those stars so I didn't hide them under it.


Added the extra sentiments from the new Love Joy Peace Rainbow stamp set, curving the sentiments around the circle to accent that shape! Finally, mounted that panel with foam on a white cardbase, and this card is finished!


GIVEAWAY INFO:
Simon Says will be giving a $25 gift certificate to their online store at each stop along the hop - so make sure and leave a comment before you leave for a chance to win! Winners will be announced next Wednesday on the Simon Says Stamp Blog.

Simon Says Stamp Blog

Nina-Marie Trapani

Caly Person

Nichol Spohr

Jennifer McGuire

Cathy Zielske

Lisa Addesa

Amy Rysavy

Sidnie Des Jardins

Heather Ruwe

Suzy Plantamura

Yana Smakula

Heather Hoffman (you are here)

Lea Lawson

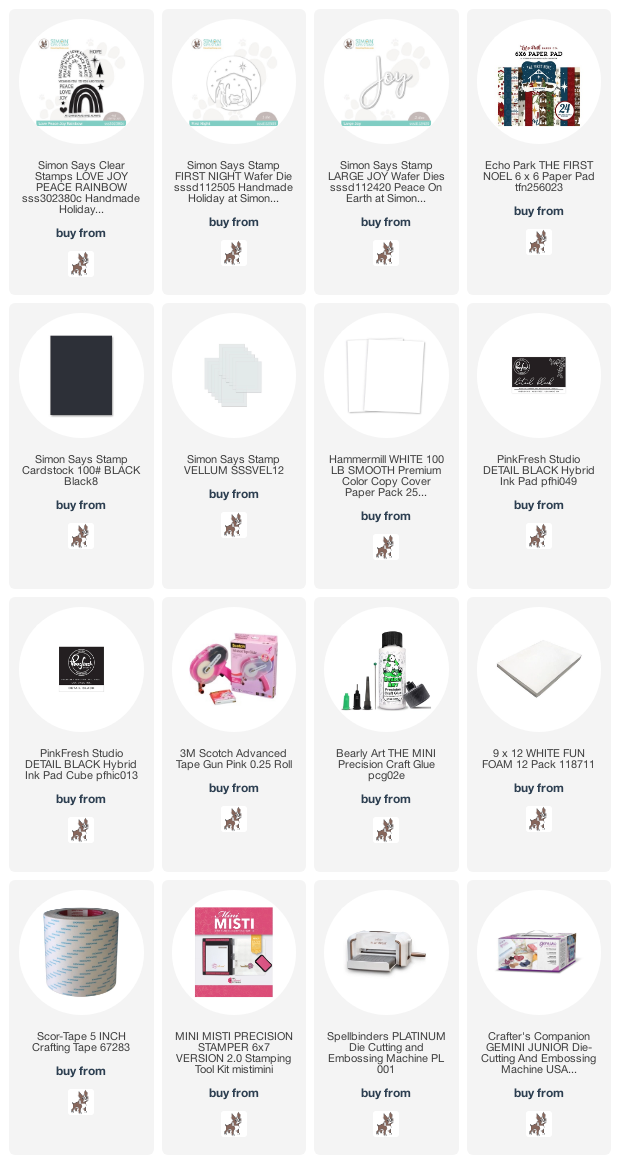
Product links are all below - including affiliate links where possible, which simply means that if you use one of the links below, I receive a small commission at no additional cost to you. Thanks so much for supporting my blog, and stopping by! Have a wonderful day!!!


Monday, November 8, 2021

Kinda Sorta Love Ya - on the Unity Stamp Company Blog

 Good morning! I'm back with another card for my series on the Unity Stamp Company Blog this morning! I'm so excited to be featuring the amazing Kit of the Month on Monday's on the Unity Stamp Company Blog! Since the Kit of the Month was the first thing I purchased from Unity, and what got me hooked to begin with, they hold a special place in my heart, so I'm super excited about this opportunity to give these kits some love! You can check out all the details HERE for today's project!


Thanks for stopping by today - have a WONDERFUL day!!!


Thursday, November 4, 2021

Folk Garden Birthday Wishes - Pinkfresh Studio Instagram Release Hop

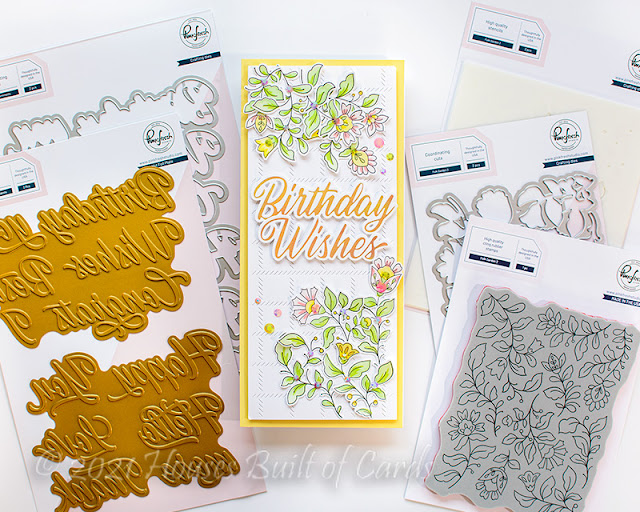
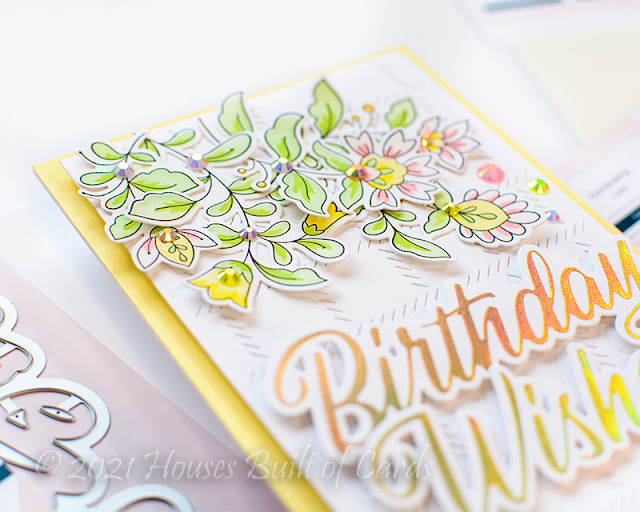
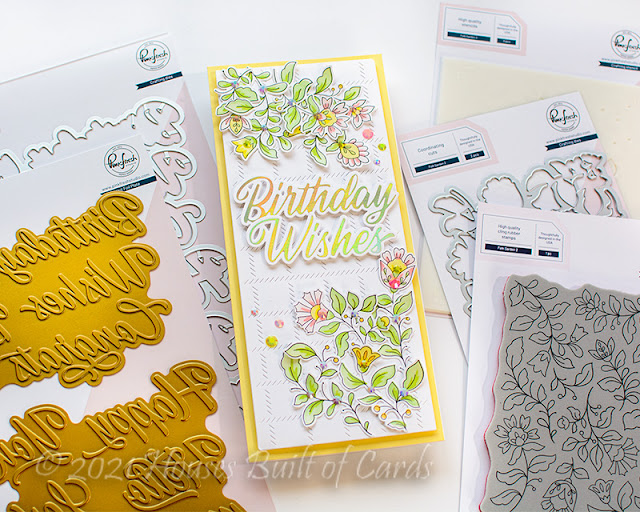
Hello! Today I am part of a fun Instagram hop to celebrate the new Pinkfresh Studio release! I have had so much fun creating with this release - yesterday was the blog hop, and I shared tons of cards for that! The card I'm sharing today I created on a special YouTube Live last week with Lea Lawson as a sneak peek of yesterday's release - you can watch that video HERE if you want to see us craft together, using the same sets of products, but in different ways - and see the card Lea made in the same live!

I just love the new Folk Garden 2 set of products - and they are so super versatile! There is an option for a hot foil plate or cling stamp set, then a coordinating optional one piece die (it makes a lovely background in one piece as well!), and of course, layering stencils for coloring in the image as well!

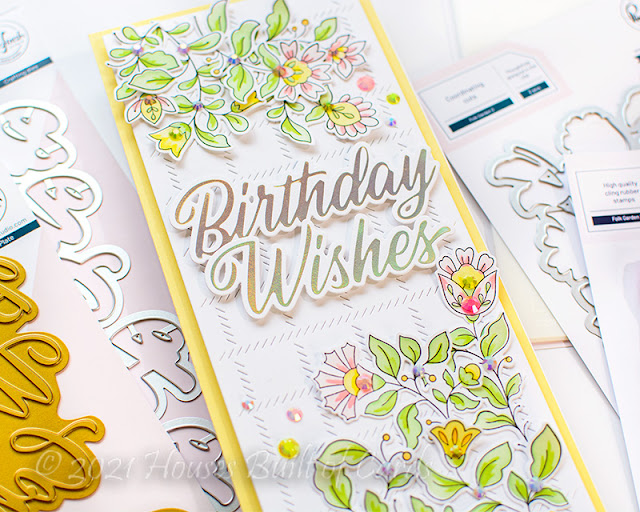
I stamped my image in a soft gray ink, then left my stamp lined up in my MISTI - I then could line up the layering stencils to add color, then re-stamp over the top with Detail Black ink. Since Detail Black is a hybrid ink, it needs a bit of time to dry before ink blending to prevent smearing. This is the quick way to overcome that!


Next up, I hot foiled my sentiment using the fabulous new Brushed Sentiments hot foil plate, and die cut with the coordinating die - lots of sentiments all at the same time, and they are big and GORGEOUS! I also die cut a Slim Diagonal Stitched Plaid panel to use for the background.


Finally, it was just a matter of assembling the card! I mounted the sentiment on foam adhesive, and arranged the florals around the top and bottom edges. I used liquid glue in small amounts, leaving the edges free to curl up for a bit of dimension. Seriously - aren't these florals SOOO pretty?!?! Then of course, a nice dose of jewels sprinkled around the card as well to finish off.


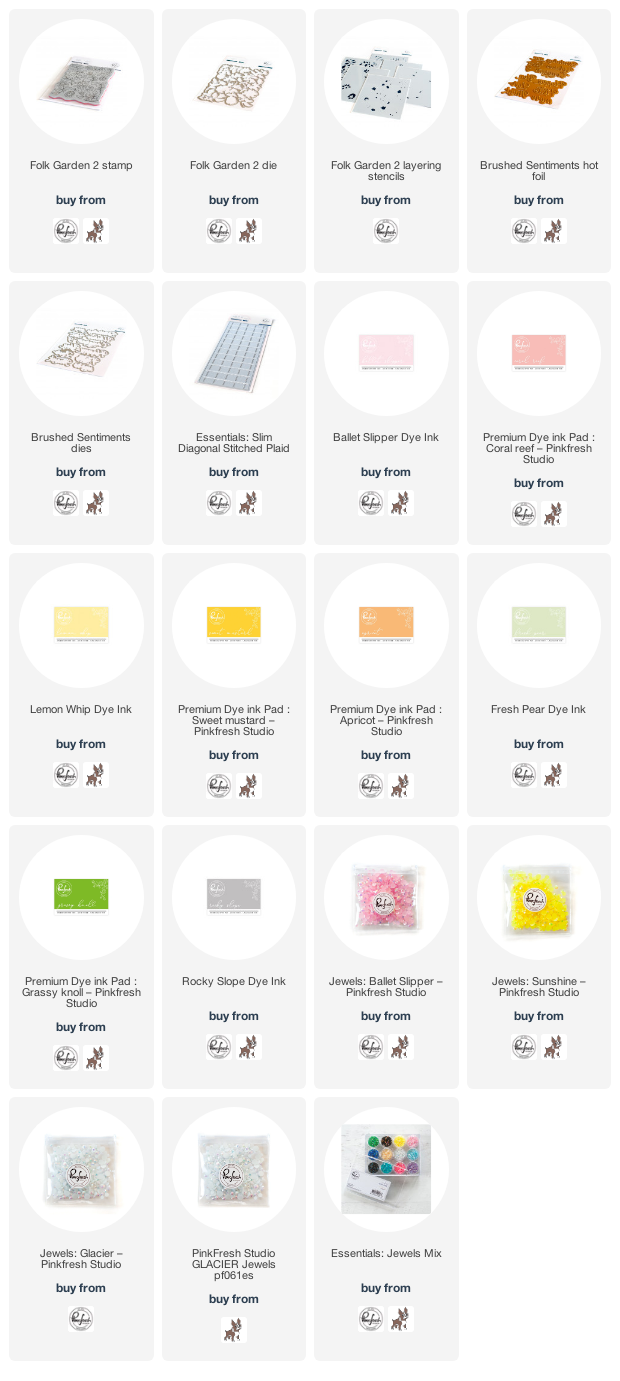
Product links are all below - including affiliate links where possible, which simply means if you use one of the links below that I receive a small commission at no additional cost to you. Thanks so much for stopping by! Have a wonderful day!!!

Wednesday, November 3, 2021

Pinkfresh Studio November Stamp, Die, Stencil, and Hot Foil Release

Good morning! Today is an amazing blog hop to celebrate Pinkfresh Studio's November  Stamp, Die, Stencil, and Hot Foil Release! There are so many fun items in this release - some of Pinkfresh's famous floral sets, an amazing sentiment suite of products, and of course a bit of hot foiling as well! You aren't going to want to miss a stop along the way - TONS of inspiration and prizes up for grabs! YAY!


I was super last minute on these - but I actually ended up with lots of cards to share with you! Which is fun, since this is an awesome release, and I'm glad I can show it off as much as possible! 


First up - I think I was still feeling the fall vibes for this card using the new Charming Floral Border hot foil with the coordinating layering stencils, as well as the fabulous new Brushed Sentiments stamp set. I adore this new sentiment suite of products - so versatile and fun!


After hot foiling this beautiful set, I used the layering stencils and a bold combo of Marigold and Clementine for the flowers, and Berrylicious and Gathered Twigs for the leaves. I love how the deep red and brown work together so well!


I stamped the Brushed Sentiments stamp set in Detail Black ink, and cut out with the coordinating dies. I have lots of extra sentiments for later, but used this lovely thank you for this card.


I die cut the Simply Diamonds die from white cardstock, and layered over Cream cardstock for my base, then added the florals and sentiments with foam adhesive for dimension.


That secondary sentiment is from the Charming Floral Border stamp set - and a few Metallic Gold Pearls finish this card off!


Next up, I used the same set, but for a totally different look - and made use of a hidden gem on the coordinating layering stencils!


I also hot foiled these florals, and then stenciled with a soft color combo of Peach Fuzz and Coral Reef for the flowers, and Fresh Pear and Grassy Knoll for the leaves.


The Charming Floral Border layering stencils make use of some of the extra space on the stencil layers to add some large word stencils. I used one of those to add the "miss you" to my cardbase. I used a mix of Peach Fuzz and Coral Reef to match the florals. Love the soft look you can get with this!


I die cut the florals, then did some partial die cutting on the front of my cardbase to add the border along the bottom. I adhered the florals with foam adhesive, and slightly offset them for a bit of a drop shadow. Yep - that was on purpose!


I also stamped a secondary sentiment from the stamp set, and added a few Peach Fuzz jewels for some extra sparkle.


To help add contrast, I tucked some soft coordinated cardstock on the inside of my card. Here you can see how it opens along that edge. Isn't it pretty?


Next up - another fun floral set!


For this card I used the Darling Dahlia's stamp and layering stencils. The image was stamped with Aquamarine ink for a fun different look, then I blended two different colors on the flower layers - Peach Fuzz, Ballet Slipper, Apricot, and Coral Reef. I did the leaves with Ocean Breeze and Aquamarine.


This set also has a unique optional stencil layer that allows you to add a background color as well! It makes it look like you stenciled your florals on any color of cardstock you want - but keeps the colors crisp and clear! I did the background layer in Rocky Slope ink. LOVE this option!


The sentiment on this one is another using the gorgeous Brushed Sentiments, but this time the hot foil plate. Love the elegance to these with hot foil!


I created a window to show off the florals with Blanket Stitched Ovals die, and layered everything on a soft pink cardbase. I added the stamped and heat embossed sentiment from Charming Floral Border stamp set under the oval layer, and popped the larger sentiment up on foam adhesive. A few coordinating jewels finish this card off.


Next up - this card uses a mash up of older products that just kind of ended up going together with another one of the fabulous large sentiments from Brushed Sentiments set. Oh how I love them!


I used another of the Brushed Sentiments hot foiled sentiments - and built the rest of my card around it. 


Background is Diagonal Stitched Plaid, with a window layered over it using Blanket Stitched Ovals die cut from a soft peach cardstock. I then layered Foliage Frame die cut from white over the top of that. The texture and layers are so fun in real life!


I added the sentiments stretched out over the window, and popped up with foam adhesive.


Then finished off with a few Metallic Gold Pearls to enhance the gold shine from the sentiments!


I love mixing and matching old and new products!


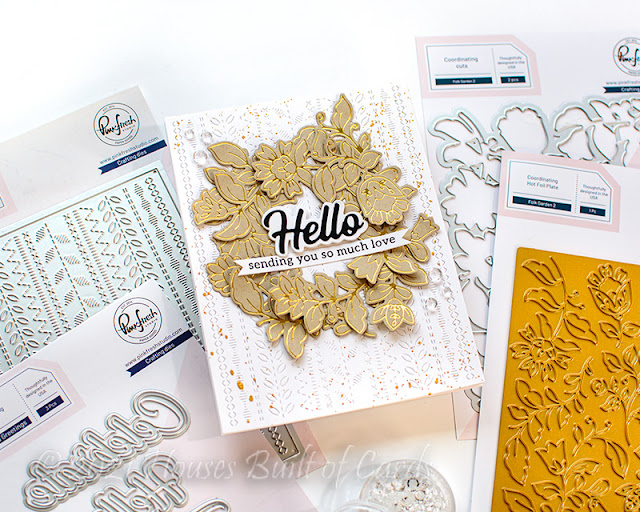
And finally, a neutral card featuring a custom wreath!


For this card I used the new Folk Garden 2 hot foil plate on kraft cardstock, then die cut with the coordinating dies. I used all the pieces to assemble my own wreath design. I had thought about stenciling over this one after hot foiling - but I loved the sparkly gold on the kraft paper - so pretty!


The background was created with the fun Stitches background die on white cardstock, and a good heavy dose of gold splatters with my Starry Colors palette.


I made sure to adhere each piece of the florals down with liquid glue, but leave part of it hanging free. That way I could curl those pieces up for a bit of dimension.


Added a sentiment with the new Scripted Greetings die (such a cute little die set!) - and a secondary sentiment from Charming Floral Border stamp set, hand trimmed to a small banner. A few clear crystals from Essentials: Crystals Mix finish this card off!


GIVEAWAY INFO:

Make sure and leave a comment before you leave for a chance to win one of 10 $25 gift certificate to Pinkfresh Studio chosen from comments left across the hop! All winners will be chosen and posted on the Pinkfresh Blog on Thursday, November 11, 2020 - so make sure and check back to see if you were a winner! Winners must check that page and claim their prize within 2 weeks.

Here is the entire blog hop line-up so you don't miss a single stop - and product links are below - including affiliate links where possible, which simply means if you use one of the links below that I receive a small commission at no additional cost to you. Thanks so much for stopping by! Have a wonderful day!!!
You are invited to the Inlinkz link party!

Click here to enter