Friday, December 17, 2021

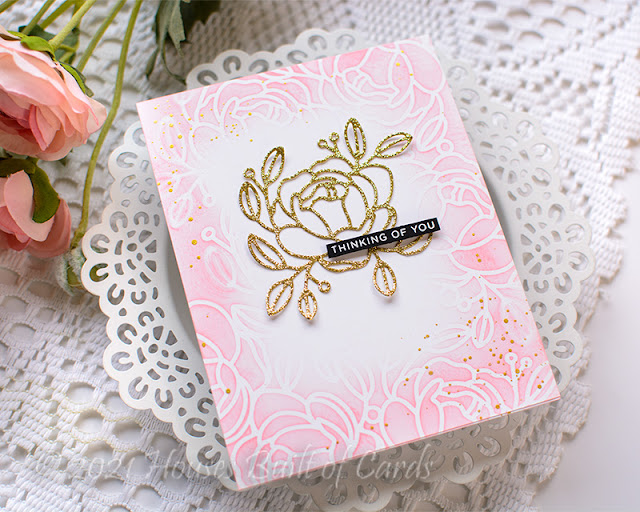
Thinking of you Florals - Simon Says Stamp To The Moon Release

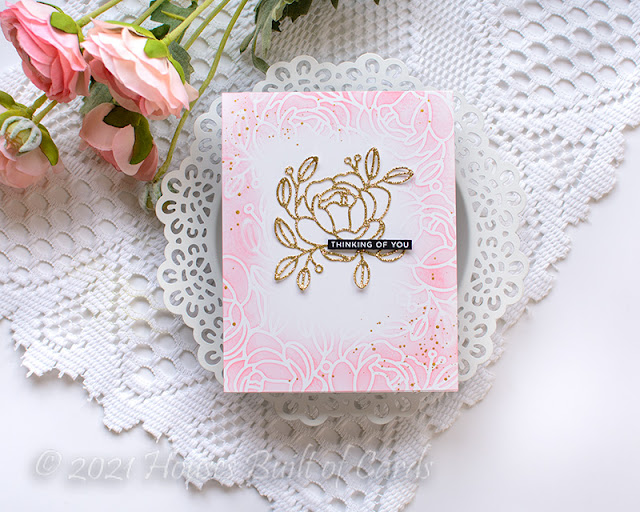
Good morning! I'm stopping by today with my first card using the NEW To The Moon Release from Simon Says Stamp! I know there was just a DIEcember release - but it's time to look ahead to the new year already, so here is the jump start on that!

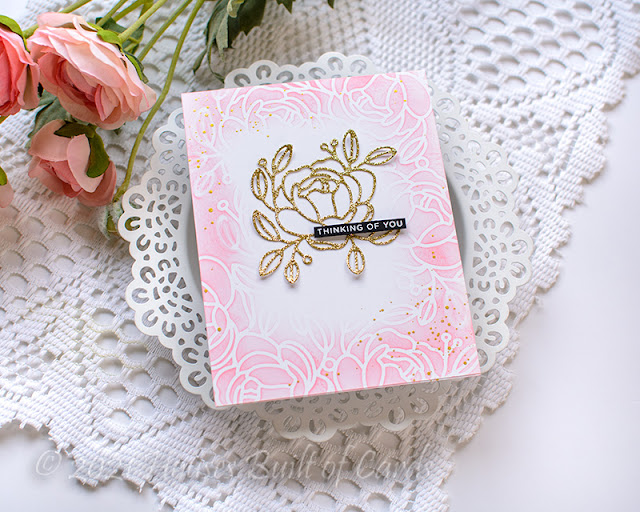
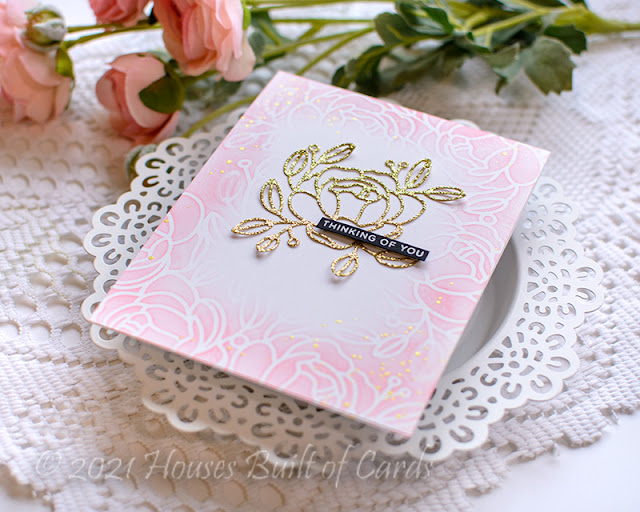
I started off with a clean and simple - nearly one layer card!

I started off by adding some interest to my cardbase with some stenciling. I used the new Peonies and Leaves stencil - it's huge! I stenciled just around the edges of the card, creating a soft frame around the center white portion.


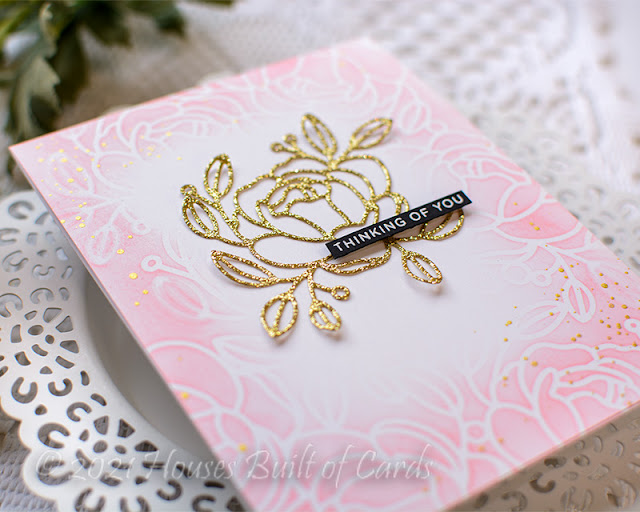
Next, I die cut the new Peony and Leaves die from gold glitter cardstock, and adhered it down with a bit of liquid glue in some of the key areas - leaving some of it floating a bit free for dimension.


Next, I heat embossed a sentiment from the new Love Garden Greetings stamp set - heat embossed in white on black cardstock, trimmed to a thin strip, and mounted with a thin strip of foam adhesive.


Finally, I placed a post-it note over the center flower and sentiment, then added some gold splatters with my Starry Colors Palette. Love the bit of extra texture that gives!


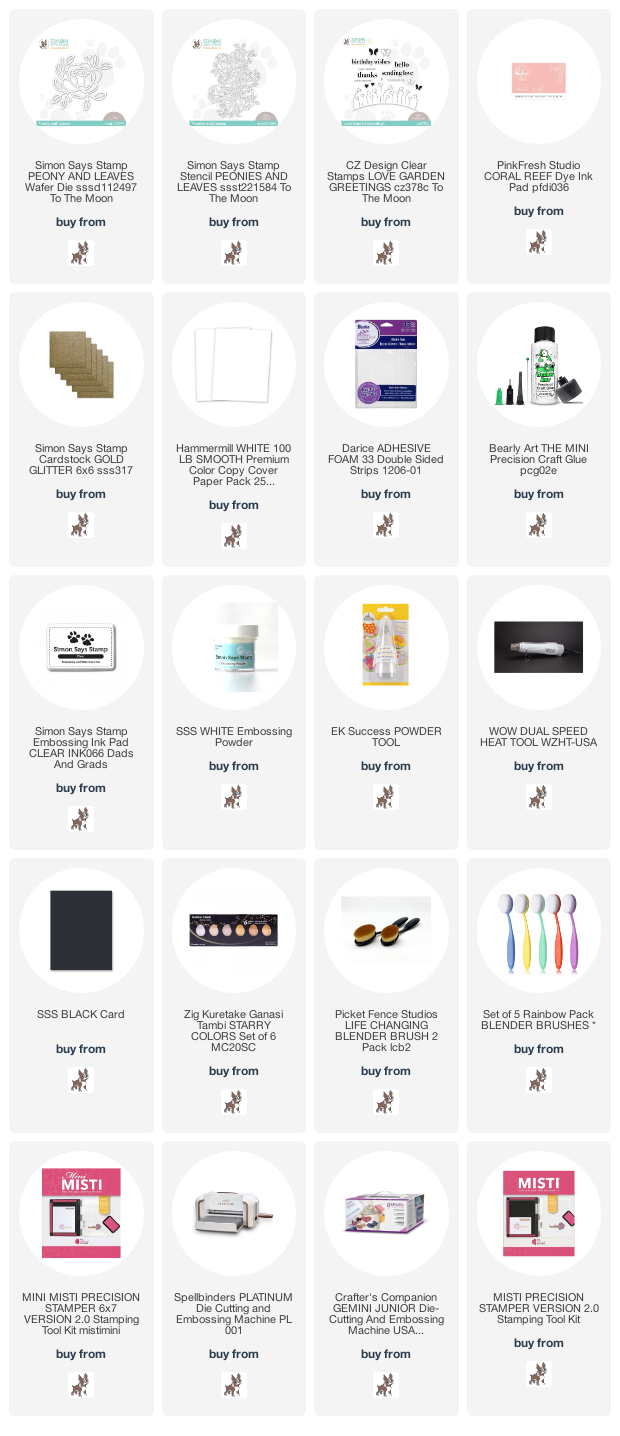
Product links are all below - including affiliate links where possible, which simply means that if you use one of the links below, I receive a small commission at no additional cost to you. Thanks so much for supporting my blog, and stopping by! Have a wonderful day!!!


Wednesday, December 15, 2021

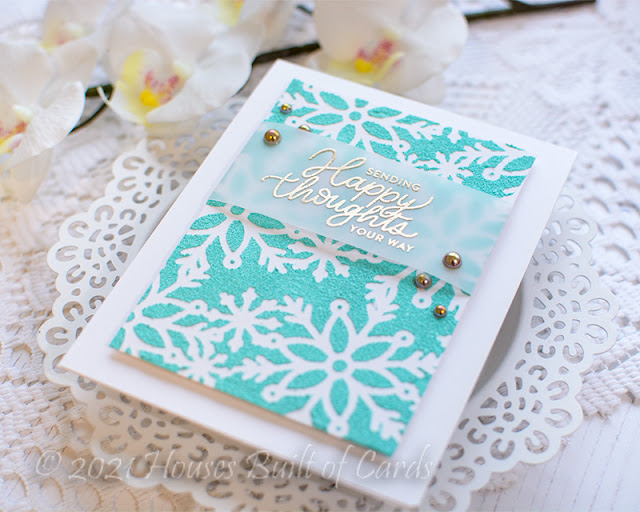
Happy Thoughts - Simon Says Stamp January Card Kit

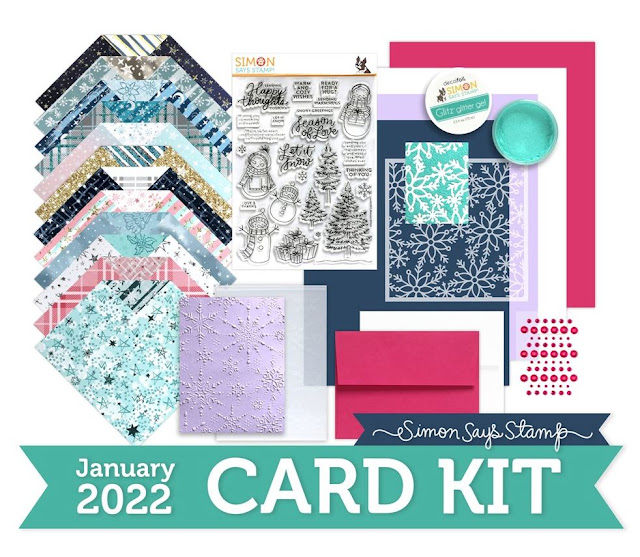
 Good morning! I'm popping in today with another card using the BRAND NEW January 2022 Simon Says Stamp Card Kit - Warmest Wishes! This month's kit frosty, wintry, and fun! The included stamp set by the same name is full of adorable images and sweet sentiments, there is some cute pattern paper, some fun sparkly elements, a beautiful stencil and embossing folder, glitter paste...that's all not to mention the cardstock, envelopes, and more!

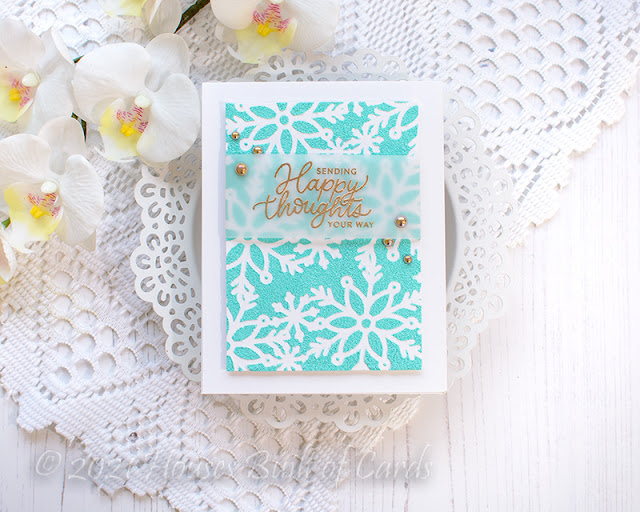
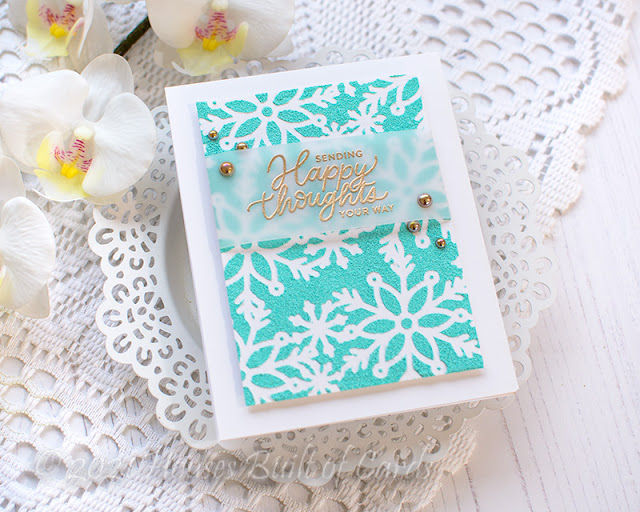
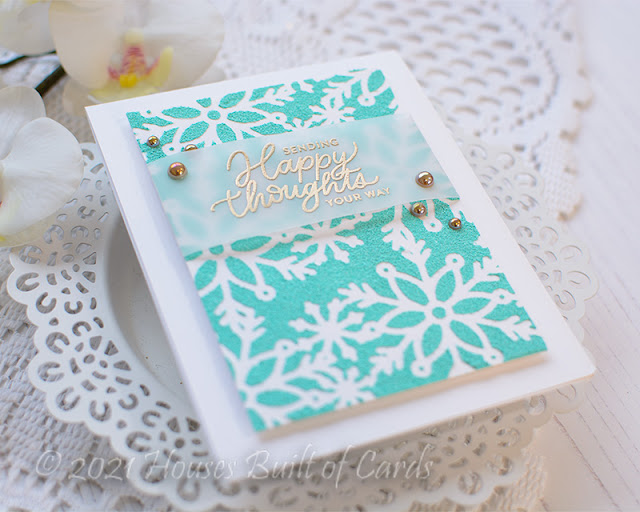
Today is a clean and simple card featuring a favorite color combo of mine - teal and gold!


I used the Scattered Snowflakes stencil and Seafoam Glitz Glitter gel from the kit to create my background. It is such a pretty shade, and a fun hint of matte sparkle - perfect for these snowflakes! I let it dry thoroughly, then trimmed the panel down to fit on my cardfront.


The sentiment from the stamp set in the kit is heat embossed in gold on a strip of vellum, wrapped around the front of the panel and adhered in the back. I popped that panel up with foam adhesive on a white cardbase, then added a few Sparkling Champagne Metallic Pearls from Pinkfresh Studio to finish it off!


Here is a closer look at the entire kit contents - you can see it all HERE:

I think this would also be lovely in silver instead of gold...even if I happen to be a bit partial to the gold!


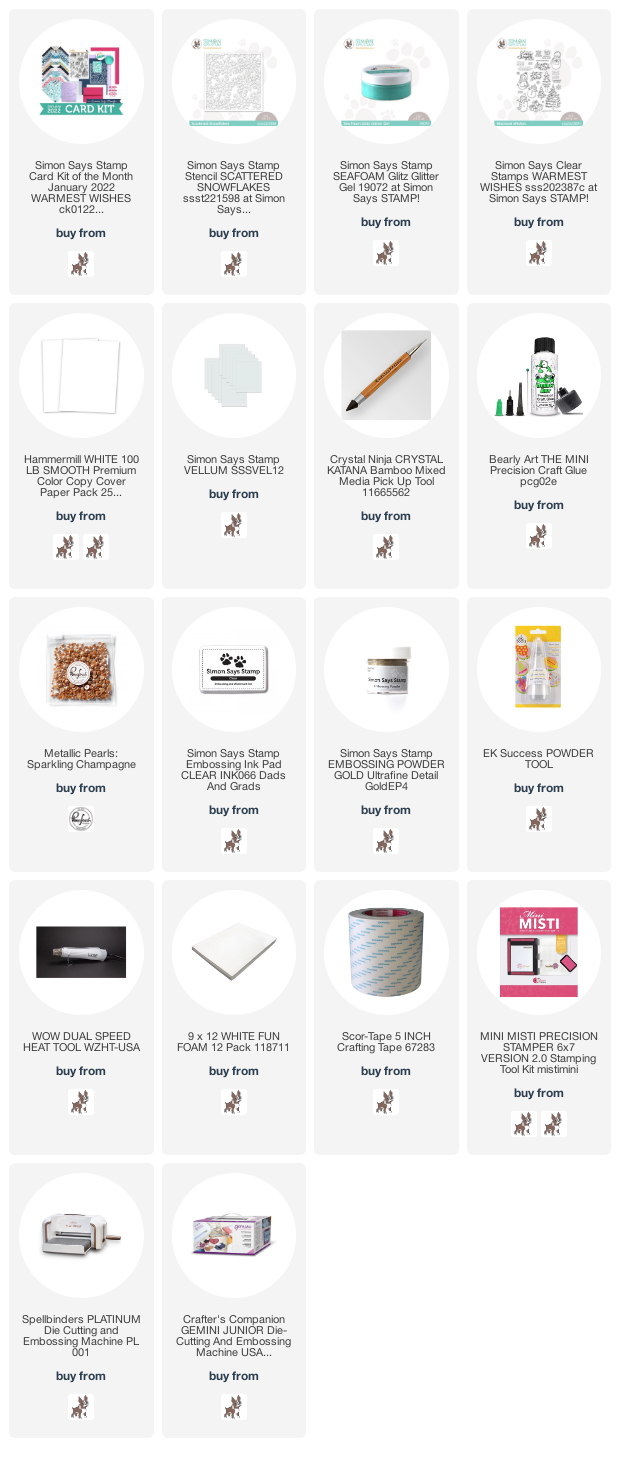
Product links are all below - including affiliate links where possible, which simply means if you use one of the links below that I receive a small commission at no additional cost to you. Thanks so much for stopping by! Have a wonderful day!!!


Tuesday, December 14, 2021

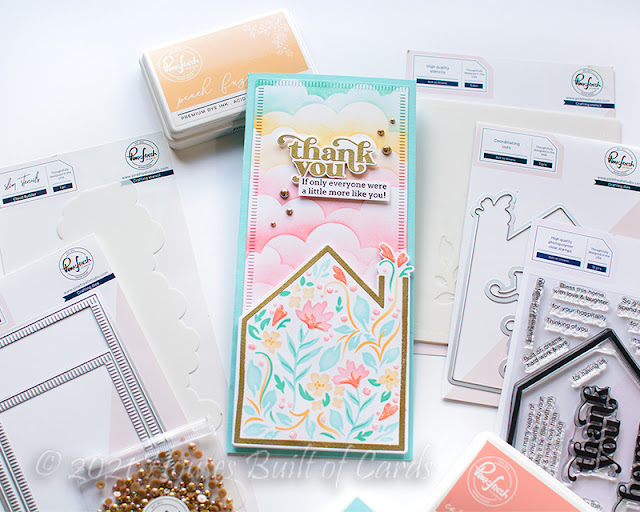
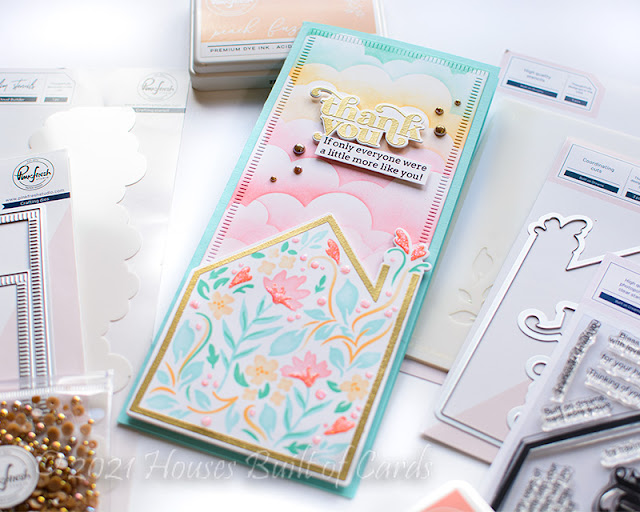
Thank You House - Pinkfresh Studio Instagram Release Hop

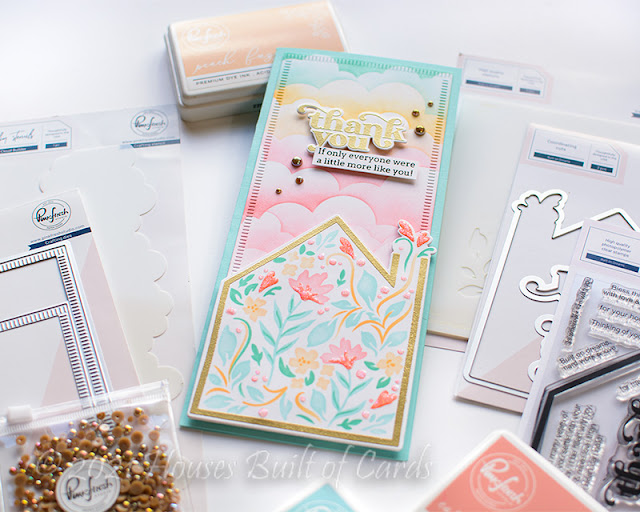
 Hello! Today I am part of a fun Instagram hop to celebrate the new Pinkfresh Studio release! I have had so much fun creating with this release - yesterday was the blog hop, and I shared tons of cards for that! The card I'm sharing today I created on last week's YouTube live for Pinkfresh Studio as a sneak peek - you can watch that video HERE if you want to see more details!


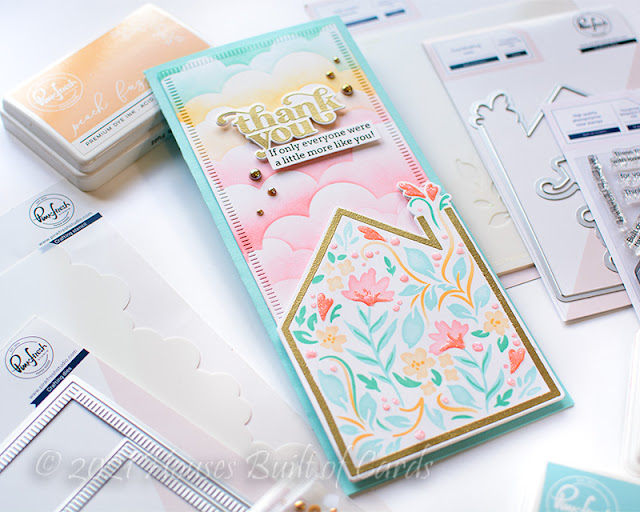
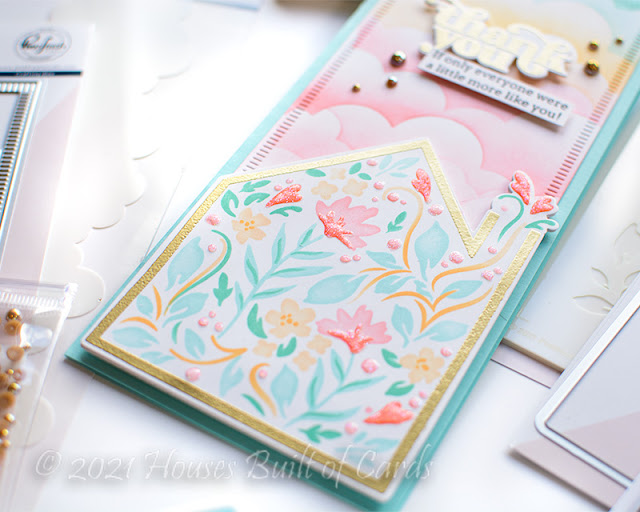
If you watched the live, you may notice I changed a couple things! In the live I skipped stamping the border on the house, and the "thank you" was stamped in black. Once I finished, I felt like the house just didn't pop enough, so I redid it and added the black outline, adhering it over the top of the first one. I still didn't love that, the more I looked at it, so I went to work one more time and did it with gold heat embossing - and that was the magical look it needed! Of course, I had to switch out the sentiment to match. But I LOVE how it turned out with those changes! Sometimes, you just can't be afraid to change out what you don't love!


I just adore that Built on Dreams layering stencil, stamp, and die set! So pretty and unique! I did a nice soft color combo that was so fun to work with!


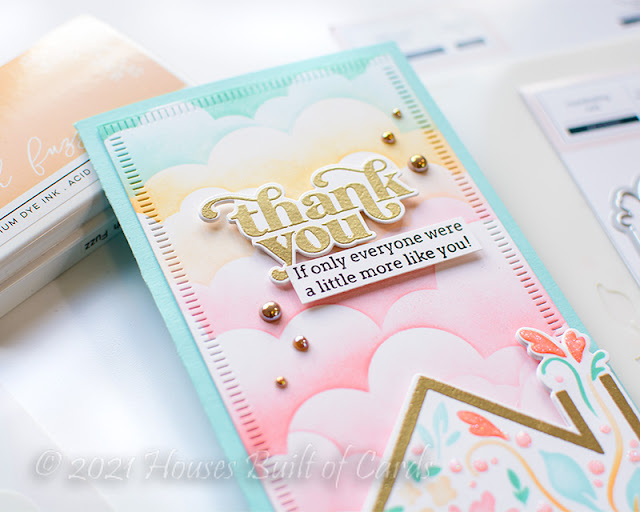
I wanted to create a slimline card with this set - which was a bit tricky, but it felt like the Cloud Builder stencil was the perfect way to fill that extra space! I used the same colors I stenciled the house image with - and I think it couldn't be a more magical sky!


The main frame was die cut with the new Essentials Blanket Stitch Slimine and Mini Slimline die set - and mounted on an aqua 4" x 9" cardbase. Then I mounted the finished house over the top. Another change I made after the live was to add a bit of sparkle with some clear Nuvo Blizzard Glitter Drops. It was the perfect touch of sparkle and dimension!


Large sentiment from the Built on Dreams set (love that it has a coordinating die as well!), and the secondary sentiment is from a fabulous new sentiment set called Always Uplifting - full of encouraging sentiments. A few of the new Sparkling Champagne Metallic Pearls are the perfect finishing touch!


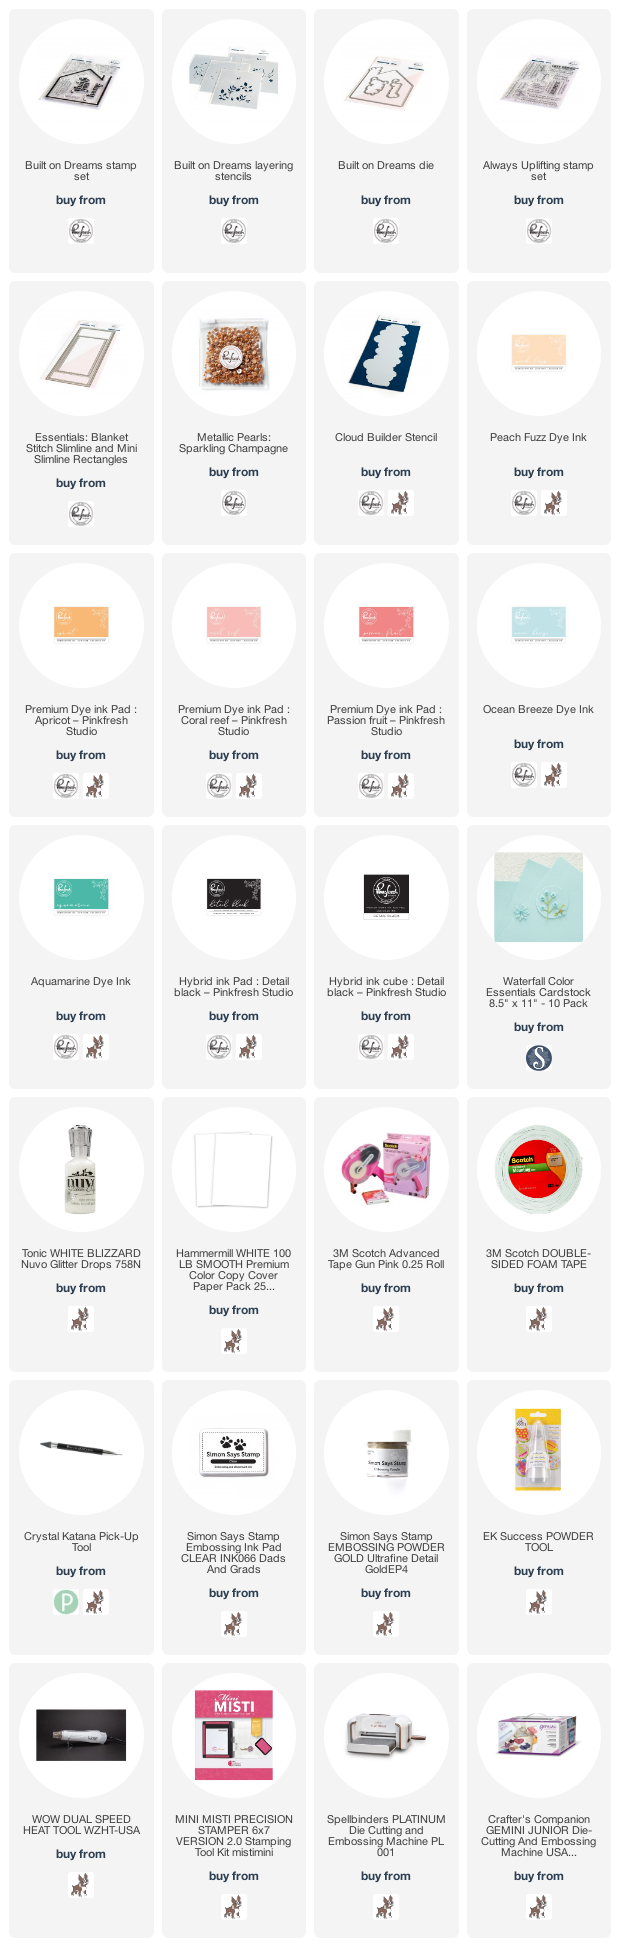
Product links are all below - including affiliate links where possible, which simply means if you use one of the links below that I receive a small commission at no additional cost to you. Thanks so much for stopping by! Have a wonderful day!!!


Monday, December 13, 2021

Ready for a Hug? - Simon Says Stamp January Card Kit

Hello! I'm here today to share my first cards with the BRAND NEW January 2022 Simon Says Stamp Card Kit - Warmest Wishes! This month's kit frosty, wintry, and fun! The included stamp set by the same name is full of adorable images and sweet sentiments, there is some cute pattern paper, some fun sparkly elements, a beautiful stencil and embossing folder, glitter paste...that's all not to mention the cardstock, envelopes, and more!

I'm kicking off by sharing a sweet and simple little shaker card using some items from the kit!


I thought this pretty pattern paper was so soft and lovely, and perfect to create a little window for that snowman to peek out of! I die cut the window using another favorite SSS die - Shimmer Heart. The outer frame cuts the stitch lines on the negative space, and is so pretty! Once I cut the heart, I used Basic Rectangle dies to make sure it was perfectly centered, and I had the right size of panel to mount on my white cardbase for my shaker card.


I stamped that snowman and the adorable sentiment (anyone else thinking of Olaf?!? "I like warm hugs?" - eek! He's my favorite snowman, so I loved that sentiment!). I filled the shaker with some Pretty Pink Posh seed beads for some fun sparkly shaking!


Here is a closer look at the entire kit contents - you can see it all HERE:


What do you think - you ready for a hug?!? :)


Product links are all below - including affiliate links where possible, which simply means if you use one of the links below that I receive a small commission at no additional cost to you. Thanks so much for stopping by! Have a wonderful day!!!


Hope Your Day Sparkles - on the Unity Stamp Company Blog

 Good morning! I'm back with another card for my series on the Unity Stamp Company Blog this morning! I'm so excited to be featuring the amazing Kit of the Month on Monday's on the Unity Stamp Company Blog! Since the Kit of the Month was the first thing I purchased from Unity, and what got me hooked to begin with, they hold a special place in my heart, so I'm super excited about this opportunity to give these kits some love! You can check out all the details HERE for today's project!


Thanks for stopping by today - have a WONDERFUL day!!!


Pinkfresh Studio December 2021 Stamp, Die, Stencil, and Hot Foil Release

 Good morning! Today is an amazing blog hop to celebrate Pinkfresh Studio's December Stamp, Die, Stencil, and Hot Foil Release! There are so many fun items in this release - washi, stamps, dies, hot foil - so much fun! You aren't going to want to miss a stop along the way - TONS of inspiration and prizes up for grabs! YAY!


You may recognize some of the items from this release - most of them were included in our Create and Connect event in November - so if you are looking for new inspiration with this release, or didn't join the event and have been excited to get your hands on some of the new items - now is your chance!


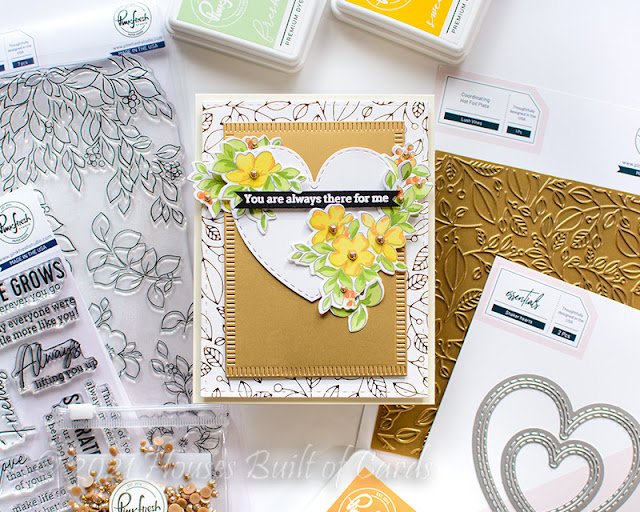
There is one new item in this release that has never been seen - and it is one of my favorites! The Heart Grid hot foil plate is so pretty - and pretty much the inspiration around which the rest of this card just kind of happened! I knew it would be a perfect fit with the Shaker Heart dies to create a window with it peeking behind.


I also used several of the die cut blooms from the new washi tape - In the Meadow. LOVE the gorgeous color on this, and those little extra leaves are everything! I tucked some under the inside of the heart, and a few around the outside - some doing a bit of both.


Created a frame for the front using Blanket Stitched Rectangles and the plain die from Folk Edge Rectangles to turn it into a frame instead of a rectangle. I popped that up with foam adhesive.


Sentiment is a great one from Built on Dreams stamp set, and I love that the coordinating die also cuts out the two large words in the stamp set. And that font!


A few of the new Sparkling Champagne metallic Pearls are the perfect finishing touch to round out the gold touches on this card!


Definitely my favorite card of this release - right here!


Next up - more hot foiling, and using some of the leftover pieces from the last card as well!


Recognize that heart and gold rectangle? Yep...they are extra from the last card! I thought they were perfect layered over the hot foiled piece from Lush Vines hot foil plate. This one is particularly gorgeous dry embossed as well - but it was fun to finally get some foil on it as well!


Those blooms are part of the same set as the last card - only for these, I used the In the Meadow stamp, layering stencils, and coordinating dies to try a totally different color combo! So fun to be able to get a very different look!


Sentiment on this one is from Always Uplifting Stamp set - a great new sentiment set full of encouraging sentiments. Who doesn't need those all the time?


I heat embossed that sentiment on black cardstock, then hand trimmed to a banner shape to tuck between those blooms over the heart. A few more of those Sparkling Champagne metallic pearls on this one as well!


I added some subtle layers to this card for dimension using scraps of cardstock. The main panel is popped with foam off my cream cardbase, then the other layers have those cardstock layers to help them pop just a bit, without being TOO thick and dimensional.


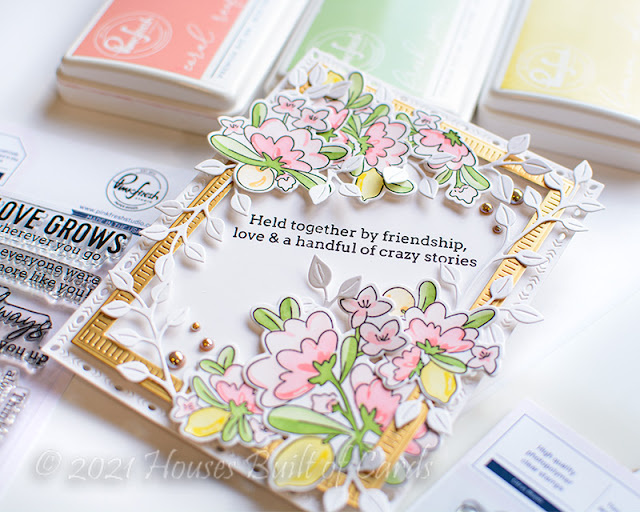
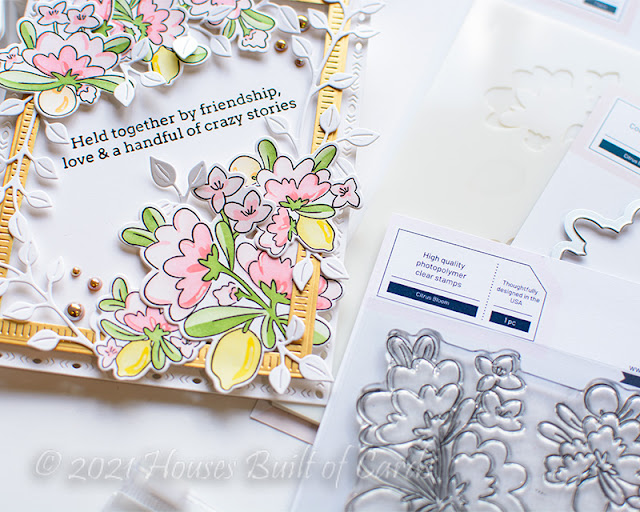
And then - another favorite set from this release! The gorgeous Citrus Bloom stamp set - love it so much!


The coordinating layering stencil set has a total of 7 stencils - the most we've ever done at Pinkfresh, and they are all totally worth it. :) I did a nice and soft traditional color combo for my card.


I used another one of those frames like the first card using the Blanket Stitch Rectangles with the plain rectangle from Folk Edge Rectangles. I also used the largest Folk Edge rectangle for my base layer - love how these two work together!


Once I layered all the blooms on there, I felt like it needed a bit more texture, so I added several Leafy Branches die cut from white cardstock and tucked in and around.


Sentiment is from the Always Uplifting stamp set again - stamped in Detail Black at an angle inside the frame.


To keep the detail around the front die cut piece of the card, I trimmed my cardbase to be slightly smaller than the card front. A good trick to let that border really shine!


And of course - more of those Sparkling Champagne metallic pearls to finish off!


Finally - I'll be sharing this card for tomorrow's Instagram hop, I created it live last week for YouTube live as a sneak peek. I did change a couple things for the live, and I love this so much more now - can't wait to share it all with you, so make sure and check Instagram tomorrow for that hop, as well as more giveaways!


GIVEAWAY INFO:

Make sure and leave a comment before you leave for a chance to win one of 10 $25 gift certificate to Pinkfresh Studio chosen from comments left across the hop! All winners will be chosen and posted on the Pinkfresh Blog on Tuesday, December 21, 2021 - so make sure and check back to see if you were a winner! Winners must check that page and claim their prize within 2 weeks.

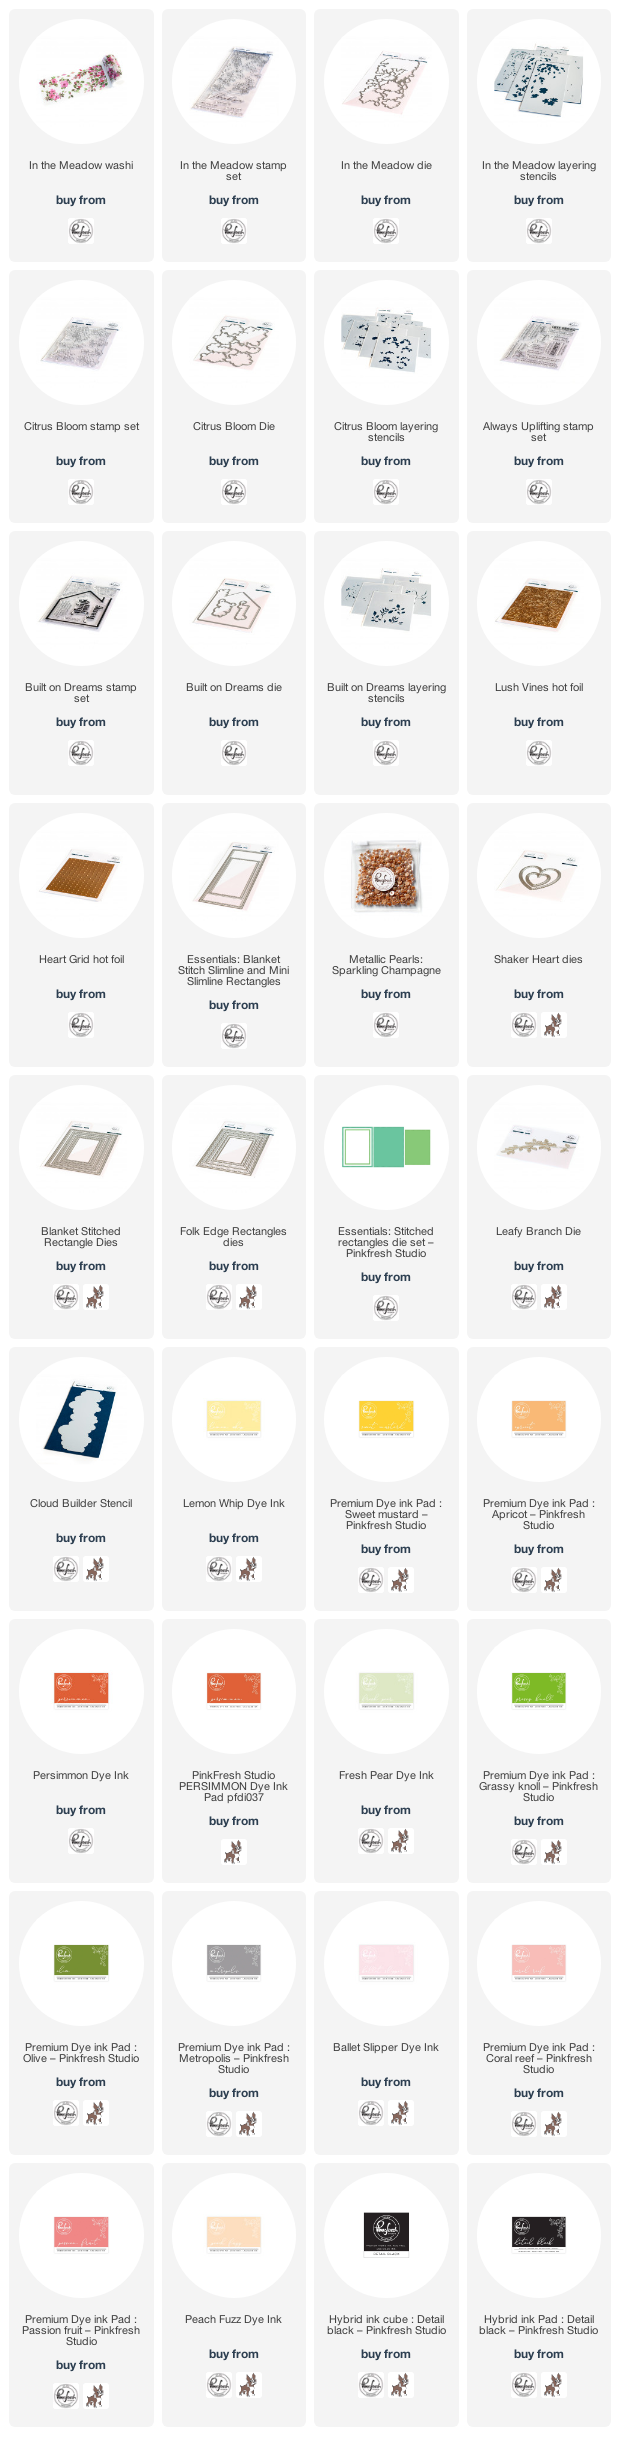
Here is the entire blog hop line-up so you don't miss a single stop - and product links are below - including affiliate links where possible, which simply means if you use one of the links below that I receive a small commission at no additional cost to you. Thanks so much for stopping by! Have a wonderful day!!!
You are invited to the Inlinkz link party!

Click here to enter