Wednesday, June 19, 2019

Gold Inlay Shaker Card - on the Reverse Confetti Blog

Good afternoon! I have a new edition of Wednesday in the Works on the Reverse Confetti Blog and YouTube Channel this morning - this week I'm sharing a fun gold inlaid shaker card with vellum - isn't this color combo so fun?!?!? I hope you'll pop over and check it out for more details!


Thanks so much for stopping by - have a great day!

Tuesday, June 18, 2019

Spread Your Wings and Fly - Lil' Inker's Designs Butterflies

Good morning! Dropping by today to share a card that I created with some recently released stamps from Lil' Inker Designs, paired up with some Hero Arts ombre inks!


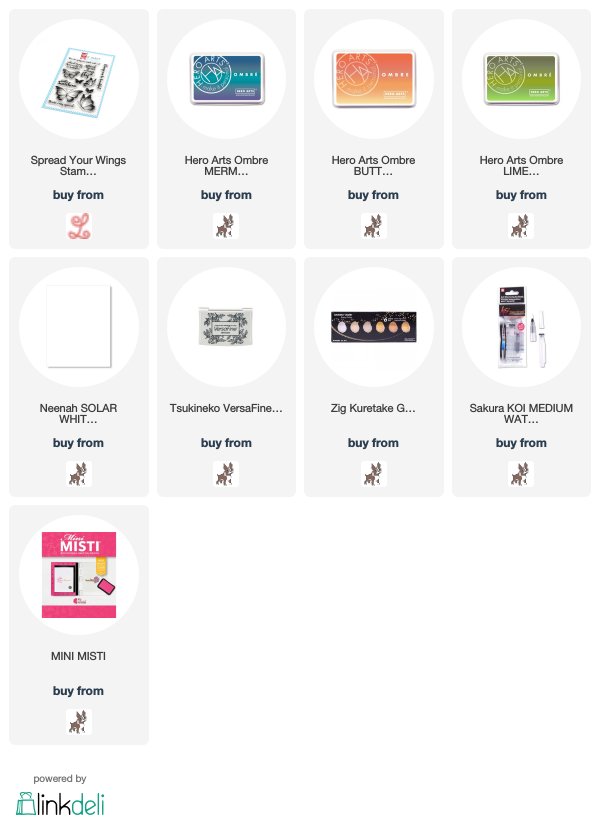
The beautiful Spread Your Wings stamp set is full of fabulous sentiments and lovely butterflies! I used 3 different shades of Hero Arts Ombre ink (colors linked below), and stamped lots of butteflies along one side of the card.


I added a sentiment stamped in black on the bottom right corner.


Finished off with a good dose of gold splatters using my Starry Colors Palette - can you see the sparkle and shine?!?!?


Product links are all below - including affiliate links where possible, which simply means that if you use one of the links below, I receive a small commission at no additional cost to you. Thanks so much for supporting my blog, and stopping by! Have a wonderful day!!!


Monday, June 17, 2019

Shimmer Powders with Gold Heat Embossing - on the Unity Blog

Good morning! I'm back with another card for my series on the Unity Stamp Company Blog this morning! I'm so excited to be featuring the amazing Kit of the Month on Monday's on the Unity Stamp Company Blog! Since the Kit of the Month was the first thing I purchased from Unity, and what got me hooked to begin with, they hold a special place in my heart, so I'm super excited for this new chapter! You can check out all the details HERE for today's card!


Thanks for stopping by today - have a WONDERFUL day!!!


Sunday, June 16, 2019

Bee Awesome- Simon Says Stamp July Card Kit

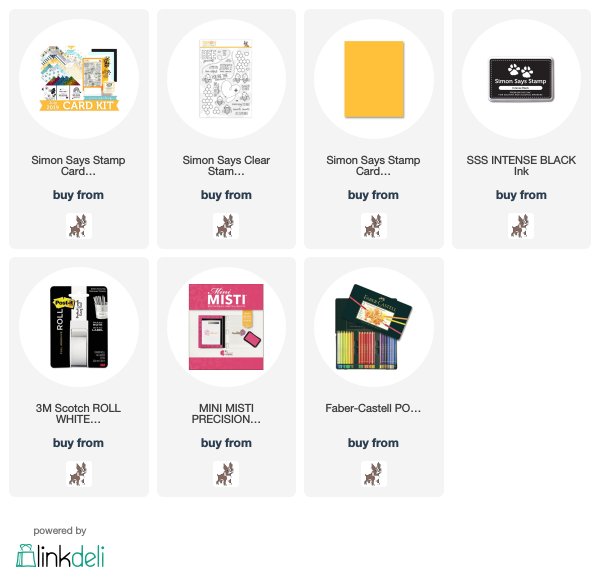
Good morning! I'm back again to share one more card created with the BRAND NEW July Simon Says Stamp Card Kit - Bee Yourself! This is such a fun bee theme kit - just as the name suggests! The large stamp which shares the same name, the adorable pattern papercute little hexagon dieglue pad, foil elements, sequins, and pattern paper pull this together into one well rounded and fun kit!

Today's card is a fun clean and simple design that I thought was a super fun way to use lots of these darling stamped images from the Bee Yourself Stamp set in the kit!


I started off by creating a top folding cardbase from some of the Sunshine cardstock in the kit. I then masked off a rectangle on the front using Post-it Tape - this gave me a framework to function in for stamping my images.


I then arranged four of the bees, and lots of the fun sentiments within that rectangle, as well as some of those hearts, then picked up the entire thing with my MISTI and stamped it all at once. I did stamp some more of the hearts in individually, since I didn't have enough of those to stamp them all at the same time.


Finally, I used a white colored pencil to add highlights along one side of each of the images, and a deeper yellow colored pencil to add some shadows on the opposite side. Just a way to add a touch of dimension and interest to the image!


Here is a closer look at the entire kit contents - you can find all the details HERE:


Product links are all below - including affiliate links where possible, which simply means if you use one of the links below that I receive a small commission at no additional cost to you. Thanks so much for stopping by! Have a wonderful day!!!


Saturday, June 15, 2019

Shimmer Powder and Stencil Birthday Cards - Simon Says Stamp

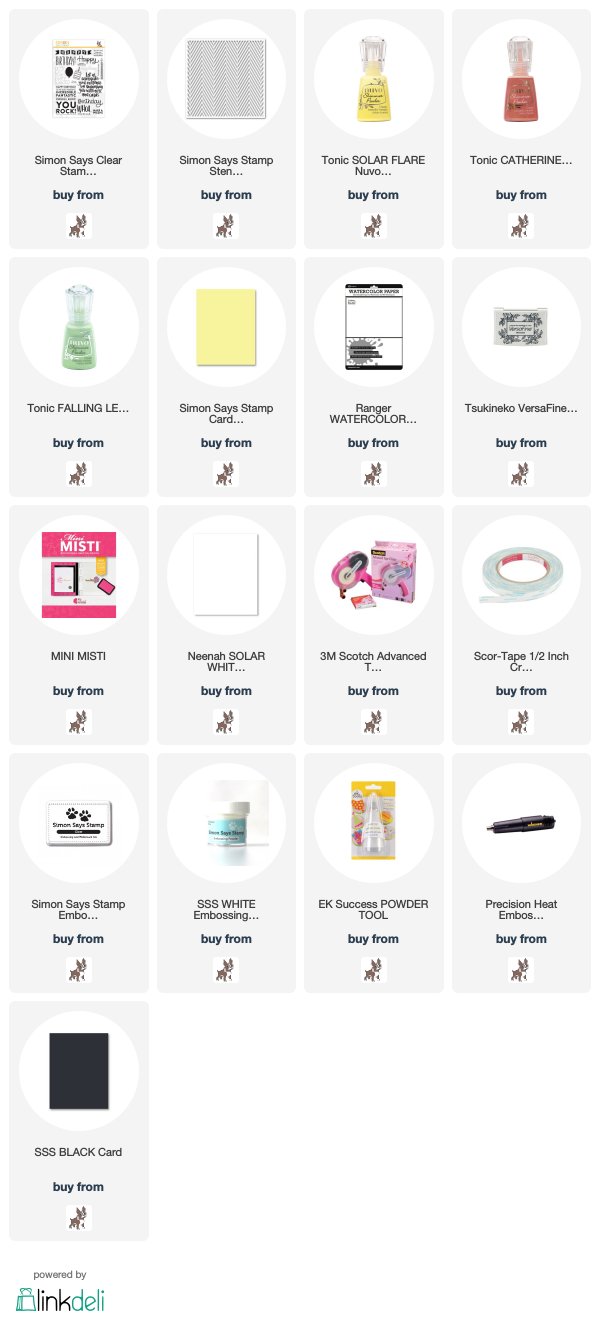
Good morning! Dropping by today with a couple cards I created pairing up one of my favorite products right now - shimmer powders - and a stencil and stamp set from Simon Says Stamp! I also have a quick 1 minute video sharing my technique if you want to check it out!


Here is the video sharing how I created these backgrounds with a stencil from Simon Says Stamp and several colors of shimmer powders:


I love these bright juicy colors together too! This first card is the first creation, sprinkling powder over the stencil, misting with water, then removing the stencil.


This second one is a bonus created by pressing a piece of watercolor paper onto the stencil afterwards to pick up the extra color. This gives a much softer effect, but kind of a fun two-for-one!


So hard to capture the shimmer and shine these have in a photo - but in real life, they are so fun and pretty!


I added sentiments to each of these using Big Birthday Greetings stamp set - the bold one I heat embossed the sentiment on a panel of black cardstock in white, the second one I stamped the sentiment directly on the background.


Product links are all below - including affiliate links where possible, which simply means that if you use one of the links below, I receive a small commission at no additional cost to you. Thanks so much for supporting my blog, and stopping by! Have a wonderful day!!!


Friday, June 14, 2019

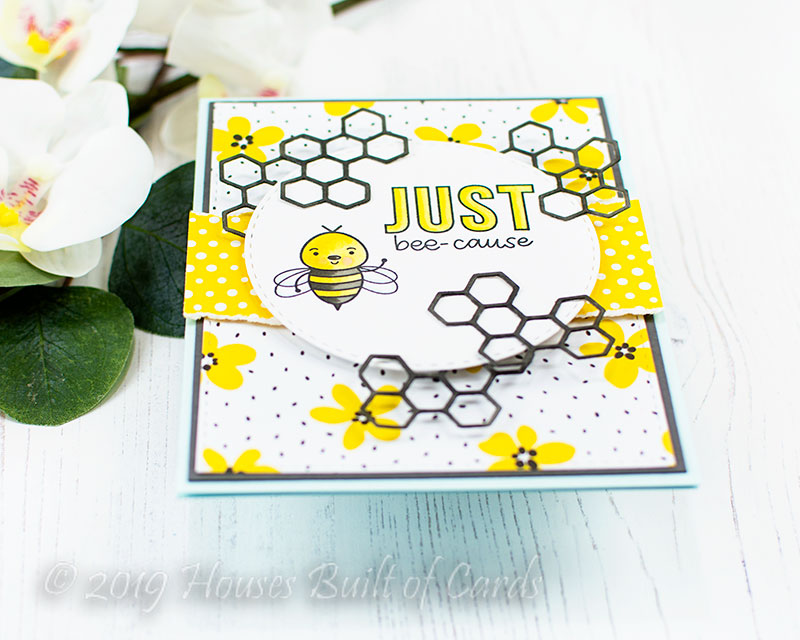
Just Bee-cause and Bees Knees - Simon Says Stamp July Card Kit

Good morning! I'm popping in to share a couple cards created with the BRAND NEW July Simon Says Stamp Card Kit - Bee Yourself! This is such a fun bee theme kit - just as the name suggests! The large stamp which shares the same name, the adorable pattern paper, cute little hexagon die, glue pad, foil elements, sequins, and pattern paper pull this together into one well rounded and fun kit!

I have two cards to share with you today - starting with this one using some of the adorable pattern paper!


I stamped and colored my sentiment and one of those darling bees on a Stitched Circle. I die cut several of the Small Hexagon Die from white cardstock - then colored it with my Copic markers for a perfect custom color match!


I layered up some of those hex dies behind and in front of the circle, then layered together lots of fun pattern paper from the kit.


Don't you just love how all those hex layers work together?!?!?


Next up - a shaker card!


This card actually uses the panel I cut all the white hexagons from for the previous card - I tried to cut them strategically from this panel, and it worked perfectly! I die cut more of them from black cardstock and inlaid them in the shaker to make it pop more.


I made this one huge panel shaker, and actually used ALL the sequins from the Buzzy Bee sequins in the kit - you could spread them out and easily create more cards, but I figured if I was going to make a shaker, I was going to do it right!


I added a pen drawn outline around the edges of the shaker panel, colored the sweet bee up in soft colors, then added some Crystal Glaze to the glasses and wings for a bit of shine!


Here is a closer look at the entire kit contents - you can find all the details HERE:


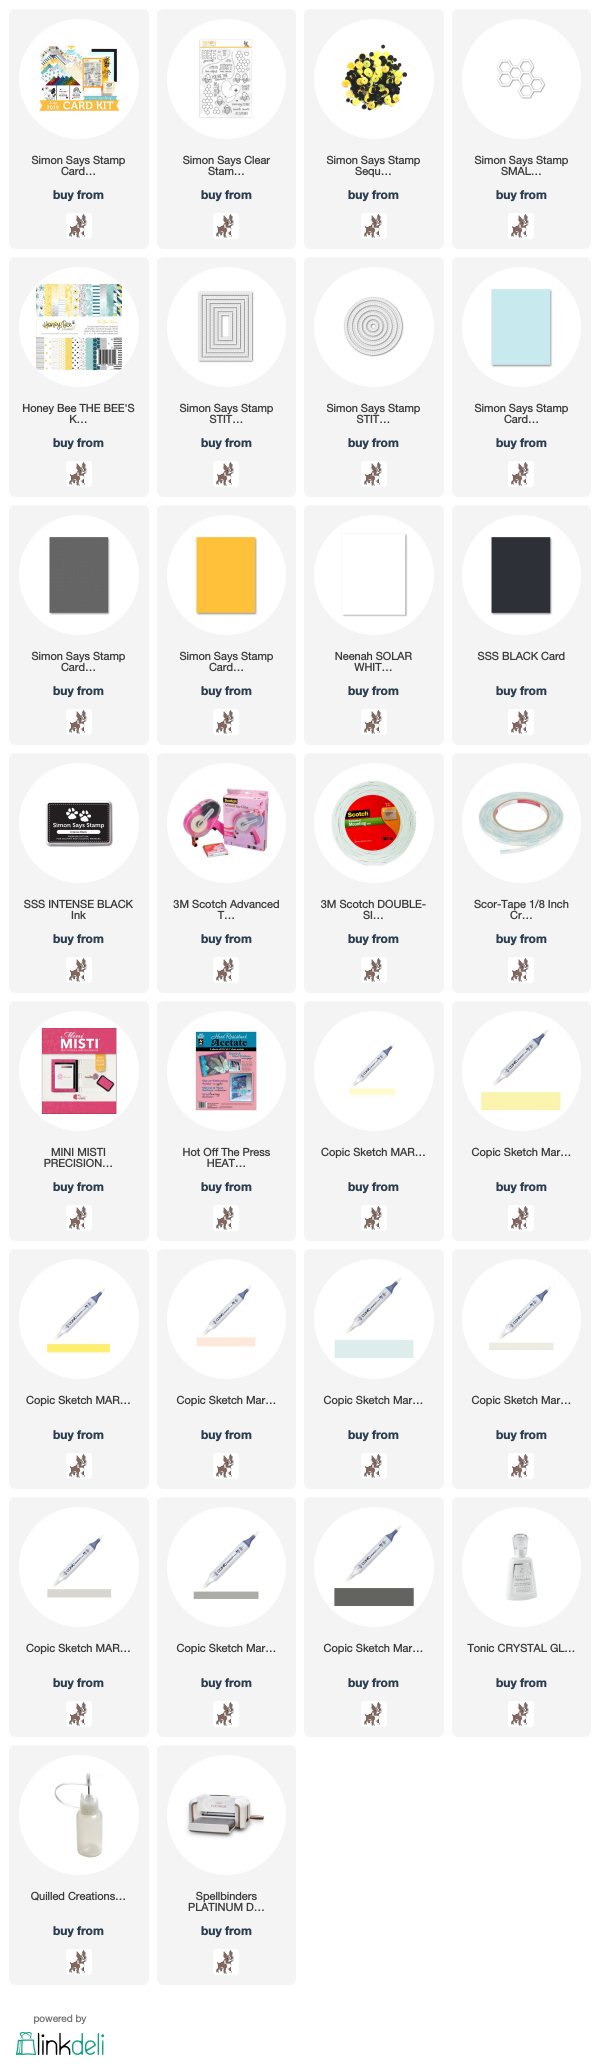
Product links are all below - including affiliate links where possible, which simply means if you use one of the links below that I receive a small commission at no additional cost to you. Thanks so much for stopping by! Have a wonderful day!!!


Dreams Come True- Pinkfresh Studio Facebook Live

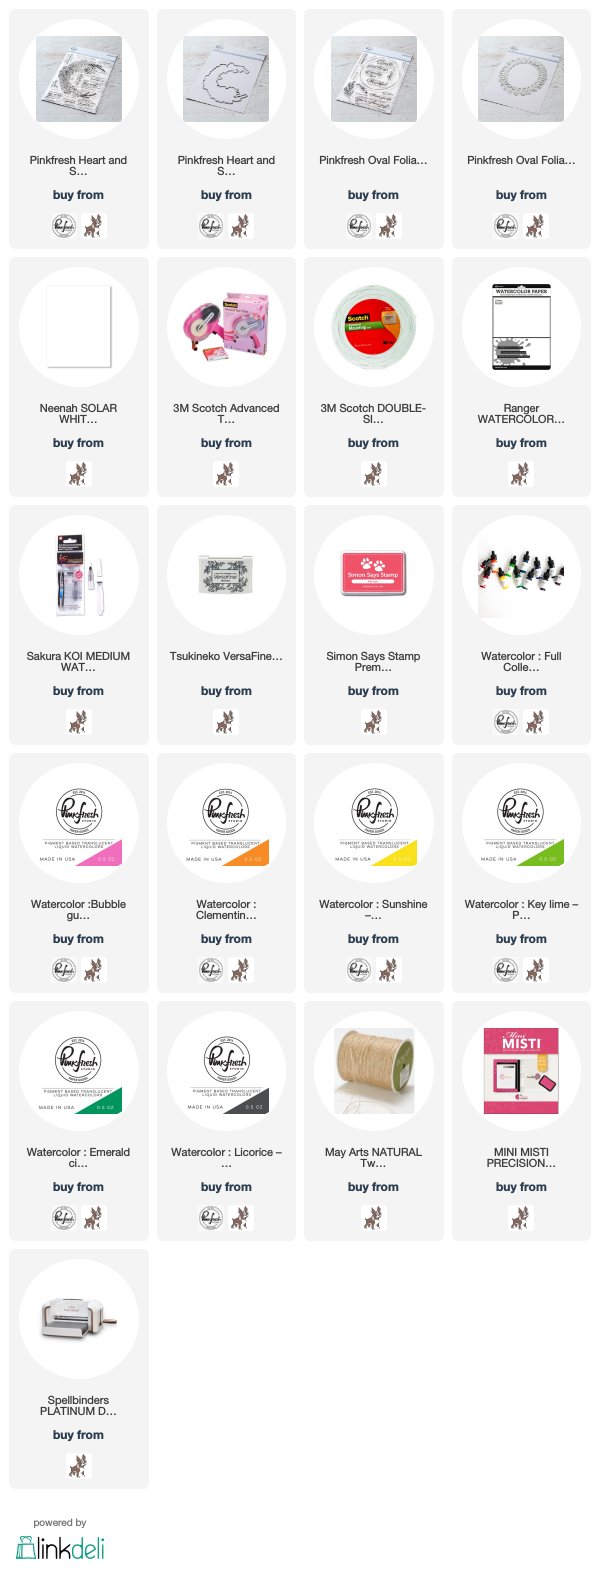
Good morning! Yesterday was once again my day for a Facebook Live video, and we played with a couple of older stamp sets yesterday, Heart and Soul and Oval Foliage - paired up with some beautiful Pinkfresh Liquid Watercolors! Sometimes it's fun to remember some of the lovely past releases!! If you missed it and want to take a peek, you can find it on the Pinkfresh Facebook Page - this week's video is available HERE. As summer begins there may be some weeks we have to skip, but overall still planning to do this each week on Thursdays as schedules allow - so I hope you'll be able to come join me sometime! As always, there was one giveaway for someone who watched live, so make sure and pop in next week for a chance to win next week's live giveaway - 10 AM Pacific time on Thursday mornings!

In the meantime - here is some more info and photos of the card set we made, as well as links to all the products used!


We started off by stamping, die cutting (with the Coordinating Dies), and watercoloring the beautiful large floral image from Heart and Soul.


While that dried, I die cut the leafy frame from Oval Foliage Coordinating Dies, stamped the circle from the Oval Foliage Stamp Set in the center, and curling up the edges of the leaves. Next up was a good splatter of Licorice Liquid watercolors on that background, and allowing that to dry just a bit as well.


Added some jute twine tied in a bow and wrapped around the watercolored die cut piece, then adhered that with foam adhesive over the background, and stamped a sentiment in coordinating dye ink!


Product links are all below - including affiliate links where possible, which simply means that if you use one of the links below, I receive a small commission at no additional cost to you. Thanks so much for supporting my blog, and stopping by! Have a wonderful day!!!