Showing posts with label Tonic Crystal Glaze. Show all posts

Wednesday, February 12, 2025

Citrus Shine card - Simon Says Stamp

  Good morning! Today I've got a bright and shiny card to share - using a die that I actually have had for a while, and never got a chance to use from Simon Says Stamp - paired with some other supplies to finish the card off.


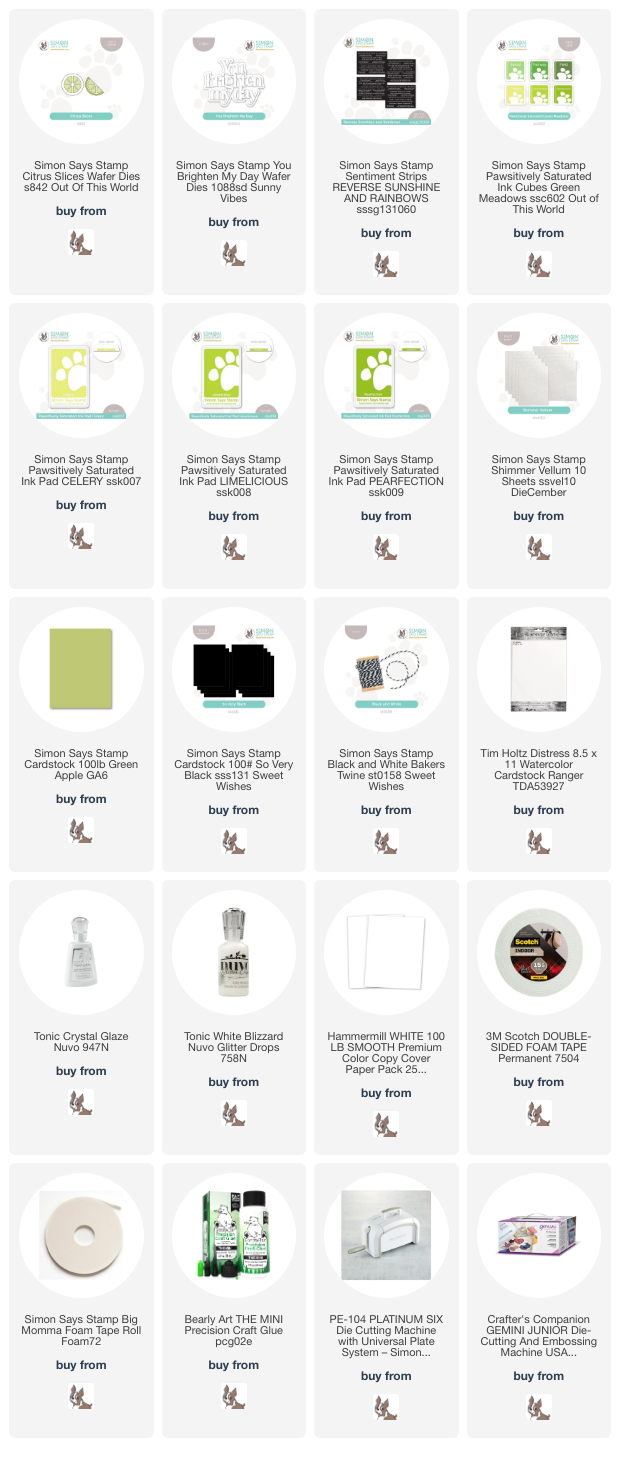
I started by cutting out several of the Citrus Slices die from Green Apple cardstock, and the solid layer from Shimmer Vellum, then layering them and gluing together. For the background, I used some watercolor paper, and used ink cubes in Celery and Limelicious to swipe down from the top of the panel, then misted with water, and let the colors run a bit. I smooshed some Pearfection on a clear block, picked it up with a wet brush, and added some additional splatters for texture. Once it was dry, I layered all the lime slices over top, adhering with liquid glue. I let some hang off the edges of the panel, and trimmed off the excess, reusing the trimmed off pieces as I was able. Sentiment is You Brighten My Day wafer die, cut from white for the shadow layer, then the main layer once each from Green Apple and black cardstock. I adhered those two layers together slightly offset for a shadow effect to make the words pop a bit extra. I added a tiny secondary sentiment over the top from Reverse Sunshine and Rainbows sentiment strips. Then it was time to add some shine! I covered the centers of the lime slices with Blizzard Glitter Drops, and the outside edges of each one - and the main sentiment - with Crystal Glaze. Gave that lots of time to dry thoroughly, then added a twine bow at the top with Black and White Baker's Twine. Here is a closer look at the finished card:


Product links are all below - including affiliate links where possible, which simply means if you use one of the links below that I receive a small commission at no additional cost to you. Thanks so much for stopping by! Have a wonderful day!!!


Friday, June 14, 2019

Just Bee-cause and Bees Knees - Simon Says Stamp July Card Kit

Good morning! I'm popping in to share a couple cards created with the BRAND NEW July Simon Says Stamp Card Kit - Bee Yourself! This is such a fun bee theme kit - just as the name suggests! The large stamp which shares the same name, the adorable pattern paper, cute little hexagon die, glue pad, foil elements, sequins, and pattern paper pull this together into one well rounded and fun kit!

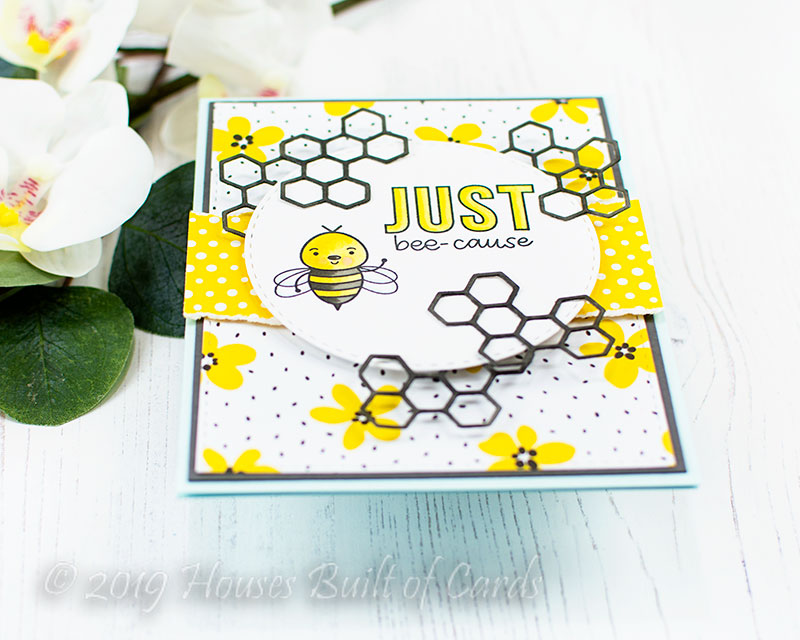
I have two cards to share with you today - starting with this one using some of the adorable pattern paper!


I stamped and colored my sentiment and one of those darling bees on a Stitched Circle. I die cut several of the Small Hexagon Die from white cardstock - then colored it with my Copic markers for a perfect custom color match!


I layered up some of those hex dies behind and in front of the circle, then layered together lots of fun pattern paper from the kit.


Don't you just love how all those hex layers work together?!?!?


Next up - a shaker card!


This card actually uses the panel I cut all the white hexagons from for the previous card - I tried to cut them strategically from this panel, and it worked perfectly! I die cut more of them from black cardstock and inlaid them in the shaker to make it pop more.


I made this one huge panel shaker, and actually used ALL the sequins from the Buzzy Bee sequins in the kit - you could spread them out and easily create more cards, but I figured if I was going to make a shaker, I was going to do it right!


I added a pen drawn outline around the edges of the shaker panel, colored the sweet bee up in soft colors, then added some Crystal Glaze to the glasses and wings for a bit of shine!


Here is a closer look at the entire kit contents - you can find all the details HERE:


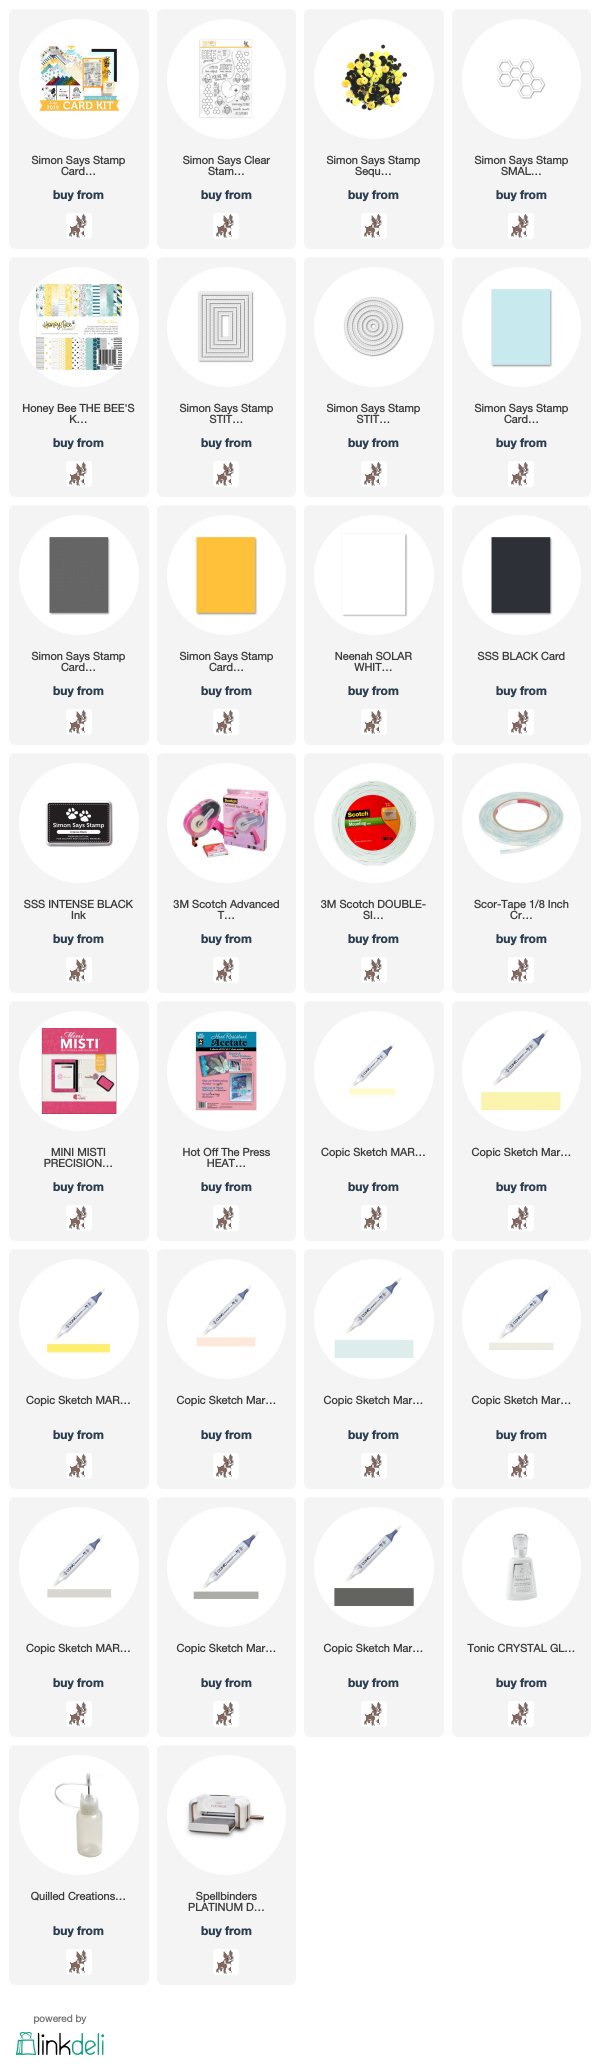
Product links are all below - including affiliate links where possible, which simply means if you use one of the links below that I receive a small commission at no additional cost to you. Thanks so much for stopping by! Have a wonderful day!!!


Thursday, May 9, 2019

Shimmer Powders and Die Cutting - Simon Says Stamp

Good morning! Dropping by today with a couple more cards with another attempt at using shimmer powders from Tonic! I paired them up with some Simon Says Stamp dies - and combined them with a few other items from the Tonic Studios spring release that I was sent as part of my work with Simon Says Stamp with no obligation to use or share - I did an Instagram Live recently as I opened and looked through all the fun items in the box. But it was very easy to use and love these fun products, so I'm excited to share these two additional cards here today!


For these cards, I used two different colors of shimmer powders - Atlantis Burst and Violet Brocade, and simply created bold backgrounds on watercolor paper as I was playing. I didn't really like the way they turned out at first - just felt like I had added too much of the shimmer power. But then...I decided to try and die cut them - and boy am I glad! They were perfect for this! I die cut them with Simon Says Stamp's Lotus Frame Wafer Die, punched the pieces out of each one, and then reversed the pieces so that I paired the negative with the positive and the other way around. I added some plain cardstock and adhesive to the back to fit them all into place.


Next, I wanted to coordinate the sentiments, so I die cut both layers of the Big Friend word die from white cardstock, and had some fun with embossing powders! I basically smooshed the narrower version of the word in embossing ink, then sprinkled on Tonic Crushed Mulberry Embossing Powder, held it with my tweezers, and heat set. This produced a super pretty and metallic effect!


Instead of adding the dot to the "i" in friend (which would have been tough to heat emboss I imagine!) - I added a dot of Pink Orchid Crystal Nuvo Drops - perfect and easy!


For this second version, I did the same thing, but this time used Tonic Ocean Sparkle Embossing Powder, which gave a lovely and glittery effect! I added the dot on the "i" with Calming Aqua Crystal Nuvo Drops.


For both cards I added on a simple sentiment from Messages for Everyday, heat embossed in white on a thin strip of black cardstock. 


It may be a bit difficult to see in the photos - but I also added some Tonic Crystal Glaze to each of the centers of the floral images on the Lotus Frame Die - it was the perfect touch to help them just POP a bit more! LOVE the shine that you get from that! I finished off by mounting everything on cardbases created with Simon Says Stamp White Woodgrain Cardstock for a bit more texture.


Have you tried shimmer powders yet? Would love to hear if you've already tried them or would love to eventually!


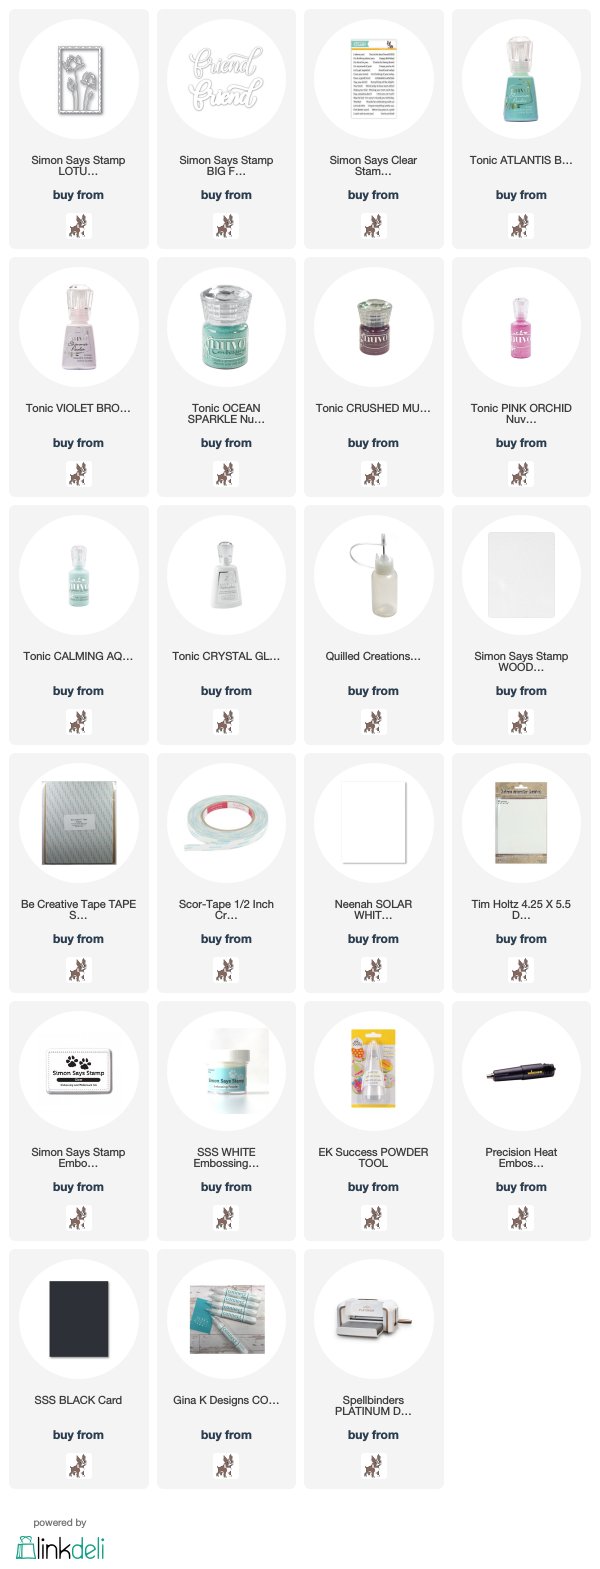
Product links are all below - including affiliate links where possible, which simply means that if you use one of the links below, I receive a small commission at no additional cost to you. Thanks so much for supporting my blog, and stopping by! Have a wonderful day!!!


Sunday, May 5, 2019

Reverse Confetti May BIRTHDAY Release Day 1

Good morning! Welcome to Day 1 of sneak peeks for the fabulous new May Release at Reverse Confetti! Woohoo! Sneak peeks begin today, and run for the next two days, then the release is live on the 8th and there will be a blog hop to celebrate!

Here is my card to share today:


I started off by creating the background for this card using the new Split Circles Cover Panel as a stencil with Shimmer Powder - one of my new favorite techniques! I basically die cut it from thinner cardstock, set it on top of my watercolor paper, sprinkled some Shimmer Powder over the top, misted with water, removed my stencil and set it aside to dry.


I colored up the darling ice cream truck from Ice Cream Social with Copic markers, then mounted it over the stitched circle from the new Square and Circle Frame Confetti Cuts. I also head embossed a sentiment and popped it on there as well.


Added a few coordinating jewels, a bit of coordinating RC Aqua cardstock peeking from behind the panel, mounted the entire thing on a white cardbase, and then finished off with some Tonic Crystal Glaze on parts of the ice cream truck for a bit more shine and fun!


Here is a look at the new products that I used on these cards that will be releasing in a few days!


Here is the entire list of everyone participating today:

Heather Hoffman (you are here)
Make sure  to check out all the release sneak peeks, and leave a comment before you leave for a chance to win a $25 gift certificate - all comments must be left by noon EST on May 7th - winner will be announced 5 PM EST - there is also a chance to win on the Reverse Confetti Facebook Page.

Product links are all below - including affiliate links where possible, which simply means if you use one of the links below that I receive a small commission at no additional cost to you. Thanks so much for stopping by! Have a wonderful day!!!


Wednesday, March 13, 2019

Altenew March 2019 Stamp/Die/Stencil Release Blog Hop + Giveaway

Good morning! I am thrilled again this morning to be hopping along with Altenew to celebrate the BRAND NEW March 2019 Release! You can find the entire release HERE.

So - fair warning - this is a VERY photo heavy post! I have a total of 7 cards to share, so make sure to get all the way to the bottom for the giveaway info!


I'm starting off with two cards featuring the super fun Prettiest Pomander Stamp set - a fun layering stamp set!


I love how fun this stamp set is - basically coloring in the outside image using inks and the individual stamps. I was surprised at how easy it was to line up and stamp! For this first one I die cut it with the Coordinating Dies, then popped it up on a panel of white cardstock with a tiny Fine Frames cut from black cardstock, and a sentiment from the new Thank You Builder stamp set stamped with coordinating ink colors. I mounted that panel off-set on a Spicy Yogurt cardbase.


The second image I actually stamped backwards - as I lined up the first on in my MISTI, I re-stamped with softer colors without the outline image. It looked so soft and pretty that way - and I kind of wish I had left it that way, but at the last minute, I decided to add the outline with a gray ink color. Both ways look lovely, so it's fun to play! For this one I die cut it from my panel of white cardstock with the Coordinating Dies, then mounted on a gray cardbase, offsetting the top image with foam adhesive so you can see a bit of a drop shadow behind the image. The sentiment on this card came from the One Day at a Time stamp set, also stamped with coordinating gray ink.


The next thing I want to try with this stamp set, is to just stamp the outline image and color with markers or watercolors! Love versatile stamp sets like this!


Next up, I have a clean and simple one layer card featuring the super sweet and fun Watercolor Doodles Stamp Set! LOVE this one!


I stamped an assortment of the little outline images on two corners of a white cardbase, then filled in some of the images with the solid stamps. I left some just as a simple outline for texture.


Added a simple sentiment from Versatile Vases to finish - easy and one layer! And I love the whimsical feel to these florals!


And then I have ANOTHER one layer card to share!


This one features Versatile Vases stamp set paired up with the Coordinating Mask Stencil! I stamped the vase, then used the stencils to mask out the just the vase and blend some ink over to color it. I then used the opposite image to mask the vase, and added ink around the bottom to ground the image.


Finally, I stamped my sentiment, and a bit of greenery from Wallpaper Art stamp set in green ink. I used some coordinating Artist Markers to add a touch of color to the outline leaf image to make it pop a bit more. Another easy one layer card design!


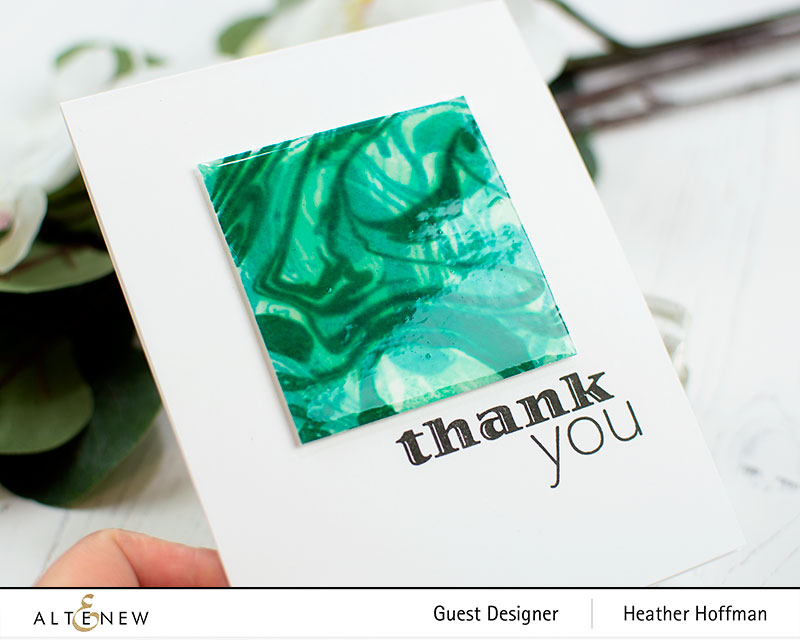
And finally, I created this trio of cards layering up the marble images from One Day at a Time, and pairing them up with sentiments from the fabulous Thank You Builder stamp set!


For each of these, I used one of the coordinating sets of 4 Altenew Dye Inks, and stamped all the layers of the marble image one over the top of the other. I trimmed these panels out, mounted them on my simple white cardbase, added the sentiment, then set out to make them look like tiles! This first one I flooded the entire square with Glossy Accents. Can you see the shine?


I did the same thing on the next two images - excuse the orange on this one, for some reason this color was incredibly hard to photograph it seems! The only change on these next two, is that I used Tonic Crystal Glaze to flood the top of them. Very similar effect  I kind of just wanted to compare and see if I noticed any differences.


Definitely plan ahead of you are doing this technique - it takes LOTS of time for these to dry thoroughly enough. I left them a good solid 24 hours to make absolutely certain they were dry so I didn't end up with any cracks or anything.


Very hard to capture in a photograph, but this gave such a fun texture and effect! When I first showed my daughters, they thought I had done paint pouring on them or something like that. Can't wait to try more colors!


GIVEAWAY INFO:
Altenew is giving away 6 $50 gift cards for comments left on the Altenew Card Blog and Altenew Scrapbook Blog. Make sure and leave comments by 3/19/19 to be eligible. A winner for a $20 gift card will also be selected from EACH stop along the hop - all winners will be announced on the Altenew blogs on 3/23/19. 

Here is the entire blog hop line-up so you don't get lost along the way - there are lots of giveaways along the hop as well:


Product links are all below - including affiliate links where possible, which simply means that if you use one of the links below, I receive a small commission at no additional cost to you. Thanks so much for supporting my blog, and stopping by! Have a wonderful day!!!