Saturday, April 25, 2020

Tulip Background 2 Ways - Simon Says Stamp Sunny Days Ahead Blog Hop


Good morning! I'm thrilled this morning to be part of Day 2 of a 2 day Blog Hop to celebrate the Fabulous NEW Sunny Days Ahead from Simon Says Stamp!!! Not only is a new release exciting - but Simon Says Stamp is finally able to begin shipping again after being part of a state wide stay at home order. Yesterday I received a couple orders I had placed with new item pre-orders in February - and it was so fun to receive some of the goodies I had totally forgotten about! Make sure and check out all the inspiration with this new release AND link up your creations as you receive your orders HERE in the Gallery created just for this release! And check out the graphic below to receive the versatile Intense Black Ink Pad for FREE with any order using coupon code SSSINK through Sunday, January 12, 2019 as well - while supplies last (code expires at 11:59 PM EST)!!!


Today I'm sharing two cards using the same background and sentiment stamp sets - but in two different ways! I love being able to use  my supplies in different ways to get more uses out of them!


For this first card, I decided to watercolor in the image in some of my favorite tulip tones with the lovely new Tulip Background Stamp!


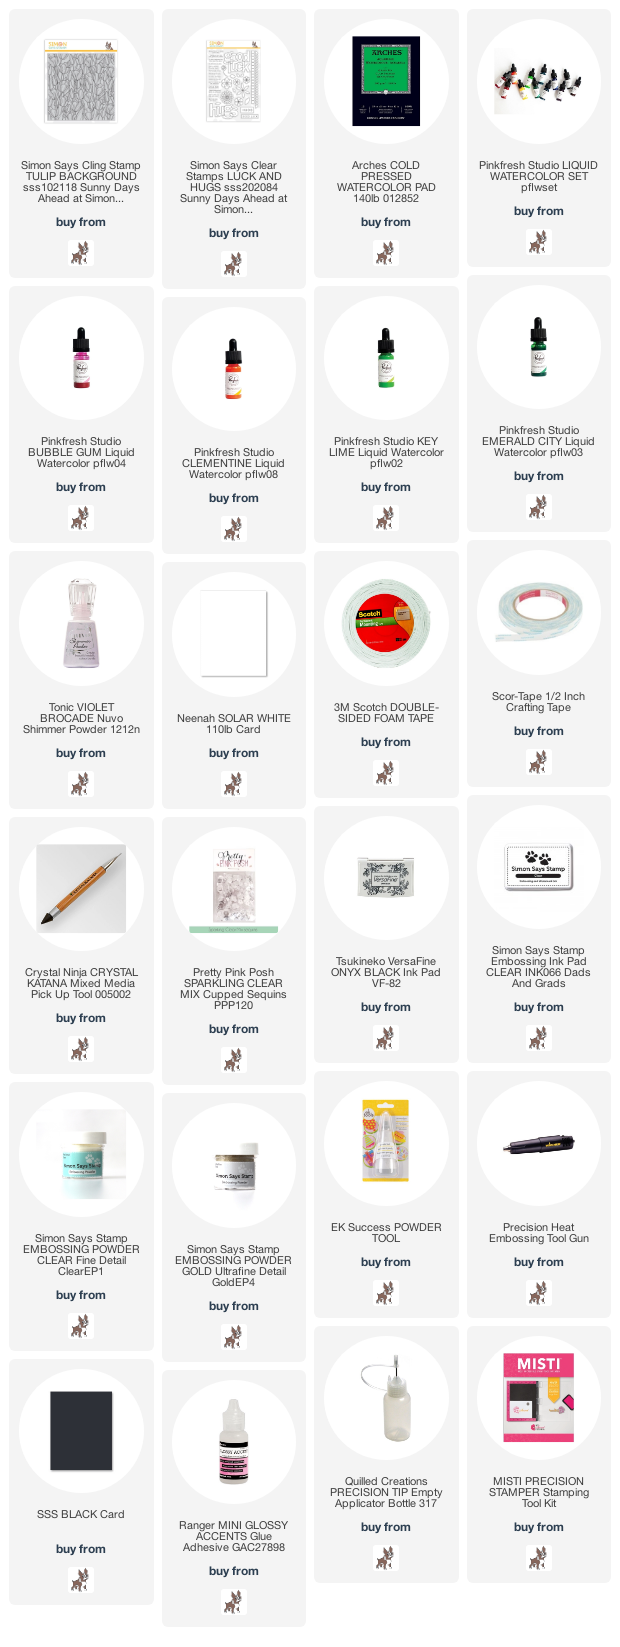
I started off by heat embossing it it in gold on Arches watercolor paper. I used my MISTI to stamp a couple times for a clear impression - it'snot perfect on the texture of the watercolor paper, but I am okay with imperfection! I then used some bright and bold Pinkfresh Liquid Watercolors to color in the image. These colors are so fun to mix and blend together!


I added a sentiment from the new Lucky and Hugs stamp set. I stamped the larger portion in black on white cardstock and carefully cut it out close to the image, then heat embossed the second part, trimmed it into a banner shape, and added it underneath - both on foam adhesive.


Finished off with a few sparkly clear Pretty Pink Posh sequins for fun. Can you see the lovely shine from the gold heat embossing on this?


For the next one, I went with a far more abstract approach!


For this, I stamped and heat embossed as above, but this time I used clear embossing powder. I taped it down on a board, sprinkled some Nuvo Shimmer Powder in Violet Brocade over the entire panel, and then misted it generously with water. The best effect from this come from letting it sit and slowly dry - the shimmer powders pool up within the heat embossed areas and look so pretty when they finish drying. Hard to be patient, but so worth it!


Once it dried (for a very long time! Or overnight I suppose...) I added the sentiments and sequins the same way as the above card.


Can you see how shimmery and pretty this technique is?!?!? I love the fine glitter in the shimmer mist!


Which technique do you like best? One takes very little time, but lots of patience, the other more time to color, but when you are done it is finished pretty quickly!


GIVEAWAY INFO:
Simon Says will be giving a $25 gift certificate to their online store at each stop along the hop - so make sure and leave a comment before you leave for a chance to win! Winners will be announced next Wednesday on the Simon Says Stamp Blog.

Here is the entire blog hop line up in case you get lost along the way:

Heather Hoffman (you are here)

These ladies are also part of the hop, but are featuring previously released products - so make sure and hop along to them as well:


Product links are all below - including affiliate links where possible, which simply means that if you use one of the links below, I receive a small commission at no additional cost to you. Thanks so much for supporting my blog, and stopping by! Have a wonderful day!!!

Thursday, April 23, 2020

Mama I Love You So - Simon Says Stamp Sunny Days Ahead Release

Good morning! I'm super excited this morning to be sharing a card using some of the brand new Sunny Days Ahead Release from Simon Says Stamp! This release was supposed to happen earlier this month, but was put on hold when Simon Says had to stop shipping due to a stay at home order for the Covid 19 situation. So happy to today to not only be able to finally share this release, but also the news that Simon Says Stamp is finally been given the go ahead to begin shipping again! 

Today's card uses one of the new dies in this release, along with an alcohol ink background I created last month and shared a short video of on my Instagram page. So glad to finally get it used on a card!


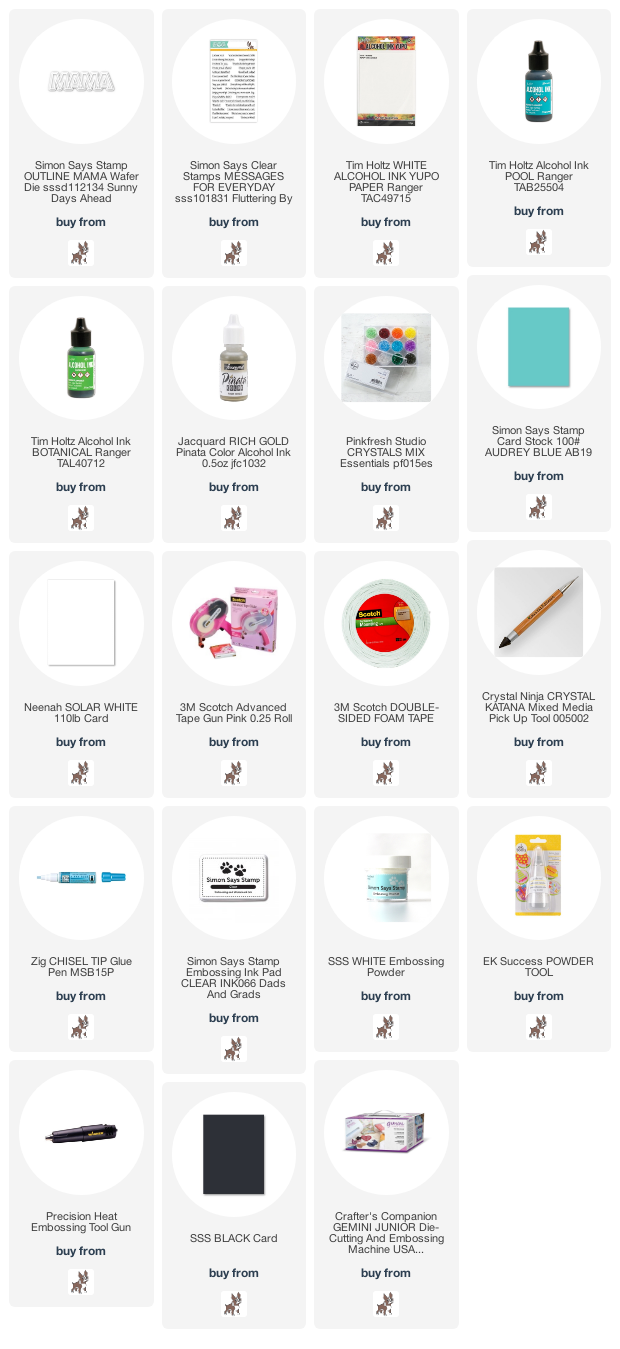
I used two colors of alcohol ink for the background - Botanical and Pool - as well as come Pinata Rich Gold color.


I used the brand new Outline Mama wafer die for the large word - cutting the outline image from gold glitter cardstock, and the background first from vellum (then feeling like it didn't pop enough), then from white cardstock. I actually layered them together in the end - the vellum softens the white cardstock a bit for a softer look in real life.


Added a supporting sentiment from a previous release - Messages for Everyday - heat embossed on a bit of black cardstock, then matted the front panel with white cardstock and mounted on a card base created with Audrey cardstock. Finished off with a few sparkly coordinating crystals from Pinkfresh's Essentials: Crystals Mix!


Product links are all below - including affiliate links where possible, which simply means that if you use one of the links below, I receive a small commission at no additional cost to you. Thanks so much for supporting my blog, and stopping by! Have a wonderful day!!!


Monday, April 20, 2020

Watercoloring with Coffee - on the Unity Stamp Company Blog

Good morning! I'm back with another card for my series on the Unity Stamp Company Blog this morning! I'm so excited to be featuring the amazing Kit of the Month on Monday's on the Unity Stamp Company Blog! Since the Kit of the Month was the first thing I purchased from Unity, and what got me hooked to begin with, they hold a special place in my heart, so I'm super excited about this opportunity to give these kits some love! You can check out all the details HERE for today's card!


Thanks for stopping by today - have a WONDERFUL day!!!


Wednesday, April 15, 2020

Small Image Full Card - on the Reverse Confetti Blog

Good morning! I have a new edition of Wednesday in the Works on the Reverse Confetti Blog and YouTube Channel this morning - this week I'm using a smaller image from a stamp set to create a watercolor background that pairs perfectly with my sentiment! I hope you'll pop over HERE and check it out for more details!


Thanks so much for stopping by - have a great day!


Monday, April 13, 2020

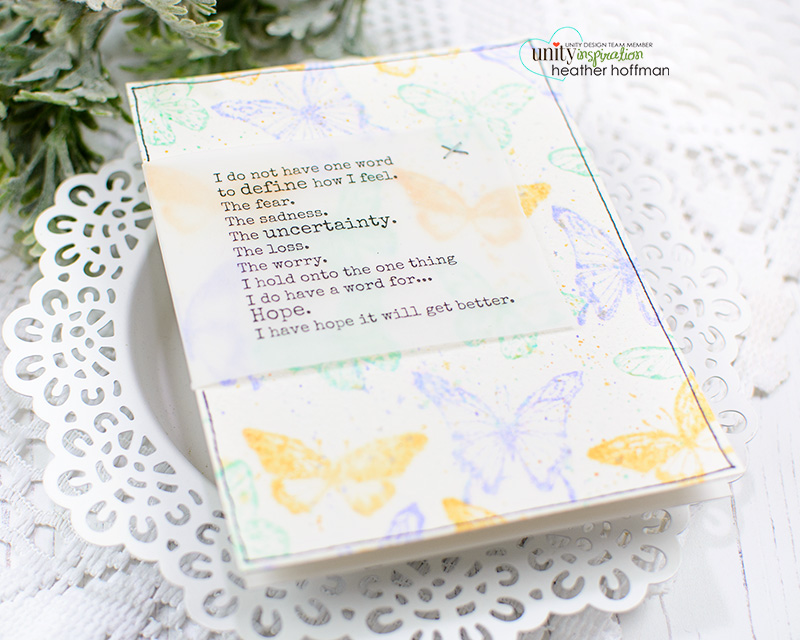
Soft Watercolor Butterfly Background - on the Unity Stamp Company Blog

Good morning! I'm back with another card for my series on the Unity Stamp Company Blog this morning! I'm so excited to be featuring the amazing Kit of the Month on Monday's on the Unity Stamp Company Blog! Since the Kit of the Month was the first thing I purchased from Unity, and what got me hooked to begin with, they hold a special place in my heart, so I'm super excited about this opportunity to give these kits some love! You can check out all the details HERE for today's card!


Thanks for stopping by today - have a WONDERFUL day!!!


Wednesday, April 8, 2020

Reverse Confetti April Blog Hop - More March Release Cards

Good morning! Today is the day for the monthly creative hop with Reverse Confetti! I still have several cards to share from the March Release from Reverse Confetti (remember the ones I didn't get to post due to being stuck on vacation with the flu? Yep - those are the ones!). I still haven't finished posting, so I thought I'd just share several of them for the hop today!


This first card started out as just a shaker tag...then I decided to turn it into a card! I used both layers of the lovely Scallop Window Tag - cutting one tag solid, and the window out of the second card. I did some ink blending on the solid image using Baby Blue ink, then filled the shaker window with tiny iridescent confetti.


I added a sweet scene to the tag using Spring Bunnies, colored up with Copic markers and die cut with the coordinating dies. I also added some sheer white ribbon to the top of the tag.


I created a top folding cardbase from Mist cardstock, rounded off two corners, added some white paint splatters, then adhered my tag onto the card front. I decided to not add a sentiment, and just let it be a sweet scene note card - I can always add a sentiment later if needed!


This next card is a simple stamped wreath!


For this one, I stamped the main circle image from Choose Joy in Sand ink, and the flower using Flamingo and Grass ink. I die cut them all out with the Coordinating Dies.


My background was created with some pattern paper from the Sun & Sea 6x6 Paper Pad, and I used one of the negative cuts from Double Stitch Window Cover Panel for that white square on the front.


Stamped the sentiment so it would fit inside the wreath, then mounted the wreath with a bit of foam tape over the top. Added some wraps of twine to the cardfront, then mounted the front panel with foam again so that it left space for the twine behind it.


And finally - what else would be a perfect fit for the new Chalk it Up Stamp set, than heat embossing some of the images in white on black cardstock to mimic a chalkboard?


I chose several of the images, and added sentiments as well - heat embossing on Midnight cardstock, then cutting with the Coordinating Dies.


The background was created with Stitched Rays Cover Panel, with a bit of black splatters using my Licorice liquid watercolors.


Once those dried, it was simple to add my images with a bit of foam tape over the top!


Here are the Reverse Confetti products I used today - click on any image to go check it out in the Reverse Confetti Store:


Product links are all below - including affiliate links where possible, which simply means that if you use one of the links below, I receive a small commission at no additional cost to you. Thanks so much for supporting my blog, and stopping by! Have a wonderful day!!!


Product links are all below - including affiliate links where possible, which simply means if you use one of the links below that I receive a small commission at no additional cost to you. Thanks so much for stopping by! Have a wonderful day!!!


Monday, April 6, 2020

Storage and Organization Tips, and a Simple and Elegant Card - on the Unity Stamp Company Blog

Good morning! I'm back with another card for my series on the Unity Stamp Company Blog this morning! I'm so excited to be featuring the amazing Kit of the Month on Monday's on the Unity Stamp Company Blog! Since the Kit of the Month was the first thing I purchased from Unity, and what got me hooked to begin with, they hold a special place in my heart, so I'm super excited about this opportunity to give these kits some love! You can check out all the details HERE for today's card!


I'm also sharing a video of how I store and organize my kit of the month - check it out to see some simple tips and tricks!


Thanks for stopping by today - have a WONDERFUL day!!!