Tuesday, May 24, 2022

Hexagon Framed Graphic Florals - Pinkfresh Studio YouTube Live Card

Good morning! Dropping by today to share a card made several weeks ago (yes...I am behind!) for Pinkfresh Studio's YouTube Live - I used some newly released items, paired up with some older releases, and did some hot foiling, reverse foiling, stamping, ink blending, and layering to create this fun card with a non-traditional color combo! You can watch the video replay HERE if you want to see more details.


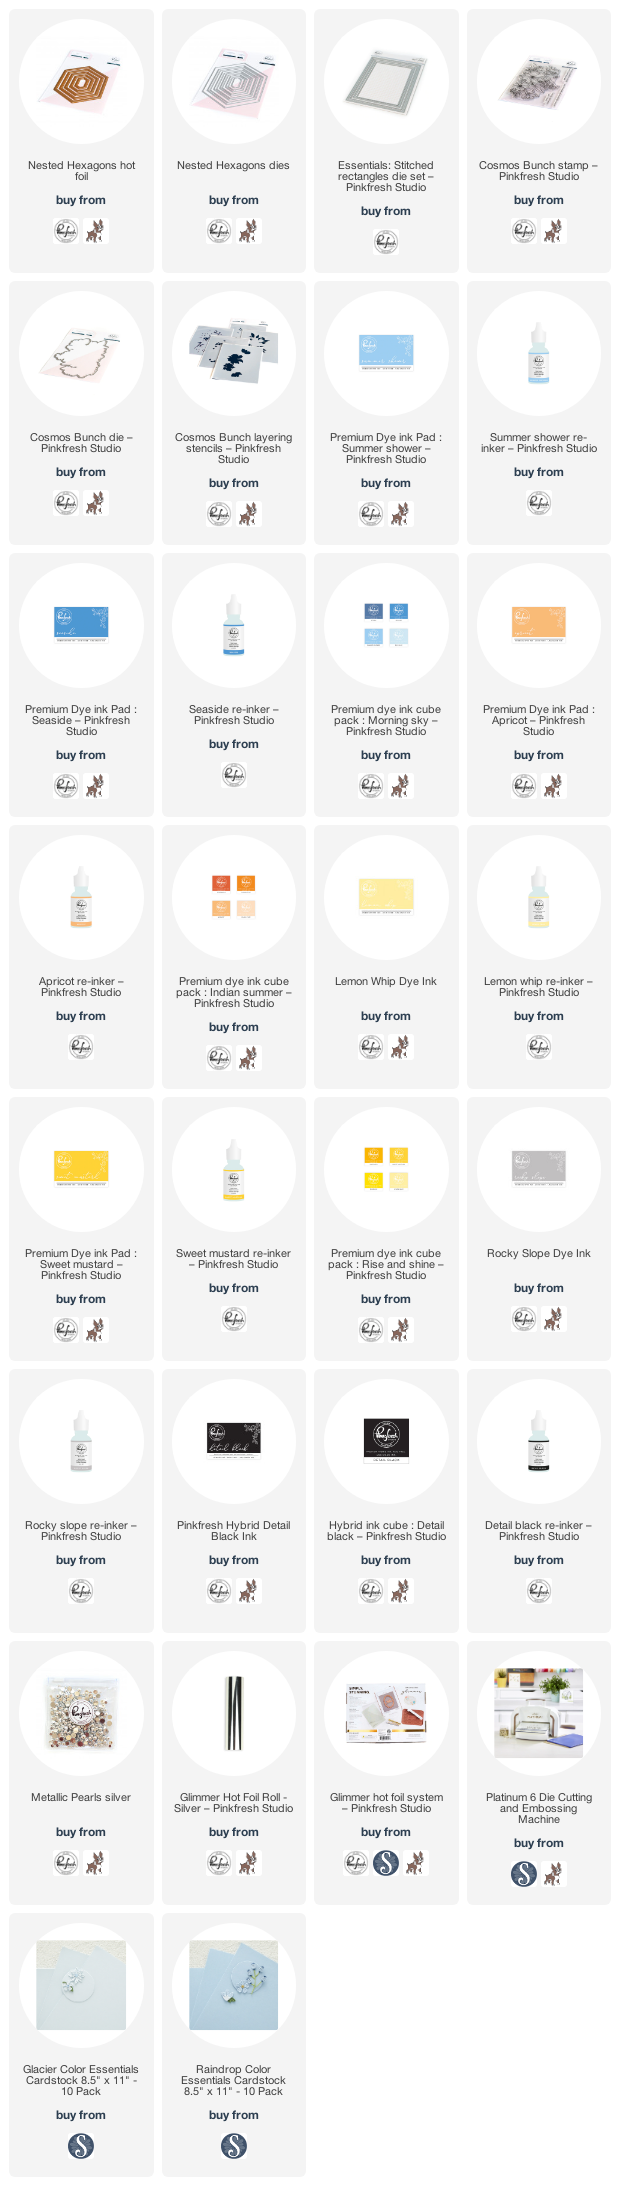
I had so much fun creating this card using one of these super popular and fun new nested frame die sets - paired up with a stamp set that was actually one of the sets from last year's November Create and Connect Event. It is called Cosmos Bunch - it released the next month, and I hadn't even had a chance to ink it up! I love the gorgeous detail on these layering stencils!


I hot foiled a frame using Nested Hexagons hot foil and Silver foil, and then die cut out the window using the Nested Hexagons dies. I die cut out that panel using Stitched Rectangles die. I tucked the florals under the side of the frame, and popped the entire thing up on a soft blue cardstock panel just behind the window. I then mounted it on a slightly deeper blue cardbase.


I stamped the sentiment from the stamp set inside. I absolutely LOVE that sentiment! So great for so many occasions, and so heartfelt and meaningful. 


Finally, I added a unique placement of embellishments - I used the Metallic Silver Pearls, and added a row on two different sides of the hexagon. Not the way I usually add them, but it worked really well on this card!


Product links are all below - including affiliate links where possible, which simply means that if you use one of the links below, I receive a small commission at no additional cost to you. Thanks so much for supporting my blog, and stopping by! Have a wonderful day!!!

Monday, May 23, 2022

Choose Happy Butterfly Slimline - on the Unity Stamp Company Blog

 Good morning! I'm back with another card for my series on the Unity Stamp Company Blog this morning! I'm so excited to be featuring the amazing Kit of the Month on Monday's on the Unity Stamp Company Blog! Since the Kit of the Month was the first thing I purchased from Unity, and what got me hooked to begin with, they hold a special place in my heart, so I'm super excited about this opportunity to give these kits some love! You can check out all the details HERE for today's project!


Thanks for stopping by today - have a WONDERFUL day!!!


Friday, May 20, 2022

Stenciled Congratulations - Pretty Pink Posh May Release Instagram Hop

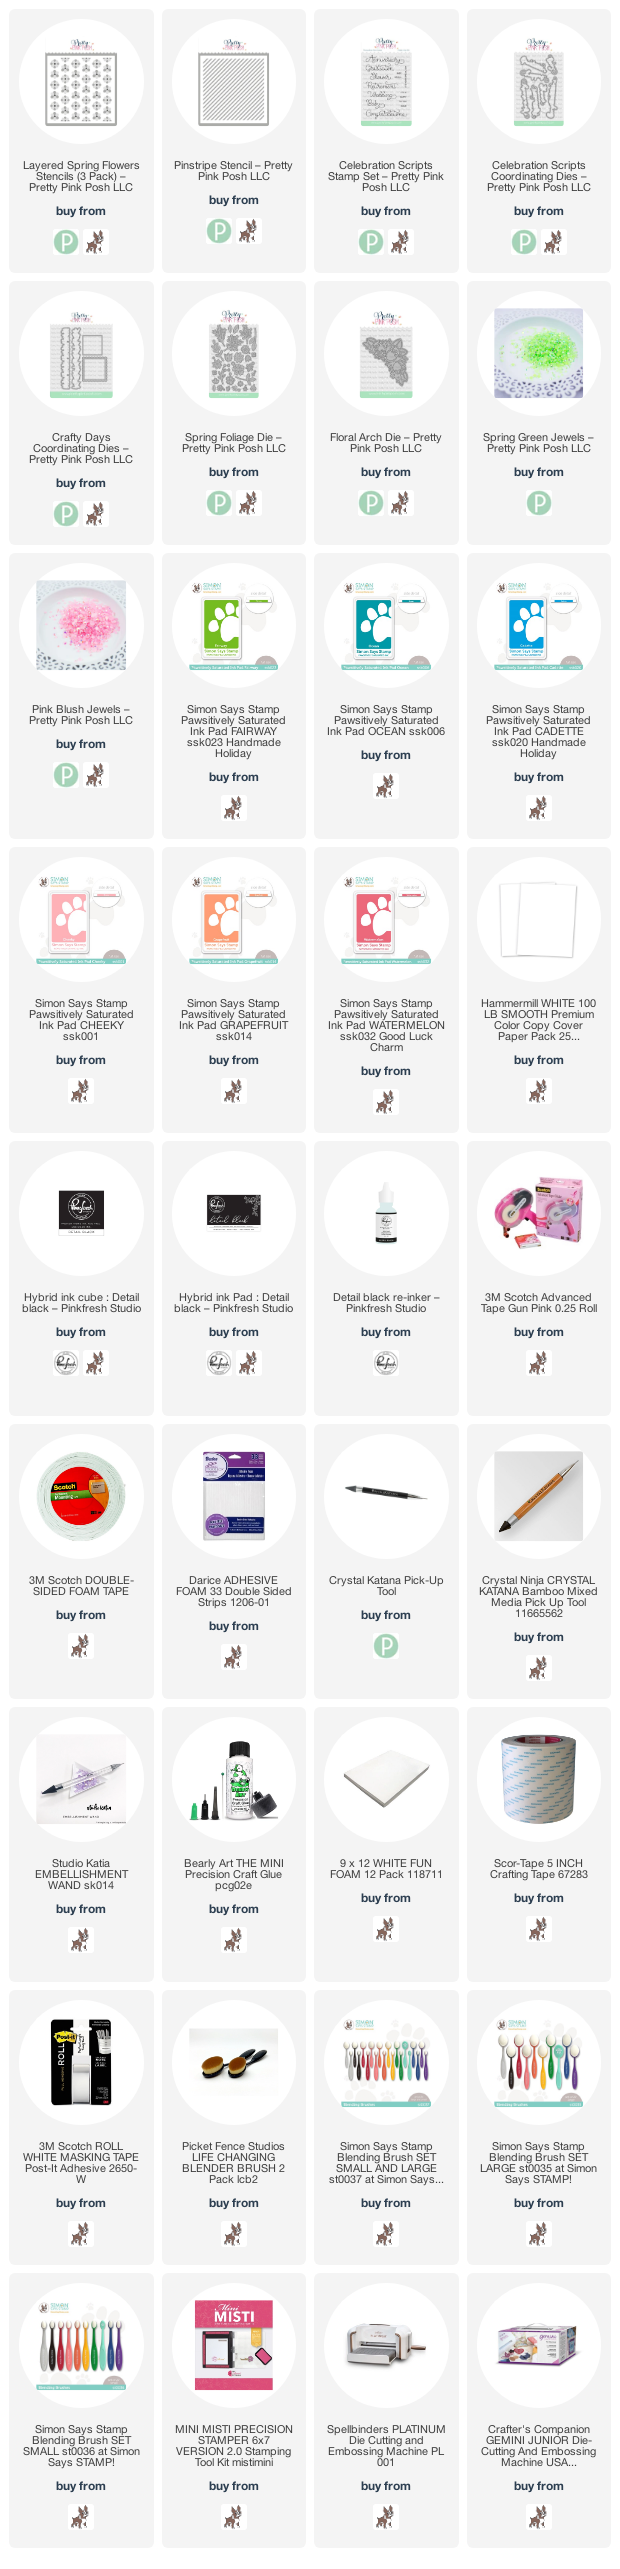
 Good morning! Today I'm celebrating the new May Release from Pretty Pink Posh by joining Day 2 of the Instagram Release Hop! You can head over to Instagram to join that hop, and enter to win today's giveaways, and you can find the new release HERE. I thought I would share more details here on my blog on my card - since it is always tough to put enough info in an Instagram post!

I'm sharing two cards featuring some of the new stencils, dies, and sentiment stamps! I also recently got some of the Simon Says Stamp Pawsitively Saturated inks - and I'm loving the colors, and how fun they are for ink blending like this!


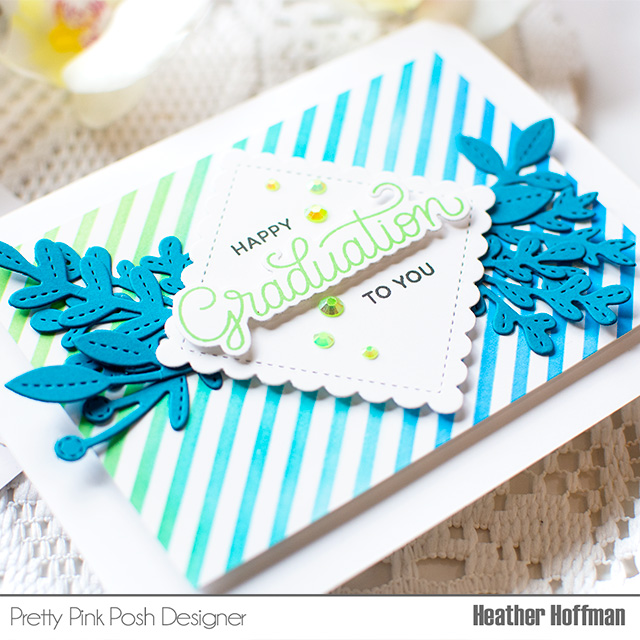
For this first one, I used the Pinstripe Stencil - a great one layer stencil. I used 3 different colors of ink to get a bit of interesting variation: Fairway, Ocean, and Cadette. I then trimmed the panel down to mount on my white cardbase.


I die cut the frame from Crafty Days coordinating dies from white cardstock, and used that to build my sentiment. I stamped the larger sentiment from Celebration Scripts stamp set with Fairway ink, and die cut with the coordinating die. I stamped the supporting sentiments in black on the frame, and then mounted the larger word with foam adhesive. I then mounted that panel with foam adhesive on my stenciled panel, and tucked several of the die cuts from the super fun Spring Foliage die under the edges. Finished off with some Spring Green Jewels sprinkled around the sentiments!


For the second card, I used the new Layered Spring Flowers stencil. It is a fabulous 3 layer floral stencil, and super easy to use! I stenciled it with Cheeky, Grapefruit, and Watermelon ink, then trimmed the panel down to mount on my cardbase. Before adding it with foam adhesive, I also die cut two of the Floral Arch die from white cardstock and adhered that to my cardbase with a glue pen to add a touch of fun and neutral texture to the background.


I build the sentiment on this one the same way as the last card - used Celebration Scripts stamp set to stamp the larger sentiment with Watermelon ink, and stamped the supporting sentiment with black ink on the stenciled panel. I then mounted that larger sentiment with foam adhesive over the top, and added a few Pink Blush jewels around the sentiment for a touch of sparkle!


I love how bright and fun these are - and how easy it is to use stencils to create your own simple and fun backgrounds!


Product links are all below - including affiliate links where possible, which simply means that if you use one of the links below, I receive a small commission at no additional cost to you. Thanks so much for supporting my blog, and stopping by! Have a wonderful day!!!


Monday, May 16, 2022

Life is Pretty Amazing - on the Unity Stamp Company Blog

 Good morning! I'm back with another card for my series on the Unity Stamp Company Blog this morning! I'm so excited to be featuring the amazing Kit of the Month on Monday's on the Unity Stamp Company Blog! Since the Kit of the Month was the first thing I purchased from Unity, and what got me hooked to begin with, they hold a special place in my heart, so I'm super excited about this opportunity to give these kits some love! You can check out all the details HERE for today's project!

Thanks for stopping by today - have a WONDERFUL day!!!


Sunflower and Hibiscus Easy Layered Cards

 Good morning! Dropping by to share a card using some lovely Pinkfresh Studio supplies - including a special Foiled Sentiment Ephemera Pack that was designed exclusively for Scrapbook.com - and is available today as a free gift with any purchase while supplies last! You can click HERE for more details! These pre-printed sentiments have been super popular, and are so wonderful to have on hand for quick cardmaking! I planned to just make one card, but by the time I started, I made a total of four to share today!


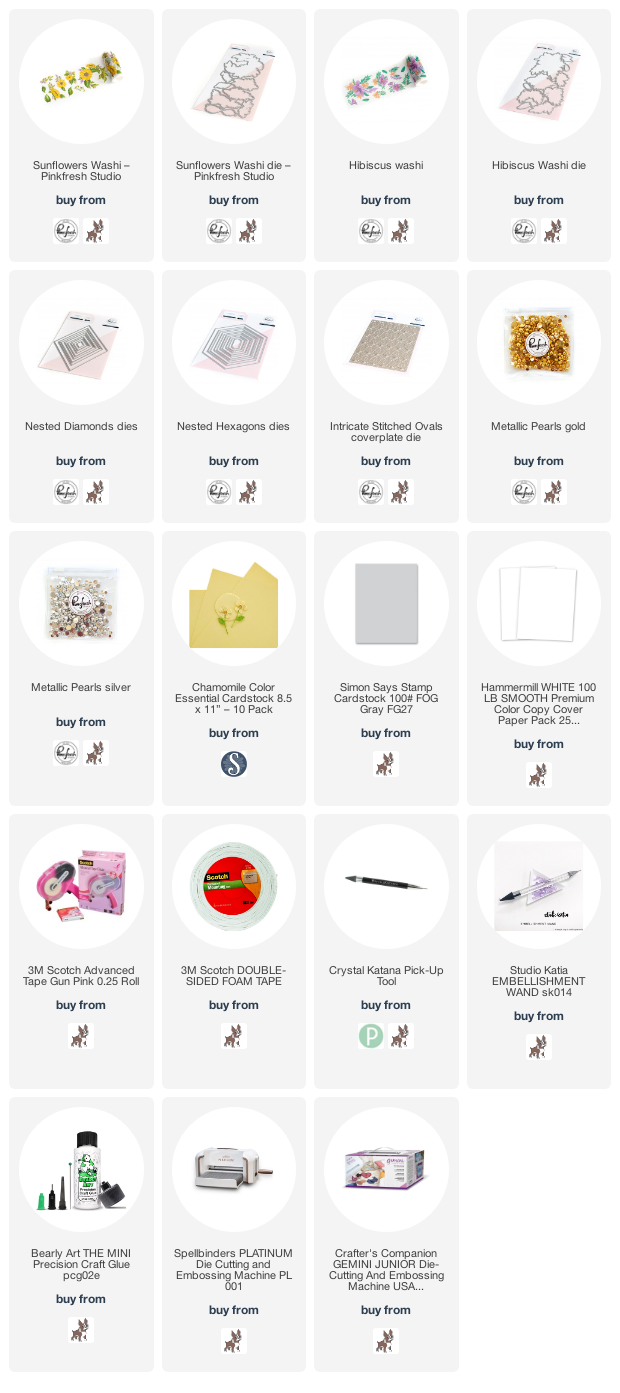
For these first two cards, I used the gorgeous Sunflowers Washi with Coordinating die. I ended up using one full panel, plus a bit of extra pieces from another panel. 

I die cut the new Intricate Stitched Ovals coverplate die from white cardstock, then die cut a window out of the center using Nested Diamonds. This gave me a fun element for each card from one piece of cardstock! For this first one, I used the outer piece as a window panel, and tucked some pieces in and around it.


For the second one, I used the die cut piece as a focal point, and arranged some of the flowers around the outer edges, and peeking out. The yellow cardstock for both cards is from Spellbinders - I love this soft color called Chamomile.


I added those fabulous foiled sentiments in gold, and then finished off with a few Metallic Gold Pearls for a sparkly embellishment!


While those first cards were the warm color tones, these second cards are nice and fresh and cool in color tones!


For these second cards, I used the stunning Hibiscus Washi with Coordinating Dies. I only used one entire panel to create these two cards.

I used the same technique as those first cards, only this time I used the Nested Hexagons die to create my windows. For this first card I used the negative window, and layered the florals around the front of the frame.


For the second one, I used the die cut piece, and just the one main large floral image centered on the front. That one blooms is so big and gorgeous!


Both of these cards had Simon Says Stamp Fog cardstock for the background, and for these I used some of the silver foiled sentiments! I also added some Metallic Silver Pearls to finish these off.


Product links are all below - including affiliate links where possible, which simply means if you use one of the links below that I receive a small commission at no additional cost to you. Thanks so much for stopping by! Have a wonderful day!!!


Sunday, May 15, 2022

Color Block Mini Diamond Cards - Spellbinders Paper Arts

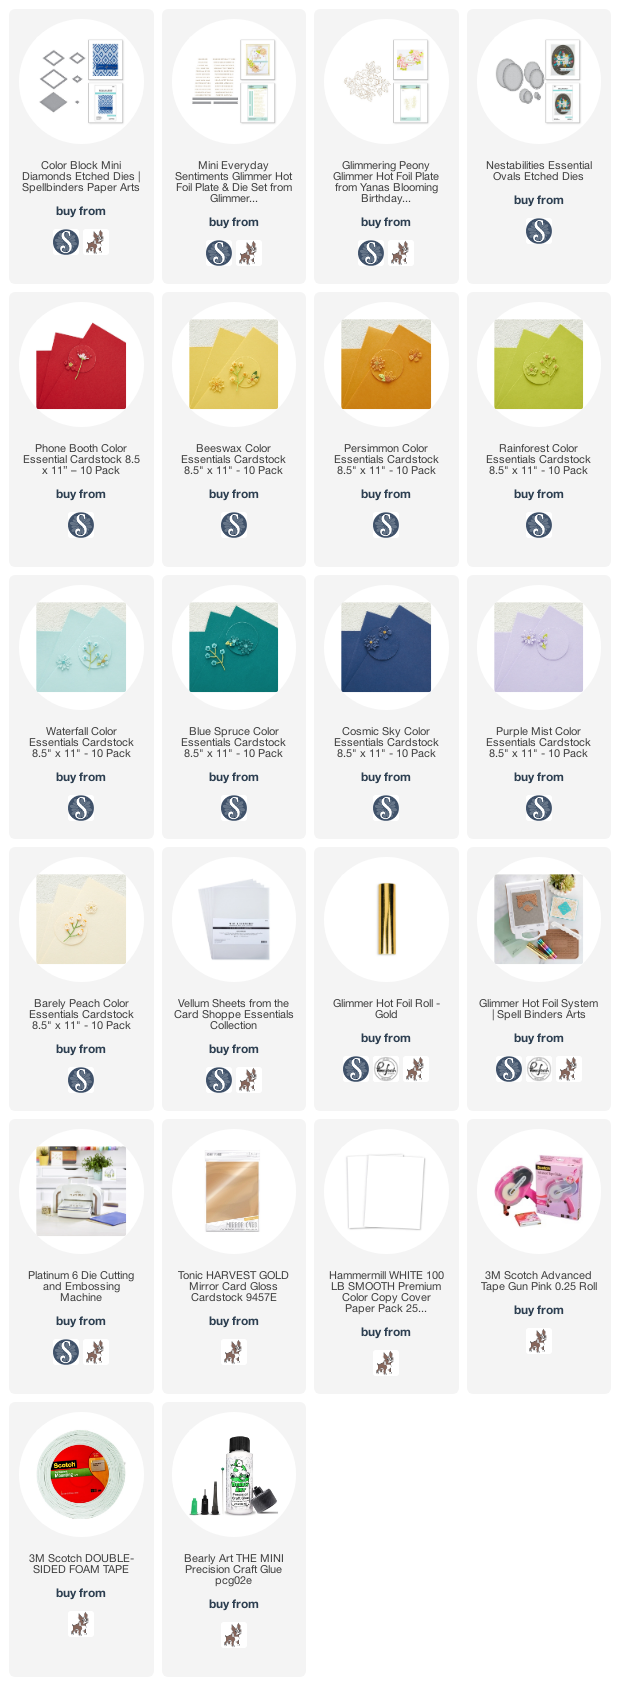
Hello! I'm stopping by to share a few cards using the fun Color Block: Mini Diamonds etched dies that are part of the Color Block geometric shapes that that released recently from Spellbinders. I'm a bit late in the game in sharing my cards - but these dies are super fun! I have 3 cards to share today, the first two are similar, but with totally different color combos. The final card is a stepped up design that uses this die a little less, but with a fun added impact to the other supplies used! 

Let's take a closer look at all of them! First up this card that uses lots of fun colors for a simple and classy design.


For this card I die cut the detail layer on the Color Block: Mini Diamond from a bunch of different colored cardstock scraps - they are the perfect size for using up scraps! I mixed and matched all the colors together to create several bright and fun color mixes.


I layered them on a white cardbase, adhering the outer and middle ones directly on the card base with liquid glue, and the two center ones popped up on foam adhesive for a bit of dimension.


For the sentiment, I hot foiled a sentiment from Mini Everyday Sentiments Hot Foil set, and die cut it with the included banner die, then added that over the top of my diamond detail.


For my next card, I used the same layout, but varied the colors and dimension slightly!


This time I just used an aqua cardstock, white cardstock, and gold foil cardstock for the diamonds. One of my favorite color combos!


I adhered all these simply with liquid glue, but started from the outer edges and worked toward the center to overlap them. That way the center one was popped up the most! I also balanced the ones on the side with the opposite side, so it kept things more even.


Finally, I added another hot foiled sentiment from the same Mini Everyday Sentiments Hot Foil set, and die cut it with the included banner die, before popping this one up with foam adhesive for the dimension on this one.


And finally, I only used one of the Color Block: Mini Diamond layers for this card, but it provided a great focal point and elegant finish for this card!


For this one I heat embossed the Glimmering Peony hot foil plate on vellum - and I was super excited that the vellum I picked up from Spellbinders hot foiled beautifully! I have struggled in the past with hot foiling on vellum, and decided to try this one. I'm so glad I did - it worked on the first try! YAY!


I fussy cut the flower out, and then moved on to adding some texture to the cardbase. I used Nestabilities Essential Ovals Etched dies - the dots only on the base layer that I attached to my cardbase, and then a simple white oval to layer over that with foam adhesive. Finally, I used a bit of liquid glue to adhered my florals to that oval, just under the diamond that I attached to hide the adhesive.


I did the diamond on this one in Barely Peach, white, and gold mirror cardstock. Nice and simple and elegant! I also added another sentiment from the Mini Everyday Sentiments Hot Foil set, and die cut it with the included banner die. I popped that up with a bit of additional foam adhesive. I think this card would be perfect for a bridal shower or wedding, don't you think?


Product links are all below - including affiliate links where possible, which simply means if you use one of the links below that I receive a small commission at no additional cost to you. Thanks so much for stopping by! Have a wonderful day!!!

Saturday, May 14, 2022

Simple Pattern Paper Cards - Simon Says Stamp June 2022 Card Kit

 Good morning! I'm popping in to share my first card using the BRAND NEW June 2022 Simon Says Stamp Card Kit - Happiest Wishes! This month's kit bright, happy, and so fun for spring! The included stamp set by the same name has some adorable little images and great sentiments that are focused on birthdays and celebrations, there is a fun little word die, of course some sweet pattern paper, card size T-ruler...that's all not to mention the cardstock, envelope, and more!
I have 4 cards to share today - that are super fun and simple, and came together so quickly! First up - this card that features simply pattern paper, and stamped sentiments. I mean, I kept thinking of other things I could add, but really, when something is good, you just don't need anything else! And this one was perfect just the way it was!


And another one that is very similar - again, I fell in love with the pattern paper and kept it simple. I love how perfectly the sentiment worked with this pattern paper too! I stamped a couple of small secondary sentiments on there as well, and a few scattered hearts to fill in and add a bit of interest - but otherwise nice and simple and one layer!


Now...when I have a paper I fall in love with, I really hate to waste any of it. Funny thing on this next card, I actually took this scrap to test out stamping on the pattern paper before committing to the larger pieces I loved. I stamped one sentiment, and it worked so well, I came back and added a couple more, and mounted it with foam adhesive on a white cardbase. No waste on this paper!


And finally - yes, more pattern paper! This one I added a tiny addition though - I used the adorable Big Hugs word die, cut it 3 times from white cardstock and layered it together for dimension, then added that to my sentiment on this card. Keeping it white and neutral kept it from being overwhelming, but the added layers and dimension help it pop off the background so you still see it.


And that wraps up my first four cards! I plan on making some more - but for now, here is a closer look at the entire kit contents - you can see it all HERE:


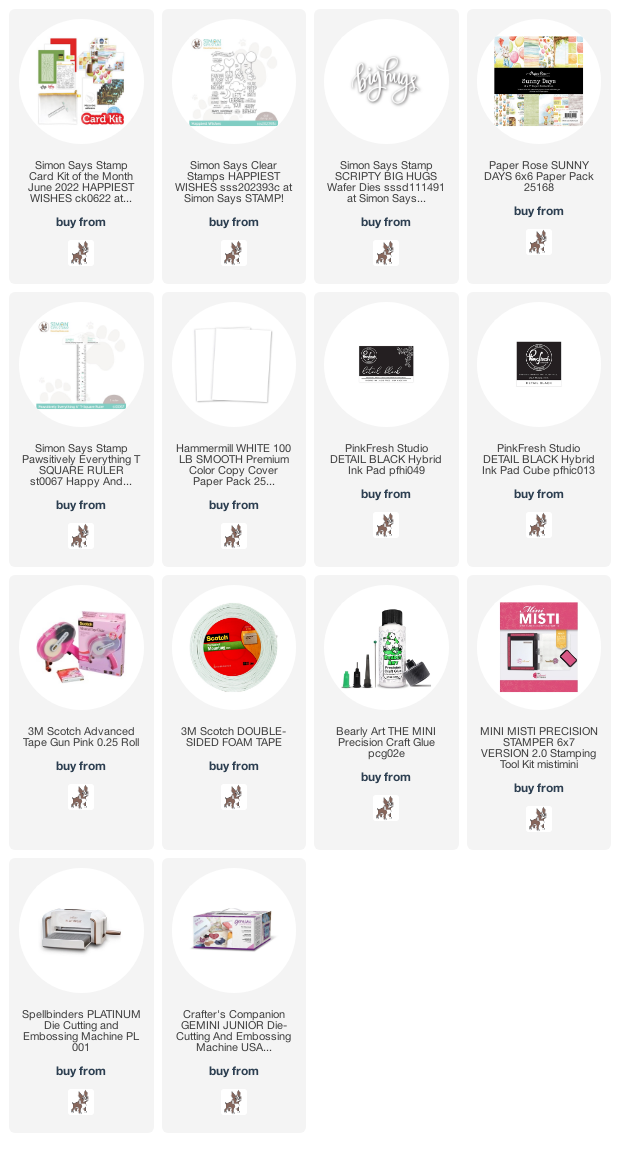
Product links are all below - including affiliate links where possible, which simply means if you use one of the links below that I receive a small commission at no additional cost to you. Thanks so much for stopping by! Have a wonderful day!!!