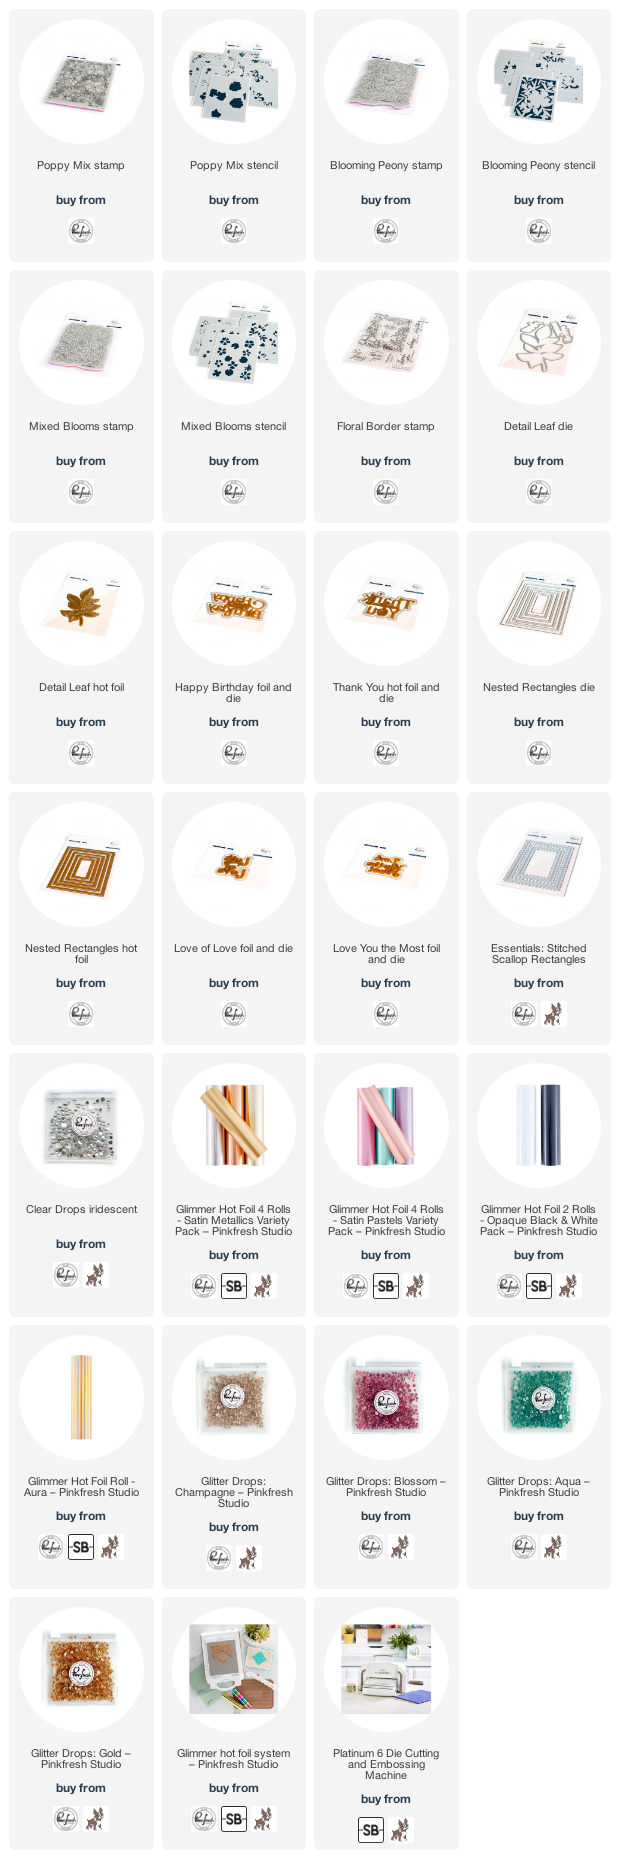
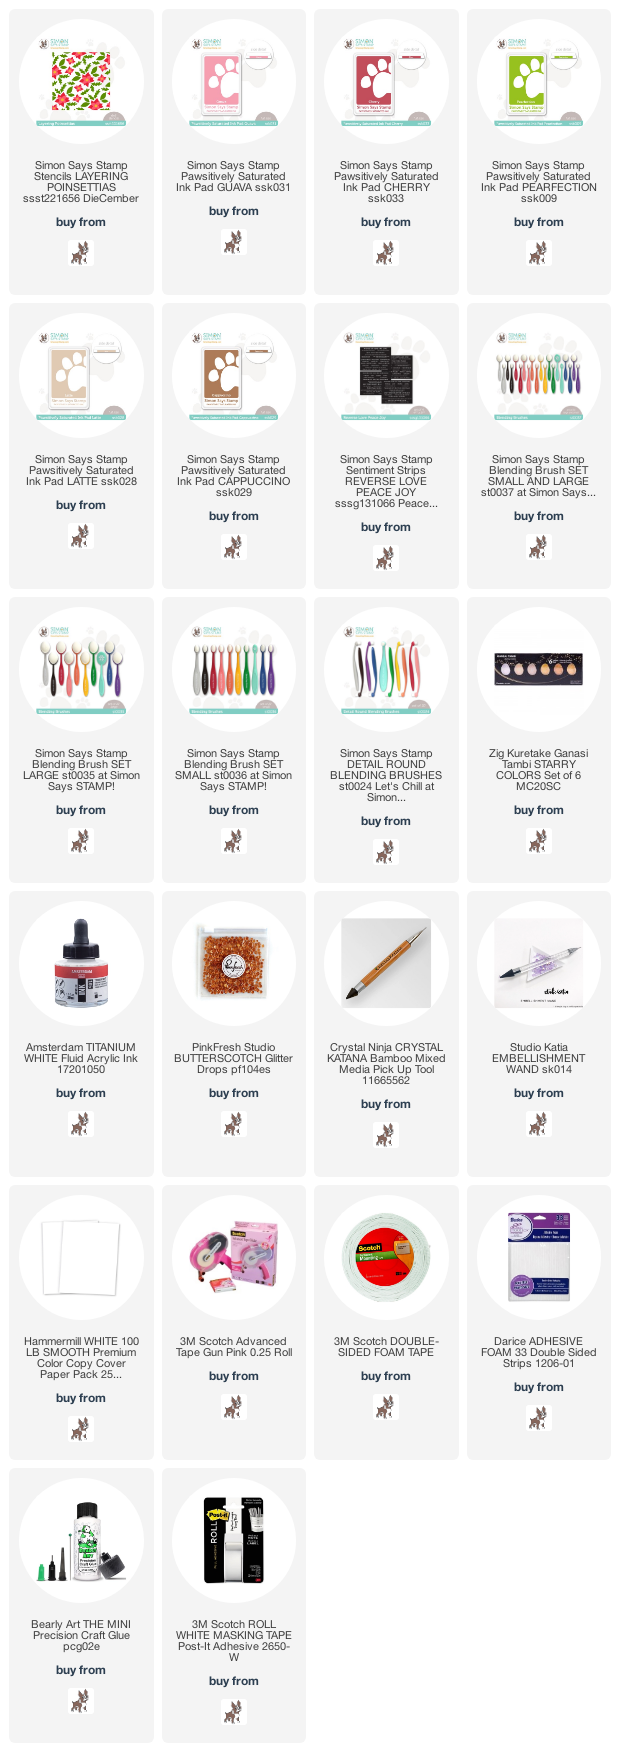
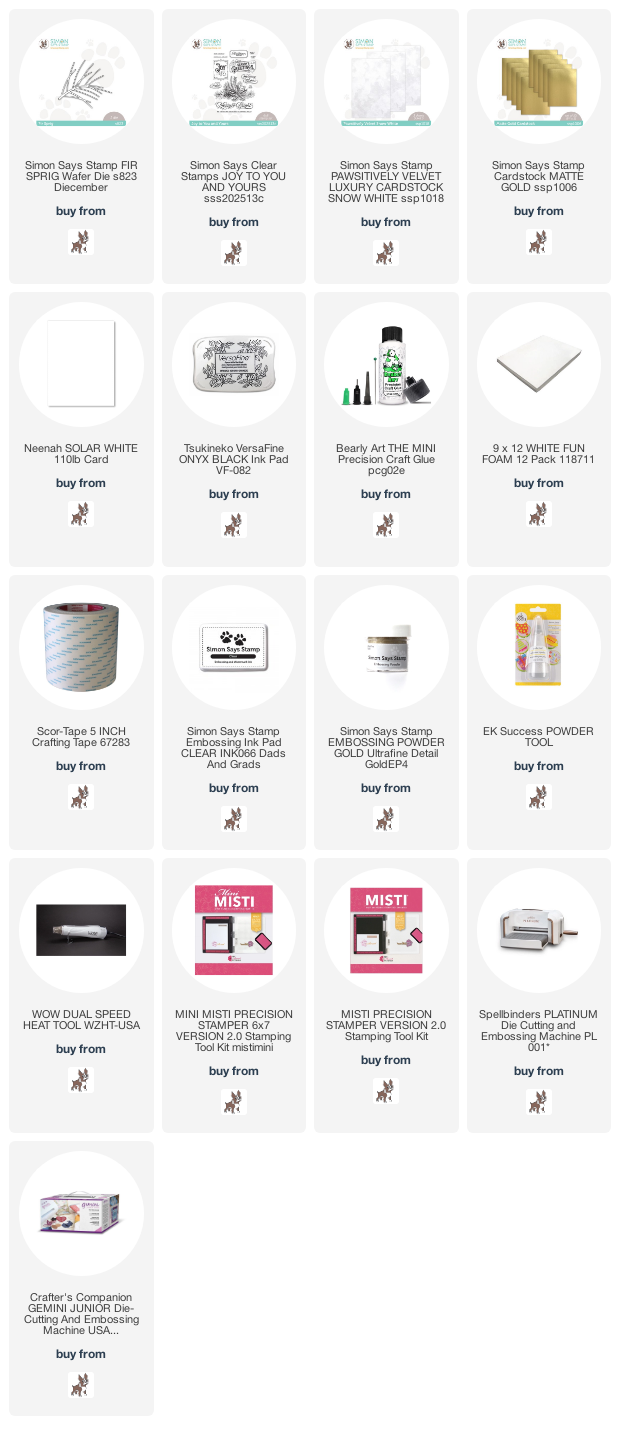
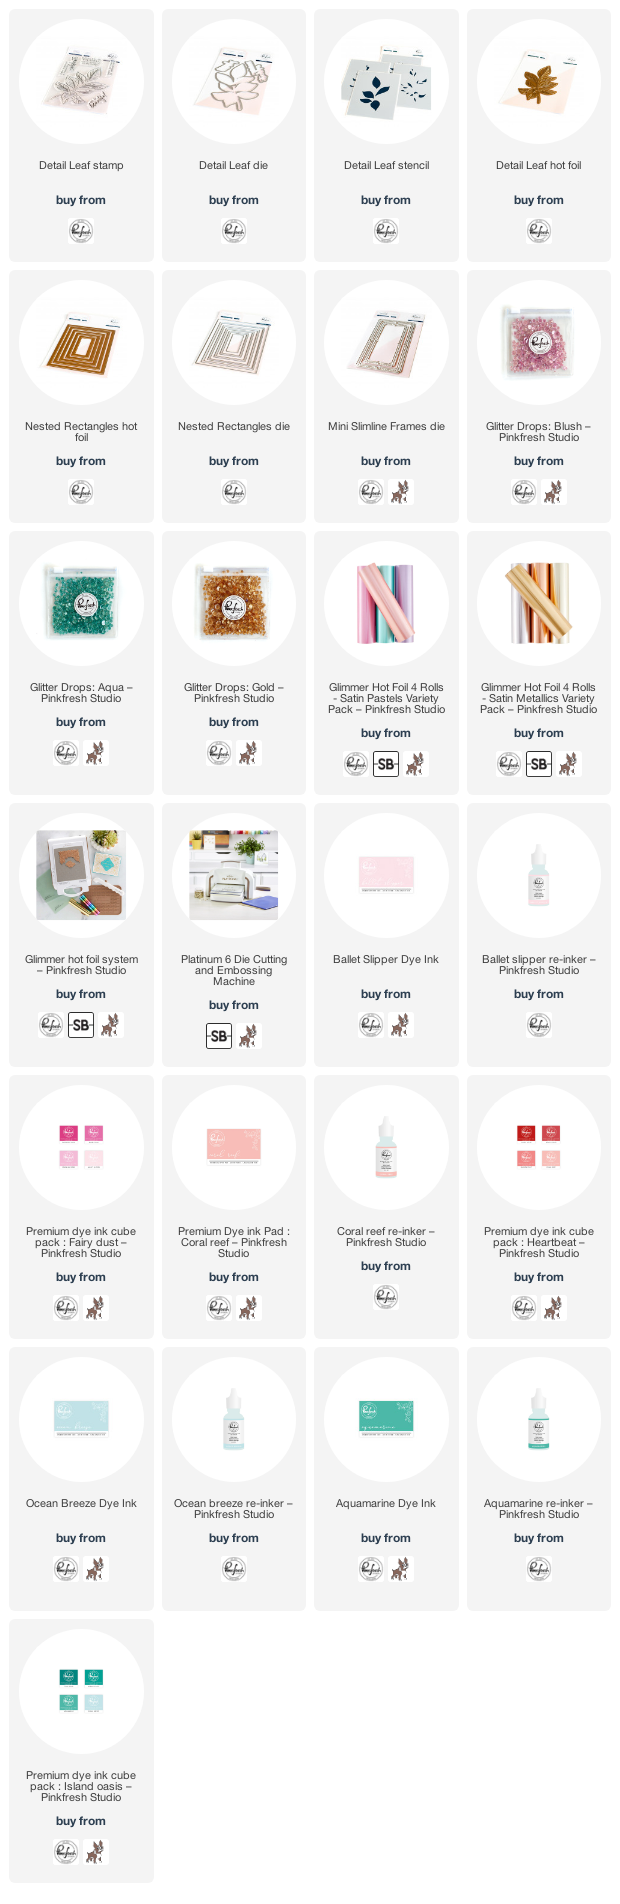
Good morning! Today is the blog hop to celebrate Pinkfresh Studio's December 2022 Stamp, Die, Stencil, and Hot Foil Release! You aren't going to want to miss a stop along the way - TONS of inspiration and prizes up for grabs! YAY! You can find links to all of the new release items I used on today's cards at the bottom of this post!
As you probably expect, I have lots of cards to share today with the new release!
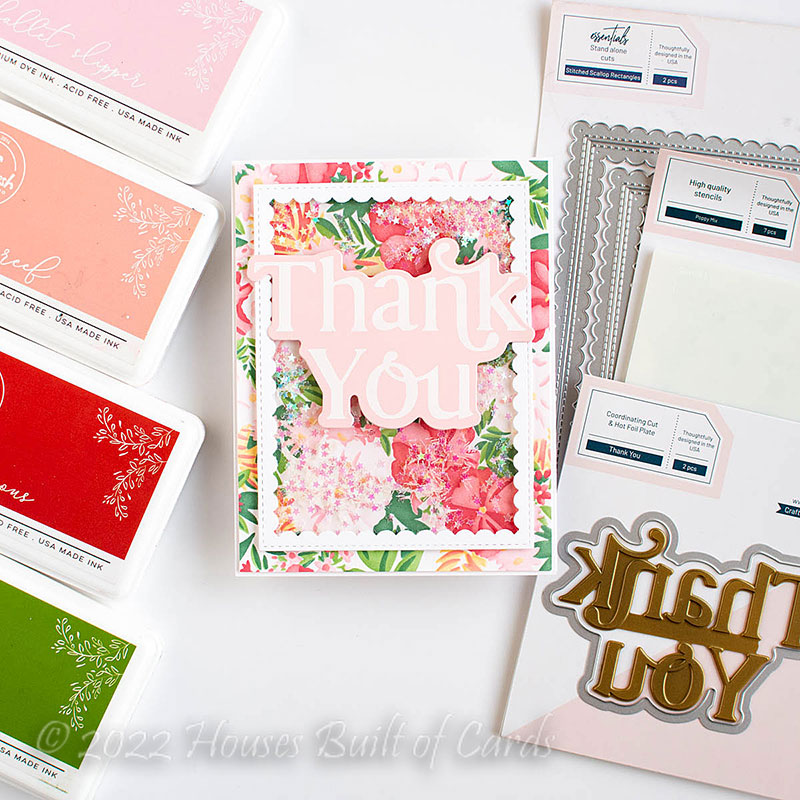
My first card features the gorgeous new Poppy Mix layering stencils. There is also a coordinating stamp set that I use on my next card, but for this one, I simply used the layering stencils. There are SEVEN layers to this set, and it is stunning when all finished!
I love how it fills the entire background, and actually looks like pattern paper to me - and the best part is that you can totally customize it in any colors you like! I have another card further down in this post using just the stencils like this, but totally different colors!
I decided to create a partial shaker card - so I used Stitched Scallop Rectangles and white cardstock, and filled it with some sparkly tiny star confetti.
I also trimmed that panel just slightly smaller than an A2 cardbase, so I could adhere it to my white cardbase and leave a tiny border around the edges.
Sentiment was created with another new release - Thank You hot foil and die set. Yep - these now come in a complete set, so you get the foil and die together! And we even kept the colors so that both the hot foil plate and the coordinating die are in our typical colors! Fun, right?
I hot foiled it in Matte White Glimmer Foil on some soft pink cardstock that coordinated with my background, and popped it up on foam adhesive over my shaker element.
And now - same background, same colors even, but this time I also used the coordinating stamp set! Can you believe the difference?
Both are gorgeous, but that detail with the stamp set is amazing! I did our favorite method of stamping and stenciling, using my MISTI to stamp the image in soft gray ink (leaving the stamp in the MISTI), add all the stenciling, then restamped over the top in Detail Black for a super crisp and pretty image. So fun!
I created a frame for this one using another new set I'm super excited about - Nested Rectangles hot foil! I also used some of the newest Satin Pastel hot foils that we even carry at Pinkfresh. This one is the lavender toned one.
Once I hot foiled the frame, I only die cut the outer edges, to mount on my cardbase. I then die cut the stamped and stenciled panel with the inside nested frame, so it would fit inside the frame. I could have also cut the hot foil rectangle into a frame to pop around the outer edges, but it was fun to mix things up and try something different!
Sentiment on this one is another new release - Love You The Most. It might look familiar, since we previously had it as a die set. Adding hot foil just takes it to the next level though, and I love it! I used pink foil for this one. I don't think I use colored foil nearly enough, so this was fun! A few Iridescent Color Drops added in the corners are a perfect finishing frame effect!
Okay - ONE more with this set! This also uses just the stencils, but for this one I went with blues and greens, and a touch of yellow!
I stenciled the background for this card first, then I carefully taped everything together and added that outer foiled frame over the top of my stenciling. It shifted a bit so it wasn't perfect - but no matter! I simply trimmed with a paper trimmer directly to the edges. Easy!
I mounted that on a coordinating aqua cardbase, layering it directly on with no dimension, since I wanted to be able to see that small border evenly.
I love that the foiling works over the top of the stenciling - so fun!
You may recognize this sentiment as well - and it is also a new hot foil addition to a previously released die set. It is call (with no surprise) - Lots of Love. I foiled both this sentiment and the frame with one of the Satin Metallic foils - the more traditional gold one for this.
I popped that sentiment up with foam on the background - because, dimension of course! Had to have at least a little! :)
Finally, finished off with a few Gold Glitter Drops for the perfect bit of sparkle!
And now, time to move on to another set - although you may recognize this foiled sentiment from the first card.
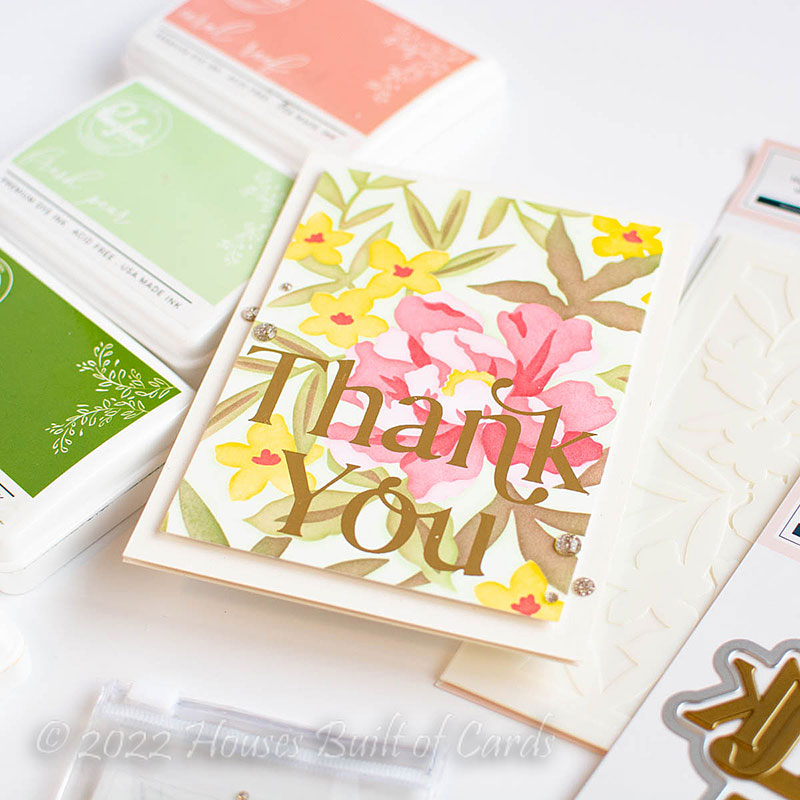
Blooming Peony is another set that I think looks stunning without the stamp set, and just using the stencils.
I actually made a mistake while stenciling this background. That final layer of the greens was supposed to just be Olive, but I accidentally picked up my red blending brush, and got a bit on one area of it. Since it was the last stencil I was doing, I didn't want to throw it all away, so I added a touch of it to each part of that layer. Then blended more olive over the top. Kind of weird - but it worked thankfully, and I got a unique color combo as well!
Once I had it stenciled, I went ahead and carefully foiled the sentiment over the top, using tape to gently hold it in place. Once again, it wasn't perfectly even, but I was easily able to hide that by die cutting the panel with the second largest Nested Rectangles die to straighten it out.
Super hard to photograph of course, but I love the seamless look of the hot foiling directly on the background. Very classy and elegant!
I popped that panel up with foam on a cardbase created with Speckled Eggshell cardstock from Lawn Fawn - it is a cream tone with some textured darker flecks in it. Hard to see in the photos as well - but super fun!
Another attempt to capture that foil shine - and a few Champagne Glitter Drops for added neutral sparkle!
This one I did a touch differently - I hot foiled first, then stenciled over the top. I think I prefer the other way of stenciling first, then hot foiling over the top. Let me explain why:
This one worked because I used a good shiny gold foil - Aura, and also soft colors of ink. I wiped the ink off the hot foil a couple times. While the hot foil resists the ink, if it sits for too long, especially darker colors, I did notice it stained a bit.
To make this work, I first hot foiled on a larger panel of white cardstock, then die cut with the largest Nested Rectangle die. Since it is a perfect A2 size, I could use it to make that panel perfectly square, and easy to line up with the layering stencil alignment guides. But...whichever way you do it - it sure does look pretty, doesn't it?!?
I added a hot foiled frame around the edges, foiled with the new Nested Rectangles set, and some more of those Satin Pastel foils - this time the aqua tone.
I popped that frame up with foam adhesive for a bit of dimension of course. This would also be fun as a shaker card!
I added trios of glitter drops in coordinating tones - Aqua, Blossom, and Champagne.
I just love the soft tones on this one!
And finally - can I just say how much I love the Satin Pastel foils in their reverse form?!?
This card is one of my favorites - and SOOO incredibly simple! I still haven't used it, but I foiled the Detailed Leaf hot foil plate with the aqua tone Satin Pastel foil. Then I foiled the reverse, and fell in love!
I trimmed it down with the second largest Nested Rectangle die, and adhered it directly onto my cardbase. It is like the prettiest shade of cardstock, with a hint of shine - so pretty!
I added a hot foiled frame using the pink tone in those Satin Pastel foils, and the largest Nested Rectangle hot foil plate, also die cut on both sides with the coordinating die.
That was of course popped up with foam adhesive! Gotta have that dimension! :)
Sentiment for this card came from the Floral Border stamp set, stamped in Detail Black, and hand trimmed into a tiny banner shape.
Finished off with some perfectly coordinating Blossom Glitter Drops!

Whew! If you made it all the way through those cards - congratulations! If you just skimmed the photos quickly, I don't blame you. I just add all the details and info for those that want it, and it's always there as a reference. :)
GIVEAWAY INFO:
Make sure and leave a comment before you leave for a chance to win one of 10 $25 gift certificate to
Pinkfresh Studio chosen from comments left across the hop! All winners will be chosen and posted on the
Pinkfresh Blog on Tuesday, December 27, 2022 - so make sure and check back to see if you were a winner! Winners must check that page and claim their prize within 2 weeks.
Here is the entire blog hop line-up so you don't miss a single stop - and product links are below - including
affiliate links where possible, which simply means if you use one of the links below that I receive a small commission at no additional cost to you. Thanks so much for stopping by! Have a wonderful day!!!