Showing posts with label Glitter Drops. Show all posts

Monday, October 13, 2025

Big Beautiful Snowflake Cards - Simon Says Stamp Sugar and Spice Release

 Hello! I've got a couple more cards to share today using the NEW Sugar and Spice Release from Simon Says Stamp! This release has lots of holiday theme items, and also some that are perfect for winter. And both of those themes work together very well, which made the combo for these cards perfect and easy!


I started off by die cutting the new Large Snowflake die from white cardstock. I was thinking about creating an ink blended background, but then I remembered my Color Blend Holiday cardstock pack, and realized it was perfect for these! I used the last two colors I had in my pack (and have already ordered a new pack to use!), trimmed them down slightly smaller than my white A2 cardbases, and then added the snowflake with temporary adhesive to trim off the excess edge. I heat embossed some sentiments from the new Label Slides Christmas stamp set in white on black cardstock, then die cut with the Label Slides die. I adhered the snowflakes with foam adhesive strips for some dimension then used some May Arts Gold Cord through the label slide, wrapping it around the entire panel and the snowflakes, tying in a knot, then tying one of the loops in a bow, trimming off the excess. Those panels were added with foam adhesive to my white cardbases, then I embellished with several Pinkfresh Gold Glitter drops to finish! I love the bold colors, bright white snowflakes, and sparkly gold accents! Here are more photos of these finished cards:


Product links are all below - including affiliate links where possible, which simply means if you use one of the links below that I receive a small commission at no additional cost to you. Thanks so much for stopping by! Have a wonderful day!!!


Tuesday, December 17, 2024

Woodsy Birthday Wishes - Simon Says Stamp January Card Kit

  Hello! I'm popping in to share my first card using the newest January 2025 Simon Says Stamp Card Kit - Get Yeti! This month's kit has the cutest little winter friends! The included stamp set by the same name features some cute yeti and snowman images and sentiments (there is also a coordinating die for this set available separately HERE). There is a fun embossing folder, little bonus die set, adorable pattern paper...that's all not to mention the cardstock, envelopes, and more! 

The monthly card kit has even more perks now when you sign up for the new Subscription service! There is a video HERE you can watch to learn more!


I (of course!) loved the pattern paper in this kit, and when I saw those trees, I thought it would be fun to make a card that could work for a masculine birthday. I layered up some of the pattern paper to start as a base for the card. I heat embossed the trees a couple times each in clear, then ink blended over the top of them with Sage and Pine ink, wiping the excess off the embossed bit to make sure it popped off the background. I popped those up with foam adhesive to build a little forest, then added sentiments from the included Everyday EZ sentiment strips in the left corner, trimming them down with my paper trimmer and adding an angled edge on one side. Finished off with some gold thread wrapped around and tied in a bow, and a few Glittering Mountains ombre glitter drops for the perfect touch of sparkle! Here are more photos of the finished card:


Product links are all below - including affiliate links where possible, which simply means that if you use one of the links below, I receive a small commission at no additional cost to you. Thanks so much for supporting my blog, and stopping by! Have a wonderful day!!!


Friday, November 22, 2024

Creativity Unboxed Challenge - Pinkfresh Studio

 Hello! Pinkfresh Studio has a special bonus challenge going right now, with a chance to win a $25 gift card. The challenge is decorate up one of your blending brush boxes - so here is my take on it:


I used the 1" blending brush box - I LOVE these brushes so much! I used the new Fancy Edgers dies to cut a border on some white cardstock, matching it up as I went along, to create a longer edge. I then folded that around my box, wrapping it to the back. Next, I hot foiled the Magical Holiday press plate twice in Satin Gold foil, also foiling the reverse image with the Solid Hot Foil plate. I stenciled in the image with Fresh Pear, Olive, Candy Apple, Spruce Tips, and Evergreen. I tucked those on the front of the box, nestling the reverse foil behind so it just peeked out adding a shadow layer. I wrapped some gorgeous new gold twine that I just recently got my hands on (LOVE!) around the center, and tied in a bow. Finally, I added a foiled sentiment from the same set, stacked over some die cut stars from Shaker Stars, and a few Gold Glitter Drops sprinkled around for a touch of sparkle! Here are more photos of this finished project:


You can find the challenge info HERE:


Product links are all below - including affiliate links where possible, which simply means if you use one of the links below that I receive a small commission at no additional cost to you. Thanks so much for stopping by! Have a wonderful day!!!


Wednesday, November 6, 2024

Lacy Layers Thank You - Pinkfresh Studio Instagram Release Hop

Hello! Today I am part of a fun Instagram hop to celebrate the new Pinkfresh Studio "Essentials" Release. There are giveaways up for grabs, so hop on over to check that out if you haven't yet! I have had so much fun creating with this release - yesterday was the blog hop, and I shared lots of cards for that! Today I'm sharing a a fun card I created on YouTube Live last week with Lea Lawson using the same sets but in slightly different ways! You can watch that video below if you want to see more details!  


Here is that video if you want to watch this card come together:


I used the new Nested Elongated Ovals Blanket Stitched die cut from Midnight glitter cardstock, and paired it up with the Dainty Floral Frame press plate to add some soft texture to the background. They pair together so well! I tucked some lacy edges underneath one side of the oval, die cut from the new Fancy Edgers die set. I used those to tuck in some various elements from the Indigo Roses washi tape, with a single Fluttering Butterfly washi piece on there as well. Sentiment is from Here for You Sentiments, using the reverse foiled image with my Solid Hot Foil plate. A few Ombre Glitter Drops finish this card off! Here are more photos of this card:


Product links are all below - including affiliate links where possible, which simply means if you use one of the links below that I receive a small commission at no additional cost to you. Thanks so much for stopping by! Have a wonderful day!!!


Friday, October 25, 2024

O Holy Night - Simon Says Stamp Stained Glass Christmas Holiday Card Kit

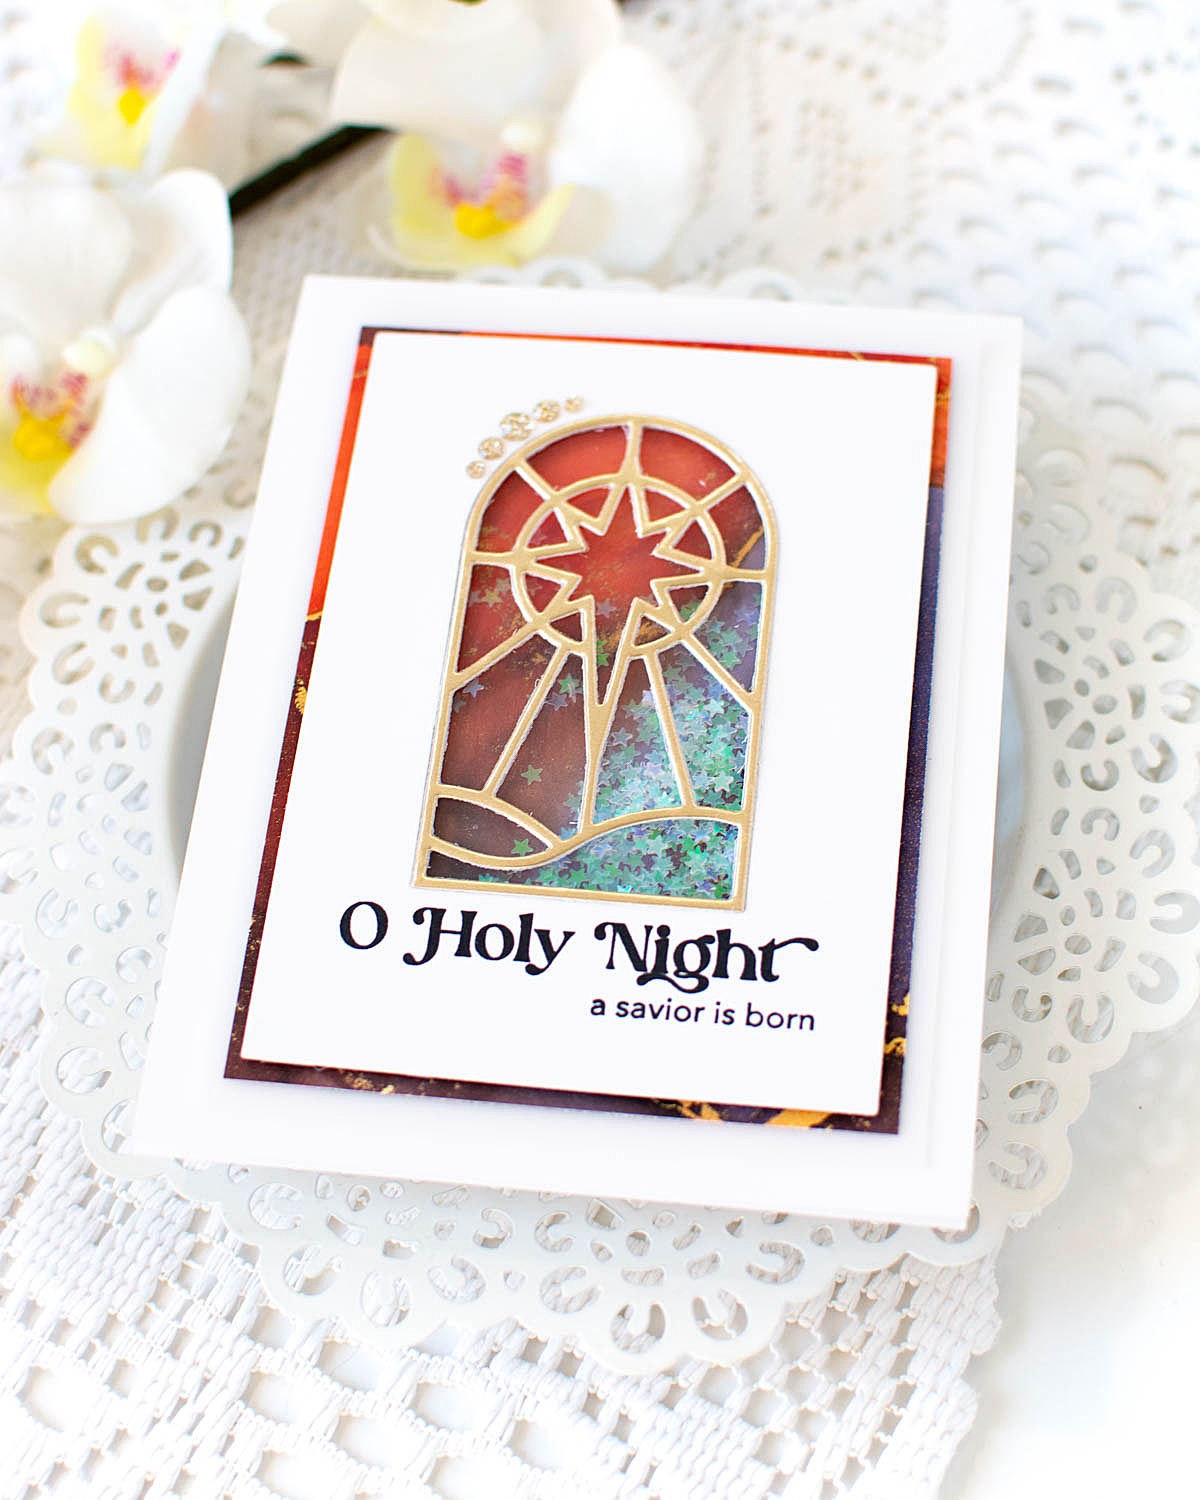
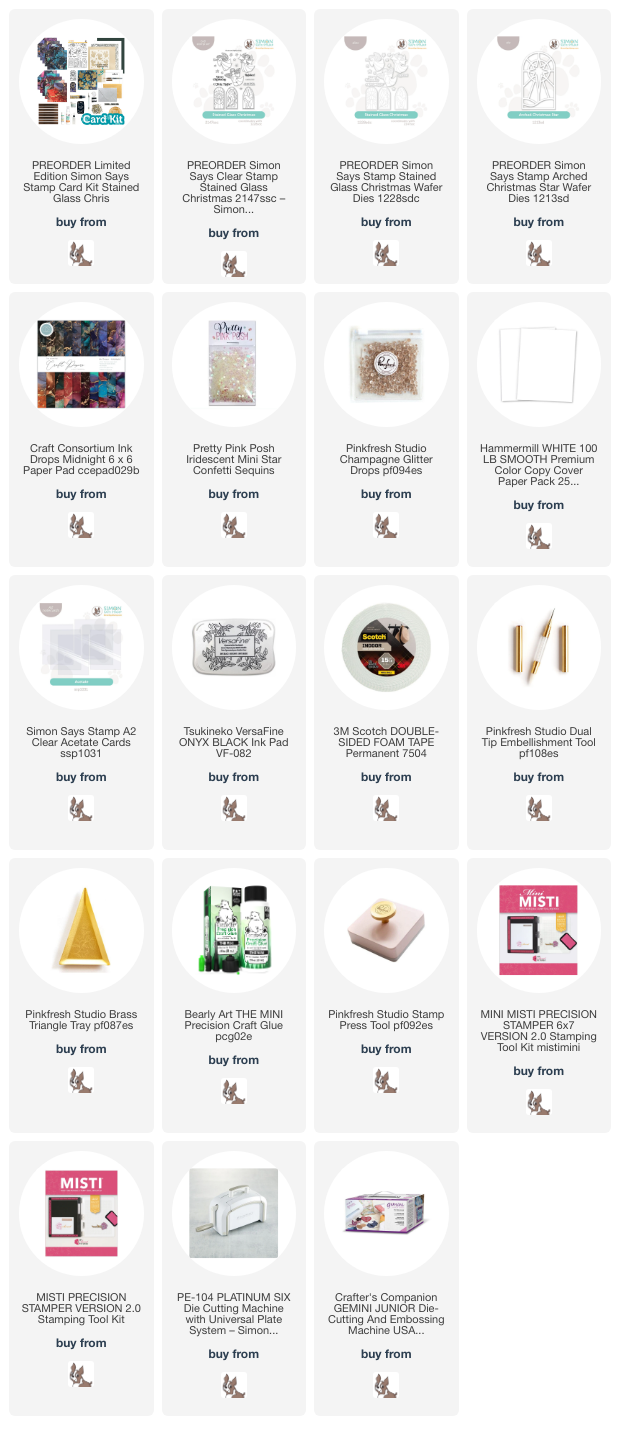
 Hello! I'm dropping by tonight to share a few cards that I created using the BRAND NEW Holiday Card kit from Simon Says Stamp - the Stained Glass Christmas Card Kit (I believe the full kit is sold out - but the elements I used are all available separately). It was available as a pre-order, and will ship in late October to mid November. This is such a pretty collection, and so loaded with fun supplies to kick start your holiday cardmaking! I created this set of cards that were so super quick and easy to put together, featuring the beautiful stamp set and pattern paper in the kit - and there is so much more fun to be had in this kit!


I created a shaker card using the Arched Christmas Star die - I used some of the pattern paper to back it, and filled it with Iridescent Star confetti - so pretty! I added my sentiment stamped below, and a simple row of Champagne Glitter Drops in the top left corner to set it off. Here are more photos of this card:


Here is a look at this entire kit (no longer available):


Product links are all below - including affiliate links where possible, which simply means that if you use one of the links below, I receive a small commission at no additional cost to you. Thanks so much for supporting my blog, and stopping by! Have a wonderful day!!!


Friday, August 9, 2024

Floral You Card Duo - Simon Says Stamp Cheering For You Release IG Hop

 Good morning! Today I'm joining a fun Instagram hop to celebrate the Cheering For You release from Simon Says Stamp! Lots of inspiration to be found, and some great prizes as well! Head over to my Instagram HERE to check it out! But as always with an Insta hop, there are only so many details you can get in that tiny caption, so I always like to do a full blog post with ALL the details! 


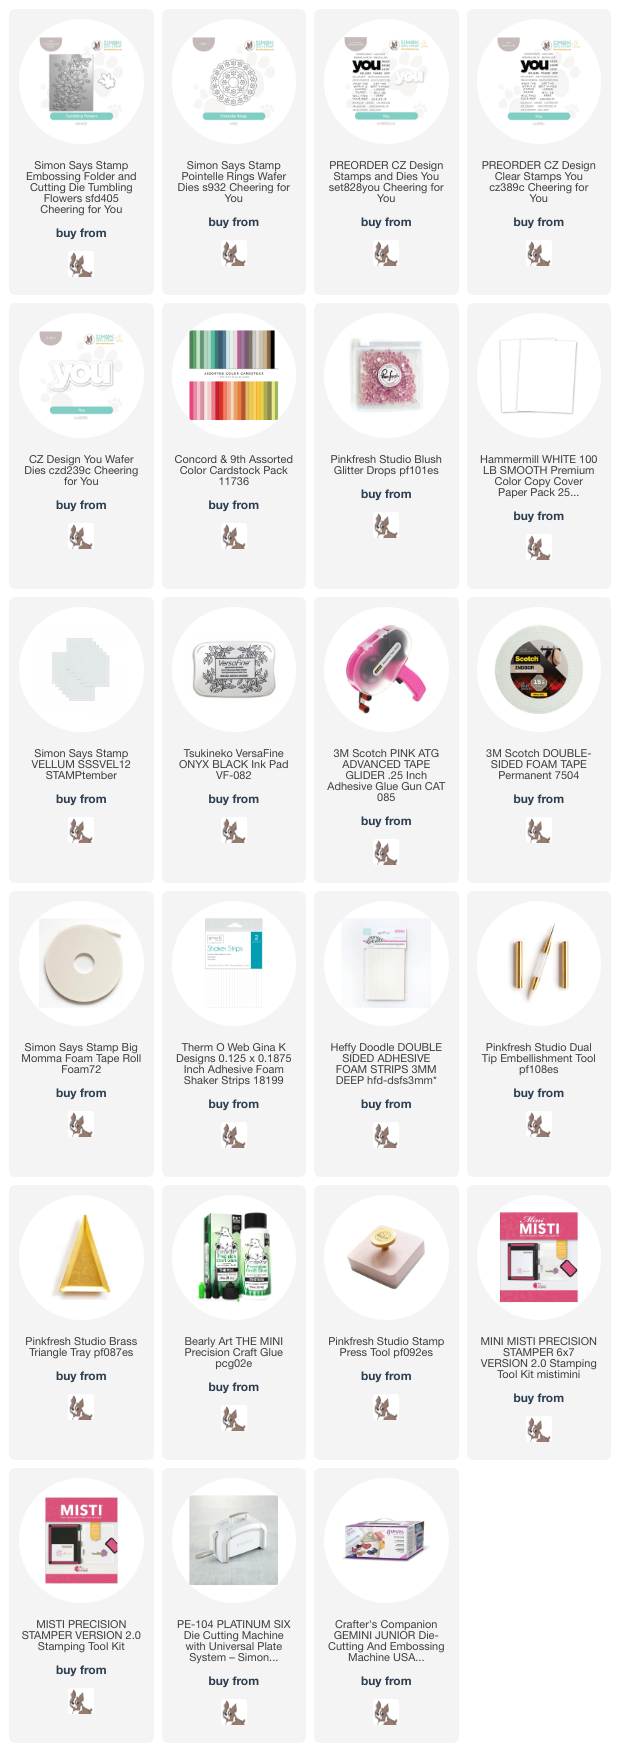
I went with two shades of Concord and 9th pink cardstock, used the new Tumbling Flowers 3D embossing folder, then cut those panels at an angle, trimming a couple extra thin strips for interest. Over that, I layered the new Pointelle Rings die cut from white cardstock, and then layered up the new CZ Design You die, again with white cardstock, and a vellum shadow layer to help it pop off the background a bit. I stamped secondary sentiments from the coordinating stamp set, and finished off with a small sprinkling of Blush Glitter Drops for a bit of sparkle! Here are more photos of this finished card:


Product links are all below - including affiliate links where possible, which simply means if you use one of the links below that I receive a small commission at no additional cost to you. Thanks so much for stopping by! Have a wonderful day!!!


Monday, August 5, 2024

Pinkfresh Studio “Magical Holiday” Release Blog Hop

Good morning! Today is the blog hop to celebrate Pinkfresh Studio's "Magical Holiday" Release! You aren't going to want to miss a stop along the way - TONS of inspiration and prizes up for grabs! YAY! Click HERE to shop the new release!


There is also a FABULOUS freebie available while supplies last with this release - and for this promo, you actually get to pick your favorite item with any $50 purchase:


Our holiday release is always one of our largest, so I have lots of cards to share with you today!


First up - I always love when we release new washi tapes - and this new holiday one is simply stunning! There is also (of course) a coordinating stamp and stencil set. This washi set is the first in a new and more user friendly design. We now have the stamp and die split up into two different pieces. This makes it easier to fit it all in a standard stamping platform, as well as on standard cutting plates! The washi is still in one piece, but you simply can choose to cut it one piece at a time, or tape them both in place and cut together. So helpful! I paired the washi up with the new Festive Grid coverplate die (those tiny stars are SOOO cute!), as well as the fabulous new Holiday Greetings sentiments hot foil and die combo. A frame from Stitched Scallop Rectangles and a few Gold glitter drops finish this one off. Here are more photos of this finished card:


Next up - this elegant card in neutral tones!


For this one, I mostly featured the lovely Radiating Snowflake press plate, hot foiled in Aura foil. I created a frame using another of the Stitched Scallop Rectangles, and then used Nested Rectangles to create a layered window inside. I added some cream cardstock behind for subtle contrast, and finished off with another sentiment from the Holiday Greetings sentiments, and a few Clear gems with gold dust for sparkle. Here are more photos of this card:


And now we move from elegant straight to adorable!


This Holiday Bicycle set is SOOO cute and fun! I love the snowflake wheels! I also used the Radiating Snowflake stencil to add some interest to the background, the sentiment set again, but this time the stamp set, another of those Stitched Scallop Rectangles (but in white this time), and a bit of sparkly Stickles on some elements of the design - finished off with a few Glacier jewels. Here are more photos of this card:


Next up - shaker cards are always so perfect for the holidays I think!


This one features the new Festive Foliage Tree set - I used the press plate and green foil, then used some soft and slightly nontraditional colors. I created a window using Nested Arches, and filled it with sparkly star confetti, backed with coordinating green cardstock. The front panel also was dry embossed with the Festive Grid coverplate die for some texture. Another one of those fabulous sentiments, and a few coordinating clear drops finish this one off! Here are more photos:


And finally - wrapping up today with this two for one duo!


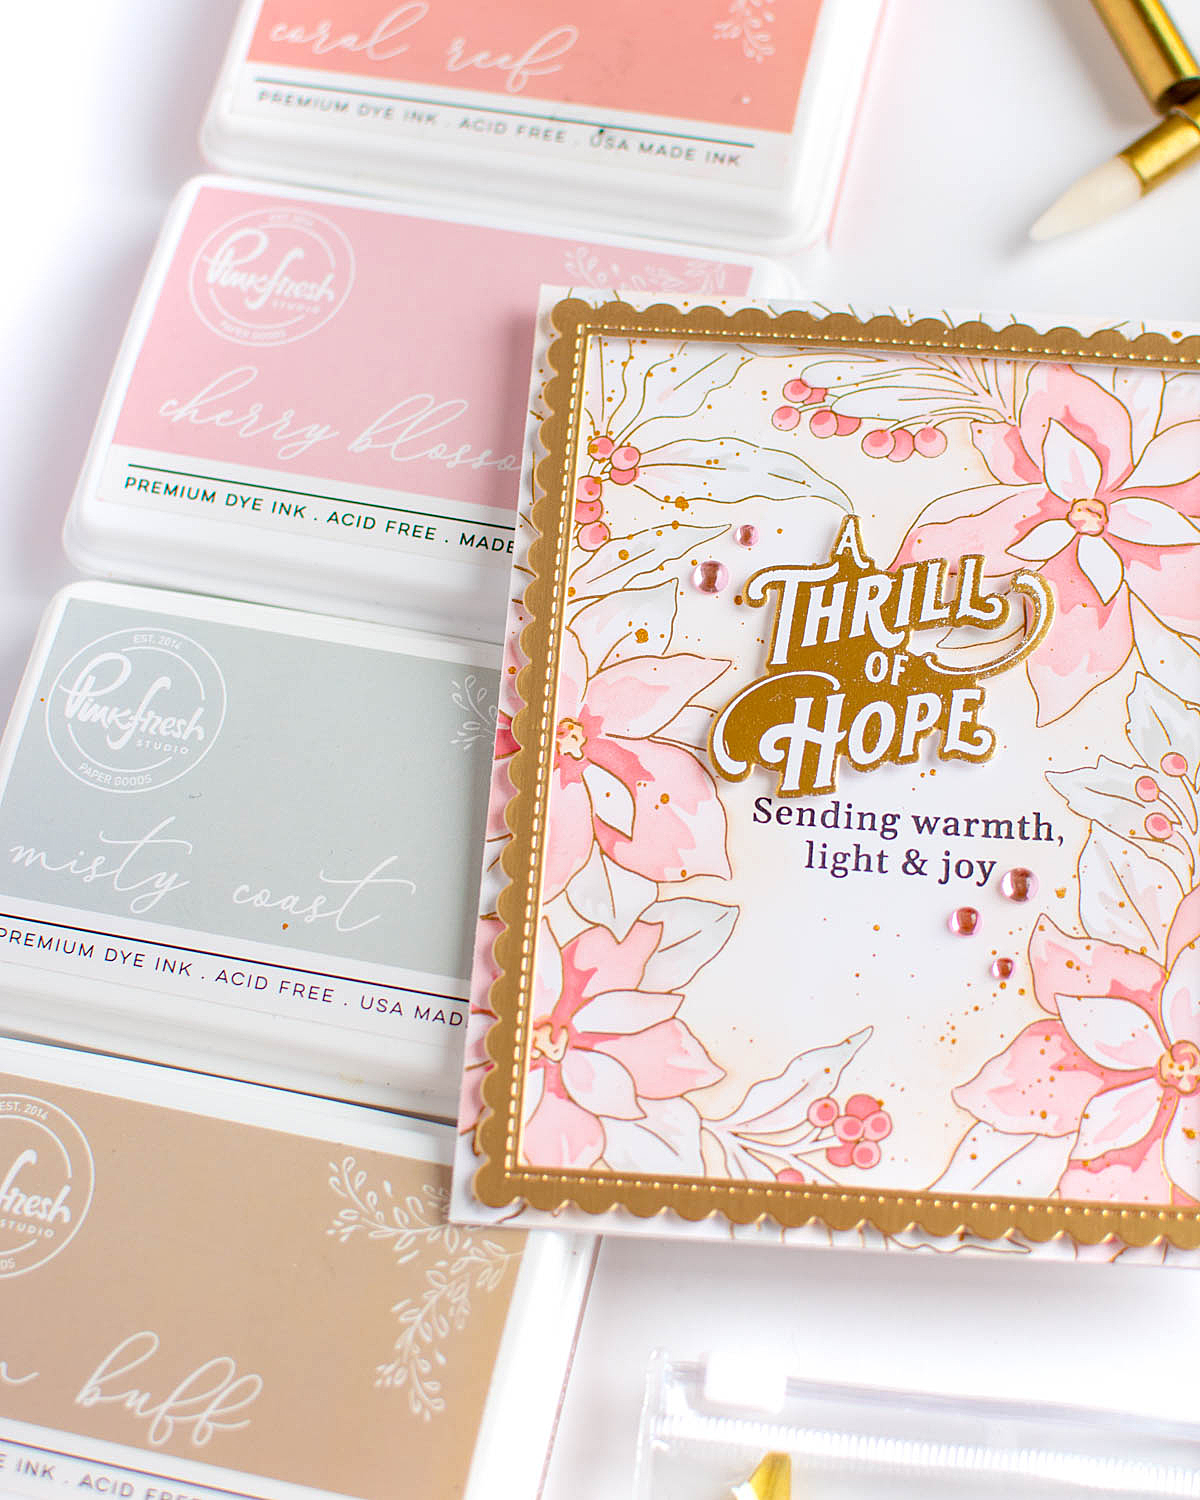
These cards feature the Poinsettia Frame product suite. I used the press plate to hot foil, and then foiled the reverse with the solid hot foil plate. That card came together super quickly - and has such an elegant feel to it! The original foil I used some soft nontraditional colors -  pinks for the flowers and berries, and then a mix of soft gray and tan for the leaves and background. I didn't use the coordinating dies on this one, just kept it as a panel. Added some gold splatter to both cards, and some coordinating Blush Clear Drops or Sparkle and Shine Ombre glitter drops to finish off. Main sentiments are from the same set I used on all of today's cards, and the secondary sentiments are from the Deck the Halls stamp set and Festive Foliage Tree stamp set. Here is a look at these final cards:


GIVEAWAY INFO:

Make sure and leave a comment before you leave for a chance to win one of 10 $25 gift certificate to Pinkfresh Studio chosen from comments left across the hop! All winners will be chosen and posted on the Pinkfresh Blog on Tuesday, June 11, 2024 - so make sure and check back to see if you were a winner! Winners must check that page and claim their prize within 2 weeks.

Here is the entire blog hop line-up so you don't miss a single stop! Thanks so much for stopping by! Have a wonderful day!!!

You are invited to the Inlinkz link party!

Click here to enter