Showing posts with label Chameleon Colored Pencils. Show all posts

Tuesday, June 19, 2018

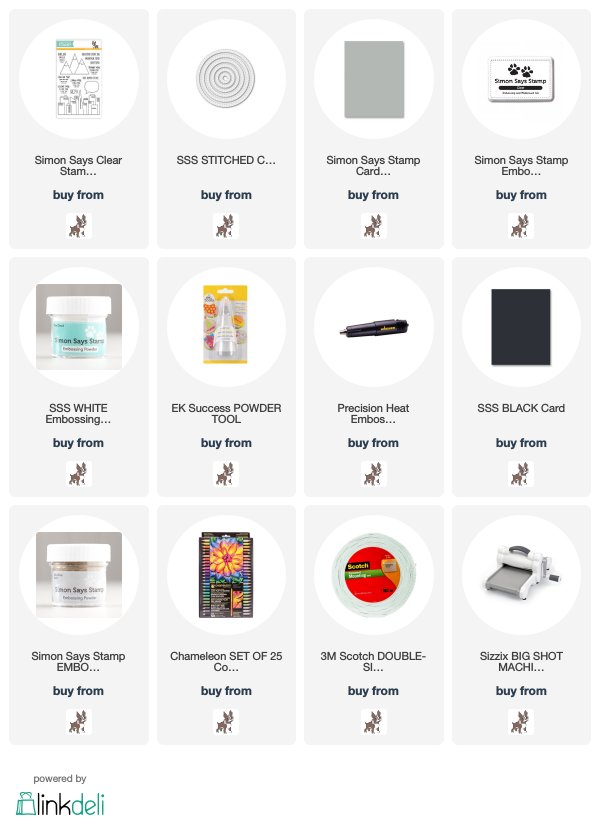
Wish You Were Here - Simon Says Stamp Good Vibes Release

Hello! It's finally time to start sharing my projects with the brand new Simon Says Stamp Good Vibes Release! YAY!!! Such a fun and happy release - just like the name implies! I have a feeling you will be seeing lots of the stamp set that I used on the card I thought I would kick off with - a GORGEOUS and unique floral set - definitely a unique and different feel to this image! I should also note that it is HUGE! This isn't an A2 card - it is actually a 5x7 card!


I started off by stamping the large floral image from Strangeness Stamp Set on kraft cardstock with kraft in k and coloring with my colored pencils. It took a while - quite a while, but was so fun! Once I finished, I used my MISTI to perfectly line up the image, restamp, and heat emboss in white. At first, I regretted doing that - kind of wished I kept gone more neutral and stamped in gold or something along those lines. But...I couldn't let ALL that WORK go to waste - so I set out to figure out how to use it on a card! :) 


I'm glad I did - because I ended up being happy with the end result! I created a 5x7 cardbase, and stamped my sentiment on there using another NEW stamp set called Vacation Time, and stamping in Khaki ink for the main sentiment, and in black for the mini one. I slightly masked that part off, then added a healthy dose of black splatters on the card base. While that dried, I fussy cut out the floral arrangement (I didn't have the dies on hand) - then mounted that with foam adhesive. All done!


Make sure and go check out the new release HERE - and come back on Thursday when I will be part of Day 1 of a fabulous blog hop to celebrate - and there will be giveaways too! And finally - if you are looking for inspiration, make sure and heat to the permanent gallery for all things from the Good Vibes collection, and add your own projects as well! You can find it HERE!

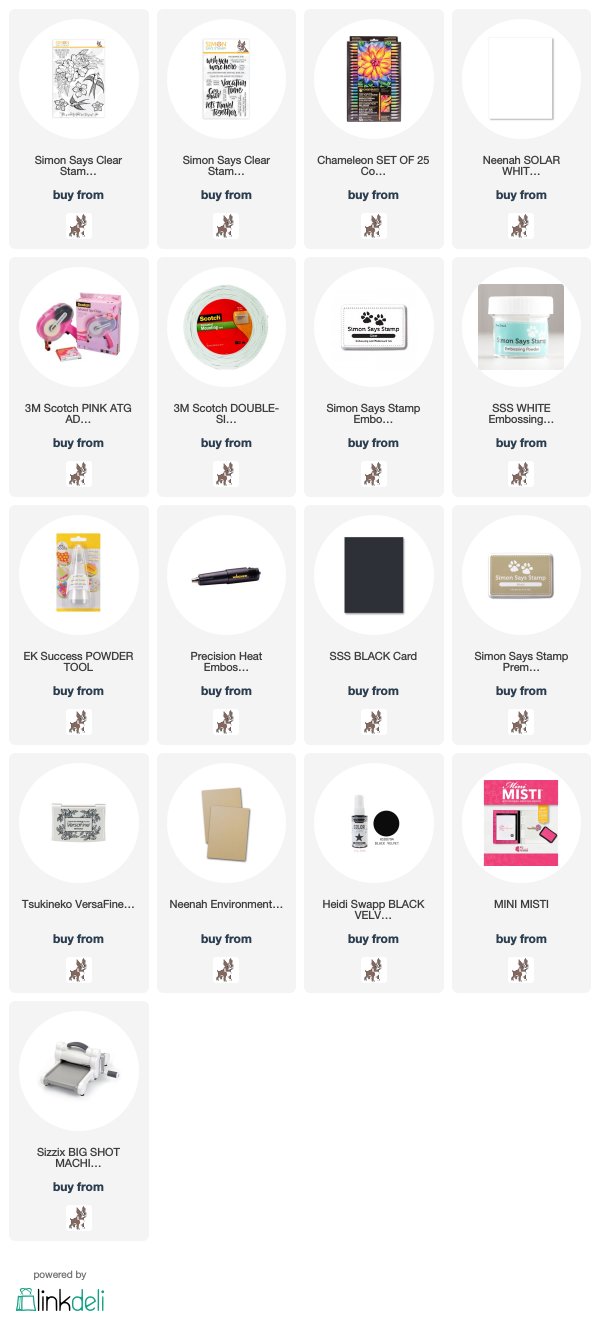
Product links are all below - including affiliate links where possible, which simply means if you use one of the links below that I receive a small commission at no additional cost to you. Thanks so much for stopping by! Have a wonderful day!!!

Saturday, May 26, 2018

Studio Katia 2nd Anniversary Blog Hop - Day 2

Good morning! I'm happy this morning to be joining in a on Day 2 of the HUGE Hop for Studio Katia's 2nd Anniversary Celebration and Release! You should have arrived here from Ilina Crouse - and your next stop is Tracy Freeman. If you get lost, the entire blog hop line-up is at the bottom of this post. You can check out the entire new release HERE!


I actually ended up with a total of FOUR cards to share with you today! Totally wasn't planning on doing that many, but just kind of worked out that way with all the new release goodies I got in my package. So be prepared for lots of photos - you've been warned! :)


My first card uses the gorgeous new Lovely Floral Stamp set - such a gorgeous floral image - and so fun to watercolor! I used my Daniel Smith watercolors to color in the vibrant blooms, then added a splatter of white paint over the top for extra texture.


I added a sentiment from Birthday Greetings, trimmed the panel slightly smaller than my white A2 cardbase before attaching it, so it left a slight border.


Second card uses the same Lovely Blooms stamp set - but this time with colored pencils! It is equally fun to color this way!


This time, I stamped it on kraft cardstock with a soft colored ink, then slowly colored in with my Chameleon Double Ended Colored Pencils. This was perfect for me to take with my on the go (actually, I took this one AND the previously watercolored one with my to my parents house and colored them there). Once I arrived home, I restamped the image (since I left it in my MISTI after the first stamping) with clear embossing ink, and heat embossed with gold. 


I trimmed it down, matted with black cardstock, then added a heat embossed sentiment from Birthday Greetings on a thin strip of black cardstock. Finished off with a sprinkling of Nuvo Drops around the image in similar vibrant tones.


Next up, I paired up the Kobi Bearing Gifts, Bubbles Stencil, and Birthday Greetings for a simple birthday card - LOVE that sentiment!


I started off by blending Twisted Citron Distress Oxide ink using the Bubbles Stencil over white cardstock and my new Ranger Blending Brushes (LOVE them). I then stamped Kobi Bearing Gifts, colored to blend with my background, and cut out with the coordinating dies.


Finished off by stamping my sentiment, mounting the image with foam adhesive, and then mounting the entire thing on a Sea Glass cardbase.


And finally...a shaker card featuring the Scallop Window Dies!


For this one, I chose some fun pattern paper from a Crate Paper 6x6 pad, and die cut the Scallop Window Die from the center. See that thin strip of white? The die cuts that as well, so I fit that back into the window to add a bit of a frame as I built my shaker.


I filled it with Sparkling Butterfly Chunky Glitter and added a sentiment, again from Birthday Greetings, stamped in a coordinating color. Mounted the entire thing on some new Peacock Cardstock from Simon Says Stamp.


GIVEAWAY INFO:
Studio Katia is giving away 2 $100 Gift Certificates on EACH day of the blog hop, chosen from comments left across the entire hop. So the more comments you leave, the better your chances of winning! Comments must be left by Saturday, June 2, 2018 at 11:59 PM EST. Winners will be announced on the Studio Katia Blog on Sunday, June 3, 2018.

Here is the entire blog hop line-up:

Heather Hoffman (you are here)


Product links are all below - including affiliate links where possible, which simply means if you use one of the links below that I receive a small commission at no additional cost to you. Thanks so much for stopping by! Have a wonderful day!!!


Friday, April 13, 2018

Love Your Kind Heart - Simon Says Stamp May Card Kit

Hello! Super excited to share my first card with you featuring the newly revealed Simon Says Stamp May Card Kit of the Month - Kind Heart! This is such a fabulous and fun spring kit - I love the pattern papers, the TWO stamp sets (YAY!), and the lovely embellishments!

For today's card, I used the fun small stamp set included in the kit, Take Heart:


I stamped it on some of the included Smoke Scored Cardbases using my MISTI, then colored it with my Chameleon Double Ended Colored Pencils. I then put it back in my  MISTI and re-stamped for a nice crisp outline, and added the sentiment at the bottom.


Finished off by embellishing with some Nuvo drops. I didn't plan on that many...but forgot to move it off my desk while it dried, and had to add a few more drops to cover the mess when I set something on top of it! Oops - tell me I'm not the only person who does that?!?!? So glad I could salvage it though - it took a while to color this! Haha!


Here is a look at the entire card kit - you can find it and all the info HERE:


Product links are all below - including affiliate links where possible, which simply means if you use one of the links below that I receive a small commission at no additional cost to you. Thanks so much for stopping by! Have a wonderful day!!!


Friday, March 30, 2018

Technique Tuesday Countdown Day 1 - Beautiful Iris

Good morning! So excited to begin sharing my cards for the April Release from Technique Tuesday! Woohoo!!! This is a big and beautiful release! Make sure and check out the Technique Tuesday Blog to find links to all the Design Team's projects for today!


Today is all about the florals - and there are some seriously lovely ones! Here is my card for today using one of my favorites - the Iris Stamp Set:


I had SOOO much fun coloring up this image! I used my MISTI to stamp it in a soft colored ink, then took lots of time to color it in with my Chameleon Double Ended Colored Pencils. I then put it back in the MISTI and restamped with embossing ink, and heat embossed in white. Then, I used a couple of Warm Gray Copic markers to add some shading and depth around the outside of the image.


I added a heat embossed sentiment from another set - Just Us Girls - that seemed like a perfect fit, and added a row of machine stitching around the outside edges, and on a whim, added a bit of wonky stitching on the base of the flower. Kind of scary doing it when the card was almost done - so I was SOOO glad it looked good when I was done!


Finished off by adding a thin white matte, then mounting on a cardbase made with Simon Says Stamp Blue Violet cardstock.


Product links are all below - including affiliate links where possible, which simply means if you use one of the links below that I receive a small commission at no additional cost to you. Thanks so much for stopping by! Have a wonderful day!!!


Tuesday, March 13, 2018

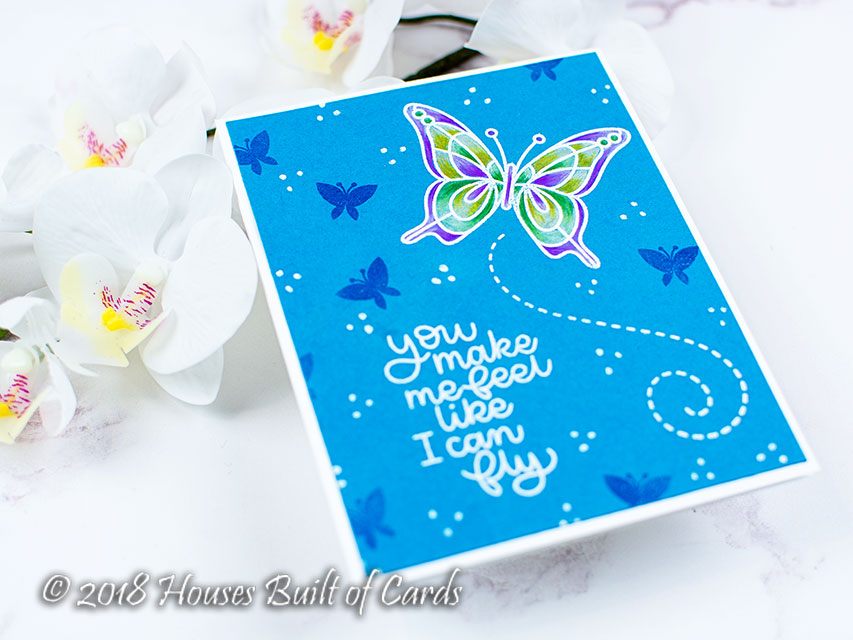
Feel Like I Can Fly - Simon Says Stamp April Card Kit


Good evening! The NEWEST Simon Says Stamp April Card Kit - Beautiful Day is live - and I can't wait for you to see it - so go check it out HERE! Tons of pretty embellishments, a couple of the newest Distress Oxide Ink colors, one of the new Tim Holtz Distress Blending Brushes (that I've been DYING to get my hands on!) - and I love the BIG and BEAUTIFUL stamp set included in the kit, also named Beautiful Day. Isn't it pretty?!?!?


I stamped and heat embossed a sentiment, the largest butterfly, and one of the flight trails in white on some of the Island Blue Simon Says Stamp Cardstock in the kit, then colored them with my Chameleon Double Ended Colored Pencils. I heat embossed one of the little solid butterflies on the background with clear embossing powder, then added some dots in groups of 3 with a white gel pen to complete the background.


Here is a look at the entire card kit - you can find it and all the info HERE:


I can see all kinds of fun techniques with these butterflies - they remind me of stained glass!


Product links are all below - including affiliate links where possible, which simply means if you use one of the links below that I receive a small commission at no additional cost to you. Thanks so much for stopping by! Have a wonderful day!!!


Friday, February 23, 2018

Modern Shout it from the Rooftops - Simon Says Stamp

*I have a step-by-step of my coloring for this card on my Instagram Story today - I also have started doing weekly giveaways over there if you want to come check out this weeks! You can follow me on Instagram HERE!*

Hello! I'm sharing a card today using one of my favorite recently released stamp sets from Simon Says Stamp called From the Rooftops. I love the clever sentiments that go with the fun scenes! Today's card uses some gray cardstock, heat embossing, and colored pencils!


I have been drooling over the Polychromos Colored Pencils, but since I don't have them yet, I decided I should probably pull out some of the ones I actually DO have and use them! One set that hasn't seen NEARLY enough use is my Chameleon Double Ended Colored Pencils - they work so well for easy blending and were perfect for this technique!


I heat embossed in gold, then used both ends of various pencils to color in the skyline. I created a window in the same color of cardstock and placed it over the top with foam adhesive. Finished off by heat embossing my sentiments on black cardstock and attaching them in place!


Product links are all below - including affiliate links where possible, which simply means if you use one of the links below that I receive a small commission at no additional cost to you. Thanks so much for stopping by! Have a wonderful day!!!


Tuesday, September 26, 2017

Colored Pencils on Kraft - Fast Recovery


Good morning! I have been following along without any consistency with Kathy Racoosin's 30 Day Coloring Challenge, sometimes getting coloring in that goes with DT stuff I can't share, sometimes life is crazy and I don't get anything done, and sometimes I work on something like this for a few days here and there, and then get around to sharing it! Haha! 

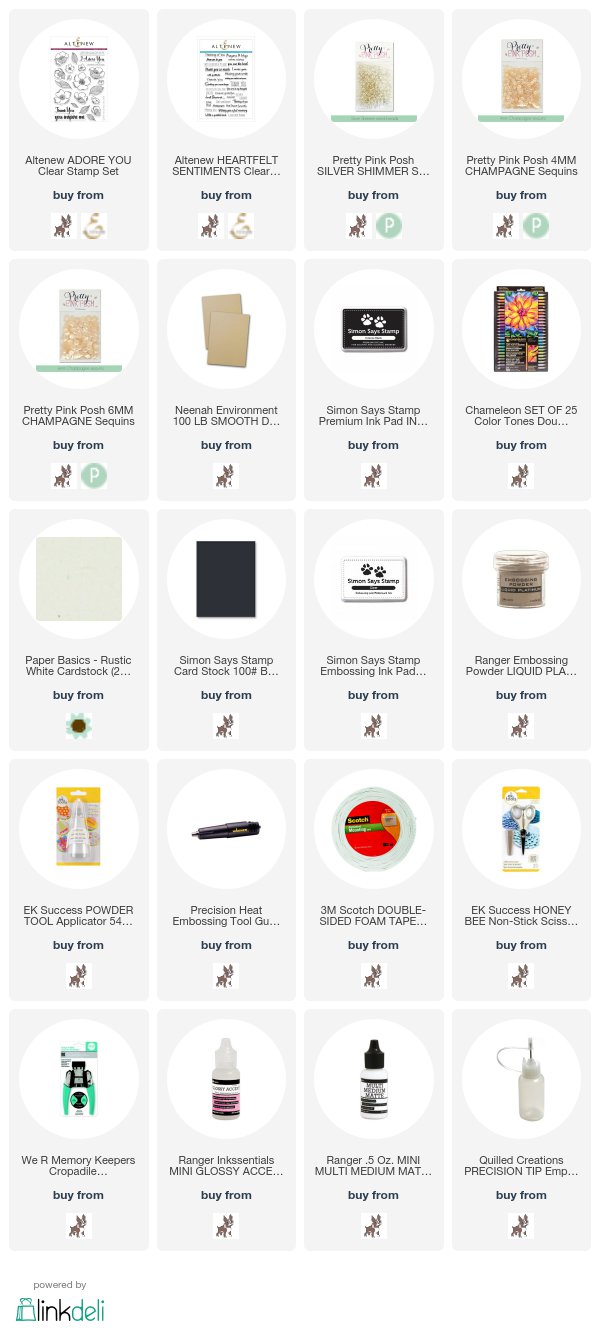
For some reason I seem to struggle with using colored pencils. Or at least, being happy with the results. This is one of the first times I have truly liked the finished card! I twisted things up a bit by stamping theses lovely Altenew florals from Adore You on kraft cardstock, then slowly coloring them with my Chameleon Dual Tones Pencils - mostly in the car waiting for a daughter at music lessons or some such thing.


I then carefully fussy cut them out, and arranged them as you can see here, using Jennifer McGuire's Press-and-Seal technique to pick it up, add foam adhesive to the back, and then adhere on my Rustic White cardbase. I heat embossed a sentiment from Altenew's Heartfelt Sentiments in Platinum ink on black cardstock and added that, then filled the centers of the flowers with Glossy Accents to adhere some sparkling Pretty Pink Posh seed beads. I also added a few soft sequins and a few more seed beads around the flower cluster - although they are difficult to see in the photos. Finished off by rounding one corner of the card!


I'm also playing along with the current Altenew Challenge - the colors are a bit different, but I was inspired by the cluster of florals, and the kraft in the background inspired my stamping the flowers on kraft cardstock:


Product links are all below - including affiliate links where possible, which simply means if you use one of the links below that I receive a small commission at no additional cost to you. Thanks so much for stopping by! Have a wonderful day!!!


Saturday, July 8, 2017

Dino-mite Day - Reverse Confetti Release Hop

Good morning! Today is the day! The new release at Reverse Confetti is live and ready for you to go shopping! :)

The DT and this month's 'Fetti Friend are hopping today with more fun projects using the new release!


Can you tell I love the Pierced Round Top Layers? This time I turned it upside down for more of a banner look - and stamped the adorable T-rex from the new No Tomorrow stamp set all on Lime Green Cardstock. I colored him in with my Chameleon Dual Ended Colored Pencils and added the sentiment underneath. For the cardbase, I did some ink blending on the bottom with Lime Green ink, then mounted the Squared Off Cover Panel cut in white over the top before adding my dino banner. Finished off with some jute twine wrapped and tied around the top!


Here is a peek at the new products I used that just released!


Here is the entire Blog Hop Order:

Susan Liles
'Fetti Friend - Therese Calvird

Product links are all below - including affiliate links where possible, which simply means if you use one of the links below that I receive a small commission at no additional cost to you. Thanks so much for stopping by! Have a wonderful day!!!