Showing posts with label Concord and 9th. Show all posts

Saturday, September 13, 2025

Happy Birthday Party - Simon Says Stamp STAMPtember Concord & 9th exclusive

Good morning! I'm back to share a card using the next of the special STAMPtember collaborations throughout the month! Each collaboration is with one of your favorite companies, is limited edition, and only available while supplies last. When it's gone, it's gone! Today's special release is one of THREE that are all being revealed today - this one is Concord & 9th


I love the happy colors on this card! I stamped the fun layering image in the stamp set in Honey, Surf, and Fairway inks, and then die cut with the coordinating dies. I also stamped a sentiment in black ink and die cut that out. For some added texture, I used the Swiss Dots embossing folder on white cardstock, tore along the edge of one side, and added that to the side of my cardbase. I arranged all my sentiments and images and popped everything up with some foam adhesive, then embellished with some Clear Dazzling Gems to finish! Here are more photos of this finished card:


Product links are all below - including affiliate links where possible, which simply means if you use one of the links below that I receive a small commission at no additional cost to you. Thanks so much for stopping by! Have a wonderful day!!!


Friday, September 11, 2020

STAMPtember Collaboration - Memory Box AND Concord and 9th

Hello - and HAPPY STAMPtember - a month long party by Simon Says Stamp to celebrate all things stamping. 


Today we are getting to see the next in the progression of the special SUPER SECRET collaboration stamp sets that will be happening throughout the month! Today we have not one but TWO companies - and I have a card for both of them! First up - Memory Box:


I loved this stamp set- made me think of a path through the woods!


I stamped and heat embossed it in gold, then ink blended over the top with distress oxides - including the new Crackling Campfire (which I LOVE by the way!). The other two colors were Fossilized Amber and Aged Mahogany. I also smooshed some of the same colors on a clear stamp block, added a touch of water, and then used that mixture to "paint" in some of the trees in the same color order. I loved the effect of depth this gave!


I added some gold splatters, then heat embossed a sentiment on a strip of black cardstock, hand trimmed into a banner shape. Wrapped some twine around it, mounted it with foam adhesive, then finished off with a few gold sequins.


Here is a closer look at this super fun set:


And next up - we have Concord and 9th:


For this card, I went very clean and simple - and paired the stamp set up with some of Concord and 9th's gorgeous cardstock in Buttercup and Evergreen as well!


I decided to use the image a bit different than it looked at first glance - it has a great spot in the center to add the sentiments, but I stamped both sides of it off the edge of my Buttercup cardstock, and heat embossed in white for a crisp finish. I added my sentiment with black Versafine ink, and heat embossed that with clear embossing powder for the same shine.


I added a thin scallop border on both sides of that panel using Scallop Stitches die and white cardstock, then mounted that entire panel with foam adhesive on my Evergreen card base. Finished off with a few sparkling clear sequins!


Here is a closer look at this beautiful set:


Product links are all below - including affiliate links where possible, which simply means if you use one of the links below that I receive a small commission at no additional cost to you. Thanks so much for stopping by! Have a wonderful day!!!


Friday, August 4, 2017

Concord and 9th - Aloha Bundle

{{{I have several posts today - if you are looking for the Simon Says Stamp Encouraging Words Blog Hop, click HERE or scroll down}}}

Good morning! Back today with my fourth and final guest designer post for Concord and 9th's BRAND NEW release! Today we are showcasing the Aloha Bundle. You can check out the other guest designers and their takes on the Concord and 9th blog HERE!


Today I had fun with the clever and unique pairing of  the Aloha Fill-In Pattern Paper and the perfectly coordinated Aloha Fill-In Stencils. It was even easier than I expected - LOVE when that happens! The stencils actually fit perfectly over this entire piece of pattern paper, allowing my to blend each of the colors all at the same time. I used distress inks in coordinating shades for my flowers, then cut the resulting piece of pattern paper in half so I could make two cards at the same time and also not waste a scrap of the beautiful design!  


Once I trimmed them down, I stamped my sentiment from Aloha Friend stamp set directly over the top, then matted the strip with black cardstock, and mounted on another piece of pattern paper from the Aloha Fill-In Paper pack using foam adhesive to help it pop.


And then I couldn't resist putting together a very simple little (nearly) one-layer card using just the Aloha Friends stamp set:


For this one I stamped the flowers from the stamp set all over a panel of white cardstock, then stamped to fill in the flowers with the coordinating stamp. I used two shades of green Altenew ink to stamp first the lighter shade of green, then partially inked and re-stamped the darker color for some depth. I had trouble getting to to show up in the photos, but it added some depth to the flowers which was fun! I then stamped and heat embossed a sentiment in white on a strip of black cardstock, and mounted that with foam adhesive on the front of the card.


I also have this card that I posted the first week when we were featuring the Sunshine Turnabout - the also uses the Aloha Friends stamp set. You can read more details on this one HERE if you are interested:


Product links are all below - including affiliate links where possible, which simply means if you use one of the links below that I receive a small commission at no additional cost to you. Thanks so much for stopping by! Have a wonderful day!!!


Friday, July 28, 2017

Concord and 9th - Hooray Bundle

Good morning! Back again today with my third guest designer post for Concord and 9th's BRAND NEW release! Today we are showcasing the Hooray Bundle. You can check out the other guest designers and their takes on the Concord and 9th blog HERE!


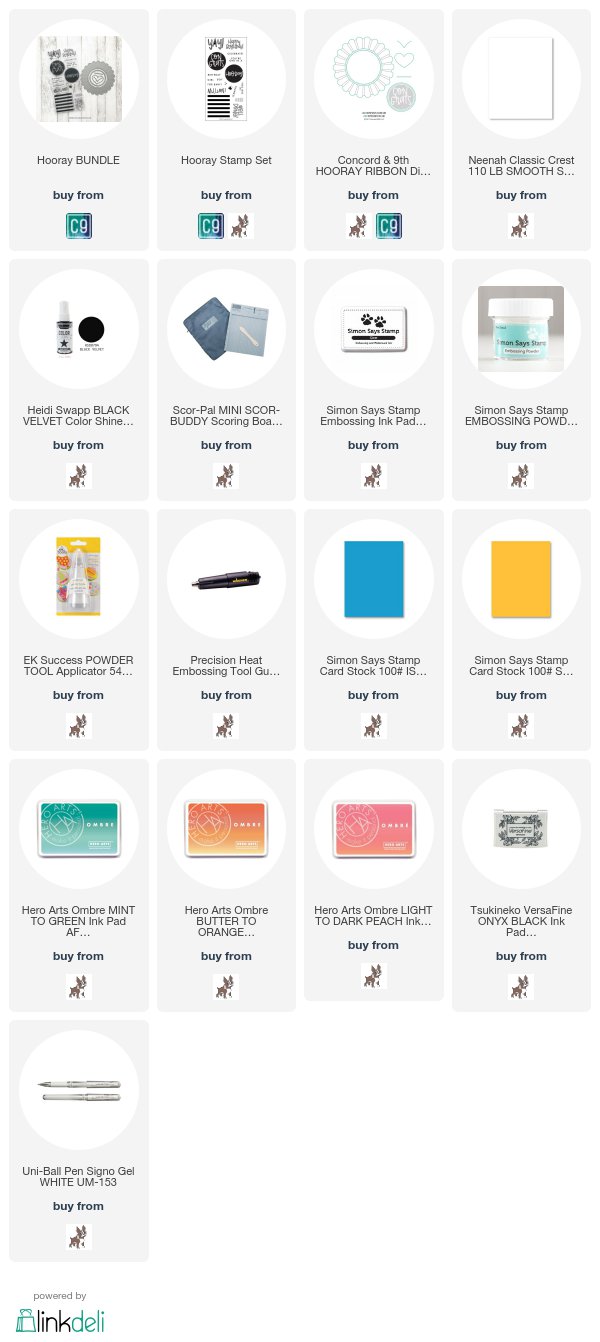
I have to admit, I wasn't quite sure what to do with the Hooray Ribbon Dies - they looked a little intimidating to me! However, they could NOT have been any easier to use! It comes together SOOOO very easy - and I love the fun 3D effect that was so simple to create! These would be fun for gift tags, name tags, prizes for kids birthday parties or events - SOOO many fun ways to use them!


I ran score lines around the outside of my white card base (for SOME reason I can't get them to show in the photo!) - then masked those off, and added some black ink splatters. The perfect way to add some interest to the background before adding this fabulous ribbon.


Then, I decided to use the Hooray Stamp Set on it's own to create these CAS birthday cards - they came together in a snap!


I used various Hero Arts ombre inks - adds a bit of interest to the striped background.


I stamped my sentiments (quick trivia...can you spot which one is different than the other two? It's the first one I did, and I changed how I stamped one part because I liked it better). I added some white gel pen on the inside portion of the "happy birthday" to make it pop a little more off the colored stripes.


I also used some of the fab sentiments from the Hooray Stamp Set (and the little heart from the Hooray Ribbon Dies) on this card that I posted the first week when we were featuring the Sunshine Turnabout - you can read more details of this one HERE if you are interested:


Product links are all below - including affiliate links where possible, which simply means if you use one of the links below that I receive a small commission at no additional cost to you. Thanks so much for stopping by! Have a wonderful day!!!


Friday, July 21, 2017

Concord and 9th - Unicorn Awesomeness

Good morning! Back again today with my second guest designer post for Concord and 9th's BRAND NEW release! Today we are showcasing the Unicorn Awesomeness Bundle. You can check out the other guest designers and their takes on the Concord and 9th blog HERE!


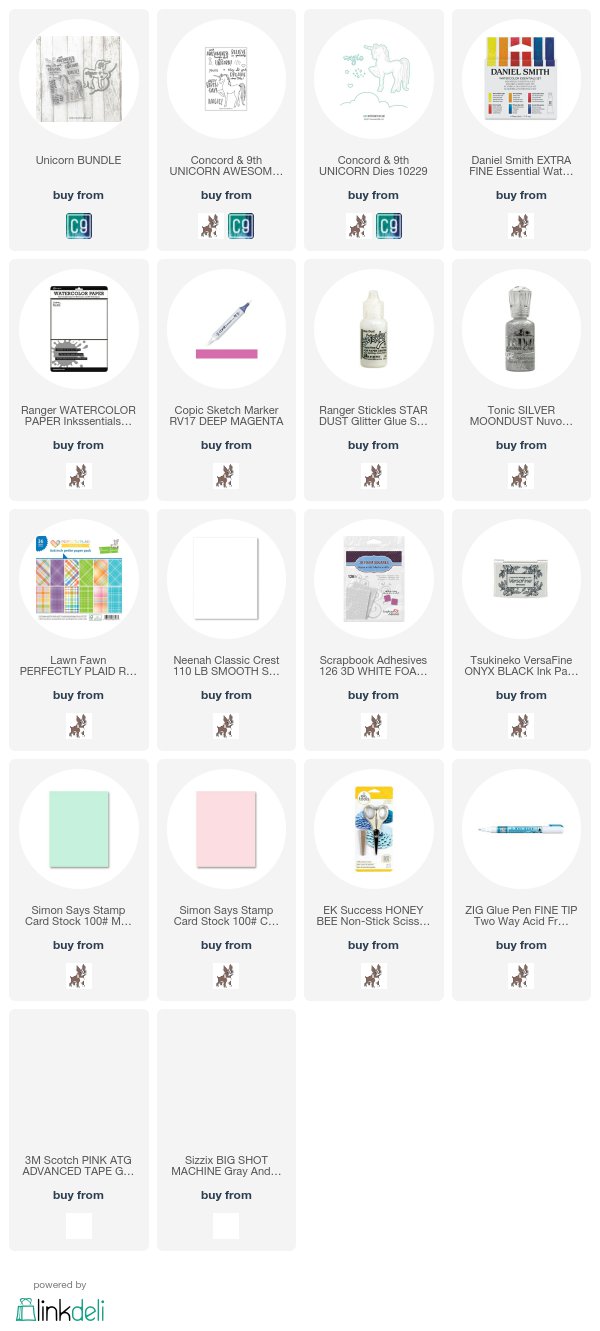
For my first card I combined the fabulous Unicorn Awesomeness Stamp Set with the coordinating Unicorn Awesomeness Dies. I watercolored the unicorn, then used the cloud border die cut to cut some puffy white clouds for her to stand on. I also watercolored a scrap of watercolor paper in the same yellow as I used on the mane and tail, then die cut a heart to put on the horse, as well as a few stars to scatter around. I stamped some of the sparkles on the clouds, and covered them with silver Nuvo drops. I added sparkly stickles to the mane, tail, and the hearts and stars. This is one SPARKLY card I tell ya!


And next, I decided to play around with a little paper piecing for the image - so I used only the Unicorn Awesomeness Stamp Set for this one.


Now, this was a little bit of fussy cutting, but I find it relaxing to sometimes take the time and do this. And this image was so fun for it! I used some pattern paper from an older Lawn Fawn paper pad, and then matched my cardstock colors for the mat and cardbase to those. I love this soft girly color scheme, and the clean and simple feel of this card!


I also used the Unicorn Awesomeness Stamp Set on this card that I posted last week when we were featuring the Sunshine Turnabout - you can read more details of this one HERE if you are interested:


Product links are all below - including affiliate links where possible, which simply means if you use one of the links below that I receive a small commission at no additional cost to you. Thanks so much for stopping by! Have a wonderful day!!!


Friday, July 14, 2017

Concord and 9th - Sunshine Turnabout

Good morning! Super excited to be one of this month's guest designers for Concord and 9th's BRAND NEW release - and it is a FABULOUS one! Today we are showcasing the awesome new addition to Concord and 9th's popular Turnabout series of stamps - Sunshine Turnabout. You can check out the other guest designers and their takes on the Concord and 9th blog HERE! I put together this set of cards featuring that stamp set, as well as several other items to show how well the other items from the new release all work together with it!


For each of these cards I used a different set of Altenew inks - this allowed me to create an ombre sunshine since the colors are pre-coordinated together into color families. I used my MISTI to make it easy to quickly stamp all of these backgrounds - which is why I couldn't stop with just one! I also added some black ink splatters to each one with some Heidi Swapp Color Shine mists, and trimmed them down to just *slightly* smaller than an A2 card front so that they have a bit of white cardstock peeking around the front of each of them.

For this first one, I only used the stamps and dies that are part of the Sunshine Turnabout Bundle. Even those flowers are part of the stamp set! I heat embossed the sentiment on the black circle die cut with Sunshine Dies, stamped the flowers and leaves randomly on the background, then adhered the center of the circle with foam adhesive. Finished off by adding the scallop circle flat on the cardbase. 


And of course, it is a NO-BRAINER that this stamp set would work fabulously with the brand new Unicorn Awesomeness Stamp Set


For this one, I stamped the sentiment right on the card front, then stamped the unicorn, stamped it again on white cardstock, fussy cut out, and paper pieced it on so it would pop a little more. Added a touch of pink to the main, ears, horn, and feet, then covered them with clear sparkly Stickles. A few flat sequins from Pretty Pink Posh finish it off!


And the next one is a nice flat card - but I love the bold sentiment!


For this one I used the new Aloha Friend Stamp set to stamp a bold black sentiment right over the Sunshine rays. I also added the flowers on the side. I used my MISTI to stamp it a couple times for a nice deep, dark, crisp impression.


And finally for this set - I stacked a few sentiments from the fun new Hooray Stamp set!


To add a bit of dimension, I die cut a little heart using the coordinating Hooray Ribbon Dies and popped it up with foam adhesive. Since it is right in the center of the sunshine rays - it just pops even more!


I so love making sets of cards - once you have sort of a plan, it is usually just as easy to make several slightly different cards as it is to make one exactly the same! These came together so quickly, and I can't wait to try even more color combinations with the Sunshine Turnabout - definitely a new favorite!


And, just for fun - I have one little bonus card! For this one I used the Sunshine Turnabout Bundle, but just used a sentiment stamp and the coordinating dies with some pretty pattern paper!


A little vellum with a torn edge, heat embossed sentiment, and some layered pattern paper helped this card come together so quickly and easily as well!


Product links are all below - including affiliate links where possible, which simply means if you use one of the links below that I receive a small commission at no additional cost to you. Thanks so much for stopping by! Have a wonderful day!!!