Showing posts with label Ribbon Carousel Ribbon. Show all posts

Wednesday, December 5, 2012

Peachy Keen Release Challenge #2

We had a great party at the Peachy Keen Connection tonight to release the new stamps for the month! If you missed the fun - there are still a couple of challenges to play along with! I made this for the second challenge (click HERE to read the details!) - and for some reason the Ning site is being difficult and won't let me upload a photo - so, I thought I would post it here real quick:
The challenge was to create a word art background, and include a snowman as a focal point. I used the Happy Birthday from the brand new December Kit of the Month:


Isn't it beautiful?!?!?! LOVE all the cute and elegant images that are on there! I stamped the sentiment on pattern paper repeatedly using PTI ink.
Then I used the snowman and sentiment from these two sets:


I cut a shape out with a Spellbinders Nestabilities Die, and inked the edges with Tim Holtz distress ink. Then I stamped the snowman on there - planning on coloring it in - but really liked the simple look of it plain! 
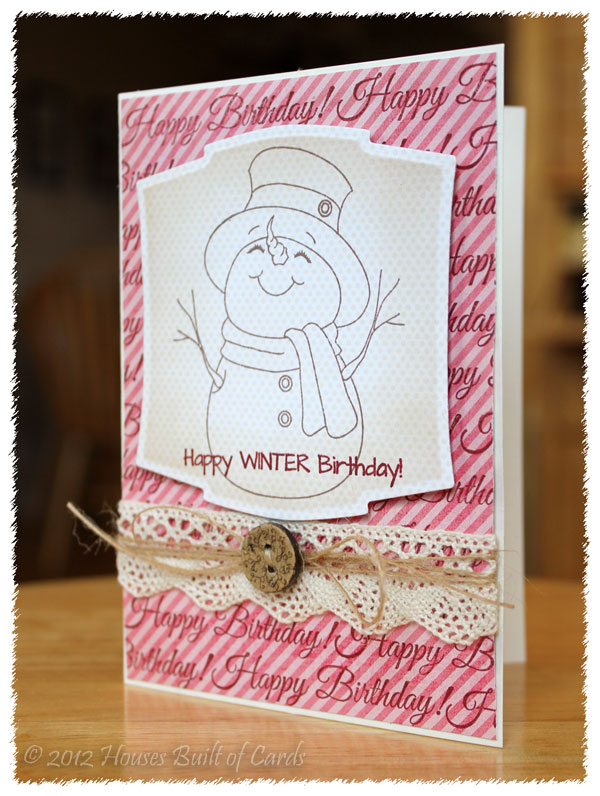
Stamped the sentiment using the same PTI ink right over the bottom part of the snowman.
Added some pretty lace and jute twine, and a fun button I had in my stash - and attached the snowman with foam adhesive.
I hope you'll go over and check out the challenges and join the fun! Can't wait to see what you make with them!

Also linking this up with the Ribbon Carousel Holiday Spirit Challenge!

Monday, November 19, 2012

Sunshine Birthday

Good Monday morning to you! I couldn't resist putting together ONE last entry into the Moxie Fab World Canvas, Cork, and Burlap Challenge! So...when I had a few moments to play the other day, this is what I came up with:
I used some of my brand new sets of Lil' Inker dies to cut the sunshine out of cork, and the clouds out of vellum. Also cut the banner using the sentiment flag die, then heat embossed the sentiment on it.
Used my Cuttlebug to emboss some kraft paper, and then embossed the white paper with a woodgrain PTI impression plate.
Attached the clouds to the back of the self adhesive cork, then used a foam dot in the center of the sun to apply it to the kraft paper. Added an October Afternoon button, some jute twine, and a bit of washi tape along the side to make some tabs.
I'm going to run out of cork one of these days - but in the meantime, I can tell I have a new addiction! Thanks for stopping by! See you soon!

Sunday, November 18, 2012

Paper Smooches and Play Date Cafe

Okay - I re-posted better pictures taken in daylight for these! I just wasn't satisfied with the ones from last night with bad lighting!

Anyway - I have been itching to play a bit more with my Paper Smooches stamps - and when I saw the color combo over at the Play Date Cafe for this week...I knew just what to do! Here is what I made:

I used the sketch for the Paper Smooches SPARKS challenge


And, of course, the color combo for this weeks Play Date Cafe Challenge:


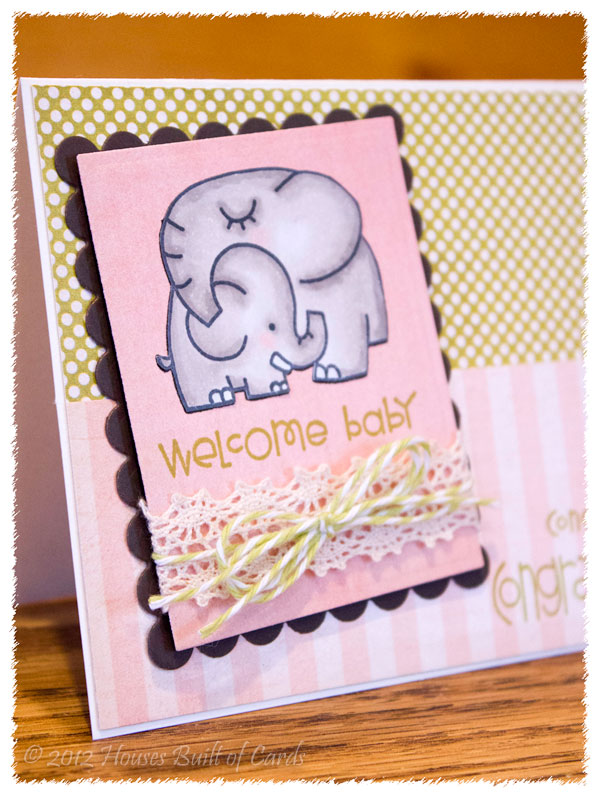
I used pattern paper from My Mind's Eye, and cut the rectangles out with Spellbinder's dies. I colored the elephant on Copic Express blending cardstock, then hand cut out, and glued onto the pink background. 
Added the sentiment stamped with PTI ink, some lace trim, and some Baker's twine, and attached it with foam adhesive to the gray scallop rectangle. 
Added the sentiments on the bottom right - the little congratulations is from the same set as the elephant and welcome baby, and the large congratulations is from Sentiment Sampler. I stamped these also with PTI ink.
SOOO happy with how this came out! Now...just need to find someone who is having a little girl to give it too! Thanks as always for stopping by!

Thursday, November 8, 2012

My Craft Spot New Release Day 4


Good morning! I am SOOOO loving the card I get to share with you today for Day 4 of the new release at My Craft Spot! Today we are sharing cards created with the new set named Think Snow! SOOOOO cute!!! I love all of the fun sentiments on this one! Here is what I made:
As soon as I saw this sentiment - I knew I wanted to use it to make a thank you card for my mom! When we moved to Wyoming, she packaged up some special tea cups, along with an assortment of teas and cocoas to keep us warm on the cold winter nights. My kids just recently enjoyed their first cup of cocoa from her when we had a bit of super cold weather. They enjoyed it SOOO much! So...I made this so they could write her a note to let her know how much they enjoyed and appreciated it!
I used my Silhouette Cameo and a file from the Silhouette Store for the mug and heart, and inked the edges with Tim Holtz distress ink. I attached it with pop-dots for a bit of dimension.
I hand trimmed the square with the sentiment, and also inked the edges of that.
I folded a doily in half to put under my mug - but since it still felt like it needed something, I added a couple layers of crinkle ribbon from My Craft Spot, added a bit of lace I had in my stash from Ribbon Carousel with a bit of traditional Baker's Twine, also from My Craft Spot.
I have a hard time lately making a card without jute twine - so I had to add a little bow to the top corner of the mug, with a tiny pink button from my stash. Then, finished it all off by adding some faux stitching with a white gel pen around the edges.
So glad you stopped by to visit today! Hope you are having a wonderful day - and don't forget to swing over to My Craft Spot to check out the rest of the amazing projects from the Design Team and enter today's giveaway! See you tomorrow!!!

Saturday, November 3, 2012

November Peachy Keen Sneak Peeks!


Good morning!!! It is a fun day for me - because I have the joy of sharing some samples from the new November Peachy Keen release! As always - lots of fun and oh-so-adorable images in this release! I can't wait to play more - but since we are celebrating my brother-in-laws wedding today, this was all I could get done before leaving! I can promise that you will be seeing more of these stamps as soon as I get home and have a chance to get inky again! For now though, here is what I got made:
Oh - but I love me a Peachy snowman!!! And this one is so darling! It is from the new November Kit of the Month. I stamped it and the sentiment on white cardstock, then cut and embossed with a Spellbinder's Nestabilities die. I left the die on, and inked with some Tim Holtz distress ink in spun sugar before removing the die.
Next, I colored her up with Copics in soft pretty colors, then since I didn't have pearls in the color I wanted, I colored those with a Copic marker as well! 
The snowflake paper is from a My Mind's Eye 6x6 paper pad I picked up on clearance last year after Christmas.  
I attached some lace trim from Ribbon Carousel behind it, then attached it with foam adhesive to my cardbase, made with Bazzil cardstock. I also attached the image panel with foam adhesive, so this card is nice and thick! Just the way I like it! 
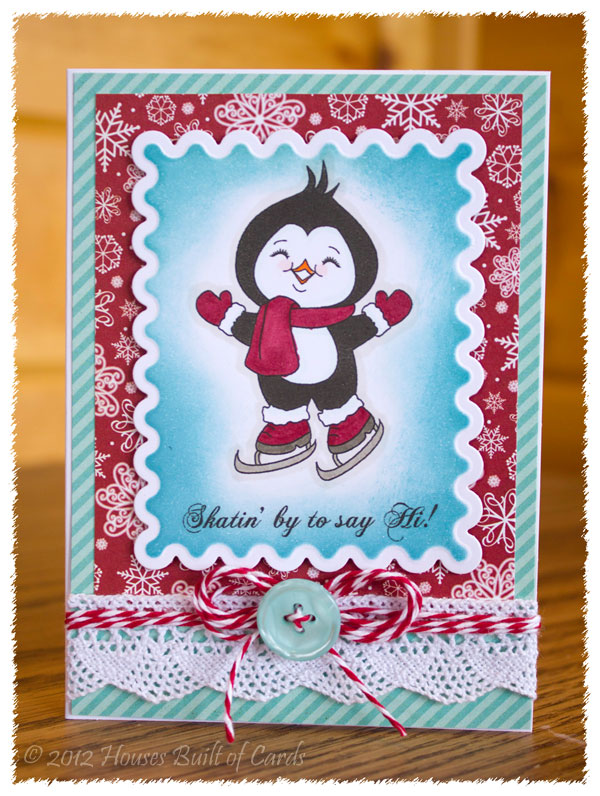
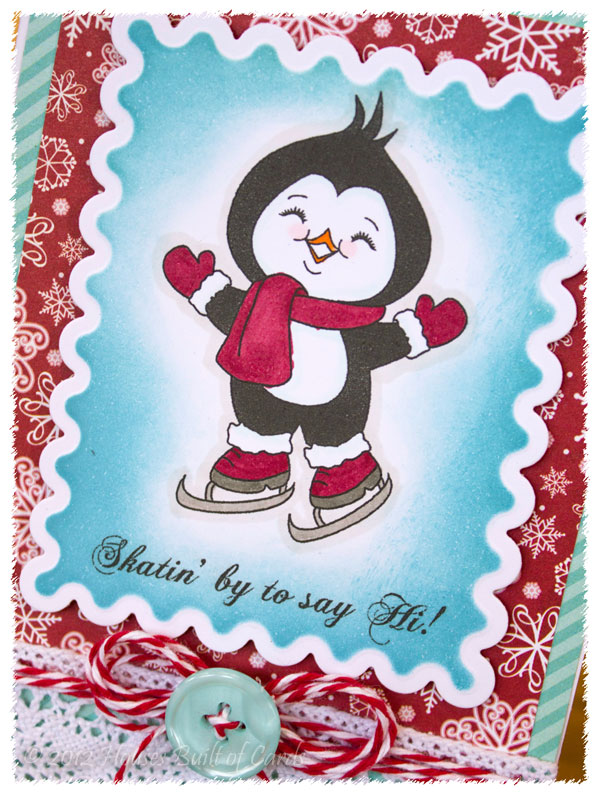
Next up, I used one of the add-on kits for the month! I kind of like penguins a lot too! 
I did the same thing with the Spellbinder's Die, only I used Broken China distress ink. 
I also colored him a bit with Copics (don't look too close...I was a little messy on the scarf I just noticed!) 
The paper on this one is from the same My Mind's Eye 6x6 paper pad. 
I also finished this one off with some more lace from Ribbon Carousel, some red Baker's Twine from the Twinery, and a Papertrey Ink button! 
I love this color combo! Something about red and turquoise just makes me happy! Anyway - thanks for dropping by today! Make sure and head over to the Peachy Keen blog to check out the rest of the sneak peeks from the Design Team! 

Sunday, October 14, 2012

Unity Stamps October KOTM Sketch Challenge


And the other card I got finished last night was for the Unity Stamp Company October Kit of the Month Sketch Challenge - here is what I made:
And here is the sketch:


For some reason, despite the season and the weather - I felt inspired to make a cheery spring/summer type card! Who knows why - but it was fun! 
So I pulled out my Crate Paper Pretty Party 6x6 paper pad and my June 2012 Kit of the Month to put this together.
I punched 3 circles, and stamped just part of the row of strawberries on each circle, then colored them with Copics, and inked the edges with Tim Holtz distress ink in Antique Linen to soften the stark white of the paper. 
I couldn't resist a doily tucked behind, and stamped the sentiment with PTI ink right on there from April 2012 KOTM, and tucked a couple little stick on pearls underneath.
Wrapped some jute twine from Ribbon Carousel around a couple times and tied a simple bow, and attached the circles with foam adhesive.
And that's it - super sweet and simple, not to mention cheery and happy! Thanks again for visiting today! Hope to see you again soon!!!

Friday, October 12, 2012

WCMD - Unity Color Combo Challenge


And last but not least, the WCMD Unity Color Challenge - the challenge was to use cream, brown, olive, and pumpkin as your primary colors. Here is what I made:
In the picture this looks more white than it actually is - I used a bunch of Tim Holtz distress ink in Antique Linen to ink the doily and paper at the bottom so it was more cream than white. 
The butterfly is from one of the newest KOTM, and I stamped it on orange cardstock and cut it out by hand. All the colored cardstock is Bazzil Cardstock - so nice and thick and pretty! 
I seem to be loving doilies lately, so of course I added one on here, as well as some jute twine from  Ribbon Carousel. I also ran the green paper through my Cuttlebug and embossed the script onto it for some fun texture. Finished off by using a touch of Copic markers on my sentiment! 
Thanks for putting up with the flood of posts today! Been working on cards for these challenges when I have time - and haven't had time for posting! Hope you have a wonderful weekend!

WCMD - Unity Coloring Challenge


Good morning! Right in the middle of all my Unity WCMD challenges - including this one for the Coloring challenge, I am also joining in on Unity Friends with Flair! Here is what I have to share for both of those ocassions:
Isn't that little cowboy-wanna-be the CUTEST?!?!?! I had so much fun coloring him in with my Copic markers! 
The white embossed rectangle was cut with a Spellbinder's Nestabilities Die. I stamped and colored my image, then inked the edges with Tim Holtz distress ink. 
Added some strips of burlap ribbon from Ribbon Carousel behind, and all my papers are from October Afternoon's Sasparilla line. 
I ran some kraft paper through my paper crimper before mounting the sentiment on top of it. 
And there it is! Fun with coloring - LOVE that!