Thursday, January 25, 2018

Better Together Snowman on the PPP Blog

Good morning! I'm excited to be beginning a new feature over on the Pretty Pink Posh blog today called Something Old Something New - mixing new releases with older releases. This is my first card - with a photo tutorial - and I'm so in love with how it turned out! I hope you'll go check it out HERE for more details!


Have a wonderful day!!!

Wednesday, January 24, 2018

Soft Scandinavian Stenciled Background

Good evening! Stopping by tonight to share the fun news! There is ANOTHER fun new Simon Says Stamp Release that just went live featuring more love and Valentine theme stamps and dies, and appropriately named LOVE! I'm stopping by tonight to share a simple card I put together using the fabulous new stencil - Folk Dance:


My husband and I both come from a Scandinavian Background - his family has lots of Norwegian heritage (he has even visited Norway to see some of his relatives there) and I come from a Swedish background. So...this stencil appealed to me instantly! I used white embossing paste that I tinted with some Candied Apple Distress Ink. It came out softer in color than I anticipated, but I love the pretty results! I smooshed my ink pad on a nonstick mat, then added the embossing paste and mixed until the color was just right.


I added a sentiment from a previous release (and which is now a new favorite) - You Got This. I stamped in Versamark ink on Mint Cardstock, and then heat embossed with Nuvo Shimmering Pearl Embossing Powder - it gives such a beautiful glimmery effect! I adhered that with foam tape over the textured background, then adhered the entire panel to a Cornflower Blue Cardbase. Love the finished soft effect to a traditional color palette!


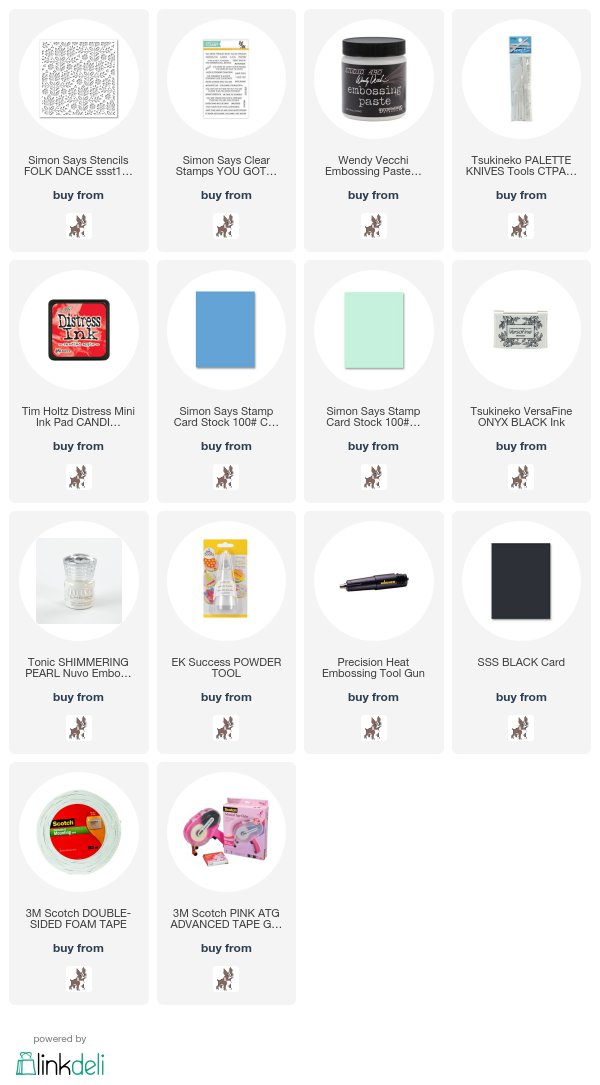
Product links are all below - including affiliate links where possible, which simply means if you use one of the links below that I receive a small commission at no additional cost to you. Thanks so much for stopping by! Have a wonderful day!!!

Simple Birdie Shaker Window


Good morning! Stopping by with yet another card this morning - this time sharing one I made a few weeks back with a newer Unity Stamp Company Release called Lift Me Up Birdies!


I have a Quick Tip Video showing how I put together this super simple shaker card - love the snowflakes behind those sweet birdies!


I colored the birds very softly with Copic markers. Basically adding different tones of shadows and shading to coordinate with the pattern paper (which is from an older pattern paper pad in my stash).


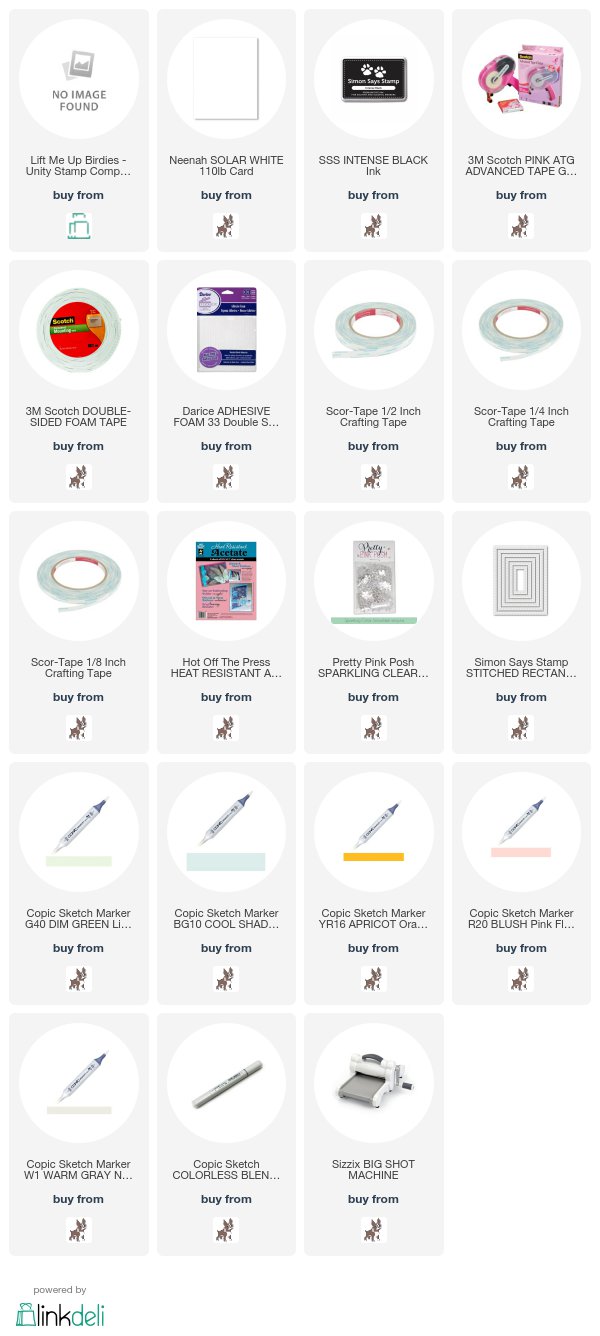
Product links are all below - including affiliate links where possible, which simply means if you use one of the links below that I receive a small commission at no additional cost to you. Thanks so much for stopping by! Have a wonderful day!!!


Heffy Doodle Kitty - Layered Pattern Papers

Good morning! One of my favorite things to do on cards is layer LOADS of pattern paper. I have tended towards being a paper hoarder/collector, so the more I realize that, the more I make an effort to using it up. Piling several pieces on one card is a great way to do that!


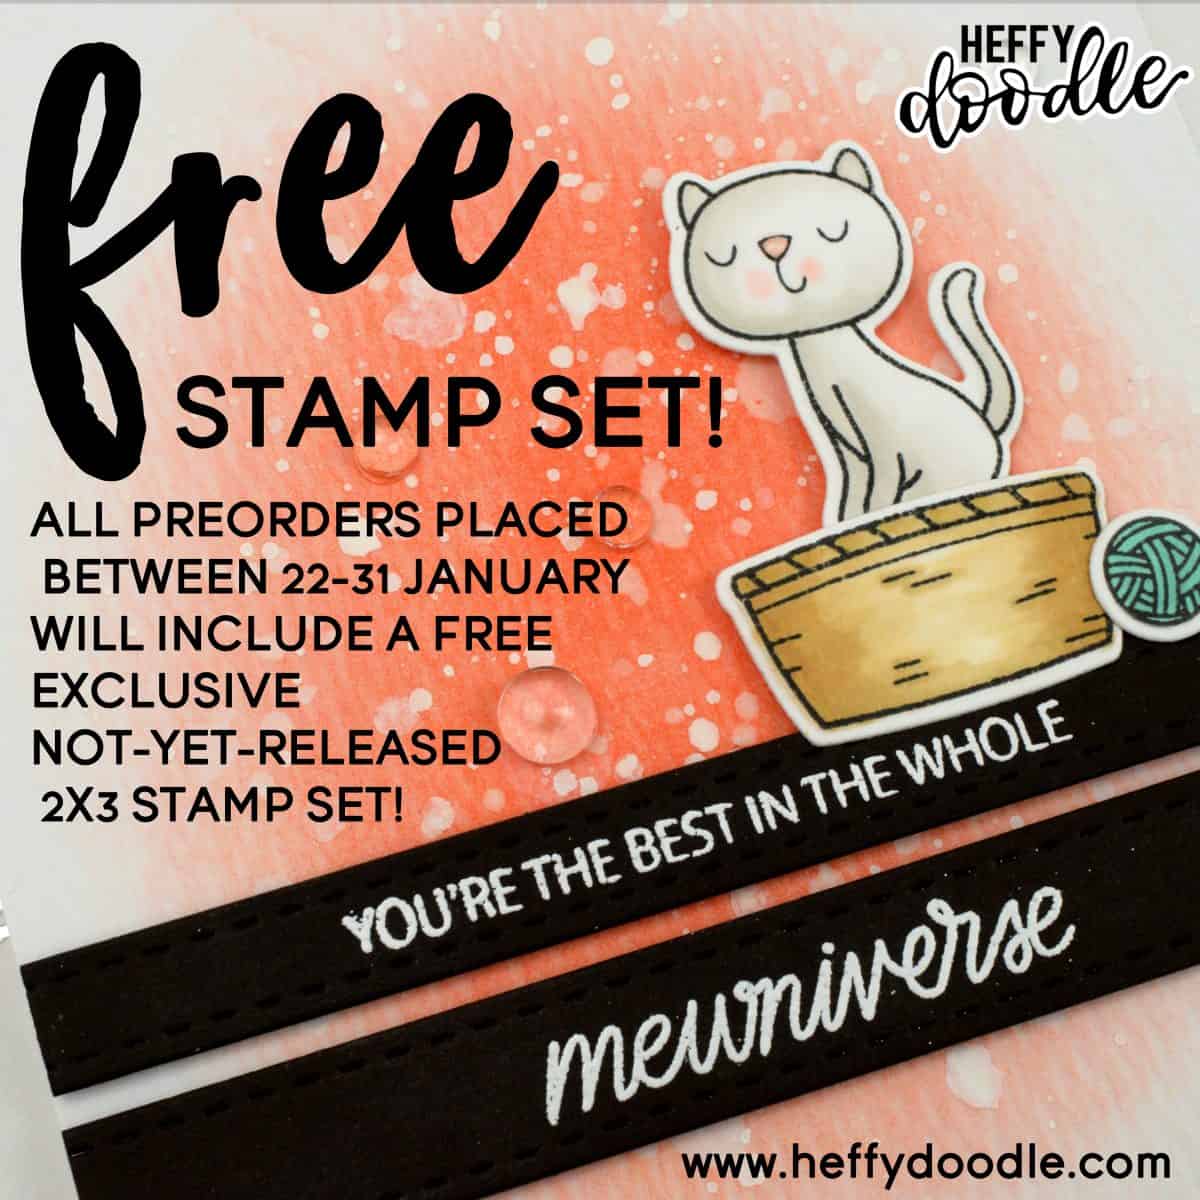
Also a reminder of how you can get this darling new Heffy Doodle stamp - only about a week left to get your hands on it with a pre-order from the Heffy Doodle Store!


For my card today I colored it with some non-traditional colors to coordinate with my pattern paper which is from an older Crate Paper 6x6 pad in my stash.


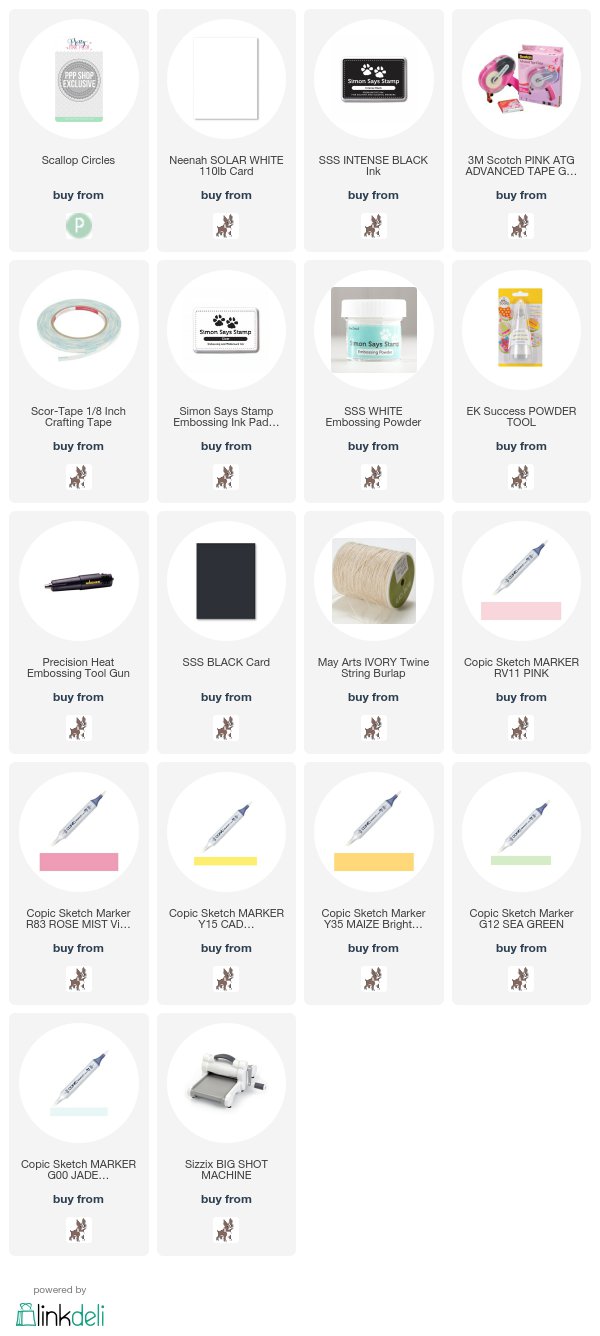
I layered up the pattern paper, applying my adhesive to the centers of each panel (not all the way to the edges) and then curling up the edges slightly with my fingers once I adhered it down. Added the sentiment heat embossed underneath, a bit of jute twine tied around the kitty, a strip of torn vellum, and a scallop frame from Pretty Pink Posh to finish off! Check out all the texture from the side view of this card:


Make sure and pop over to check out the new release HERE on the blog (along with a video tour of the booth at Creativation!) and HERE place an order to get your hands on this cute freebie! Lots more exciting things ahead and coming - stay tuned!


Also linking it up with the perfect challenge - this week's Simon Says Wednesday Challenge, Layer it Up:


Product links are all below - including affiliate links where possible, which simply means if you use one of the links below that I receive a small commission at no additional cost to you. Thanks so much for stopping by! Have a wonderful day!!!


More Beautiful than Cinderella...


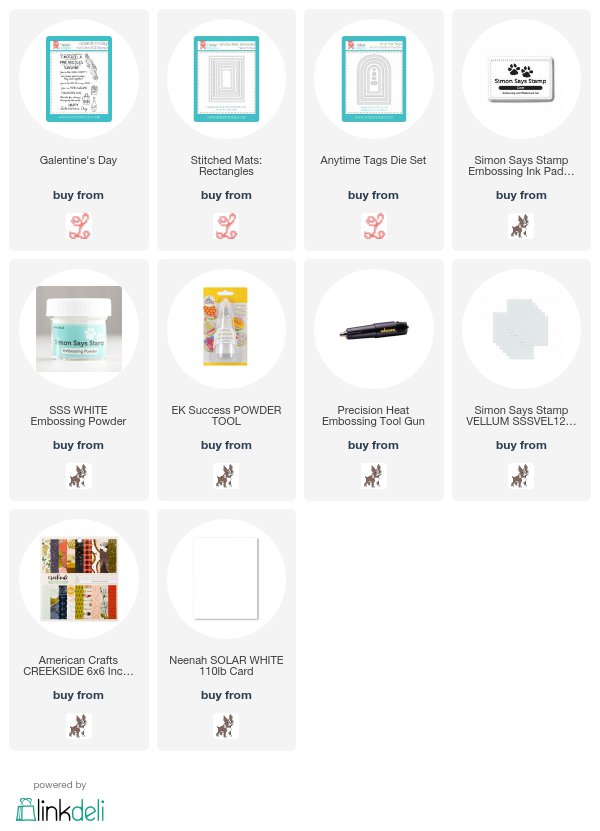
Good morning! Dropping by this morning with a super quick and simple card featuring a gorgeous sentiment from a newly released Lil' Inker Designs Stamp set called Galentine's Day. I fell in love with it and realized that it was perfect for this pattern paper as well!


I heat embossed it on a piece of vellum die cut with Anytime Tags, and die cut my pattern paper using Stitched Mats: Rectangles. I attached them together at the top with a line of machine stitching, then added a few wood veneer shapes to hide a bit more adhesive to hold the banner in place. Super easy!  


Product links are all below - including affiliate links where possible, which simply means if you use one of the links below that I receive a small commission at no additional cost to you. Thanks so much for stopping by! Have a wonderful day!!!


Layered Floral Border on the RC Blog

Good morning! Dropping by today to share a look at a card that is featured today on the Reverse Confetti Blog - with a video showing how I created it as well! Make sure and pop over to check it out HERE - the video is also posted on the Reverse Confetti Youtube Channel HERE.


Thanks for dropping by! Have a wonderful day!!!


Tuesday, January 23, 2018

PPP Purple Petunias

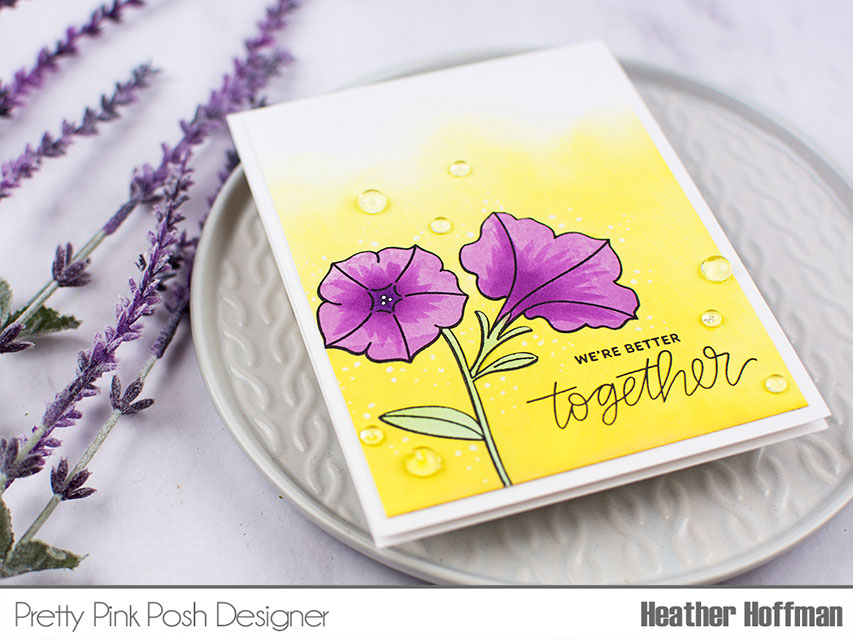
Good morning! Dropping by this morning to share a simple little card I put together recently using some of the newest Pretty Pink Posh release!


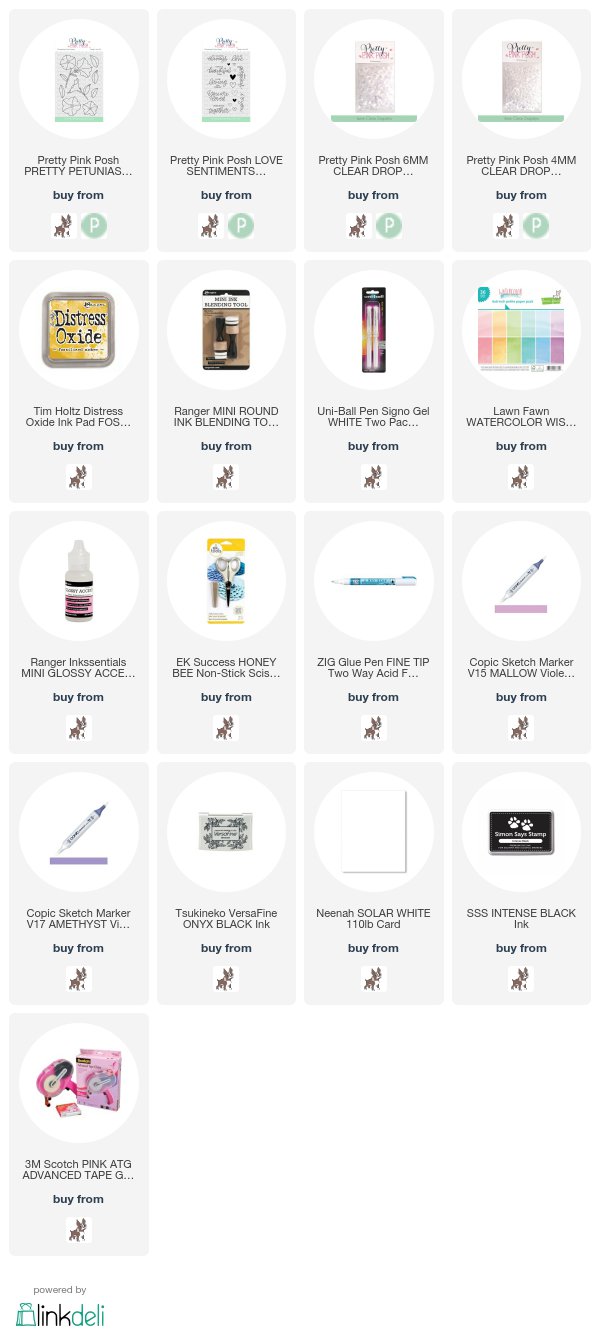
For this card I started off by stamping the florals from the new Pretty Petunias stamp set, then creating a blended background with distress oxide ink. I then stamped and carefully fussy cut out the flowers, stems, and leaves from a Lawn Fawn pattern paper pad, then glued and pieced them in. I added some detail and depth with a Copic marker to make them pop a little more.


I finished off with a sentiment from Love Sentiments, and a few clear Clear Droplets, then mounted the panel on a white cardbase.


Product links are all below - including affiliate links where possible, which simply means if you use one of the links below that I receive a small commission at no additional cost to you. Thanks so much for stopping by! Have a wonderful day!!!