Friday, November 18, 2022

Vintage A2 and Mini Slimline Christmas Cards - Simon Says Stamp December Card Kit

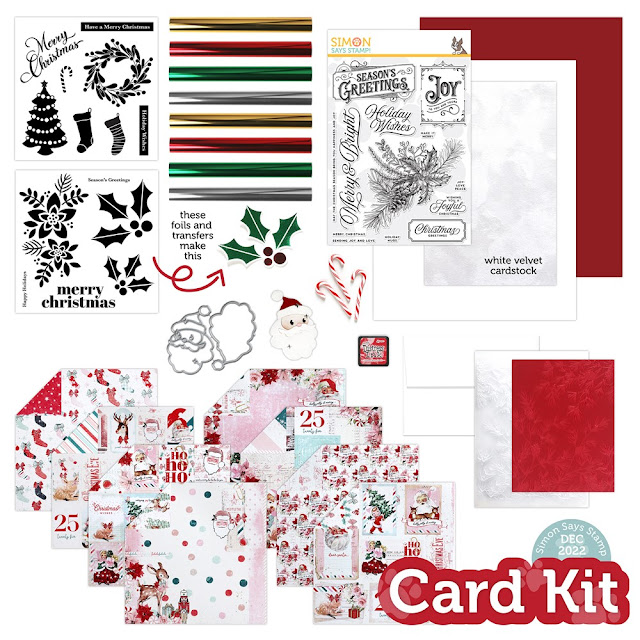
 Good morning! I'm back to share a couple more cards using the BRAND NEW December 2022 Simon Says Stamp Card Kit - Joy to You and Yours! This month's kit a fun mix of vintage holiday items, with lots of fun embellishments! The included stamp set by the same name has some lovely Christmas sentiments and some pretty holiday clusters, some adorable candy cane embellishments, there is a fun 3D Embossing folder, a cube of the new Distress Ink color, of course some lovely pattern paper, and Adhesive transfers and Deco foil...that's all not to mention the cardstock, envelope, and more!

These cards are all about that pattern paper in the kit - and I obviously love it!


I created one A2 size card, and one mini slimline. I think mini slimline are the cutest things ever, so I may be a bit partial to that one!


First things first! For all of these cards, I trimmed down some of the pattern paper that had pre-printed small rectangles on it.


I chose some pattern paper to mat each image on both cards, and help it pop a bit from the background that I chose on each one.


I just got my first roll of Simon Says Stamp Big Momma foam tape, and I love that it is about half the thickness of my other roll of foam tape. So I could add it into two layers on these cards, and not get too much bulk. Brilliant!


For both cards, I added it between the top decorative panels and the cardstock for the mat layer, and then I also popped them up on the background pattern paper.


To keep it from getting too crazy, I mounted the background pattern paper directly to my white cardbases, after trimming it down to leave a small border of white around the edges.


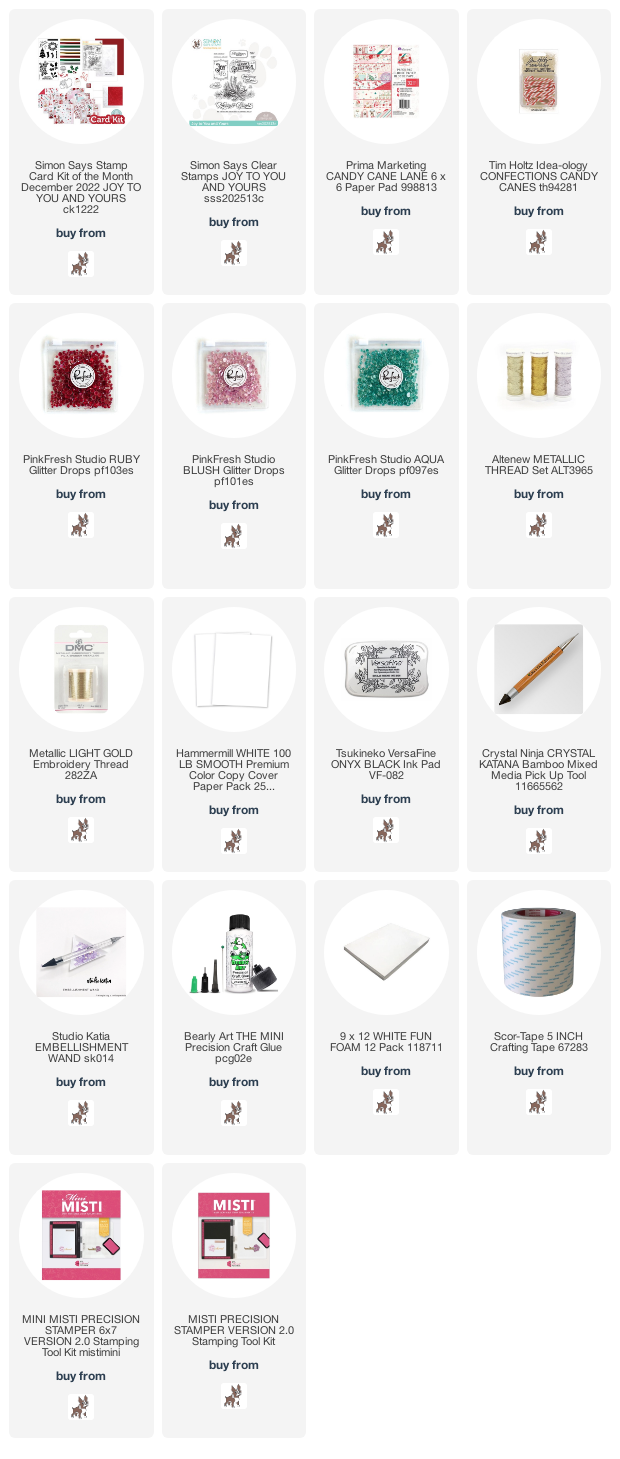
Finally, I added a few Pinkfresh Studio Glitter Drops in Ruby and Aqua to finish these off and add the perfect touch of vintage sparkle as well!


Here is a closer look at the entire kit contents - you can see it all HERE:


Which one is your favorite?


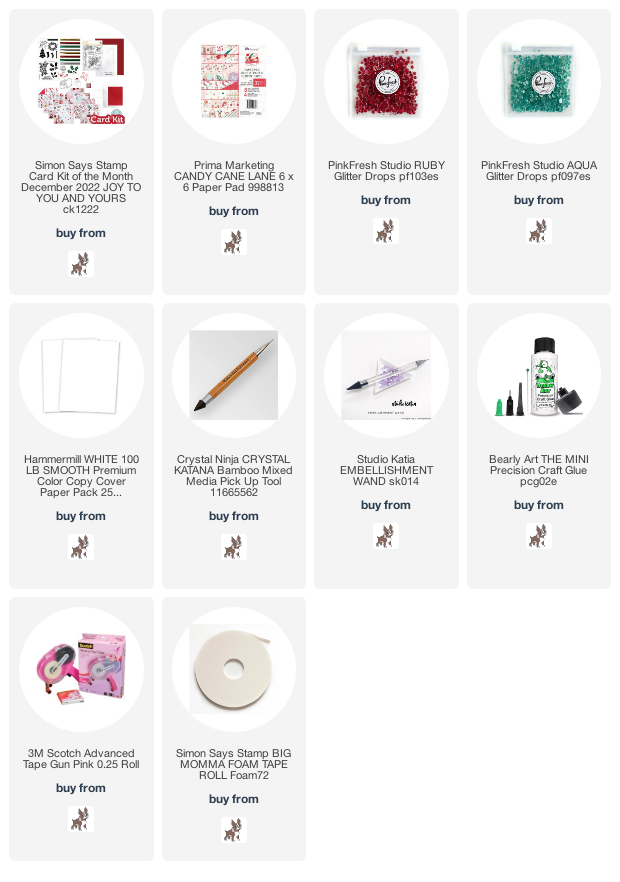
Product links are all below - including affiliate links where possible, which simply means if you use one of the links below that I receive a small commission at no additional cost to you. Thanks so much for stopping by! Have a wonderful day!!!


Wednesday, November 16, 2022

Holiday Joy - Simon Says Stamp Holiday Sparkle Release

 Hello! How about some more inspiration using the BRAND NEW Holiday Sparkle release from Simon Says Stamp! I shared one card already with this same 3D embossing folder and die combo, and acetate pre-printed sentiments - today I'm sharing another version of it in different colors and mixing up with a previously released sentiment die!

I started off by embossing some Surf Blue cardstock using the new Country Church 3D embossing folder. I trimmed the panel down ever so slightly to fit better on my white A2 cardbase and leave a small border around it. To add a bit of shadow and depth, I used whatever the last ink I had used on my blue blending brush to add a soft vignette around the edges.


And then, because I wanted to give it a winter feel, I added some white splatters with my Amsterdam Titanium White fluid acrylic paint. I set that aside to dry before finishing my card.


As before, I foiled the sentiment from the Bold Christmas Acetate Sentiment Strips - using Deco Foil, and my Pinkfresh Solid Hot Foil Plate. If you want to see how to do that, you can check out this video HERE that I created a while back showing this technique. These sheets are toner based, so normally you would use them with a laminator or Minc machine - I love that I can use my Solid Foil Plate and reduce one appliance in my limited craft area!


I added the die cut Large Joy sentiment die from white cardstock, adhering it with liquid glue and leaving some areas floating free for dimension. I added the foiled sentiment above that, also using dabs of liquid glue hiding behind the foiling.


And this simple card is finished! I would love to hear which version is your favorite - the elegant white one from a couple days ago (you can see it HERE) or this one!


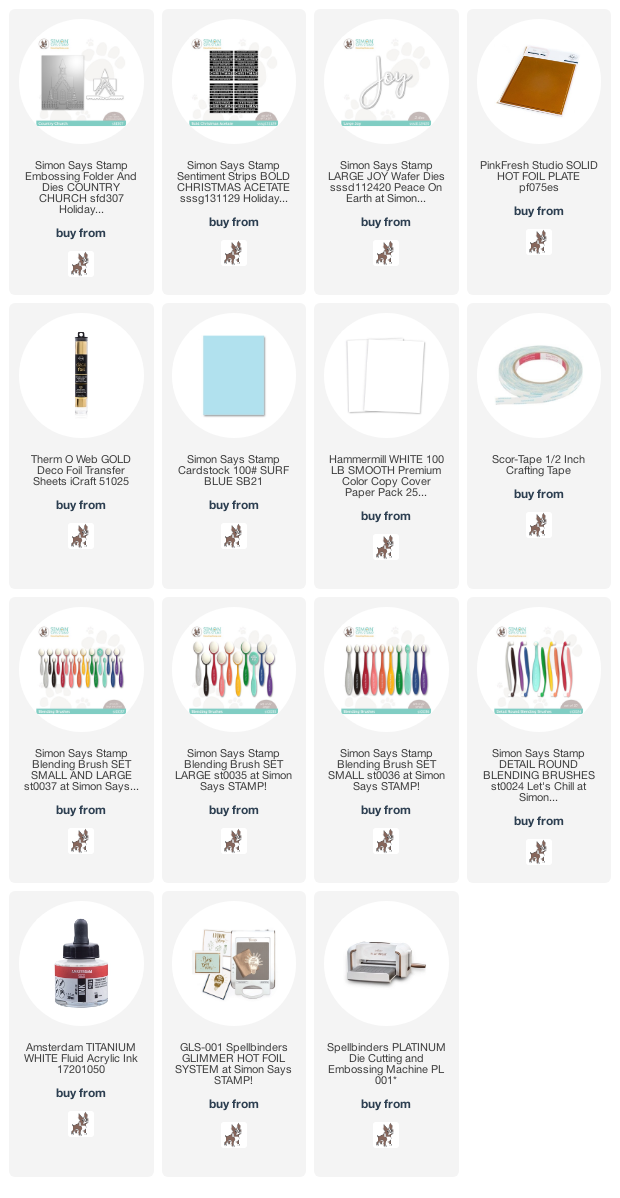
Product links are all below - including affiliate links where possible, which simply means that if you use one of the links below, I receive a small commission at no additional cost to you. Thanks so much for supporting my blog, and stopping by! Have a wonderful day!!!


Tuesday, November 15, 2022

Reading Girl Birthday Card

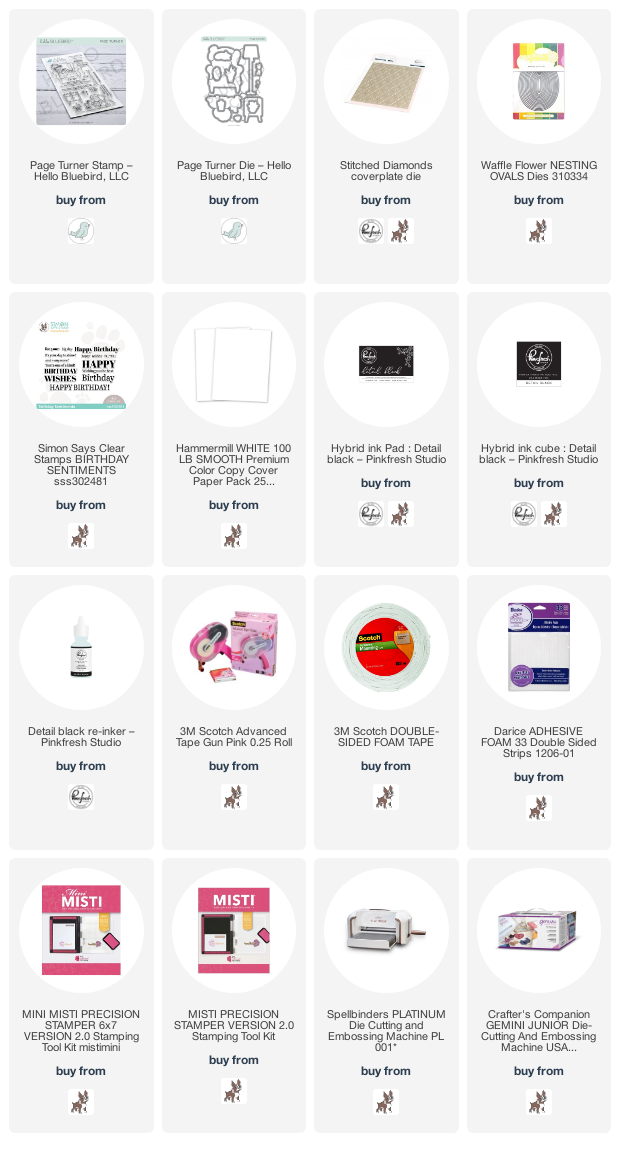
 Hello! I'm stopping by today with a just for fun card to share - actually one that I created for my youngest daughter's 18th birthday in September. I made this at the craft retreat I went to earlier that month in Wisconsin with my friend Lea Lawson, and one of the attendee's let me borrow some of her stamps to play with. As soon as I saw this set from Hello Bluebird stamps, I knew it was perfect for my daughter - she is in love with reading, as well as rainy days! What could be better, truly?!?


I was using everyone else's craft supplies, since I had flown and didn't pack any of my own, so I borrowed Copic markers to color all the images. I don't have a list of the colors I used, but I kept to pretty soft neutral tones in shades of warm cream and brown, and some soft sage greens.


I took my time coloring and enjoying the process - not something I feel like I often have enough time to do anymore! It was the perfect way to relax and have fun!


Once I had all the images cut out, I die cut with the coordinating dies, and then got ready to build my scene.


I used a Pinkfresh Studio Stitched Diamonds coverplate to die cut a panel to adhere to add some background pattern to the wall. Love the added texture! I trimmed it off at the bottom to add a reference line for the floor.


Next, I die cut a Waffle Flower stitched oval die (that I was gifted at the retreat - great timing, huh?) and die cut out a "rug" to put at the bottom. I colored it with coordinating Copic markers for a perfect tone match to the rest of the card.


I stamped my secondary sentiment on the bottom of that, and my main sentiment from a Simon Says Stamp Birthday Sentiments stamp set on the cardbase, and adhered all the little elements for my scene with foam adhesive for dimension. My daughter loved it - her only comment was that there was no way she would put her tea cup on top of the pile of books. Haha!


Product links are all below - including affiliate links where possible, which simply means if you use one of the links below that I receive a small commission at no additional cost to you. Thanks so much for stopping by! Have a wonderful day!!!


Monday, November 14, 2022

Vintage Season's Greetings - Simon Says Stamp December Card Kit

 Good morning! I'm popping in to share my first card using the BRAND NEW December 2022 Simon Says Stamp Card Kit - Joy to You and Yours! This month's kit a fun mix of vintage holiday items, with lots of fun embellishments! The included stamp set by the same name has some lovely Christmas sentiments and some pretty holiday clusters, some adorable candy cane embellishments, there is a fun 3D Embossing folder, a cube of the new Distress Ink color, of course some lovely pattern paper, and Adhesive transfers and Deco foil...that's all not to mention the cardstock, envelope, and more!

I'm sharing a vintage holiday design for my first card today, featuring the stamp set and pattern paper in the kit!


I loved this pattern paper - the colors, the textures it seemed to have - just so pretty! This pattern was perfect to add some simple stamping using the Joy to You and Yours stamp set in the kit.


I stamped my  main sentiment in the center, using Versafine black ink, and then used the large festive image in the kit to stamp off the edges in the two corners. I used different sections, so it actually felt like it was two different images! I then stamped a tiny little secondary sentiment underneath the main one. So cute!


I popped that panel up with a solid sheet of foam on a white cardbase, after trimming it down a bit to leave a nice border around the edges.


I added one of the cute Candy Cane embellishments from the kit on the side, tying some metallic thread around it first, then adhering it with dots of liquid glue.


Finished off with trios of Pinkfresh Studio Glitter Drops in Ruby, Aqua, and Blush to coordinate with the pattern paper! 


Here is a closer look at the entire kit contents - you can see it all HERE:


Product links are all below - including affiliate links where possible, which simply means if you use one of the links below that I receive a small commission at no additional cost to you. Thanks so much for stopping by! Have a wonderful day!!!


Sunday, November 13, 2022

Floral Card Set - Spellbinders Floral Reflection collection

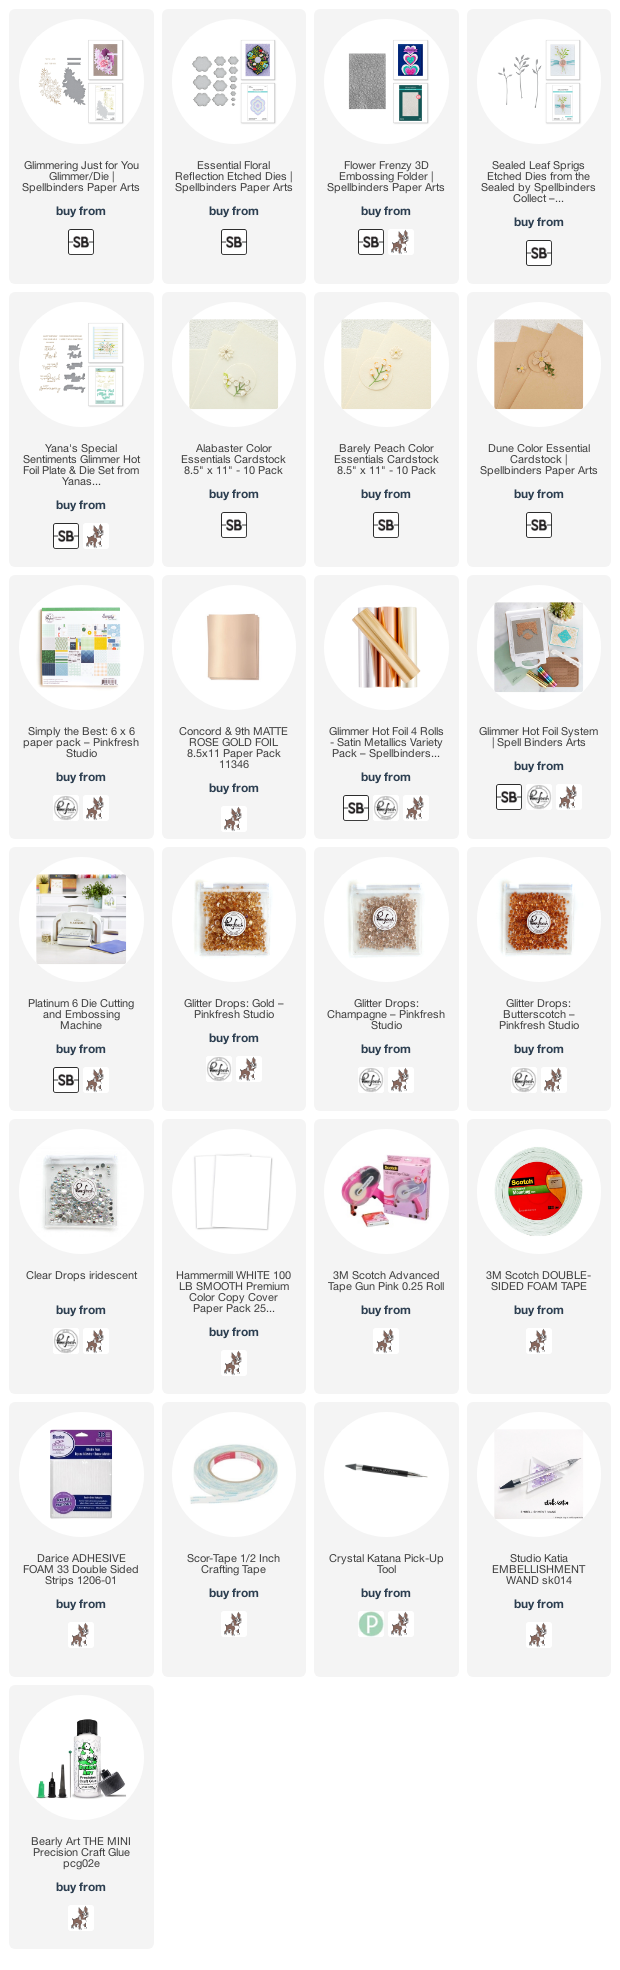
Hello! I'm stopping by today to share a few cards I made using the new Floral Reflections by Spellbinders Release - there are fun dies, hot foil plates, and 3D stencils in this collection ! I have a hard time just making one or two cards, so I have a few cards to share with you today using some of the new items - hot foil and die combo, frame die, and 3D embossing folder! 

For the first two cards, I mainly featured the Just for You Glimmer hot foil and die set. I used Satin foils on both of them mixing and matching the rose gold and pewter tones.


For this first one, I hot foiled it in that rose gold tone, and die cut it with the coordinating die. I used the reverse foil of one of the sentiments in the pewter tone. I love mixing and matching different tones of hot foil!


I die cut a window from an A2 panel of white cardstock with the Floral Reflection Etched Dies, and backed it with some Pinkfresh Studio Simply the Best 6x6 pattern paper. I finished off with a few Glitter Drops from Pinkfresh Studio in Butterscotch!


Second card used the exact same sets, but in a different way!


For this one, I hot foiled the floral image in that pewter tone, then instead of die cutting with the coordinating die, I die cut a frame shape from it with the Floral Reflection Etched Dies - such a pretty way to use that floral to embellish the framed shape! I popped it up with foam on some more pattern paper from the same Pinkfresh Studio Simply the Best 6x6 pattern paper pad.


I reversed the foil again, and used the Solid Foil Plate reverse version of another sentiment, and a sprinkle of Glitter Drops in Butterscotch for this card!


Next few cards focus on the pretty Flower Frenzy 3D embossing folder, and some soft tone colors of Spellbinders colored cardstock.


This first card uses Barely Peach cardstock, and I trimmed the panel down to mount on my white cardbase, with the reverse side of the embossing. So instead of a raised design, it's the debossed version, with the flower images pressed into it. Kind of a fun and different way to use it!


I added some frames created with the same Floral Reflection Etched Dies, and mounted the outer one up with foam tape, and the center one with liquid glue. I added some die cut stems from Leaf Sprigs etched dies from another recent Spellbinders release - Sealed by Spellbinders - die cut from Rose Gold matte finish cardstock. I added a sentiment, again the reverse foil in that pewter tone. Finished off with a few Pinkfresh Champagne Glitter Drops for sparkle!


And...since I had embossed several different layers and colors of cardstock, I decided to put them all together onto one card!


I used Dune, Barely Peach, and Alabaster cardstock, and trimmed them down to layer over each other. So much fun texture this way! I also created small layered frames using the Floral Reflection Etched Dies in the smaller sizes. I adhered all the layers of everything together just with tape, letting the texture provide the dimension. Then just mounted the front frames with foam over the layered and embossed panels.


I added the sentiments with foam adhesive, created with the larger sentiment from the previously released Yana's Special Sentiments hot foil and die set, and the secondary sentiment from the Just for You Glimmer hot foil and die set. I love how the die provides the little rectangle banner image I used on the first 3 cards, and also this sweet little banner with the tapered edges! So fun! I finished off with some Pinkfresh Glitter Drops in Gold, and lined up in a row of all the sizes along the edge of the largest frame. I love adding bling in unique ways, how about you?


And finally, I ended up with SOOO many of those fun foiled sentiments, I had to put a bunch of them on one card!


I used one of the embossed panels in Dune cardstock, and trimmed the panel to just slightly smaller than my A2 cardbase, so it left a very thin border around the edges.


I added the foiled sentiments, alternating the color on each one, and repeating the sentiments. I love how it just reinforces the message of the card! A few Iridescent Clear Drops from Pinkfresh add a tiny touch of sparkle to this card to finish it off!


And there they area - all together! Which one is your favorite? I would love to hear!


Product links are all below - including affiliate links where possible, which simply means if you use one of the links below that I receive a small commission at no additional cost to you. Thanks so much for stopping by! Have a wonderful day!!!