Showing posts with label metallic thread. Show all posts

Thursday, March 5, 2026

Bold Beautiful Friend - Simon Says Stamp Beautiful Moments Release

Hello! Today I've got a bold and graphic card design featuring a die from the recent Beautiful Moments Release from Simon Says Stamp, paired with some fun Simon Says Stamp colored cardstocks!


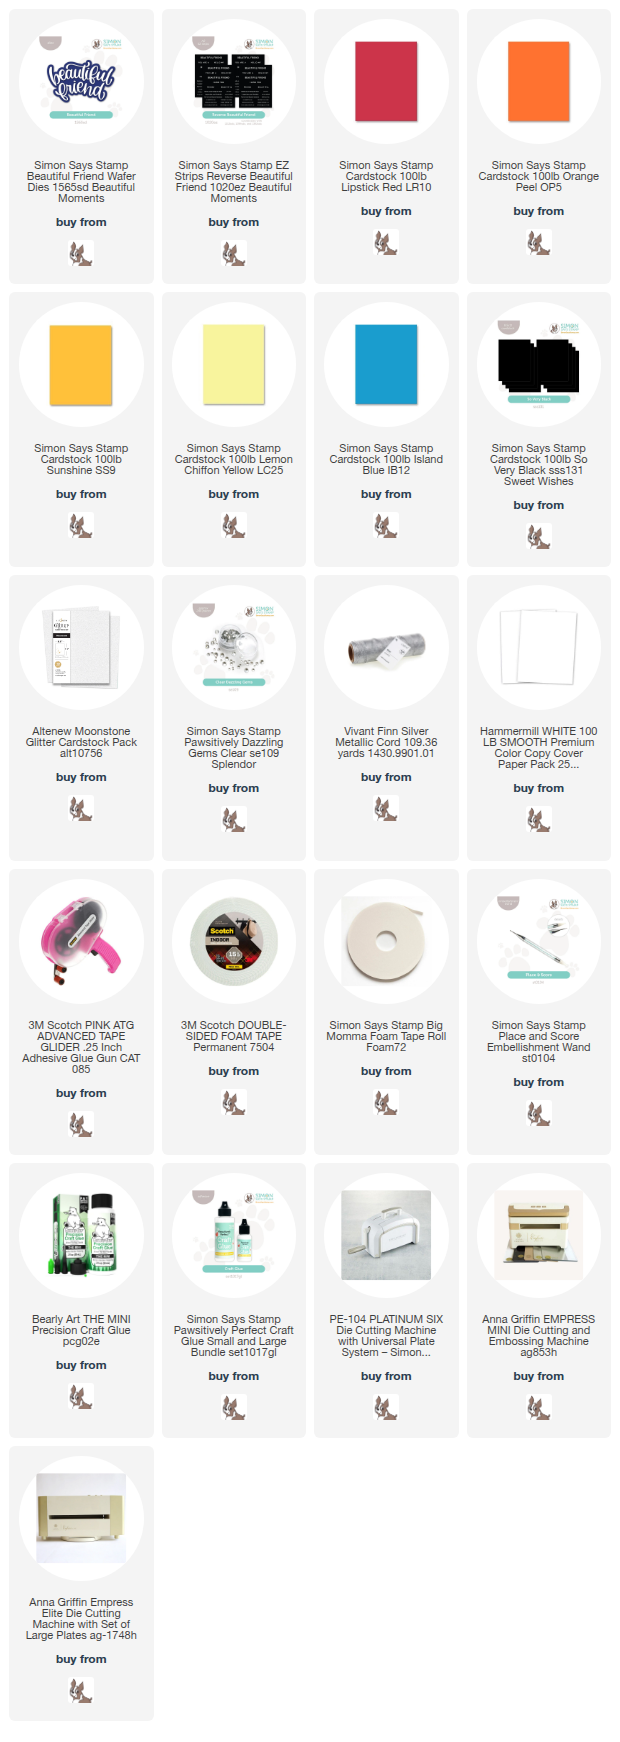
I found a color combo on Pinterest that caught my interest, and when I was deciding how to use it, it struck me that it would be fun to just layer up the colored cardstock to match the inspiration piece! I don't seem to have saved it, or I would share a link to it here - sorry about that! But I used Island Blue, Lemon Chiffon, Sunshine, Orange Peel, and Lipstick cardstocks to create the background. Next, I pulled out the new Beautiful Friend die and cut the shadow layer from black for some good contrast, and the detail layer from Altenew Moonstone glitter cardstock for sparkle. I wrapped some Vivant Silver thread around and tied in a bow before adding the sentiment with foam adhesive. I added a secondary sentiment from Reverse Beautiful Friend Sentiment Strips, and finished off with a few Clear Dazzling gems for extra sparkle! Here is a closer look at the finished card:


Product links are all below - including affiliate links where possible, which simply means if you use one of the links below that I receive a small commission at no additional cost to you. Thanks so much for stopping by! Have a wonderful day!!!
Tuesday, November 25, 2025

Hello Deer - Simon Says Stamp

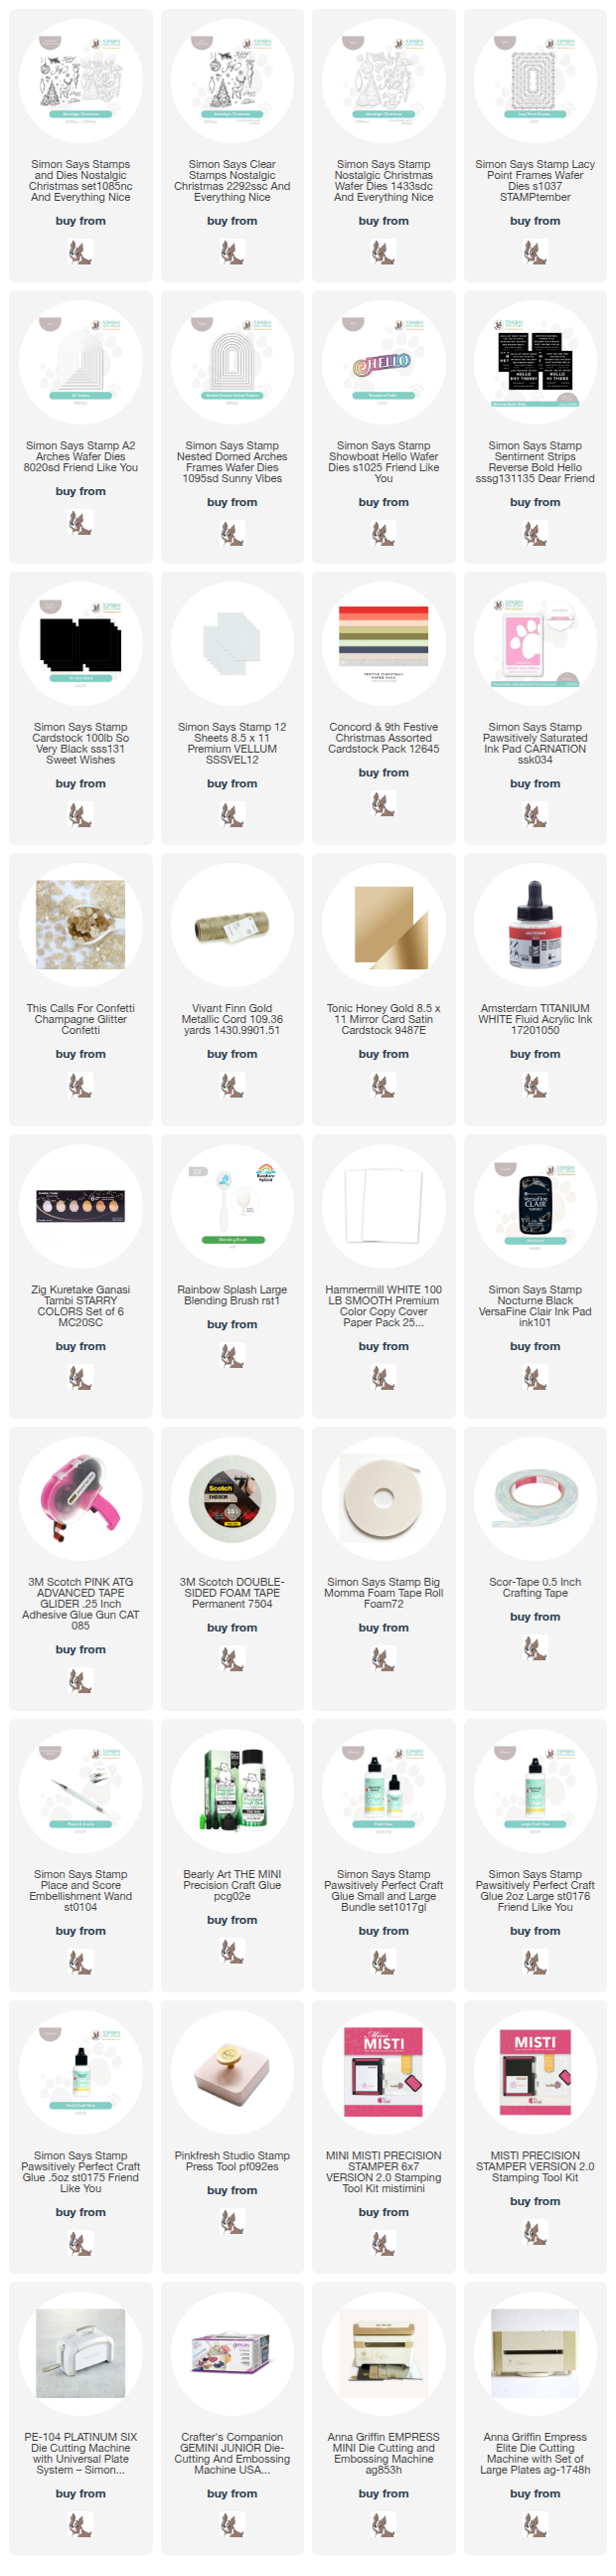
 Good morning! When you make lots of cards like I do, you inevitably end up with leftover bits and pieces laying around. The things that didn't fit on a card like you thought, or you changed your mind, or didn't like the color, or leftover pieces from die cutting - so many reasons! I love when I can pull from my scrap pile, and create a card with the leftovers. Sometimes it helps me pair things together that I never would have thought to put together otherwise, and it also helps me waste less - win win! Lots of different sets and supplies from Simon Says Stamp were put to use on this card, and I love how it turned out!


The frame was cut with Lacy Point Frames dies, and had some Carnation ink blending along the lower half of it. The arch was cut from Nested Arches (and maybe anther set - I can't remember for sure! Nested Domed Arches Frames would also work well though.) from Honey Gold cardstock. The deer came from Nostalgic Christmas, and the hello was cut using Showboat Hello from black cardstock and vellum. I added some super sparkly cardstock to the background from Concord and 9th Festive cardstock paper pack (and because I didn't want to waste any of it, I cut a rectangle out of the middle that I then used on another card that I'll share tomorrow!). I also added a secondary sentiment from Reverse Bold Hello sentiment strips, a few sparkly Champagne Glitter Confetti embellishments, and a Gold Thread bow on the deer. Here are more photos of how this finished card turned out:


Product links are all below - including affiliate links where possible, which simply means if you use one of the links below that I receive a small commission at no additional cost to you. Thanks so much for stopping by! Have a wonderful day!!!


Thursday, October 23, 2025

Wrapped in His Love LIMITED Edition Simon Says Stamp Card Kit

Hello! Today I've got a few cards to share with you using a BRAND new LIMITED edition holiday card kit from Simon Says Stamp! This kit is the religious themed one, and I absolutely adore it! It is called Wrapped in His Love - and is packed with new products that are going to be so versatile!

I created a total of 3 cards - keep scrolling to see the others! For this first one, I used the fun Wrapped in His Love layering stamp set, paired with the A Starry Night die. I stamped the church in Aspen, Zest, and Gingerbread inks, and backed the starry background with some of the metallic cardstock in the kit. I fussy cut out the church (but there are coordinating dies for the stamp set to purchase separately!), and added a border along the bottom with some of the glitter paper in the kit, and a piece of white cardstock embossed with Swiss Dots embossing folder. Sentiment was created with a mix of the Joy to the World reverse sentiment strips and the Let Us Adore Him die. A bit of gold thread finished that card off! Here is a closer look at this first card (keep scrolling for details on the other two further below):


For these next two cards, I did lots of stamping with the Wrapped in His Love stamp set, this time in a more one layer fashion. I stamped the churches on the left with Butter, Artichoke, and Fawn inks, the one on the right with Honey, Terracotta, and Twilight. I added trees, snowflakes, sentiments, and the wreath with black ink, then trimmed the panels with A2 Rectangles dies to make sure everything was perfectly centered. I added a touch of that glitter cardstock behind that panel to mat it, then mounted on Ivory cardbases created with some of the cardstock in the kit. Finished off with a few Clear Dazzling Gems! Here are more photos and close ups of these two cards:


Product links are all below - including affiliate links where possible, which simply means if you use one of the links below that I receive a small commission at no additional cost to you. Thanks so much for stopping by! Have a wonderful day!!!


Friday, February 7, 2025

Split Floral Wreath Modern Cards - Simon Says Stamp

Good morning! Today I've got another card to share with the same stamp set I created with a couple days ago - and using up some colored cardstock strips from yet another couple of cards earlier this week! All of these are from Simon Says Stamp - and I love the combination!


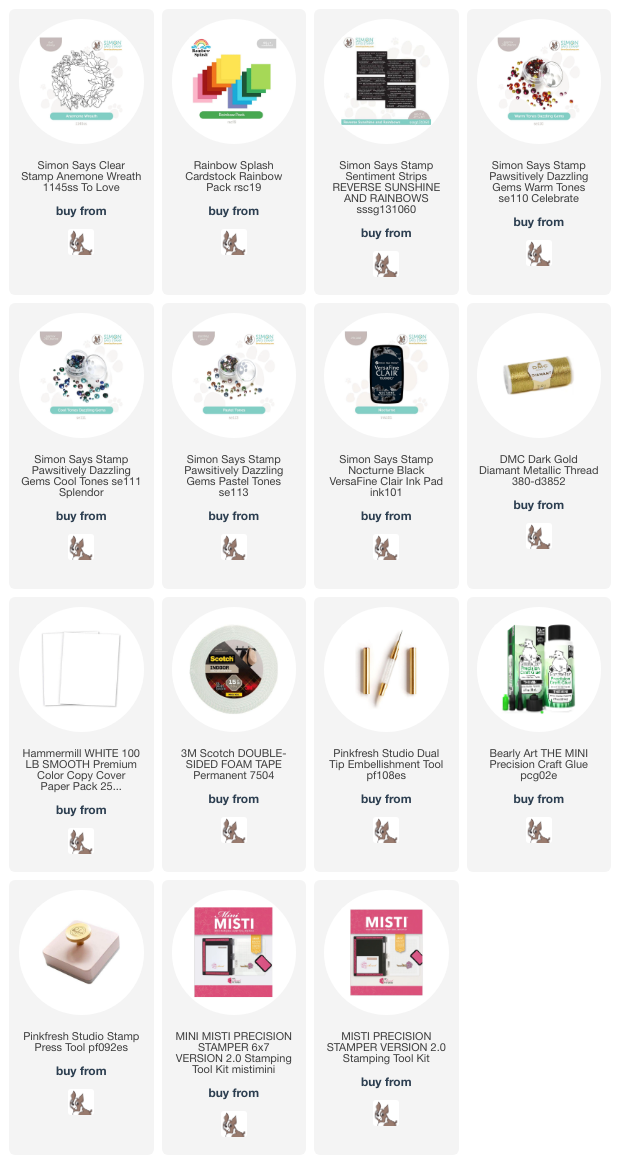
Much like the other two cards I shared HERE, I used the Anemone Wreath stamp set, only this time I stamped in black in the center of a panel of cardstock sized 5 1/2" by 8 1/2" - this way I could once again cut it in half and end up with two A2 panels to adhere directly onto my cardbases. Then I took the leftover strips of Rainbow Splash cardstock from THESE cards and adhered half of them each on one of the cards, leaving one more warm tones, and one in cooler tones. I trimmed off the excess, then added sentiments from Reverse Sunshine and Rainbows sentiment strips over the top, adhering with foam adhesive, and tucking a little bundle of gold thread behind it. Finished off with some coordinating Dazzling Gems in rows on the colored cardstock strips, and then a few clustered around the sentiments! Here are more photos of these finished cards:


Product links are all below - including affiliate links where possible, which simply means if you use one of the links below that I receive a small commission at no additional cost to you. Thanks so much for stopping by! Have a wonderful day!!!


Saturday, January 25, 2025

Embossing Folder Fun - Simon Says Stamp

Good morning! Yesterday I did my first YouTube live on my own personal YouTube channel, using some supplies from Simon Says Stamp. It was fun to add something fresh to my long neglected channel, and flex those live muscles that were feeling a bit rusty after a long break! As a bonus, I used 3 different embossing folders, which happen to be 20% off right now at Simon Says Stamp using code EMBSF - you can check them all out here if you are interested in building your embossing folder stash! I share my favorite tips for using these embossing folders, and great ways to get a fabulous impression when using them!


Here is the live video if you want to see these cards come together, or you can watch it directly on YouTube HERE:


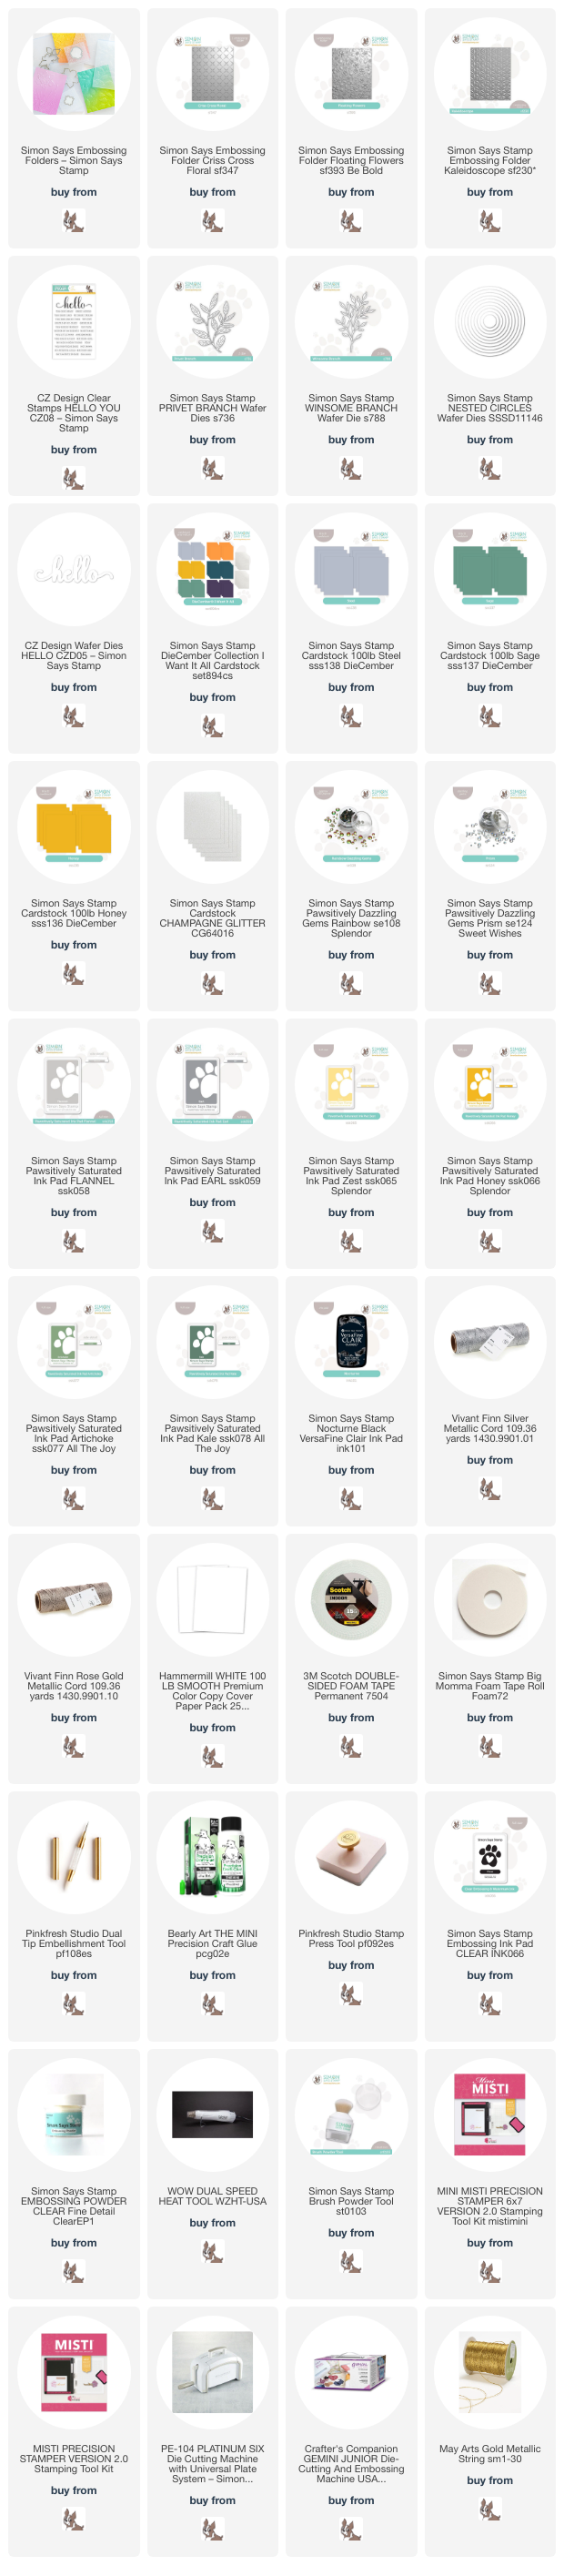
I used 3 different embossing folders - Kaleidoscope, Criss Cross Floral, and Floating Flowers. I used 3 colors of newer Simon Says Stamp colored cardstock from the DieCember release - Steel, Sage, and Honey. Each one had a circle cut in it using Nested Circles die, and then sentiments were added with an older release - Hello You - which is such a fun and classy set that I enjoyed pulling out again! I created an ombre shiny sentiment (watch the live video if you want to see how to create it!), and tucked in a few die cut greenery pieces from Winsome Branch and Privet Branch from Champagne glitter cardstock on two of the cards. To each card I added a bit of metallic thread - Vivant Silver, Vivant Rose Gold, and May Arts gold cord. Finished off with some Dazzling Gems in Rainbow for the yellow card, and Prism for the other two cards! Here are more photos of these finished cards:


Product links are all below - including affiliate links where possible, which simply means if you use one of the links below that I receive a small commission at no additional cost to you. Thanks so much for stopping by! Have a wonderful day!!!