Monday, April 24, 2023

Happy Mother's Day - Simon Says Stamp Beautiful Days Release

Good morning! I'm dropping by to share my first card card using the NEWEST Beautiful Days Release from Simon Says Stamp! I have a couple other cards finished that I'll be sharing soon as well - I just had some things come up that pushed me a bit later to share, and some travels that slowed me down a bit! I am writing this post up at the airport, waiting for my flight home from Simon Says Stamp Create event in Columbus, Ohio - so finally getting some of these posts caught up and scheduled. This will of course be posting later than that, but it's nice to have the time to prepare at least! 


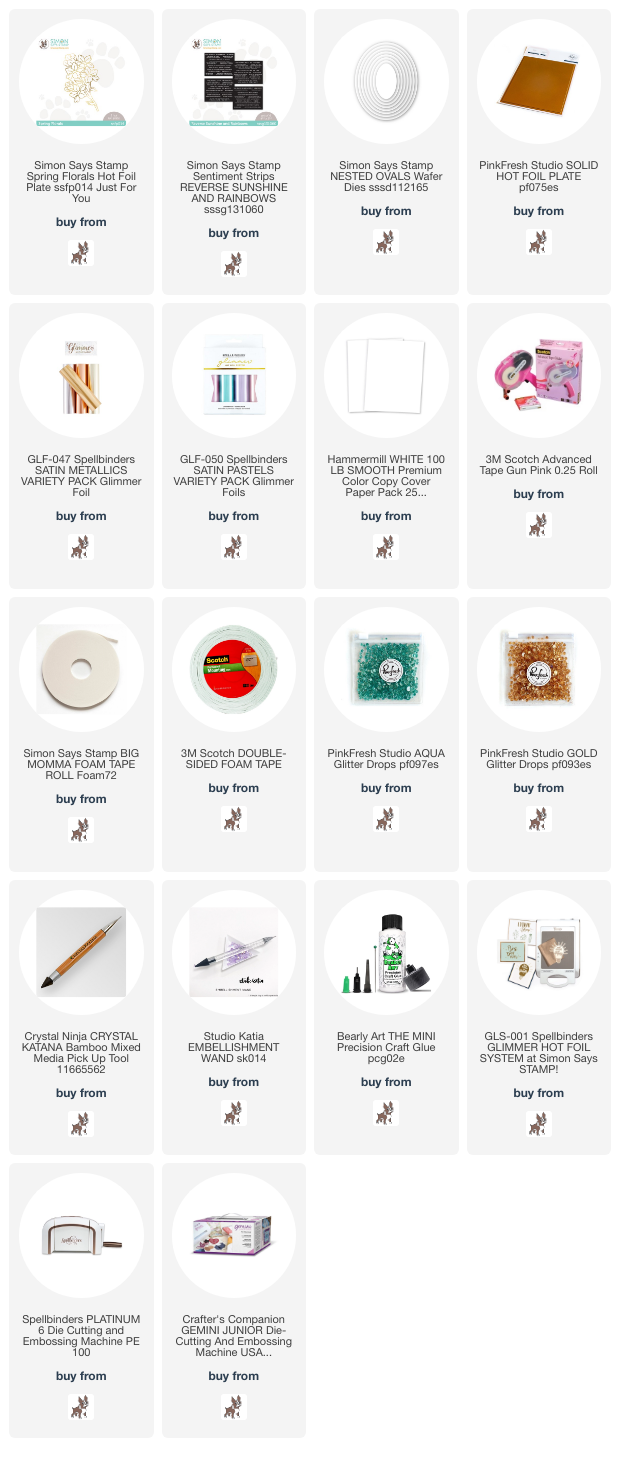
The first card I'm sharing today mainly features a fun (and timely!) new die from this release - perfect for Mother's Day. There are so many ways to use it, but I always love a good pattern paper, and when you pair that with a fun background focal point die and a secondary sentiment, it's hard to go wrong! I used the previously released Thin Frames wafer die, and die cut the new Simple Mother's Day detail layer and detail layer on the frame from SSS matte gold cardstock. I die cut the shadow layer on the sentiment from SSS vellum, and the circle for the frame from white cardstock. I grabbed some pretty pattern paper from the Pinkfresh Flower market 6x6 paper pad, and finished off with a secondary sentiment from the Hi There Greetings stamp set that was from a couple releases ago. Here are more photos and a closer look at this card:


Product links are all below - including affiliate links where possible, which simply means if you use one of the links below that I receive a small commission at no additional cost to you. Thanks so much for stopping by! Have a wonderful day!!!

Sunday, April 23, 2023

Glitter Pen Birthday Wishes - Simon Says Stamp May Card Kit

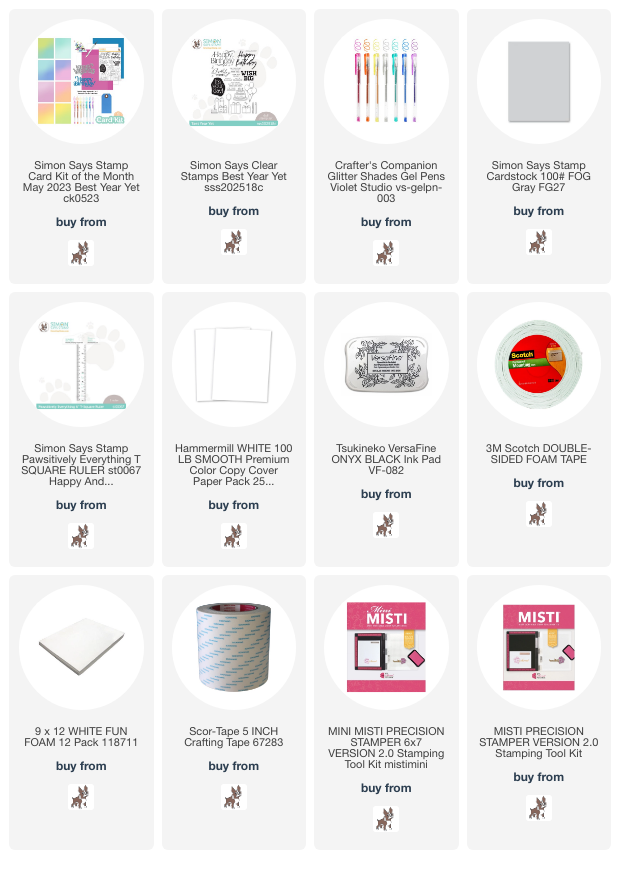
 Hello! I'm popping in to share my first cards using the (sort of new) May 2022 Simon Says Stamp Card Kit - Best Year Yet! This month's kit is a fun birthday theme - which I love! Birthday cards are my most frequently needed cards, and my birthday happens to be in May as well, so it couldn't be more perfect. The included stamp set by the same name has some fun birthday images and sentiments, there is some pretty Pastel color blend cardstock, a birthday word die, glitter pens, embellishment wand...that's all not to mention the cardstock, envelopes, and more!

I'm starting off today sharing a super clean and simple card that I created in a bout of late night crafting...gotta love when you can be creative when you can't sleep, right?


For this first card, I was looking at the pretty glitter pens in all their rainbow color tones, and suddenly thought how fun it would be to create some stripe patterns. I used a ruler, and grabbed a panel of white cardstock, picked a fun angle, and then just kept adding a line of color with the pens, and moving the ruler a bit to get even lines as I went along. I then turned it, and repeated the same lines, but in a different angle. Once I had those done, I trimmed the panel down slightly, and added my stamped sentiments and sparkle images from the stamp set. I mounted that panel with foam on a Fog gray cardbase, and kept it clean and simple! This could also be a more one layer and easy to mail card if you left out the foam adhesive layer. Here are a few more photos of the card - it's hard to capture the sparkle from the glitter pens, but there's a photo towards the end that shows it a bit better:


Here is a closer look at the entire kit contents - you can see it all HERE:


Product links are all below - including affiliate links where possible, which simply means if you use one of the links below that I receive a small commission at no additional cost to you. Thanks so much for stopping by! Have a wonderful day!!!


Friday, March 31, 2023

Layered Butterflies 2 Ways - Simon Says Stamp

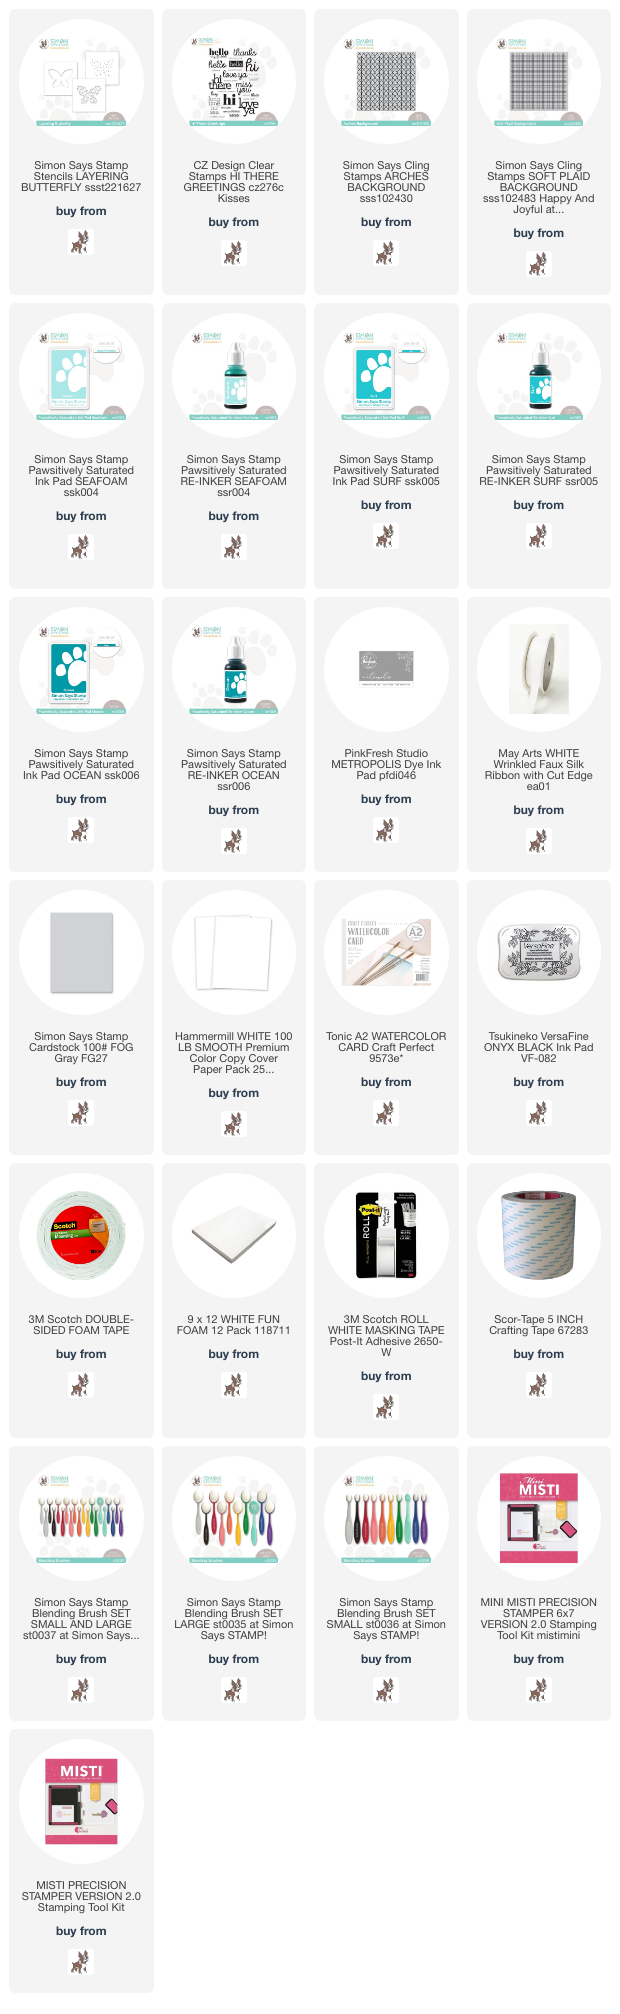
Good morning! I'm popping in to share a couple cards I created using a mix of different releases from Simon Says Stamp - the star of the show is the Layering Butterfly stencil - and I did it two slightly different ways on my cards!

For both cards, I used the same aqua Pawsitively Saturated Inks color tones - Seafoam, Surf, and Ocean.


Fort his first one, I just blended on white cardstock as normal, and then stamped a sentiment directly over the top using Hi There Greetings stamp set and black ink.


I created a cardbase from Fog cardstock, and then stamped a soft background on it using Soft Plaid Background and gray ink for a tone on tone look.


I finished off with a fun bow using some new May Arts Faux Silk Ribbon that I recently gotten - the perfect touch!


The second card was created much the same, but I went for a bit of a watercolor look.


I ink blended the first layer of ink, then misted with a bit of water. I honestly expected the ink to react more with the water, and bleed out for a different effect, but much to my surprise, it didn't! It did however soften a bit, which was fun. I also smooshed some of the same ink on my glass mat, picked up with a wet brush, and flicked some layers on.


I let that mostly dry, then while it was still slightly damp, I added the next two layers of the stencil. Once it dried, I again stamped my sentiment in black ink over the top, using my MISTI to line it up and stamp several times - watercolor paper is tricky to get a good solid impression, but a stamp positioner makes such a big difference!


For this card I stuck with a white cardbase, then stamped a background using my softest ink - Seafoam - and Arches Background stamp. Just like the first card, I mounted with foam, and added another ribbon bow tied around my card!


I love getting two slightly different effects, and mixing up the colors and styles of the cardbases and patterns was fun as well!


Product links are all below - including affiliate links where possible, which simply means if you use one of the links below that I receive a small commission at no additional cost to you. Thanks so much for stopping by! Have a wonderful day!!!


Thursday, March 30, 2023

Monochromatic Thank You - Spellbinders Layered Stencils Collection

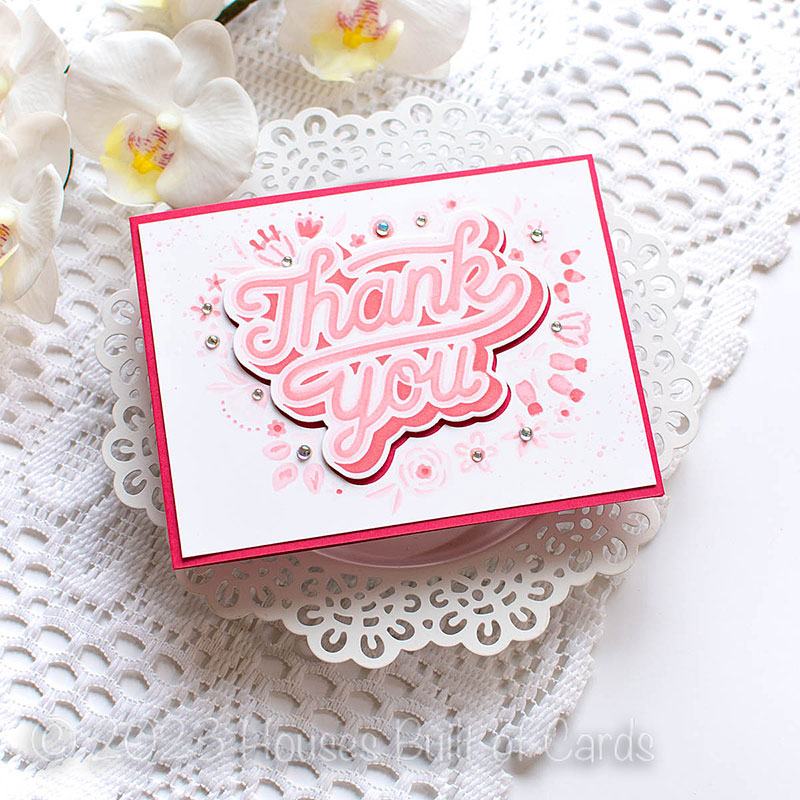
 Hello! I'm stopping by today to share a fun stenciled card I created using a new layering stencil and die set from the NEW Layered Stencils collection from Spellbinders. While you can do a bit of careful stenciling and masking with these stencils, I thought they were super fun to use to create a more monochromatic design like this too!


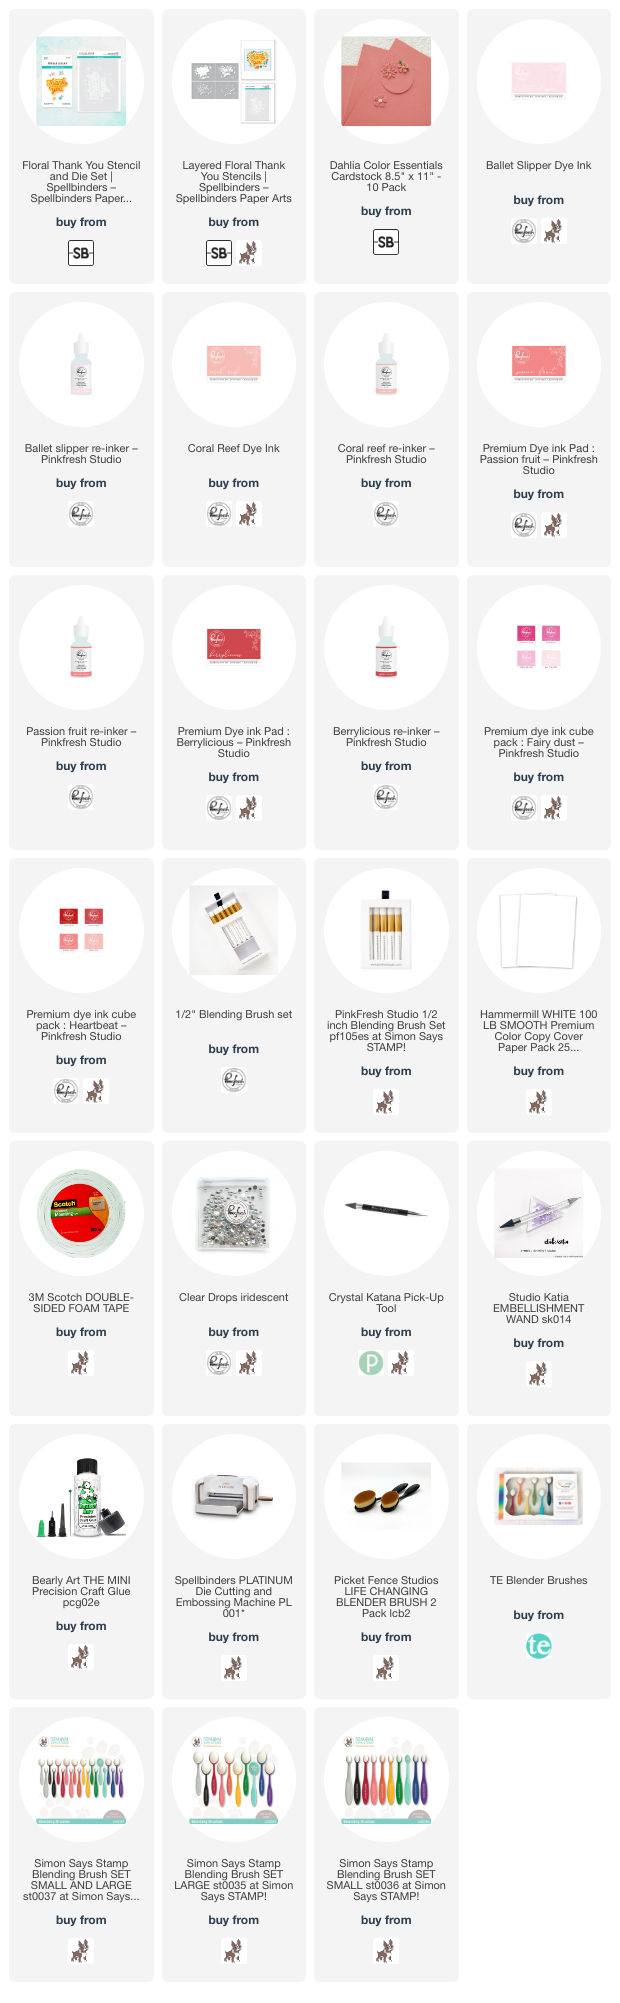
I started off by using the stencils on a panel of white cardstock, and using my Pinkfresh Studio inks in pink to red tones to layer up the stencil images.


Next, I die cut the word out of the center with the coordinating dies (there are also dies for the florals, but I left those as one layer for this card). After I die cut the word out, I felt like I needed a bit more texture, so I added some pink splatters by smooshing one of my ink pads on my glass mat, picking up with a wet brush, and flicking on the background.


As that dried, I created a coordinating cardbase from Dahlia cardstock. I mounted the background directly on the cardbase, then added the Thank You words with foam adhesive, and slightly offset to add to the shadow feeling.


Final touch was a bit of sparkle using some Pinkfresh Iridescent Clear Drops in a couple different sizes adhered to some of the flower centers!


Product links are all below - including affiliate links where possible, which simply means if you use one of the links below that I receive a small commission at no additional cost to you. Thanks so much for stopping by! Have a wonderful day!!!


Wednesday, March 29, 2023

Layered Happy Birthday Wishes - Simon Says Stamp April Card Kit

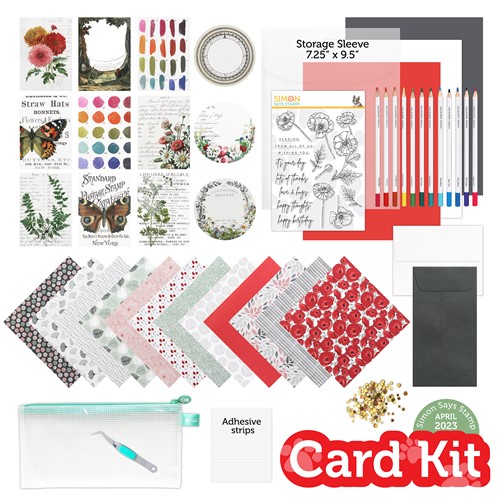
 Hello! I'm popping in to share one final card using the April 2022 Simon Says Stamp Card Kit - Poppy Perfection! This month's kit is full of beautiful poppies in stamp and pattern paper form! The included stamp set by the same name has several beautiful poppy images and fun sentiments, there is some gorgeous pattern paper, some fun acetate decorative elements, sequin mix...that's all not to mention the cardstock, envelopes, and more!

This card is nice and simple, and uses lots of that pretty pattern paper, because how can you go wrong with that?


I started off with a white cardbase, and trimmed the poppy pattern paper down slightly smaller and adhered it down with a tape runner - leaving the very edges free, and slightly curled up for dimension.


I trimmed down the other pattern papers to varying widths of strips, and layered them together, again, curling up the edges for dimension.


Then I just built my own custom sentiment from the Poppy Perfection stamp set in the kit, and stamped it on the front pattern paper!


Here is a closer look at the entire kit contents - you can see it all HERE:


Product links are all below - including affiliate links where possible, which simply means if you use one of the links below that I receive a small commission at no additional cost to you. Thanks so much for stopping by! Have a wonderful day!!!

Tuesday, March 28, 2023

Magnolia Slider Card - Pinkfresh Studio Instagram Release Hop

 Hello! Today I am part of a fun Instagram hop to celebrate the new Pinkfresh Studio release. There are giveaways up for grabs, so hop on over to check that out if you haven't yet! I have had so much fun creating with this release - yesterday was the blog hop, and I shared a TON of cards for that! Today I'm sharing an INTERACTIVE card I created on last week's YouTube Live with Lea Lawson as a sneak peek. We used the some different elements of the same product suites in different ways to create two completely different cards. It was so fun! You can watch that video HERE if you want to see more details! 


Here is the replay of the live video if you'd like to watch it here:


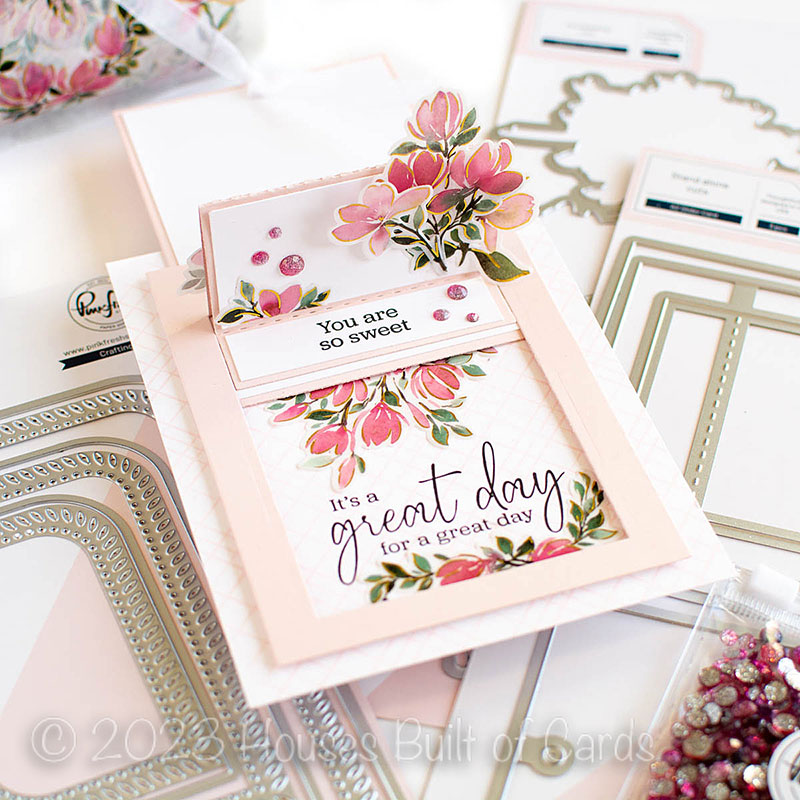
This is how the card looks when it is "mostly" folded flat to fit in an envelope. It is slightly pulling up in the photos, just because I wasn't holding it down. :)


Then you start to slide the tag up on the back, and all of a sudden, it starts looking a bit different, and you can see what's hiding inside!


And when it is fully opened, you can see all the pretty embellishments inside, and the outer bouquet stands up so pretty on it's own.


I used Dainty Plaid stamp set to stamp a soft pink background with Ballet Slipper ink. I then cut the slider elements from both soft pink and white cardstock, then trimmed down the white ones to fit inside the pink while still leaving a pretty border. For the Artistic Magnolias washi, I adhered it to vellum, and die cut with the coordinating dies - such a great way to keep that ethereal look that you get with washi tape!


I had some extra washi pieces, so I die cut the medium sized Rounded and Braided Rectangle die with both the outline and detail layer, then blended a bit of extra pink ink on my blending brush around the edges. I then mounted it on the reverse of my card, and added a decorative piece of that washi there. So now there is a cute spot on the back of the card to add a little message or note!


Interactive cards are not something I have spent much time making, but this die makes it so easy and fun! And it pairs SOOO perfectly with all the new washi tape - easy to decorate and have fun creating your own interactive card!


Product links are all below - including affiliate links where possible, which simply means if you use one of the links below that I receive a small commission at no additional cost to you. Thanks so much for stopping by! Have a wonderful day!!!


Reverse Hot Foil Florals - Simon Says Stamp Just for You Release

  Good morning! I'm dropping by to share a couple more cards using the NEW Just for You Release from Simon Says Stamp! If you checked out my post for the Instagram Hop a few days ago, you might recognize this flower. Those cards used this new hot foil plate to hot foil on vellum - and it was so pretty! You can check that post out HERE for more info! 

But...you know I couldn't go and waste all that lovely reverse foil - so these cards were the logical next step! The colors are a bit different - because I didn't use all of the vellum ones (the blue was a bit hard to see with those dainty lines on vellum) - but I loved it in the reverse.


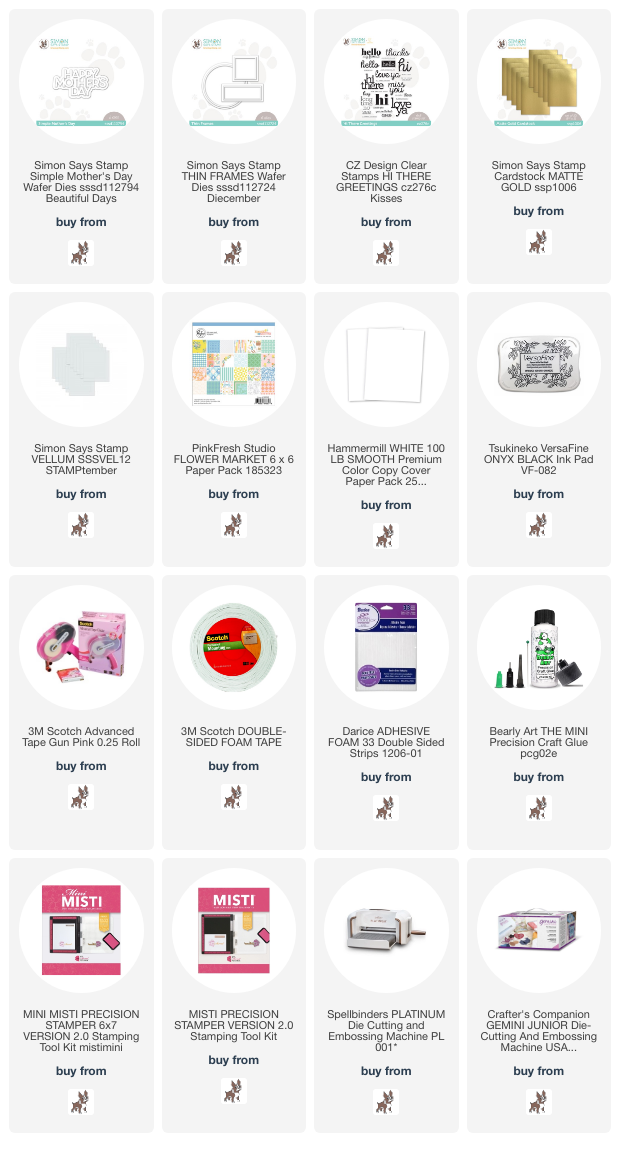
I foiled the leftover foil from my original foiling using my Pinkfresh Solid Hot Foil Plate, then cut those panels into ovals using Nested Ovals dies. If you notice - the ovals are different sizes, because I only went to the edge of where the foil ended. I had cut my foil slighting smaller on the gold one, so that oval was smaller.


I mounted the ovals on white cardbases using my favorite Big Momma foam tape roll - I love it because it is a thinner size, so I can add dimension, but not too much dimension.


Next, I chose sentiments from the Sunshine and Rainbows reverse sentiments - perfect encouraging sentiments - and trimmed the ends into a banner shape before mounting with liquid glue over the ovals, leaving the ends floating free.


Next, I embellished with some Pinkfresh Glitter Drops - this first card in coordinating Aqua tones...


...and this second one in gold of course!


What do you think? Do you like to not waste your foil? I love having the Solid Hot Foil plate in my craft room to allow me to not only not waste that foil, but also to get two cards for almost the same work, and a completely different look as well!


Product links are all below - including affiliate links where possible, which simply means if you use one of the links below that I receive a small commission at no additional cost to you. Thanks so much for stopping by! Have a wonderful day!!!