Tuesday, August 22, 2023

Holly Jolly Berries - Pinkfresh Studio Instagram Release Hop

  Hello! Today I am part of a fun Instagram hop to celebrate the new Pinkfresh Studio release. There are giveaways up for grabs, so hop on over to check that out if you haven't yet! I have had so much fun creating with this release - yesterday was the blog hop, and I shared a LOTS of cards for that! Today I'm sharing a fun hot foiled and stenciled card I created on last week's YouTube Live with Lea Lawson as a sneak peek. We used the some different elements of the same product suites in different ways to create two completely different cards. It was so fun! You can watch that video HERE if you want to see more details!


Here is the replay of the live video if you'd like to watch it here:


I love the sparkly shine on this card, and the slightly vintage twist to the traditional Christmas colors. I feel like adding the Persimmon really bumps it up a bit in the design, and I love that! I hot foiled the Winter Berries Frame in Polished Brass foil, then ink blended with the coordinating stencils. I used two shades of green on the leaves, and then one color for each of the berries. I also hot foiled the Holly Jolly word, and die cut both of those out with the coordinating dies. I used the Christmas Star coverplate die for a background, cutting it directly into my cardbase created with Lawn Fawn Speckled Eggshell cardstock. I had a leftover die cut panel with a window die cut from Nested Arches, so I used that to mount with foam over the front to add a frame to fit all the florals. I adhered the Holly Jolly sentiment in the center with foam adhesive, then arranged the clusters of berries around the frame, adhering with liquid glue. I added a secondary sentiment stamped from the Winter Berries Frame stamp set, trimmed into a banner shape and also adhered with foam adhesive. Finished off with a few Metallic Gold Pearls for more sparkle! Here are some more photos of this finished card:


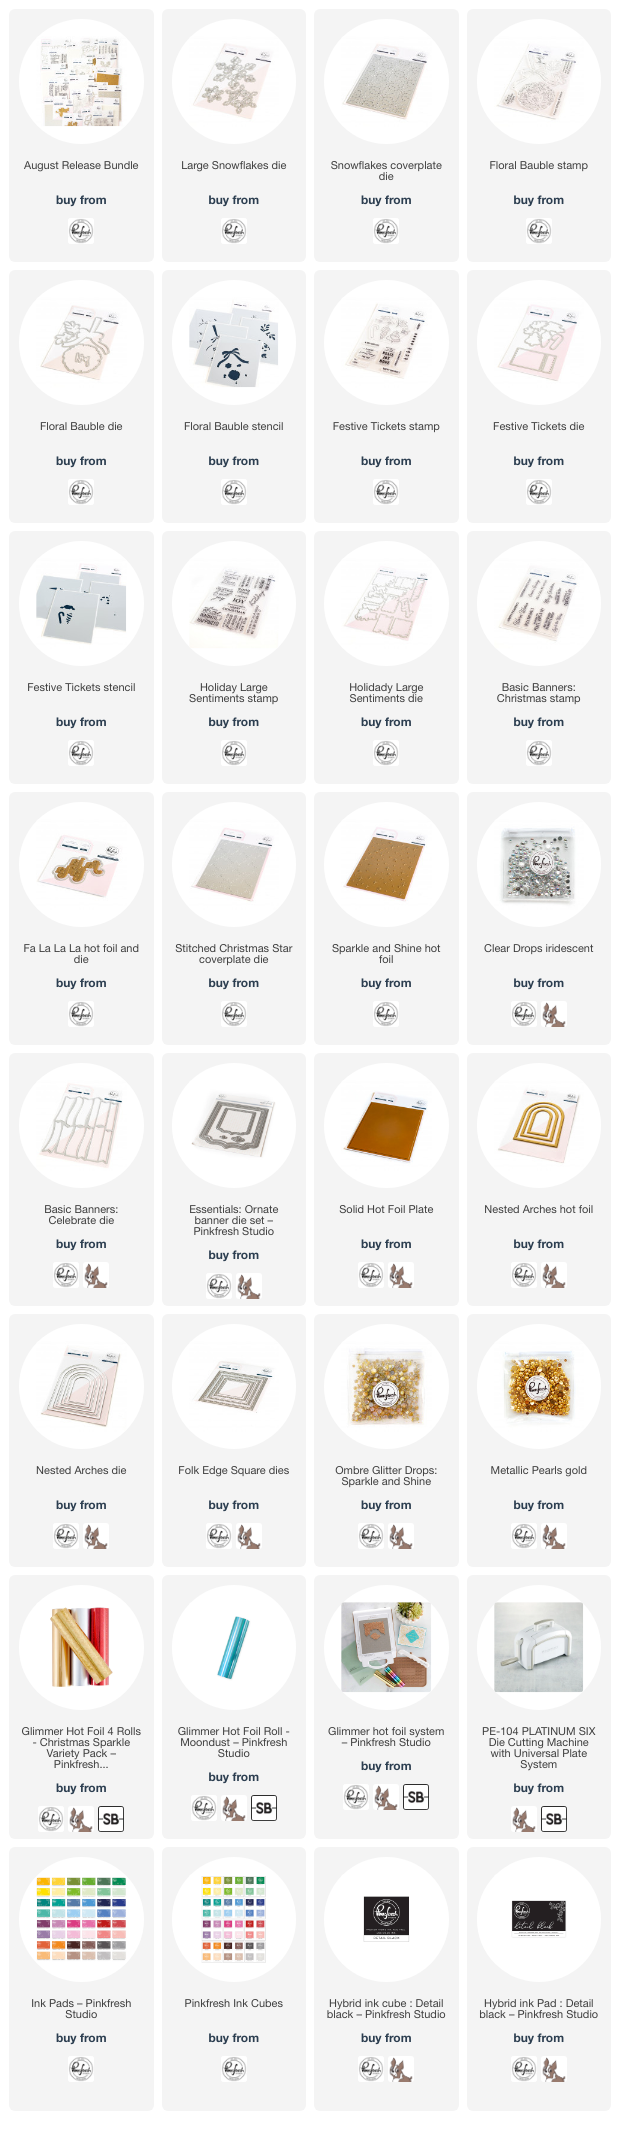
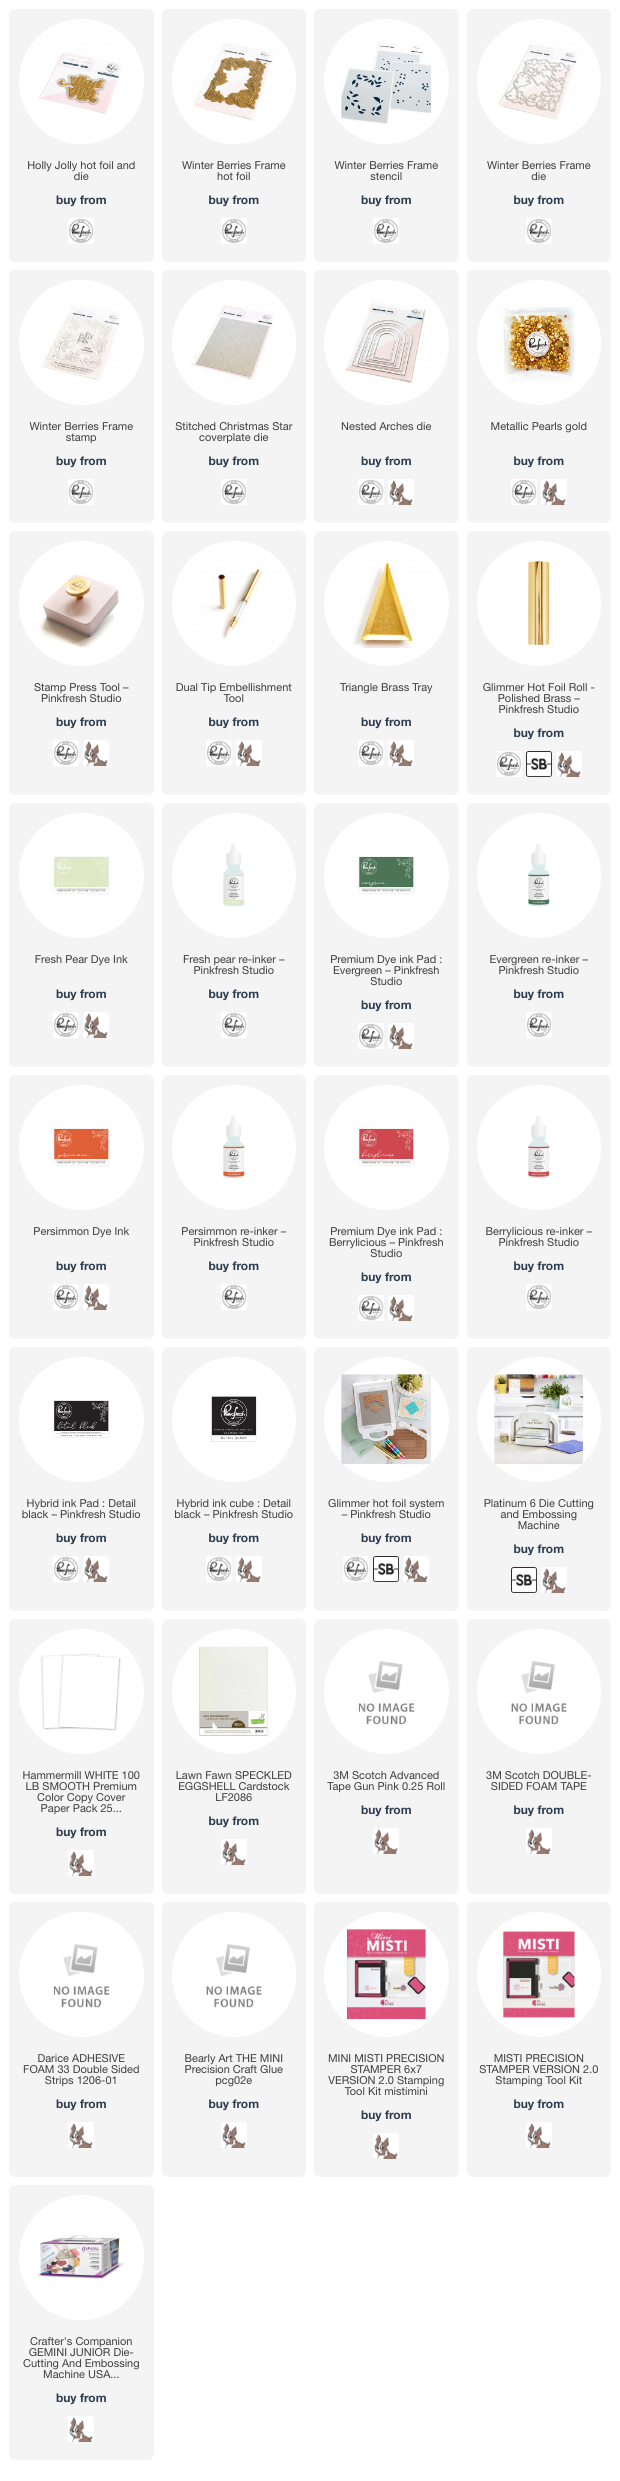
Product links are all below - including affiliate links where possible, which simply means if you use one of the links below that I receive a small commission at no additional cost to you. Thanks so much for stopping by! Have a wonderful day!!!

Monday, August 21, 2023

Pinkfresh Studio August 2023 Holiday Stamp, Die, Stencil, and Hot Foil Release

  Good morning! Today is the blog hop to celebrate Pinkfresh Studio's August 2023 Holiday Stamp, Die, Stencil and Hot Foil Release! You aren't going to want to miss a stop along the way - TONS of inspiration and prizes up for grabs! YAY! You can find links to all of the new release items I used on today's cards at the bottom of this post!


After MANY requests, we have finally decided to offer a bundle for purchase as well! Limited quantities available, and a bit of a discount if you just HAVE to have it all! You can find it HERE:


I had so much fun playing with this release, and (of course!), have several cards to share with you!


First up - I love the combination of red and white with wintery snowflakes - so much fun! I started off with the Snowflakes coverplate background die, then layered that on a white cardbase. White on white gives such fun texture! Next, I hot foiled the new Fa La La La hot foil word with some sparkly red foil and die cut it with it's coordinating die. I also die cut some snowflakes with the Large Snowflake die, from glittery red glitter paper to coordinate. I arranged those all together and adhered them down. For a secondary sentiment, I used the new Basic Banners: Christmas that coordinates with the previously released Basic Banners die - using Detail Black ink. I tucked that under the main sentiment, then embellished with a few Clear Iridescent Drops to finish. Here are a few more photos of this card:


Next up, continuing the hot foiling fun for lots of sparkly fun!


For this card, I foiled the new Sparkle and Shine hot foil plate with Moondust foil, then used the leftover foil with the Solid Hot Foil plate to get a reverse image. I saved the original for some cards you'll see below, and used that gorgeous reverse foiled image for this card, die cutting it with the large Ornate Banner die. I layered the largest snowflake from Large Snowflakes die over the top, die cut from silver glitter paper, and then a sentiment from the fabulous new Holiday Large Sentiment stamp and die set. A few more of those Clear Iridescent Drops finish this card off. Here are some more views of all that lovely sparkle and shine from the foiling:


Next up - I am SOOO excited that we are fully releasing this set that was part of last year's Holiday Create and Connect event!


The Floral Bauble set was actually my set for last year's event - and sometimes that means I'm tired of it. But not this set - I absolutely adore it, and don't think I'll ever get tired of it! I heat embossed in gold for this card, and then ink blended with the layering stencils in those fabulous Christmasy colors. I die cut with the coordinating one piece die, and then heat embossed a sentiment from those same Holiday Large Sentiments stamp and die set from the last card. I had a leftover reverse foiled Nested Arch from a previous project, and that created the perfect focal point for my card. I used another favorite from this release - the Stitched Christmas Star coverplate die - for the background. Perfect stitched texture - I love it! A few Sparkle & Shine Ombre Glitter Drops finish this card off. Here are some more views of this card:


And finally - I love sets of cards, and little square ones are particularly fun!


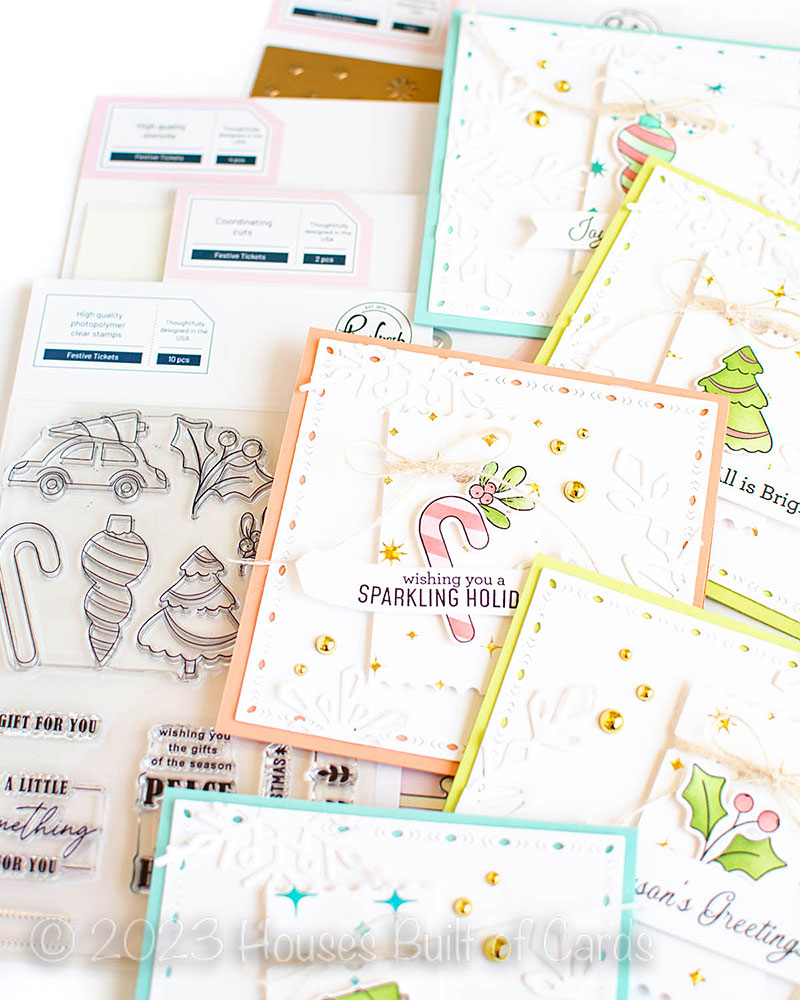
For these, I used the Festive Tickets set - die cutting the tickets from some panels hot foiled with the Sparkle and Shine hot foil plate, and then stamped, stenciled, and die cut the little decorative elements. I layered those up on the tickets along with sentiments from the Basic Banners: Christmas set, and tied some twine at the top. I used the largest Folk Edge Squares die to layer over colored card bases, then created some texture on the background by layering white snowflakes from the Large Snowflakes dies on the background, trimming them in half where necessary. I added the tickets over the top with more foam adhesive, and then embellished with sparkly Metallic Gold Pearls to finish off. Here are some more photos of this card set, including close ups of each card:


GIVEAWAY INFO:

Make sure and leave a comment before you leave for a chance to win one of 10 $25 gift certificate to Pinkfresh Studio chosen from comments left across the hop! All winners will be chosen and posted on the Pinkfresh Blog on Wednesday, August 30, 2023 - so make sure and check back to see if you were a winner! Winners must check that page and claim their prize within 2 weeks.

Here is the entire blog hop line-up so you don't miss a single stop - and product links are below - including affiliate links where possible, which simply means if you use one of the links below that I receive a small commission at no additional cost to you. Thanks so much for stopping by! Have a wonderful day!!!

You are invited to the Inlinkz link party!

Click here to enter