Monday, December 18, 2023

Betterpress Intro and trio of cards - Pinkfresh Studio

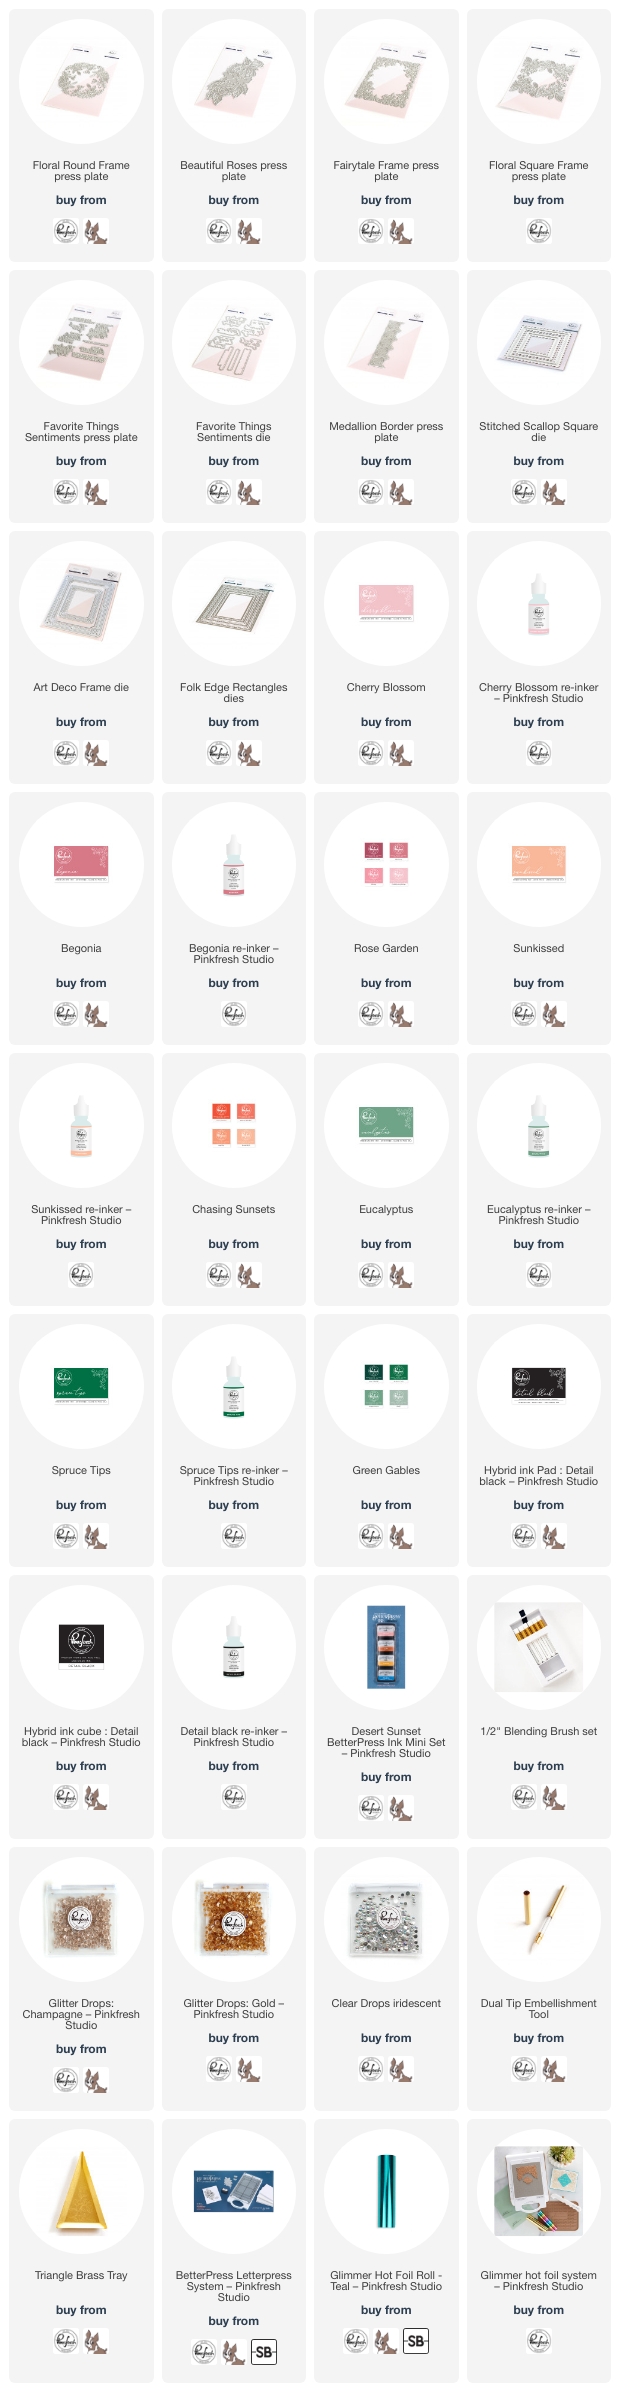
 Hello! I'm dropping by today to share a few cards I created as part of a video for Pinkfresh Studio as an intro to our new press plates, designed to coordinate with the Betterpress machine from Spellbinders! I've also included the video below if you want to check it out! If you want to see the supplies I used, I have affiliate links (that cost you nothing, and help me out!) at the very bottom of this post as well!


Here is that video - click HERE if you'd prefer to watch it in higher quality on the Pinkfresh YouTube channel:


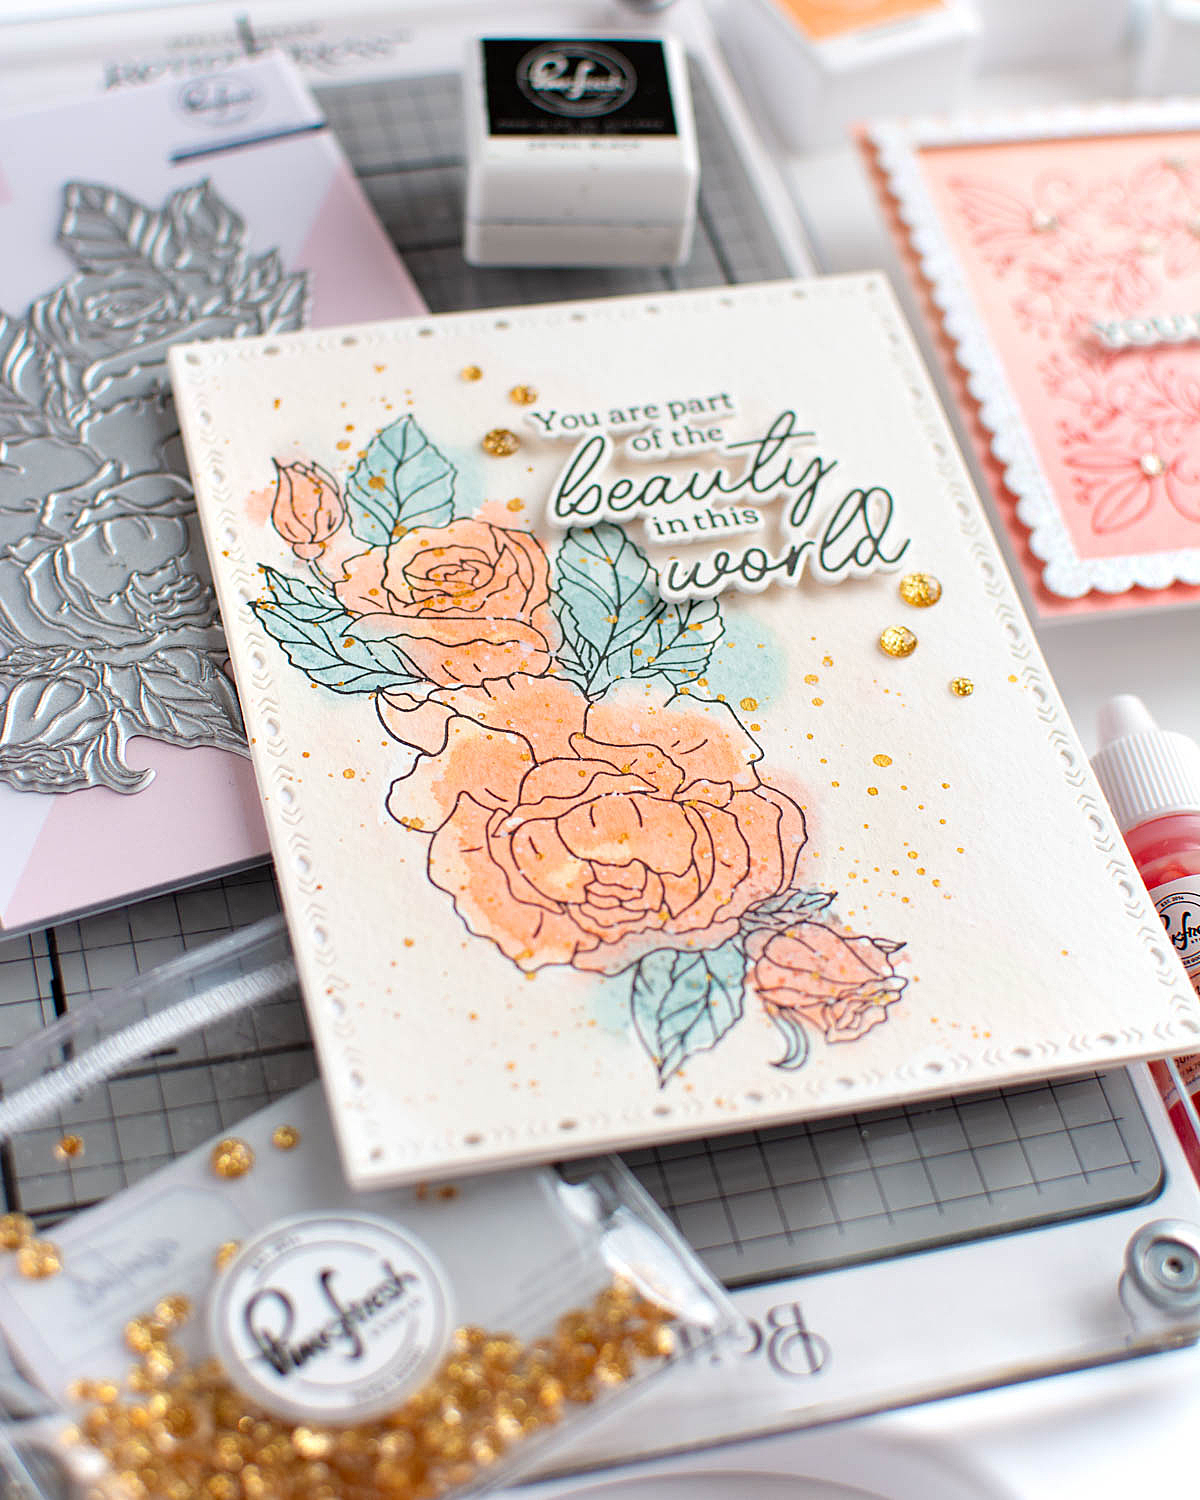
I created 3 cards with some of the examples I used in the video. First up - I used the Beautiful Roses press plate, and did a sneak peek at some of our upcoming liquid watercolors that will be releasing early next year! My watercolor is very simple - I'm definitely not a watercolor artist - but it was fun to just do some simple watercolors in a loose style. I used the Folk Edge Rectangles to die cut the panel, and added some splatters with my Pinkfresh Calico White ink pad (smooshed on my glass matte and mixed with a bit of water) as well as some gold Splatters. I added a sentiment from Favorite Things Sentiments as well as a few glitter drops to finish it off. Here are lots more photos of this finished card:




Next up - I used some of the Spellbinders Cotton cardstock for this card, and did some soft ink blending around the panel, before running it through my Betterpress with the Fairytale Frame and some deeper ink for a tone on tone look. I die cut a panel out of the center using Art Deco Frame die, so I could adhere the outer edges with foam adhesive for some simple dimension. Added another sentiment from Favorite Things Sentiments in the center, and finished off with a few Iridescent Clear Drops. Here are more photos of this card:


Finally, a cute little square card using Floral Square Frame - also with some ink blending on the background before running the press plate through the machine, but this time on our new watercolor paper (that will also be releasing early next year!). You can see the texture of the paper a little more, but I still think it is lovely! More of the same sentiment set, and a few glitter drops to finish this design off - all framed up with a Stitched Scallop Square cut from Glacier glitter paper. Love these colors! Here is a closer look at this final card:


Product links are all below - including affiliate links where possible, which simply means if you use one of the links below that I receive a small commission at no additional cost to you. Thanks so much for stopping by! Have a wonderful day!!!

Saturday, December 16, 2023

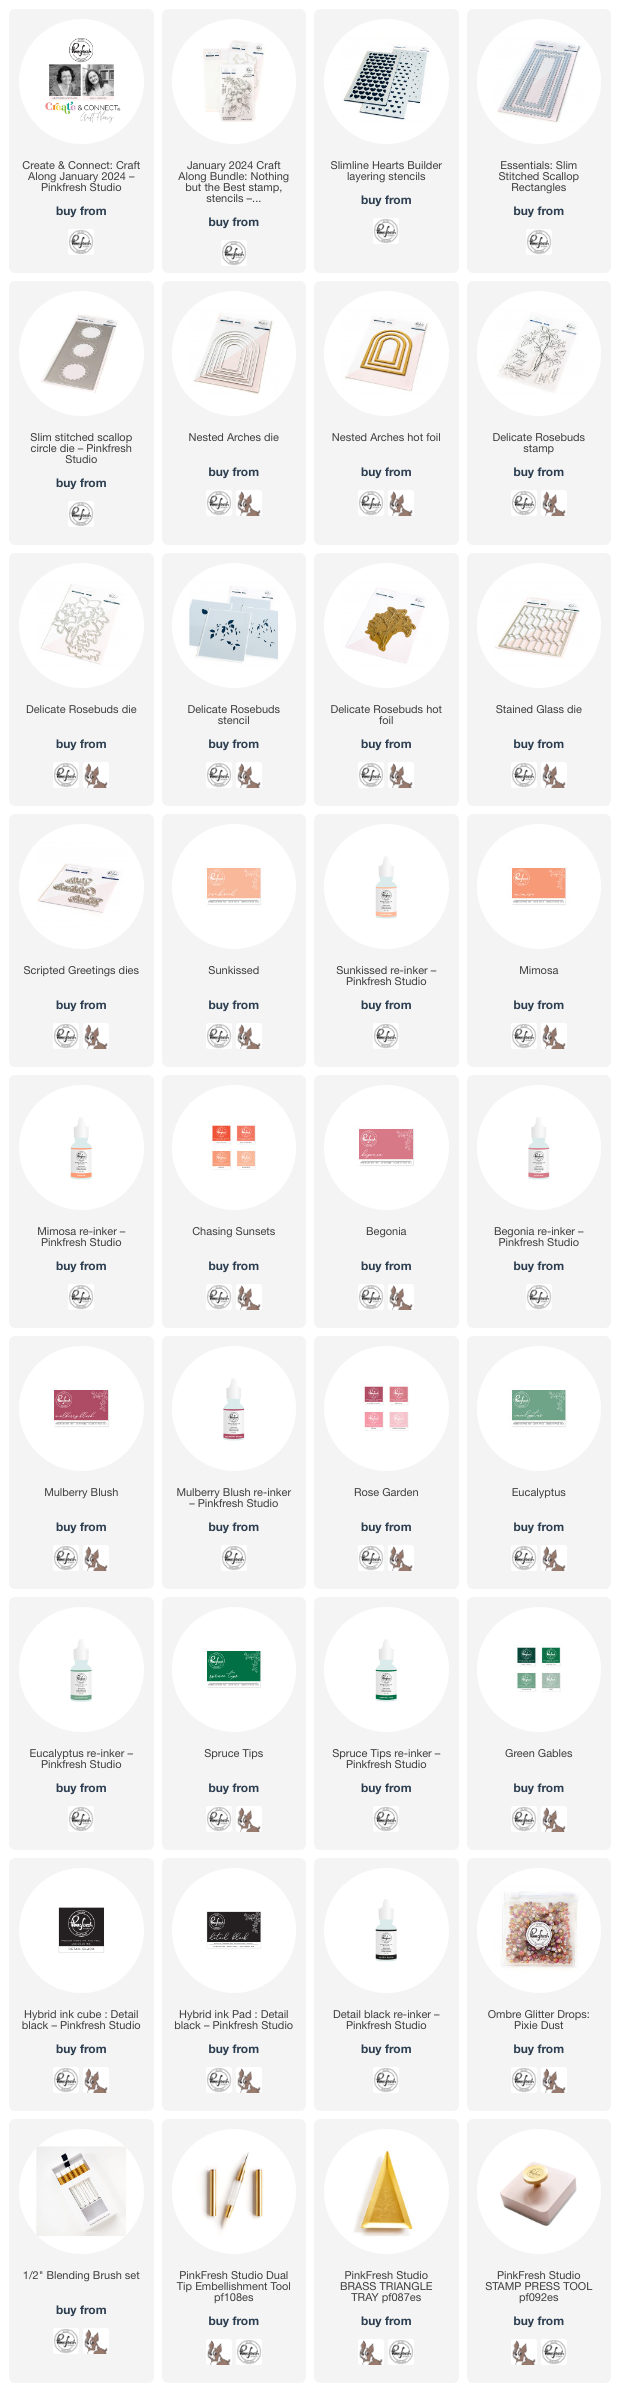
Celebrate You - Pinkfresh Studio Craft Along Card

 Good morning! This year we started something new at Pinkfresh called Craft Along - we ended up taking the month off for December since everyone is often so busy, but we are coming back strong in January! What is Craft Along? Well, it's basically a mini event, that is far more affordable and flexible for those who want community, crafting, and connection, but perhaps want the flexibility to use what they already have, or purchase a smaller bundle at a discount. We include alternatives to our chosen sets to give you all the options, and some previous month's attendees even came up with other fabulous options! You can always check out all our event options HERE for more info.

The event is through a private Zoom link - so you are able to chat, ask questions, and we can even see your lovely faces if you wish! You are (of course!) welcome to leave your camera off, and your sound muted as well if you are more comfortable with that. It has been so fun to be able to see some of your lovely faces as you crafted as well.

Since this was part of that event, I'm not going to share any details of how I created it - but I wanted to share some photos, and I've included a supply list at the bottom as well. Our January Craft Along are so fun - I'm super excited, and they may be my favorite for these classes yet! We also have a bundle of supplies, so you can choose to use what you already own, or grab the bundle at a discount if you wish. The additional essentials we used are also available at a 10% discount (use code JAN24CA) if you don't have those in your stash and want to grab them - I've linked them below as well! We hope you will join us in the new year for this fun adventure and event! You can find all the details HERE for registering for the event, as well as the bundle HERE at a discount if you don't have the product or something similar you'd like to create with. 

Here is a look at last month's card:


Product links are all below - including affiliate links where possible, which simply means if you use one of the links below that I receive a small commission at no additional cost to you. Thanks so much for stopping by! Have a wonderful day!!!


Friday, December 15, 2023

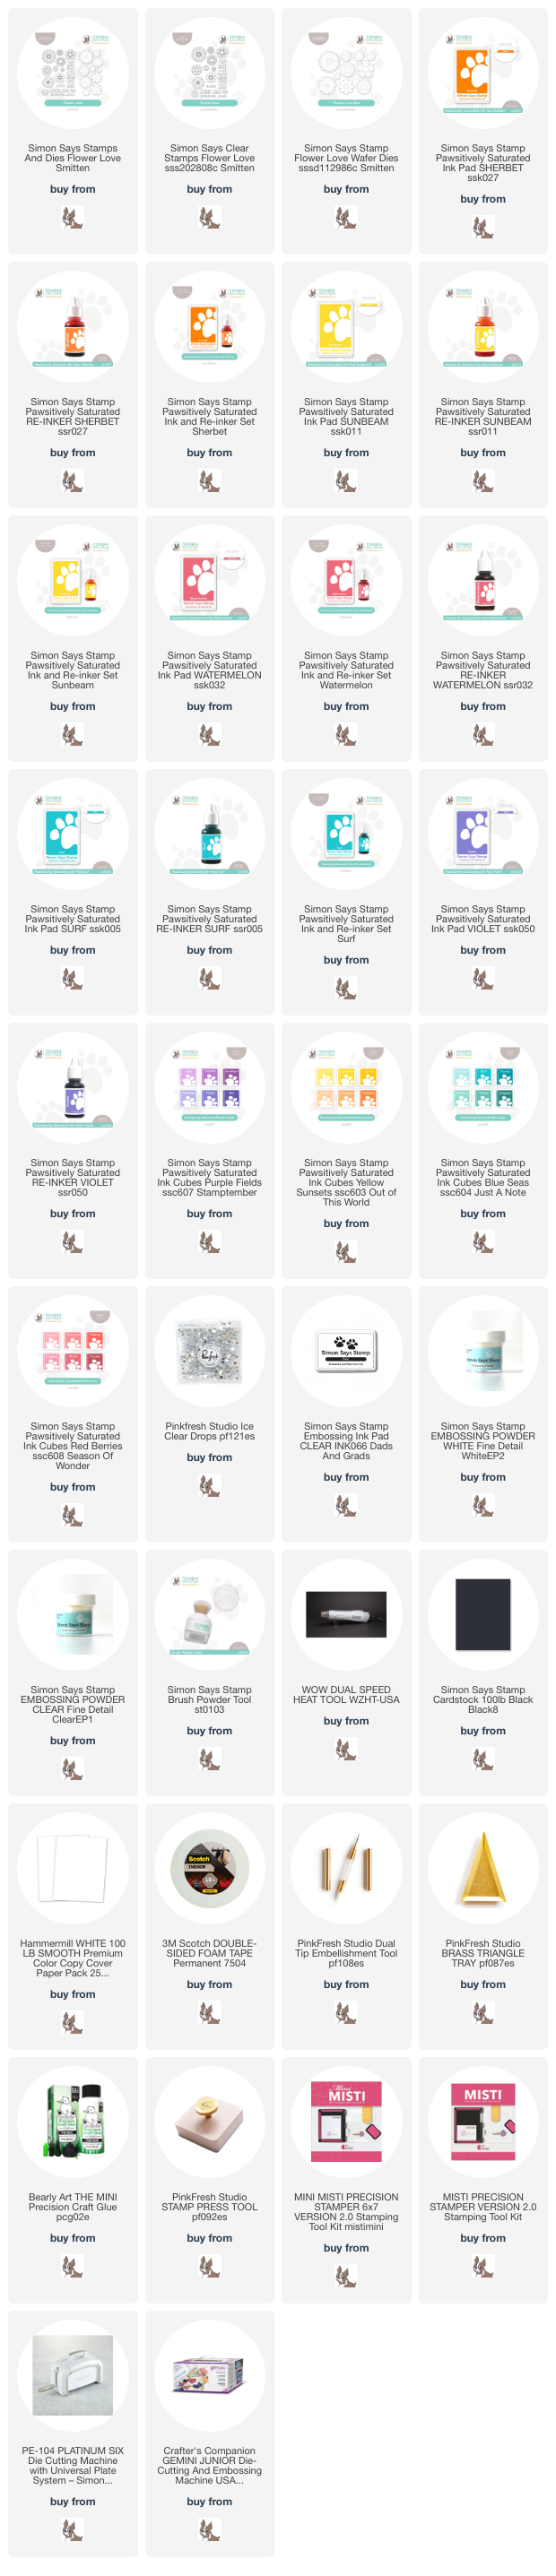
Floral Just a Note - Simon Says Stamp Smitten Release

Hello! I'm stopping by with a card using some of the NEW Smitten Release from Simon Says Stamp. This card was the result of a late night/couldn't sleep craft session - ever have those times when you just gotta get up and do something? I find making a card often helps me unwind and relax enough to finally sleep!


For this card, I stamped all the fun florals from the new Flower Love on white cardstock, and heat embossed with clear embossing powder. I've found with emboss resist, I prefer using clear instead of white, because it shows the color of the white cardstock underneath, and doesn't absorb the color of the ink as much, so it seems to feel like it stays more crisp and white to me! I ink blended in a fun rainbow of bright colors, and then fussy cut the images out (there are coordinating dies, I just didn't have them - hence the fussy cutting choice!). I heat embossed a sentiment from the same stamp set in white on black cardstock and trimmed that into a rectangle. Then I just arranged everything on my card front, adhering the sentiment with foam adhesive, and the flowers with liquid glue in the centers, curling up the edges for dimension. I rounded one corner for interest, then finished off with a few Clear Drops: Ice to add some sparkle and shine! Here are some more photos of this card:


Product links are all below - including affiliate links where possible, which simply means if you use one of the links below that I receive a small commission at no additional cost to you. Thanks so much for stopping by! Have a wonderful day!!!


Tuesday, December 12, 2023

Glitter Fairytale Frame - Pinkfresh Studio Instagram Release Hop

 Hello! Today I am part of a fun Instagram hop to celebrate the new Pinkfresh Studio December Press Plate release. There are giveaways up for grabs, so hop on over to check that out if you haven't yet! I have had so much fun creating with this release - yesterday was the blog hop, and I shared a LOTS of cards for that! Today I'm sharing a fun layered and glittery card I created on YouTube Live last week with Lea Lawson using the Betterpress machine, and each of us using similar sets but in different ways. You can watch that video HERE if you want to see more details!


Here is the replay of the live video if you'd like to watch it here:


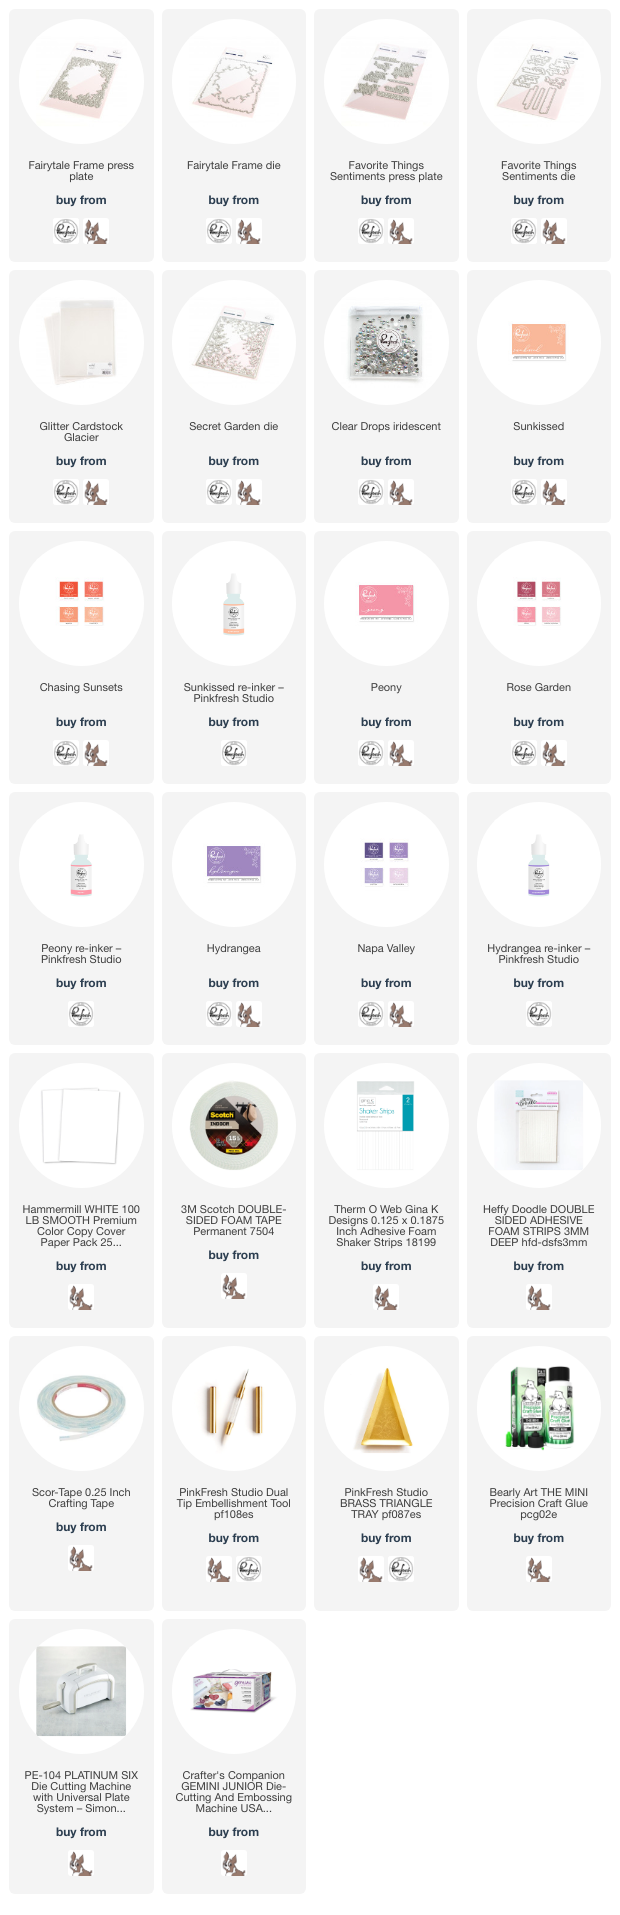
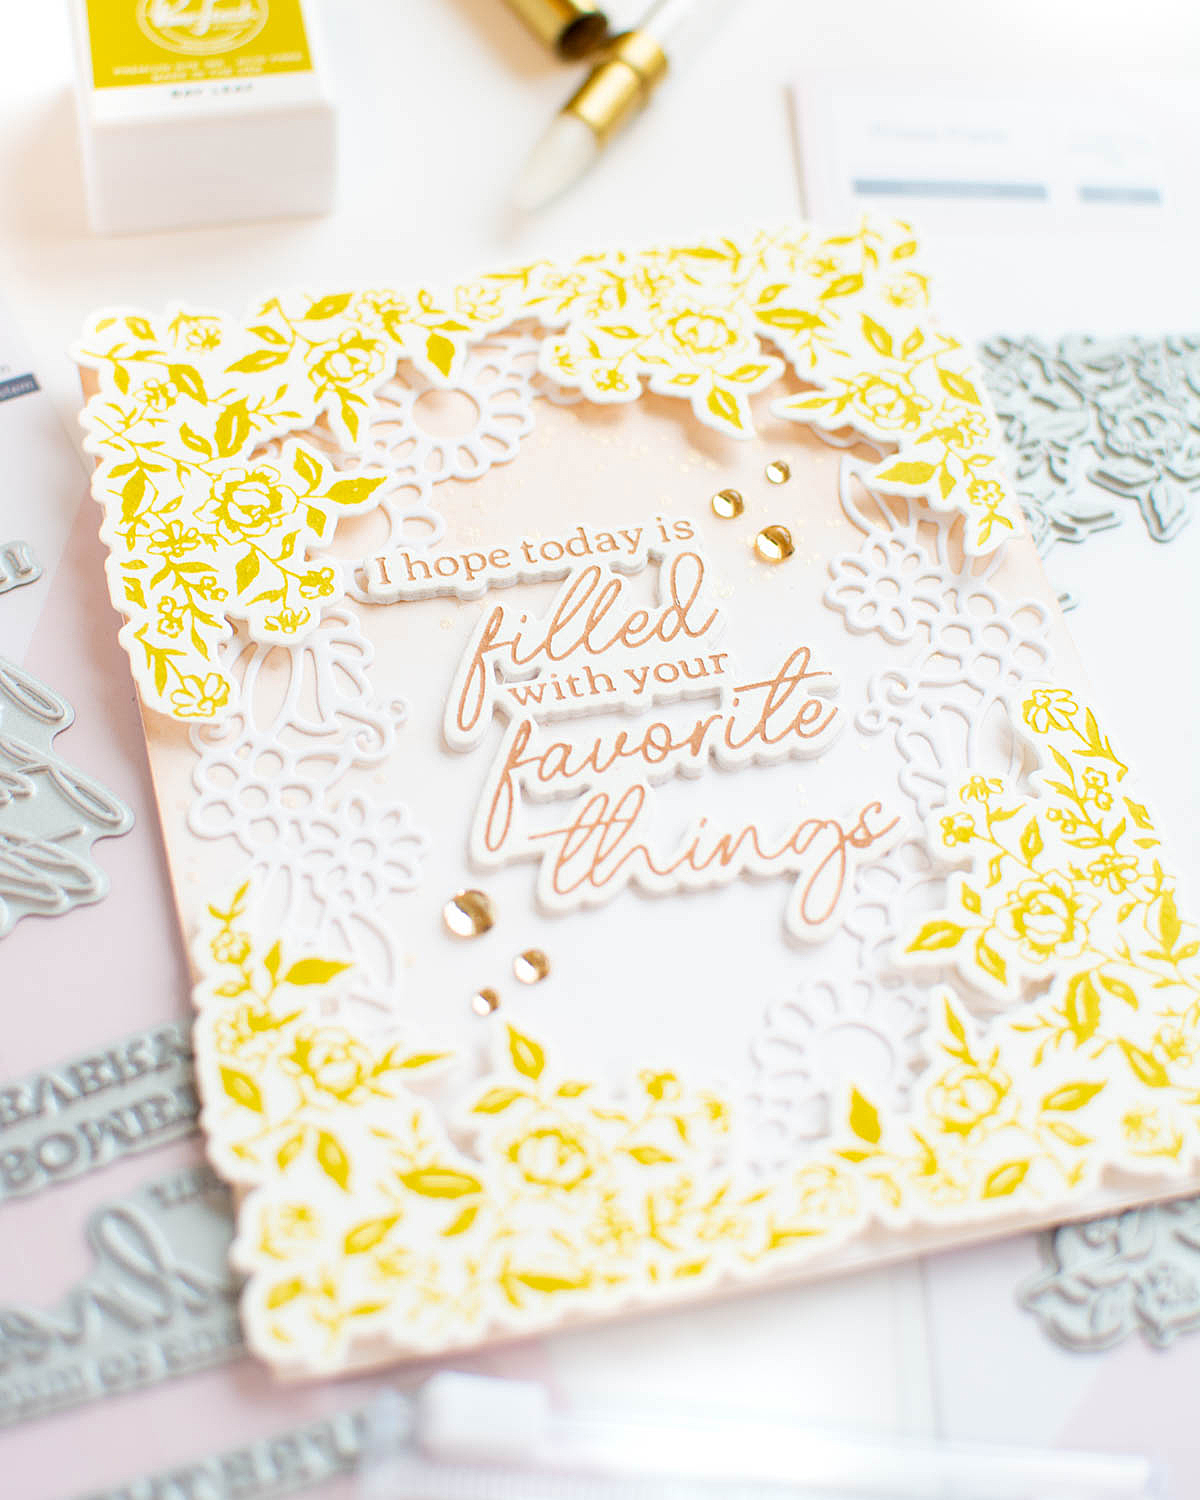
This release was featuring two main things - press plates to coordinate with the Spellbinders Betterpress machine, and glitter paper. And how fun was it to discover that these two items work beautifully together?!? It gives such a soft and glittery effect, but you can totally use the Betterpress on our new glitter cardstock. The Glacier color tone is particularly effective. I added some ink smooshing with the same ink colors for the panel underneath, and added some layers with the Secret Garden die as well. A few sparkly iridescent clear drops are the perfect finishing touch! Here are some more photos of this card:


Product links are all below - including affiliate links where possible, which simply means if you use one of the links below that I receive a small commission at no additional cost to you. Thanks so much for stopping by! Have a wonderful day!!!


Monday, December 11, 2023

Pinkfresh Studio December 2023 Press Plate Release

 Good morning! Today is the blog hop to celebrate Pinkfresh Studio's December 2023 Press Plate Release! You aren't going to want to miss a stop along the way - TONS of inspiration and prizes up for grabs! YAY! You can find links to all of the new release items I used on today's cards at the bottom of this post! This release is mainly focused on a new product line for us - press plates that work with the Spellbinders Betterpress machine!

As is usual, I have lots of projects to share with you today!


I'm starting off with this fun set of note cards featuring a total of 4 of the new press plates! All 3 of the Floral Frame sets, as well as the new sentiments were used on these cards. I used the Floral Square Frame for the purple tone card (using Hydrangea ink), Floral Circle Frame for the green card (using Spruce Tips ink), and Floral Octagon Frame for the aqua card (using Turquoise ink). I added some ink blending behind, and coordinating panels die cut from Folk Edge Square dies. A few coordinating glitter drops under the sentiments add the perfect touch of sparkle! Here are more photos and close ups of each card in this set:


Next up, one of my favorite sets from this release!


For this card, I used the beautiful Fairytale Frames die set using Bay Leaf ink to press it. I discovered that while the die mostly lines up either way, on the sides, it does actually matter if it is right side up or not. When I die cut it upside down (whoops!) - I realized it had messed up a couple of the flowers in the center. Since I couldn't bring myself to waste that panel, I just trimmed off the affected portions, and used it as a frame for the top and bottom of the card! I added some ink blending in Doe, which I also used for the sentiments, added the previously released Floral Frame die underneath, and embellished with a few sparkly Clear Drops: Champagne to finish this one off. Here are more photos of this card:


This next card is nice and simple and monochromatic. I pressed the Deco Sentiment Backdrop plate with Turquoise ink, used Spruce Tips for the sentiment directly in the center of it, and die cut it with the coordinating die. I did some ink smooshing with the same ink on my background panel, and added some splatters of Calico white ink and more of the same Turquoise ink for texture. I die cut that with Stitched Rectangles die before mounting on a white cardbase, then added the Deco Sentiment Backdrop with foam adhesive, and embellished with some Aqua glitter drops to finish off! Here are more views of this card:


If you watched my live a couple weeks ago, you may have seen me use this Beautiful Roses press plate live. This is the one that was a mistake at the end!


I did the sentiment directly over the florals, and for this one, the colors didn't mesh, and it didn't look good. I couldn't waste it however, so I die cut it, did the same sentiment separately and stacked up a few layers of it before mounting right over the one I didn't like. Disguised the mistake perfectly! I used Dotted Chevron coverplate for the background with a bit of soft coordinating ink blending from the top, and then used a leftover reverse foiled Nested Arch that I had sitting handy. It was foiled with one of the Matte pastel colors, and such a pretty compliment to the orange! Finished off with a few Peach Fuzz jewels to embellish.


And finally, one more card using another of the lovely new florals!


For this one, I used the Camellias press plate with a deep orange ink. Now, when you use our Pinkfresh inks, you can't do watercolor, since the color bleeds. However, I thought it would be fun to take advantage of that property! I misted the entire panel with water, let the color bleed out slightly, then blotted the extra off. The finished effect makes it look like I used the press plate with a deeper tone on tone over colored cardstock. Which isn't really possible, since you need specialty paper to use the Betterpress plates. So I love the unique look it gave! I added the Dotted Scallops coverplate in the background and the Ornate Frames die from some of our NEW Glitter cardstock to set off the florals. A few Pixie Dust ombre glitter drops finish it all off perfectly! Here is a closer look at this card:


GIVEAWAY INFO:

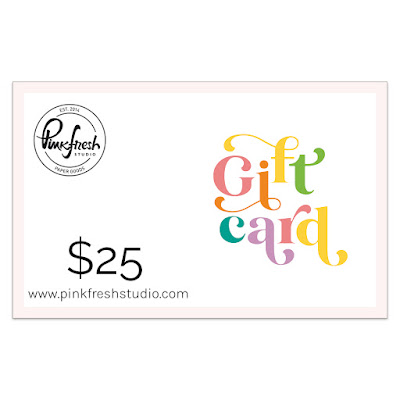
Make sure and leave a comment before you leave for a chance to win one of 10 $25 gift certificate to Pinkfresh Studio chosen from comments left across the hop! All winners will be chosen and posted on the Pinkfresh Blog on Tuesday, December 19, 2023 - so make sure and check back to see if you were a winner! Winners must check that page and claim their prize within 2 weeks.

Here is the entire blog hop line-up so you don't miss a single stop - and product links are below - including affiliate links where possible, which simply means if you use one of the links below that I receive a small commission at no additional cost to you. Thanks so much for stopping by! Have a wonderful day!!!

You are invited to the Inlinkz link party!

Click here to enter