Showing posts with label Betterpress. Show all posts

Wednesday, August 13, 2025

Happy 70th Birthday Elegant Letterpress Card

Good morning! Today I'm sharing a special card - I don't make very many cards specifically for someone, but usually have cards on hand that I go through to pick the perfect one for the recipient. However, a 70th birthday seemed like a special enough one that I had to make a special card! Ironically enough...I forgot to bring the card to her party (whoops!) - but thankfully was able to get it to her a couple days later! I used a mix of different brands on this card, which is always so fun! All items are available at Simon Says Stamp


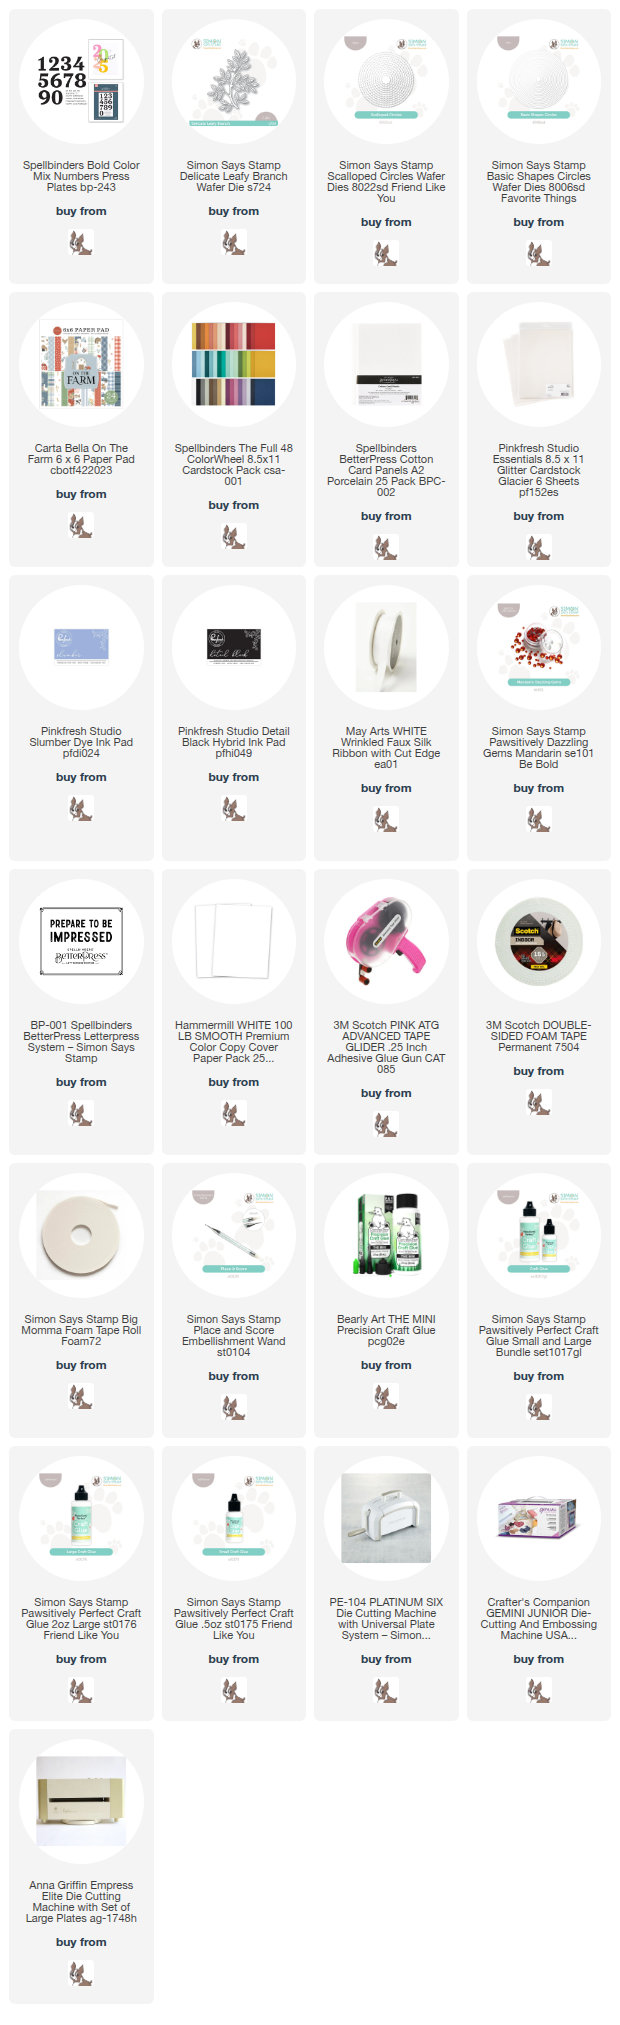
I had recently purchased the Spellbinders Bold Color Mix Numbers, and hadn't had a chance to put them to use. This seemed like the perfect opportunity! I used Pinkfresh Slumber ink to press the large 70 onto a lovely shade of blue Spellbinders cardstock (tucking some cotton cardstock behind to ensure I got a good impression on the colored cardstock), and then added the happy birthday sentiment over the top. Love the elegant layered look! I die cut that in a circle using one of the Simon Says Stamp Basic Circles dies, then die cut one of the Simon Says Stamp Scalloped Circles dies that was slightly larger to layer together. Pattern paper is from Carta Bella On The Farm 6x6 paper pad, and I die cut some greenery using Simon Says Stamp Delicate Leafy Branches die on Pinkfresh Glacier glitter cardstock to tuck around the frame. I added some embellishments from Picket Fence Studio "Pick Me" sequin mix (sadly...this one does look like it's gone!), and a few Dazzling Gems in Mandarin for the center of the flowers. Finished off with a pretty bow created from May Arts Faux Silk ribbon in white. Here is a closer look at this card:


Product links are all below - including affiliate links where possible, which simply means if you use one of the links below that I receive a small commission at no additional cost to you. Thanks so much for stopping by! Have a wonderful day!!!


Wednesday, December 11, 2024

Nothing Better than a Friend - Pinkfresh Studio Instagram Release Hop

 Hello! Today I am part of a fun Instagram hop to celebrate the new Pinkfresh Studio "Essentials" Release. There are giveaways up for grabs, so hop on over to check that out if you haven't yet! I have had so much fun creating with this release - yesterday was the blog hop, and I shared a pretty card using lots of the new release items!


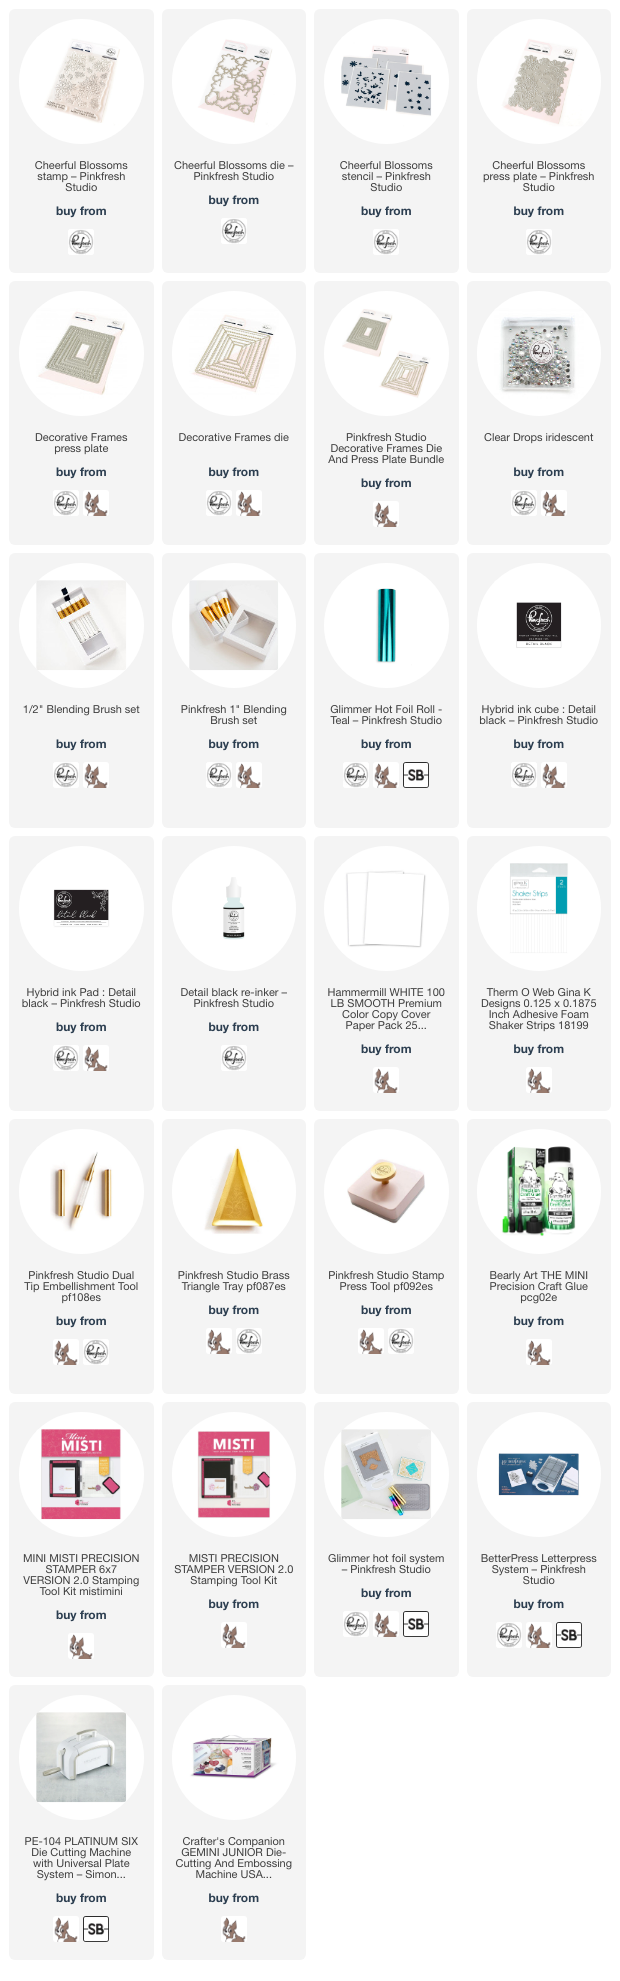
Today I used the lovely Cheerful Blossoms set. I hot foiled the florals with Teal foil for a different look, and colored in some fresh happy colors. I did a bit of ink blending on the cardbase to coordinate, then added some frames from Decorative Frames press plate, that I letterpressed in black ink and die cut with the coordinating die. I started by popping up the outer frame with foam adhesive, then layered the largest of the 2 florals in opposite corners. Then I glued the next frame down just over the florals, leaving the other edges to float free in the center of the frame. I kept layering flowers, and then added anther frame. Making a flower and frame sandwich! Haha! Finished off with a sentiment from the set, stamped in Detail black and trimmed into a banner shape, then a few sparkly Iridescent Clear Drops in some of the flower centers. Here are more photos of this finished card:


Product links are all below - including affiliate links where possible, which simply means if you use one of the links below that I receive a small commission at no additional cost to you. Thanks so much for stopping by! Have a wonderful day!!!


Wednesday, November 6, 2024

Lacy Layers Thank You - Pinkfresh Studio Instagram Release Hop

Hello! Today I am part of a fun Instagram hop to celebrate the new Pinkfresh Studio "Essentials" Release. There are giveaways up for grabs, so hop on over to check that out if you haven't yet! I have had so much fun creating with this release - yesterday was the blog hop, and I shared lots of cards for that! Today I'm sharing a a fun card I created on YouTube Live last week with Lea Lawson using the same sets but in slightly different ways! You can watch that video below if you want to see more details!  


Here is that video if you want to watch this card come together:


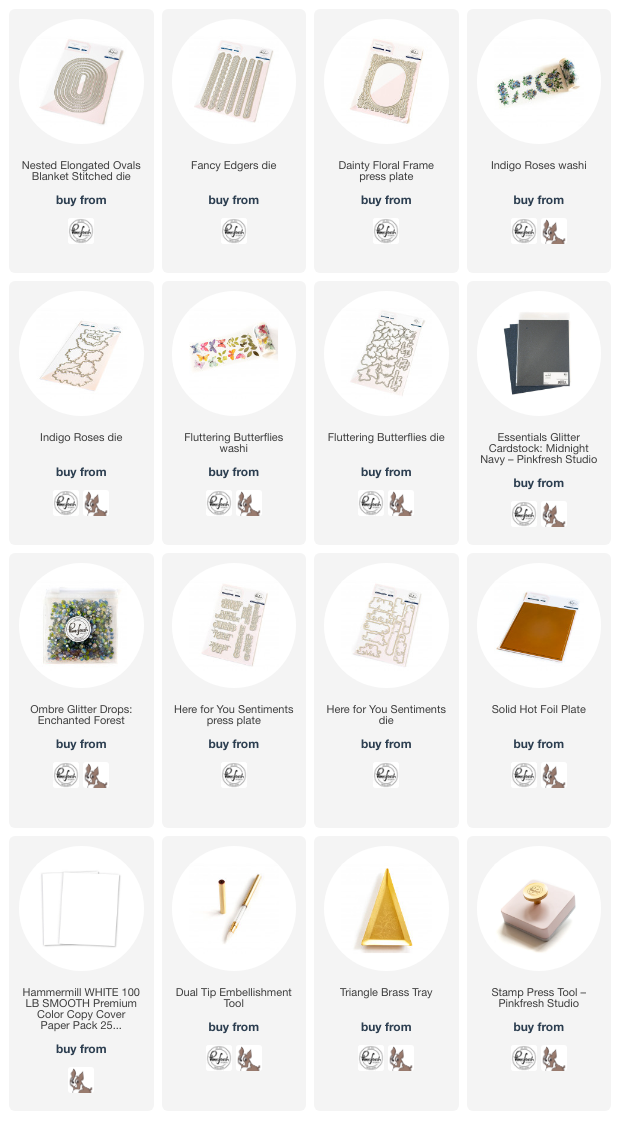
I used the new Nested Elongated Ovals Blanket Stitched die cut from Midnight glitter cardstock, and paired it up with the Dainty Floral Frame press plate to add some soft texture to the background. They pair together so well! I tucked some lacy edges underneath one side of the oval, die cut from the new Fancy Edgers die set. I used those to tuck in some various elements from the Indigo Roses washi tape, with a single Fluttering Butterfly washi piece on there as well. Sentiment is from Here for You Sentiments, using the reverse foiled image with my Solid Hot Foil plate. A few Ombre Glitter Drops finish this card off! Here are more photos of this card:


Product links are all below - including affiliate links where possible, which simply means if you use one of the links below that I receive a small commission at no additional cost to you. Thanks so much for stopping by! Have a wonderful day!!!


Tuesday, November 5, 2024

Pinkfresh Studio “Essentials” Release Blog Hop

Good morning! Today is the blog hop to celebrate Pinkfresh Studio's "Essentials" Release! You aren't going to want to miss a stop along the way - TONS of inspiration and prizes up for grabs! YAY! Click HERE to shop the new release!

As usual - I have quite a few cards to share today with the new release! First up this pair of cards that uses a grand total of 5 of the 8 new Essential die sets that are releasing today!

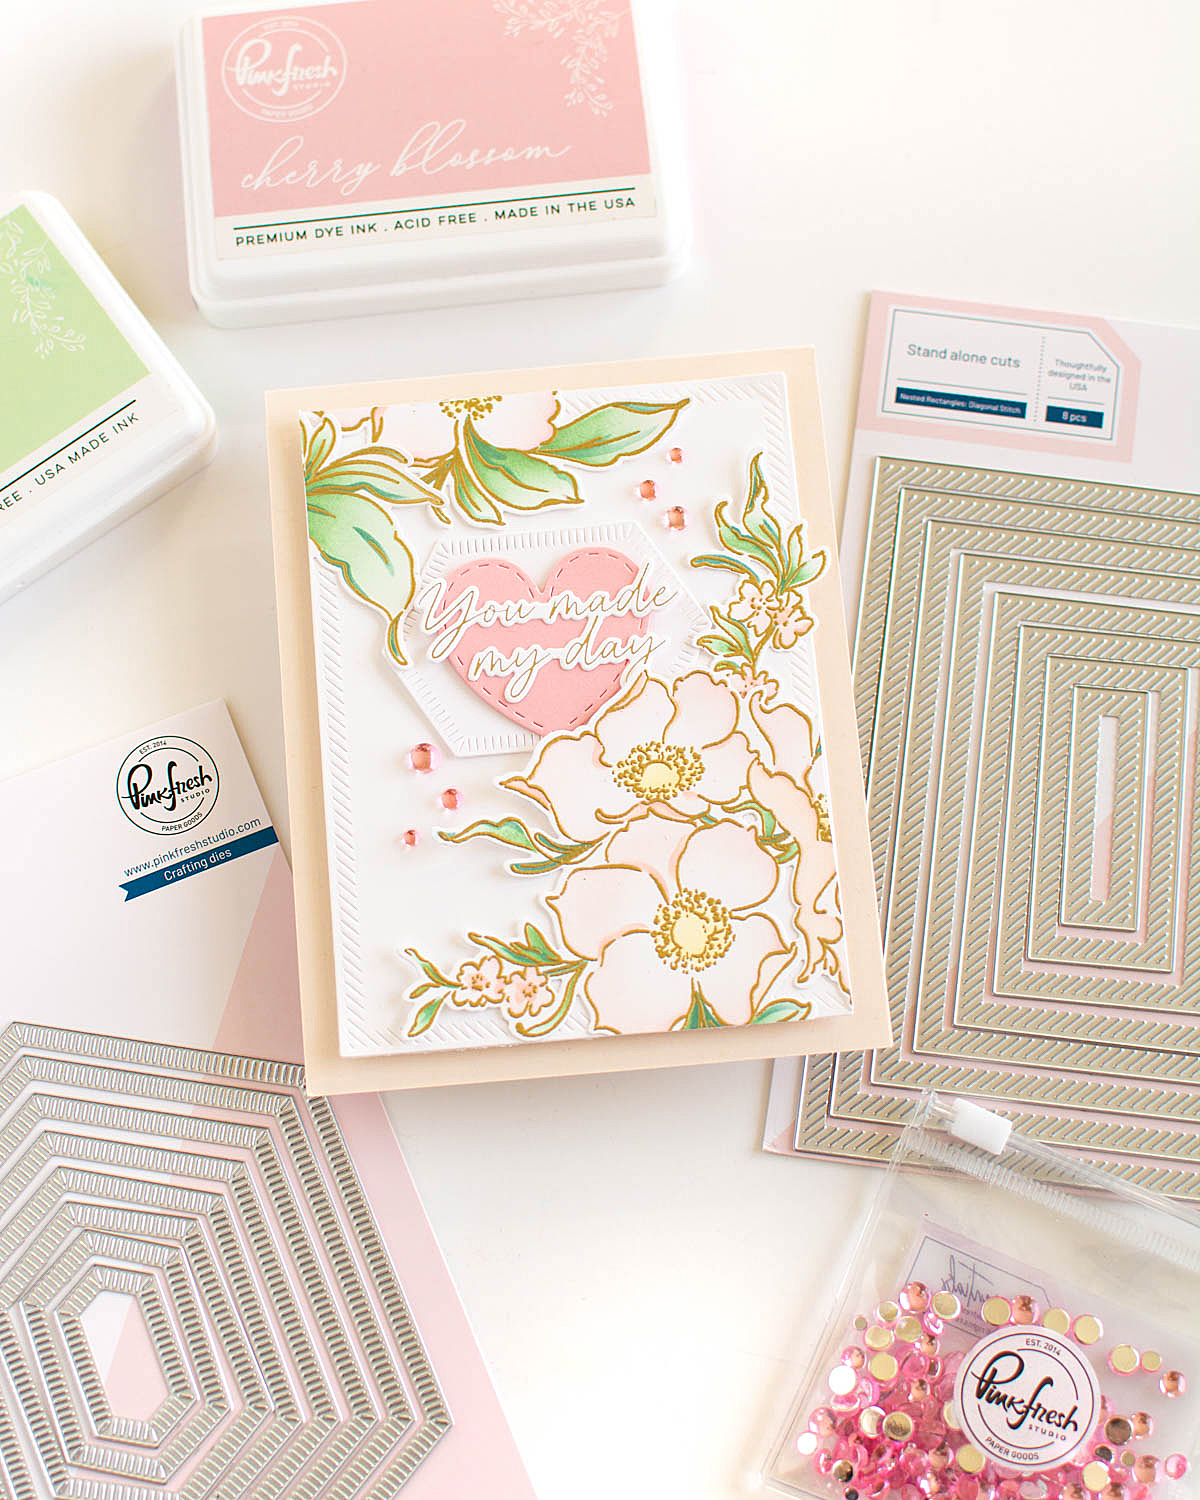
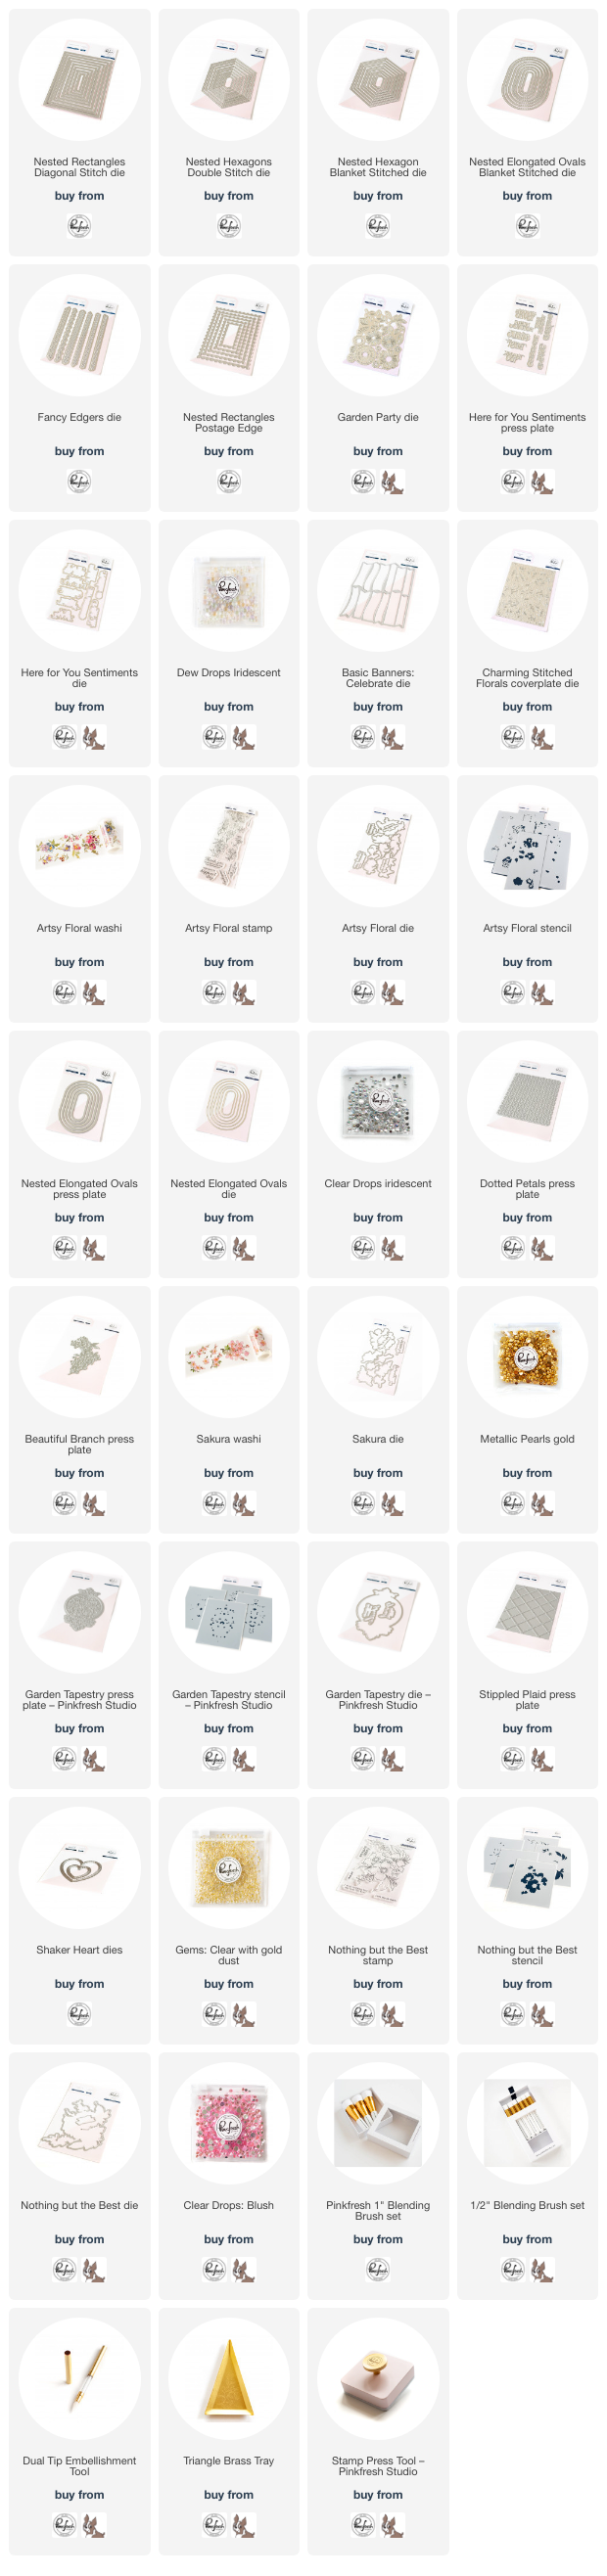
For the first of these two cards, I layered up the Fancy Edgers die with some colored cardstock, and used one of the new Nested Rectangles Diagonal Stitch dies. I added a sentiment from Here for You Sentiments in hot foil, and some florals cut with Garden Party dies from colored and white cardstock. A few Iridescent Dew Drops finish this card off. Here are a few photos of this card:


The next card in this set also uses the Nested Rectangles Diagonal Stitch dies, tucked inside one of the Nested Rectangles Postage Edge cut from Ivory glitter cardstock. I used the Charming Stitched Florals coverplate on the background, and then added one of the Nested Hexagons Double Stitch die and one of the Nested Elongated Ovals Blanket Stitch, topped with a banner from Basic Banners also cut from the same glitter cardstock. I also used the Garden Party dies on this card, and the same Iridescent Dew Drops. Here are more photos of this card:


I love mixing and matching the different edges in this release! The next card does the same thing - using the Nested Rectangles Diagonal Stitch dies with the Nested Elongated Ovals Blanket Stitch. Those ovals work perfectly with the Nested Elongated Ovals press plate and die - for this one I used the Reverse foiled image done with the Solid Hot Foil plate. I added some florals with Artsy Florals stamped and stenciled with some white greenery cut from Garden Party die. A few Clear Drops finish this card off! Here is a closer look at this card:


Next up, I mixed and matched the Double Stitch Hexagons with one of the Fancy Edgers dies. I had a panel of pink cardstock that I had used the Beautiful Branch press plate on, and a white panel that I had used the Dotted Petals press plate on. This gave me great texture to build on and layer on my deeper pink card base. I added a foiled sentiment, some die cut Sakura washi pieces, and a few bits of greenery cut from white cardstock with the Garden Party die. Finally, a few metallic gold pearls finish it off! Here is a closer look at this finished card:


This next card features just one of the new dies - with less mixing and matching. I used the new Nested Rectangles die to cut a panel of Ivory Glitter cardstock the perfect width to tuck horizontally on my card front. I used Stippled Plaid press plate to add some texture to the background, layered over an Ivory cardbase, and then added Garden Tapestry stamped, stenciled, and die cut over the top. I used a die cut and ink blended Shaker Heart to mount my foiled sentiment, added a few Clear with Gold Dust Gems, and a white faux silk bow to finish off. Here is a closer look at this card:


I love the Postage Edge dies - they are such a fun and different shape for us! I used one of the Diagonal Stitch rectangles to cut the center out to create a frame shape from white cardstock, added some simple ink blending to my white cardbase, and layered on some Artistic Florals washi tape pieces. A few clear drops in coordinating Amber, Lilac, and Leaf, and a sentiment with a Basic Banner layer over the top finish this card off. Here are more photos of this card:


Finally, I created one additional card to use up a few things I had finished and sitting near my desk, just waiting for a home. New Essential dies are the perfect way to use those up, don't you think? 


GIVEAWAY INFO:

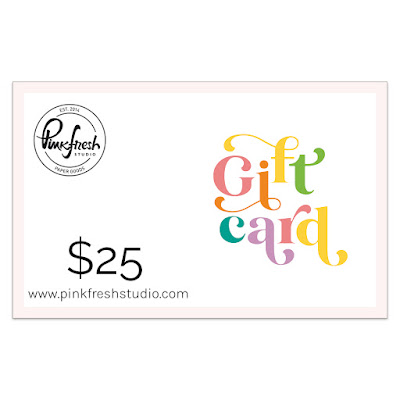
Make sure and leave a comment before you leave for a chance to win one of 10 $25 gift certificate to Pinkfresh Studio chosen from comments left across the hop! All winners will be chosen and posted on the Pinkfresh Blog on Wednesday, November 13, 2024 - so make sure and check back to see if you were a winner! Winners must check that page and claim their prize within 2 weeks.

Here is the entire blog hop line-up so you don't miss a single stop! Thanks so much for stopping by! Have a wonderful day!!!
You are invited to the Inlinkz link party!

Click here to enter