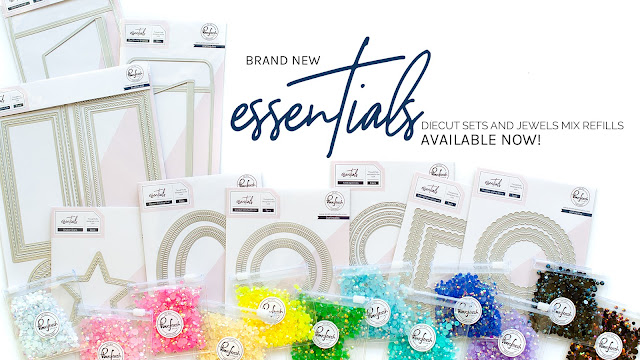
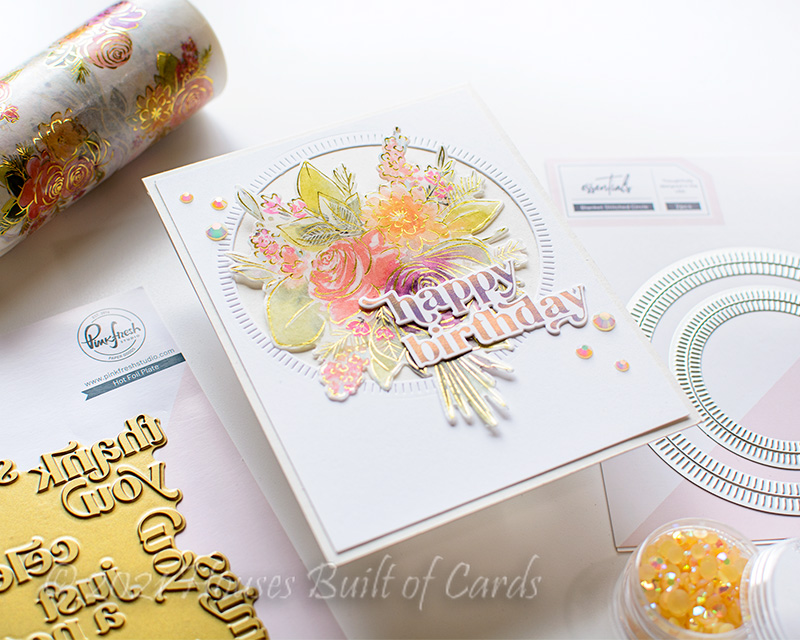
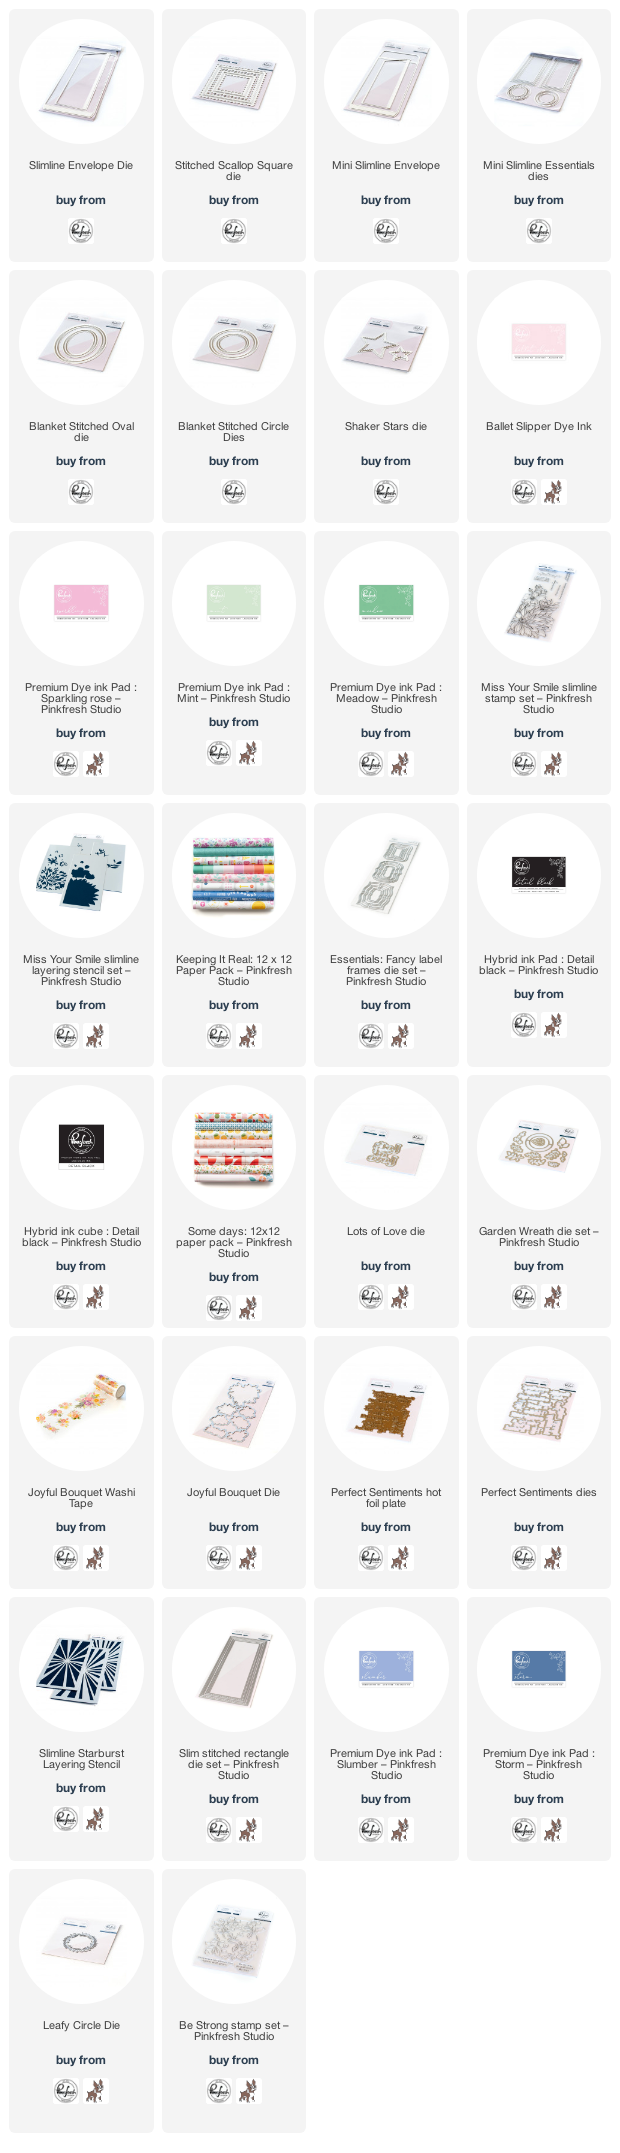
Good morning! Today is an amazing blog hop to celebrate Pinkfresh Studio's January Stamp, Die, Stencil, and Hot Foil Release! There are so many fun items in this release - this is our first release of 2022, and it's a big and beautiful one! You aren't going to want to miss a stop along the way - TONS of inspiration and prizes up for grabs! YAY! You can find links to all of the new release items I used on todays (MANY) cards at the bottom of this post!

I may have gone a bit overboard again on the number of cards I created for this release...but I just couldn't help myself! It was so lovely and perfect - so feel free to scroll by a little more quickly and look a the photos on your way down to leave a comment for the giveaways - just know that there is more info if a card catches your eye and you want more details! First up - this soft and dreamy hot foiled card that I am in love with!

I love the hot foiled gold on this card - paired with lots of white, and some soft peach toned cardstock as well!

I started off by hot foiling with the new Arches Backdrop hot foil plate, and die cutting the window out using the coordinating Arches Backdrop die. I mounted that with foam adhesive over a panel die cut with one of my new favorites dies from this release - Sparkling Diamonds - die cut from some Spellbinders Barely Peach cardstock for just a hint of contrast.

Next I used another favorite die from this release - Curvy Foliage. I die cut it from white cardstock, and instead of popping out the centers of the leaves, I left them attached for a different look.

I added a sentiment from another new set in this release - Fancy Script Words, hot foiled in the same color as the backdrop, and die cut with the Coordinating Dies. I mounted it with foam adhesive in the center of the arch, tucked in a good spot in the foliage.

To add a touch more gold (no such thing as too much, right?) - I die cut a few flowers from the previously released Garden Wreath die, cutting them from gold mirror cardstock, and tucking them around the foliage and sentiment. I also added a few Glacier jewel in the centers of the larger flowers for more sparkle.

And there it is all finished - elegant and fancy!

And on a similar color scheme, the next card utilizes one of the new floral sets:

The huge and gorgeous new Beautiful Blooms set is a fabulous and large floral stamp set, with coordinating die and layering stencils. It is divided into two one piece sections that pair together so you can do part of the set, or the entire set if you wish!
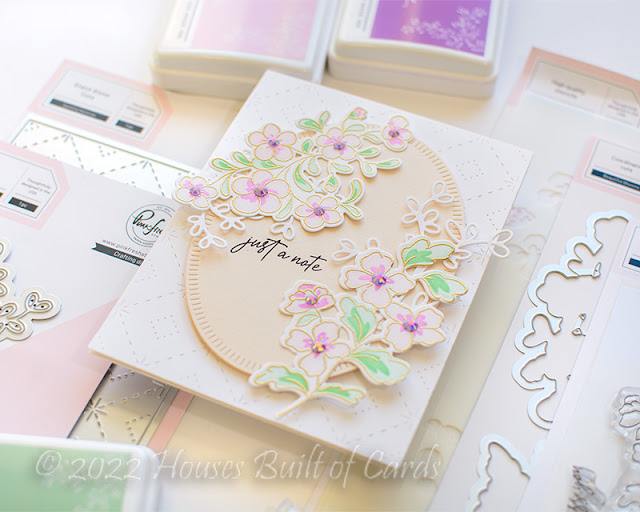
For this card, I heat embossed the florals in gold, then blended a mixture of Ballet Slipper, Candy Violet, Mint, and Meadow on the floral layers.

I also used the new Sparkling Diamonds die and Curvy Foliage dies - paired up with the previously released Blanket Stitched Ovals from that same Barely Peach cardstock as the last card.

Sentiment is from the Beautiful Blooms stamp set - which has a few lovely and simple little sentiments included, perfect for little note cards!

And finally, a few

And, since I stamped, stenciled, and die cut all of the florals from the Beautiful Blooms set, I thought it would be fun to put together some cute little mini slimline note cards!

I also put the coordinating Arch Backdrop die to good use on these. While it pairs perfectly with the Arch Backdrop hot foil plate, it is also kind of fun on it's own for a creative die shape - especially on a mini slimline card like this!

I mounted those panels with foam adhesive on my mini slimline card bases, then added the florals with foam adhesive as well.

I stamped the same sentiment in the upper left corner of each card using Detail Black ink - who doesn't need a stash of thank you cards, right?

Finally, I added a little row of Ballet Slipper jewels in the upper right corner of the frame to balance out the design and add a bit of sparkle!

Okay - moving out of the pinks and soft colors, to some aqua and brighter pink colors!

The new Floral Envelope set is SOOO much fun! I love the layering stencils for the florals - and the coordinating die cuts that adorable little envelope, that works with or without the stamp set - and cuts a perfect little pocket to tuck those florals, or whatever you want inside!

I stamped the envelope on aqua cardstock using Black Detail ink, and die cut it with the coordinating die for this card.

I did the florals in aqua colors, and a bright pink bow to finish it off - all stamped with detail black ink as well.

Mounted it on a Sparkling Diamonds background, trimmed down a bit, and mounted with foam on my white cardbase. I also mounted the envelope with foam adhesive, and tucked a bit of extra foam tape behind the florals to pop it off the envelope a bit as well. No such thing as too much dimension!

I finished off with the Happy Birthday sentiment from Fancy Script Words - that I hot foiled with pink foil. This was my first time using pink hot foil, and I love how perfectly it worked!

Next up - there are two fabulous geometric stencils in this release! Starting off with this fun Geo Blocks set:

I started off by hot foiling the Geo Blocks hot foil plate, before adding color with the coordinating layering stencils. These stencils are super fun - since they work with, or without the hot foil plate!

I blended 3 different colors across each layer of the stencils. I did yellows in the top right corner, oranges in the center, and corals in the bottom left! I love how you can do each layer with one color, or like this and blend multiple colors.

I added another hot foiled sentiments from Fancy Script Words, die cut with the coordinating dies, and a secondary stamped sentiment from Brighter Days stamp set.

And finally - a few Sparkling Champagne pearls for the final bit of sparkle!

Next up the beautiful Art Deco set, and for this I went with bold jewel tones!

As with the last one, I used the hot foil plate first, then added the stencil layers over the top. I blended lighter shades at the top of the panel, and deeper shades at the bottom of the panel. Again, I could just do the same colors, but I thought the variation in color was a bit more fun!

For the sentiment on this one, I used the Fancy Script words, but this time I used the reverse foiled sentiment created with the negative foil piece and the solid hot foil plate, before die cutting with the coordinating die.

I added a coordinating sentiment from Floral Envelope stamp set, hand trimmed into a small banner shape, and a few sparkly Metallic Gold Pearls to finish it off!

If you've made it this far - you are almost there! This is the final card I'm sharing today!

This card features the beautiful new Folk Art Slimline layering stencil - a beautiful new layering stencil, that is free standing and so gorgeous!

I actually followed the color scheme on the back of the packaging fairly closely - I can't wait to play with more color combos though!
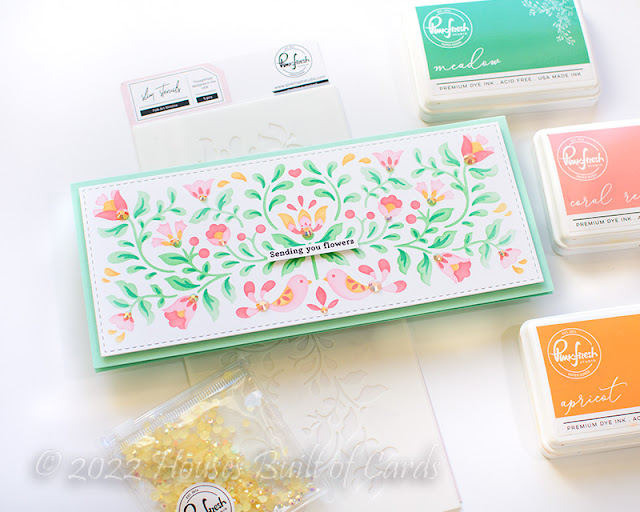
The panel is die cut with Essentials: Slim Stitched Rectangles, and popped up with foam on a mint green slimline cardbase.

I added a sentiment from Floral Envelope, stamped in detail black on a thin strip of white cardstock, and then embellished with Peach Fuzz Jewels for some extra sparkle! One of the easiest cards I created for today - but so intricate and lovely!

GIVEAWAY INFO:
Make sure and leave a comment before you leave for a chance to win one of 10 $25 gift certificate to Pinkfresh Studio chosen from comments left across the hop! All winners will be chosen and posted on the Pinkfresh Blog on Tuesday, January 25, 2022 - so make sure and check back to see if you were a winner! Winners must check that page and claim their prize within 2 weeks.
Here is the entire blog hop line-up so you don't miss a single stop - and product links are below - including affiliate links where possible, which simply means if you use one of the links below that I receive a small commission at no additional cost to you. Thanks so much for stopping by! Have a wonderful day!!!