Showing posts with label Pinkfresh Studio. Show all posts

Monday, March 23, 2026

Blooming Wreath - Simon Says Stamp In My Heart Release

Good morning! I'm stopping by with another card using the NEW Simon Says Stamp In My Heart Release! I'm using another of the new embossing folders, a few different dies, and more of that yummy new colored cardstock!


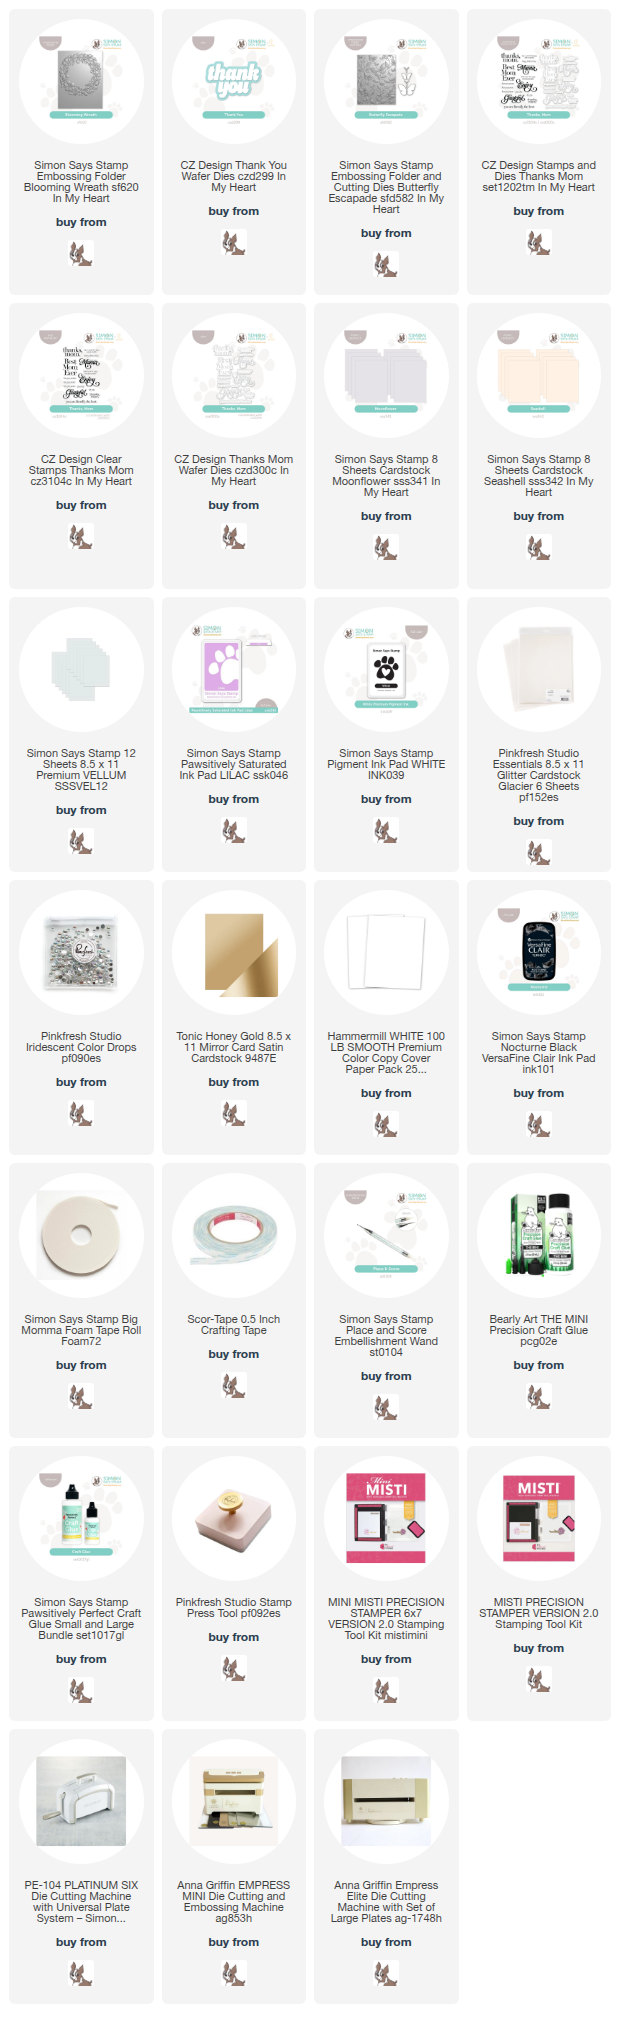
I started off by using the new Moonflower cardstock and embossing it with the new Blooming Wreath embossing folder. I used the debossed side of the panel, and swiped my White Pigment ink over the top to lighten the outside portion a bit extra. Then I blended just a touch of Lilac ink into the flowers in the wreath to make them pop a bit extra. I added the Thank You Sentiment die, cut from glitter cardstock and vellum for the shadow layer, and added a secondary sentiment from Thanks, Mom. The butterfly is from Butterfly Escapade, die cut from the new Seashell cardstock and embossed, then with the center cut from Honey Gold cardstock. I then went crazy with Iridescent Clear Drops to embellish the flowers - I love all that sparkle! Here is a closer look at the finished card:


Product links are all below - including affiliate links where possible, which simply means if you use one of the links below that I receive a small commission at no additional cost to you. Thanks so much for stopping by! Have a wonderful day!!!

Wednesday, February 4, 2026

Love Ya Heart Shaker - Simon Says Stamp

Good morning! Yesterday I talked about following a cardmaking trail - and today is the next part of the journey along that trail! I used a negative die cut from something I cut from yesterday's card (you can see it HERE) as the starting point for the card I'm sharing today! And a sparkly love theme shaker card is such a fun different direction to go, don't you think? As always, I used lots of supplies from Simon Says Stamp to put this card together!


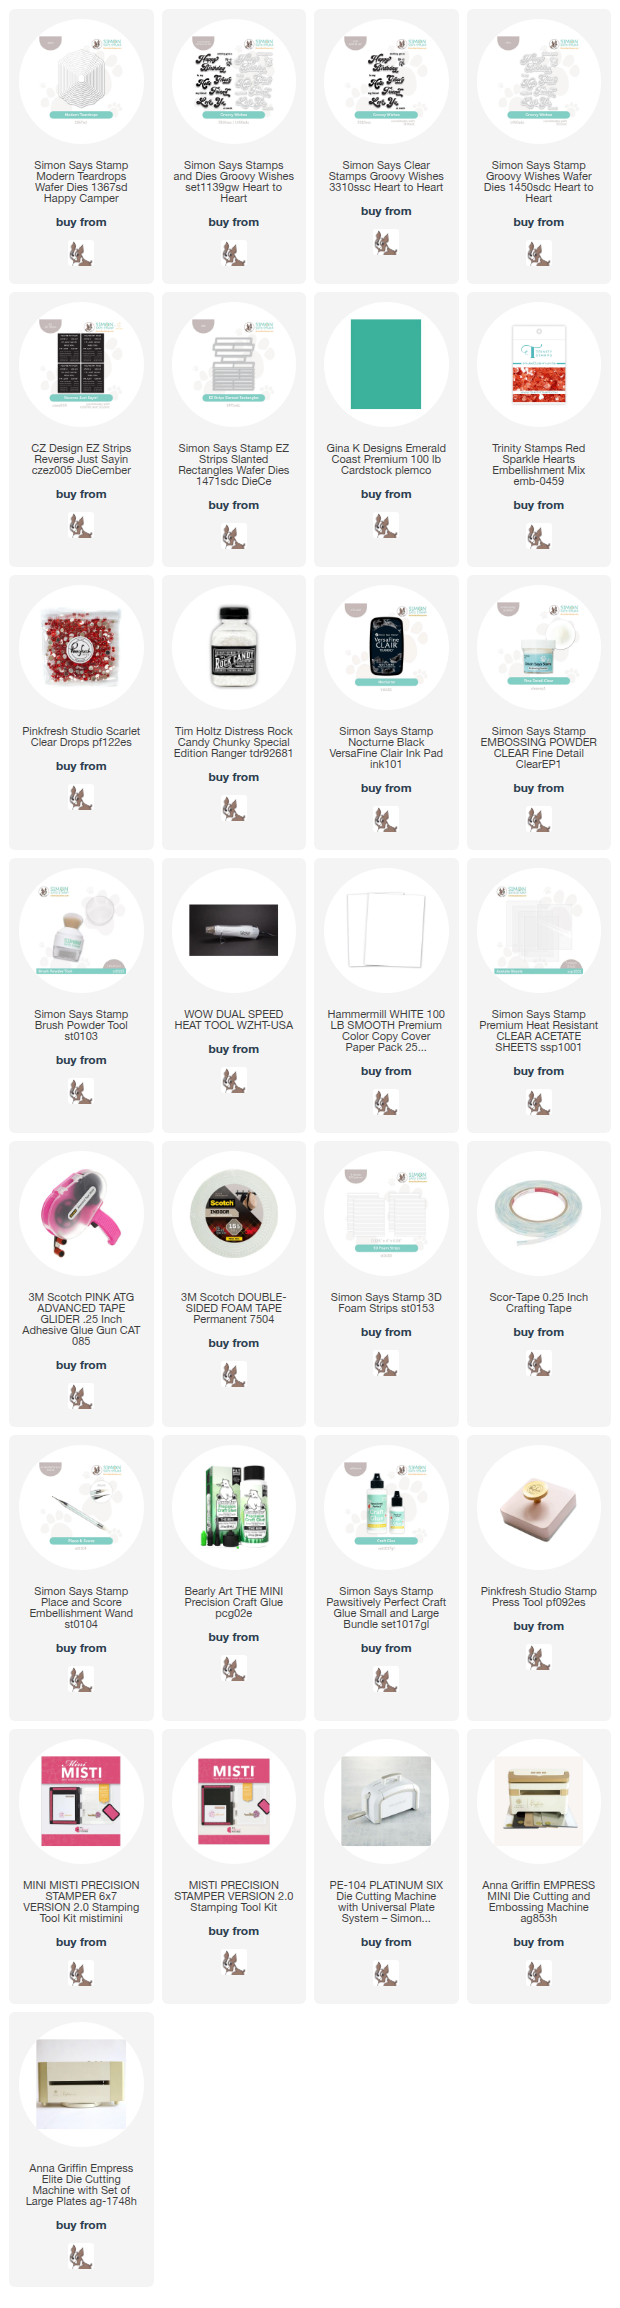
I love a reverse stack of die cut frames, especially when I'm able to turn it into a shaker card! For this one, I used the Modern Teardrops die. I had die cut a frame for another card from Gina K Emerald Coast cardstock, so I decided to use the negative space as the base for a shaker card. I die cut another slightly larger frame from white cardstock, and stacked them together. I filled my shaker with some ADORABLE new to me Trinity Stamps Red Sparkle Hearts and added a good dose of Chunky Rock Candy Glitter to make it extra sparkly! I added a sentiment from Groovy Wishes and a secondary sentiment from Reverse Just Sayin' sentiment strips die cut with the EZ Strips Slanted Rectangles die. Finished off with a few Pinkfresh Scarlet clear drops that perfectly coordinated and brought the sparkle outside of the shaker! Here are more photos of this fun shaker card:


Product links are all below - including affiliate links where possible, which simply means if you use one of the links below that I receive a small commission at no additional cost to you. Thanks so much for stopping by! Have a wonderful day!!!


Monday, January 26, 2026

Poppy Windows - Simon Says Stamp

 Hello! Today I've got a fresh pop of spring color - and with the crazy weather that seems to be hitting lots of the US, I figured I wouldn't be the only one that would enjoy thinking ahead to spring days, sunshine, and flowers! I also used a flower die from Simon Says Stamp that I hadn't had a chance to use, and I absolutely love it!


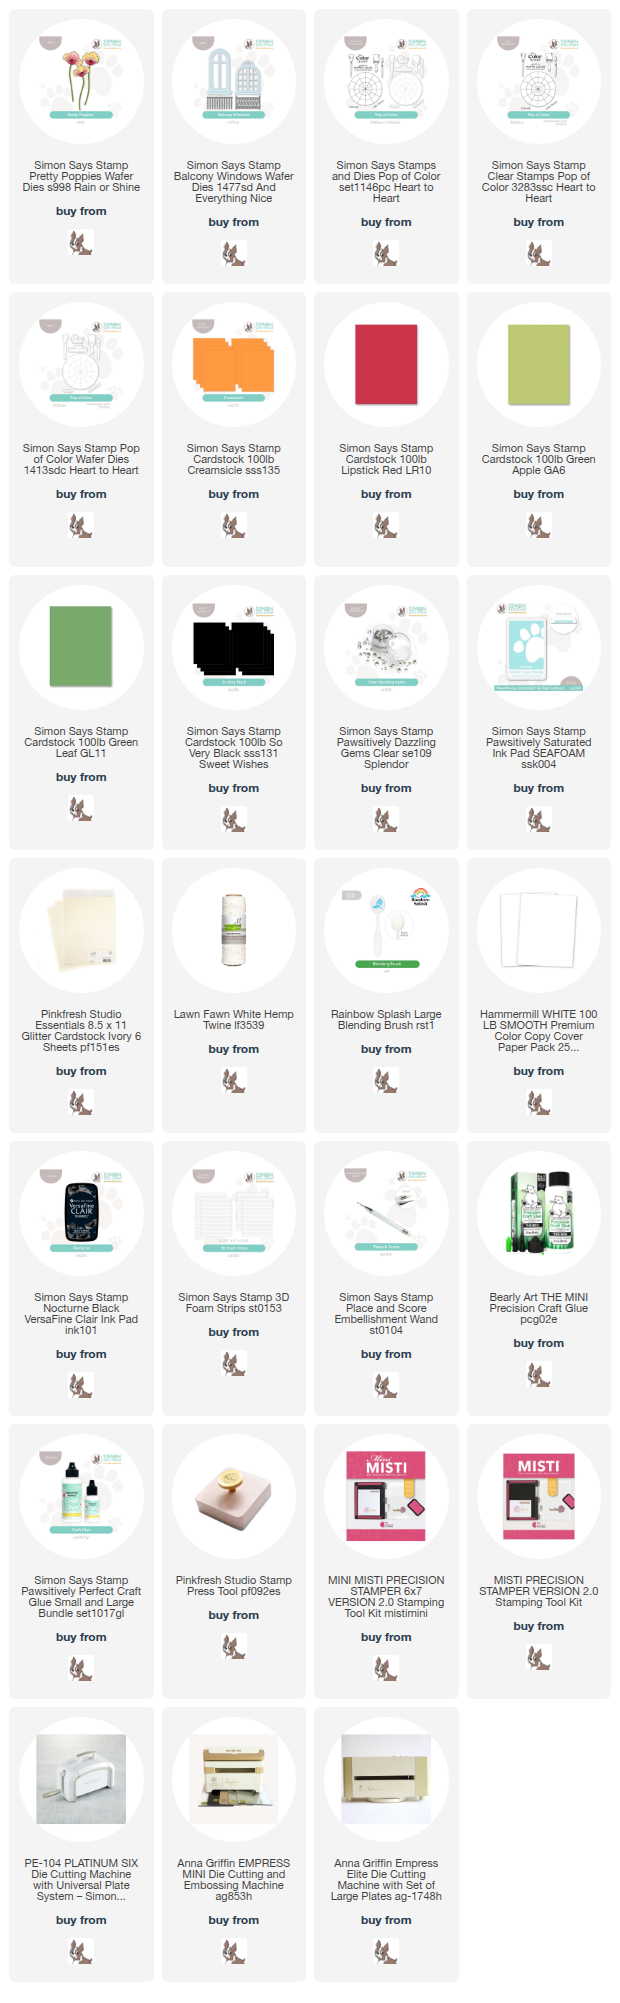
I started off with the Pretty Poppies die set, and as I often like to do, I die cut it in two different color combos. For one I used Creamsicle and Green Apple, and for the other I used Lipstick Red and Green Leaf - I used black cardstock for the centers of both of them. I also used another die I hadn't put to use yet - Balcony Windows - and cut it from Ivory glitter cardstock. I used a bit of Seafoam ink in the upper left corner of white cardbases, adhered the windows with foam adhesive strips - leaving the part of the windows that open free so they move a bit like a real window - and then tucked the flowers into the window, using liquid adhesive to adhere those. I added a sentiment from Pop of Color that seemed like a perfect fit, added a white twine bow, and then a good does of Dazzling Clear gems for sparkle! Here is a closer look at these two cards:


Product links are all below - including affiliate links where possible, which simply means if you use one of the links below that I receive a small commission at no additional cost to you. Thanks so much for stopping by! Have a wonderful day!!!


Wednesday, January 21, 2026

Cedar Bough Birthday Duo - Simon Says Stamp Heart to Heart Release

Good morning! I'm hopping back today to share a couple of birthday cards using the Heart to Heart Release from Simon Says Stamp! I love how these have a great masculine feeling, but would also work for the ladies in your life. And who doesn't need more birthday cards around?!?


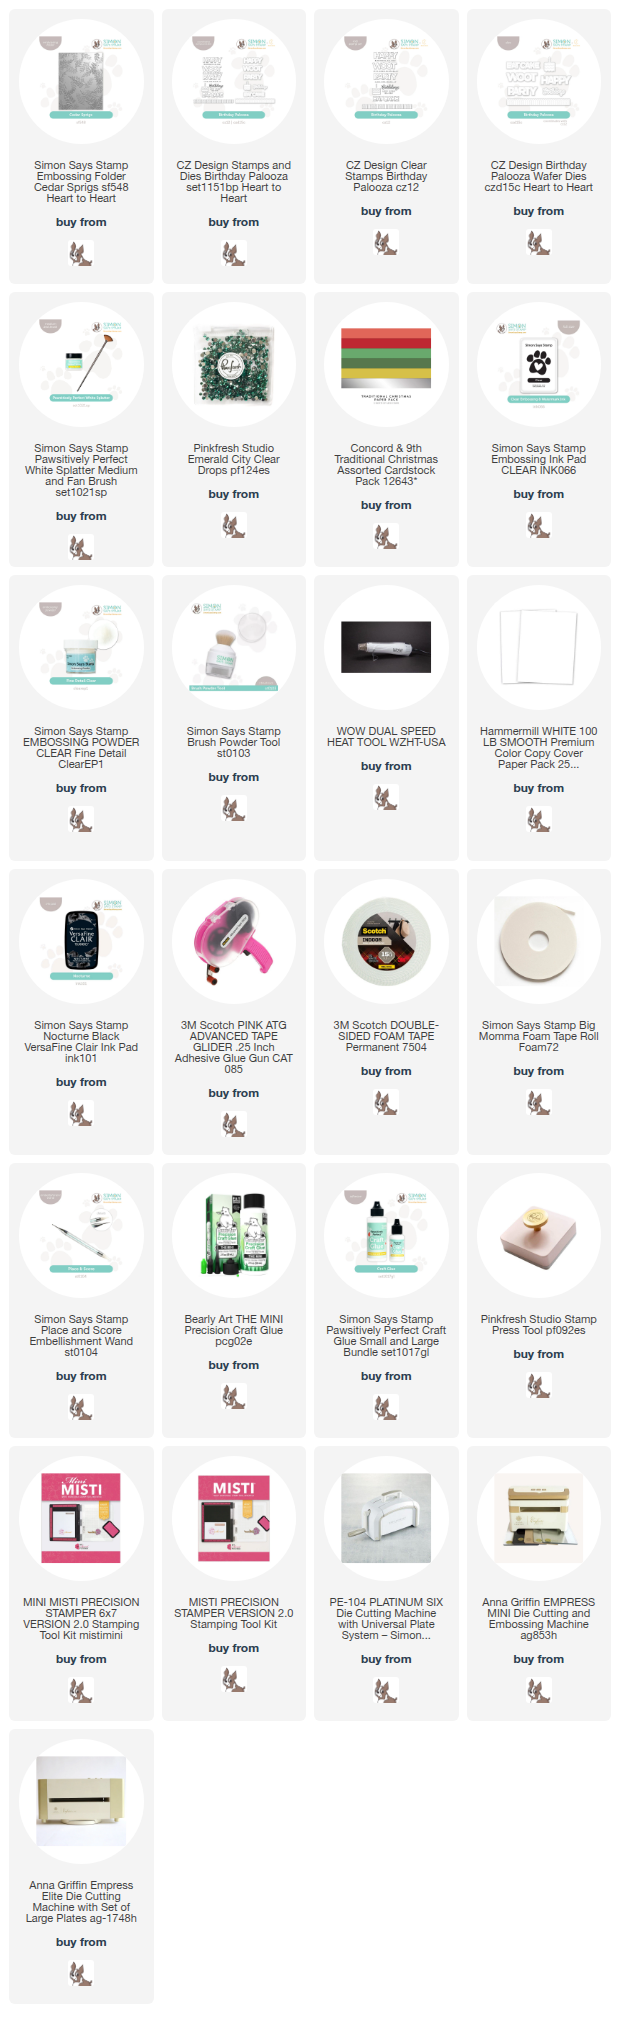
I started these cards off by embossing the fun new Cedar Sprigs embossing folder on two shades of green Concord and 9th cardstock, then splattered the debossed side with some White Splatter. I then used Birthday Palooza for the sentiments, heat embossing in clear on the same two shades of green for a nice subtle pop of the large sentiments, then die cut and reversed the colors on the backgrounds. I added a tiny strip of that same alternating color of cardstock to the bottom of the panels as well. The secondary sentiments are from the same Birthday Palooza set - I stamped and die cut the larger word, then used it to cover up the smaller "birthday" word on the sentiment that was trimmed into a thin strip. Finished off with a few coordinating Pinkfresh clear drops in Emerald City! Here is a closer look at these cards:


Product links are all below - including affiliate links where possible, which simply means if you use one of the links below that I receive a small commission at no additional cost to you. Thanks so much for stopping by! Have a wonderful day!!!


Tuesday, January 20, 2026

Shine Brightly - NEW Tim Holtz coordinating dies Release Hop

Good morning! I'm super excited today to be joining a fun blog hop featuring a another project using some new dies that Simon Says Stamp just released to coordinate with previously released Tim Holtz stamp sets! There are so many fun techniques that are possible when you add coordinating dies! I shared a a card yesterday that uses another set in this release - if you're interested, you can check it out out HERE!


I don't create a lot of non-card projects, but I've slowly been stretching myself out of my comfort zone, and some of these sets just seemed to lend themselves so well to that. So I grabbed The Inspector stamp and newly coordinating die to play with! This project could be used as desk decor or a gift for someone special who needs some encouragement!


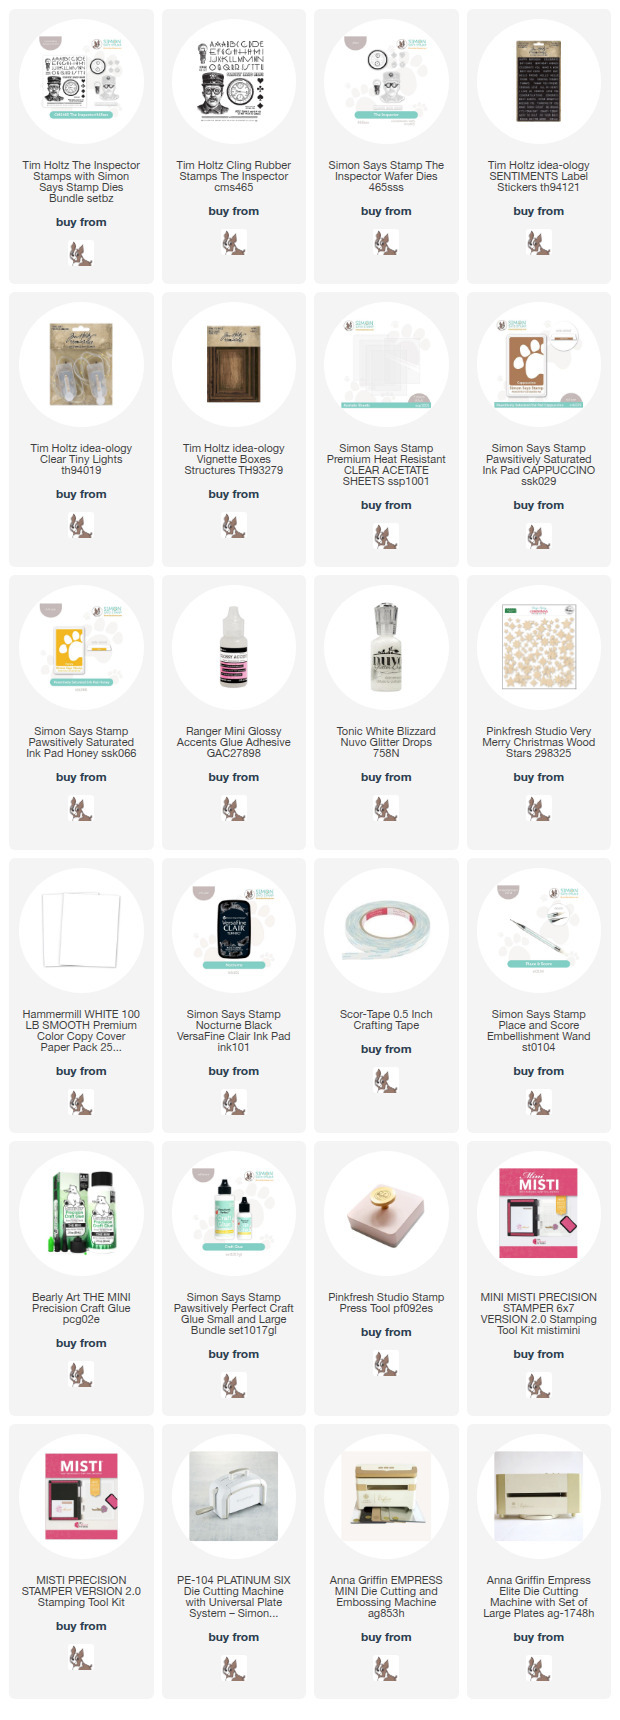
I started off by stamping the images from The Inspector stamp set, using Cappuccino ink for the inspector, and Honey ink for the light bulbs. I then stamped the portions with the smaller dies in black ink, and die cut everything before layering them together. To create the box, I used some Tim Holtz Clear Tiny Lights, tucked inside a Tim Holtz Vignette Box. I used some liquid glue to adhere acetate over the front of the box, and ran the cord for the lights out of the top and around to the back, so that the controls to turn the lights on and off are taped on the reverse of the project. I then adhered all the images to the acetate with liquid glue, and added a Label Sticker sentiment that I added on one of the dies from the set (I did some partial die cutting to make it the correct length). I also added some Pinkfresh Wooden stars to embellish, and added Glossy Accents to the centers of the glasses, and Nuvo glitter drops to portions of the light bulbs to make them sparkle a bit. Here is a closer look at the finished project!


Here is the entire blog hop list - hop along for tons of amazing inspiration!

Product links are all below - including affiliate links where possible, which simply means if you use one of the links below that I receive a small commission at no additional cost to you. Thanks so much for stopping by! Have a wonderful day!!!


Friday, December 5, 2025

Make You Smile Snowman - Simon Says Stamp DieCember 2025 Release Blog Hop Day 1

Good morning! Excited today to be joining in on Day 1 of an incredible blog hop to celebrate the BRAND NEW and HUGE DieCember Release from Simon Says Stamp! Make sure to check out all the inspiration with this new release AND link up your creations as you receive your orders HERE in the Gallery created just for this release! And check out the graphic below to receive a FREE not-yet-released adorable "Bundled Snowman" die set FREE with any purchase from the DieCember Release products (will be automatically added to card!) through December 7, 2025 - while supplies last (offer ends at 11:59 PM EDT)!!!


I just love this cute snowman, which is another one that is currently available in the release - so if you are in the mood for snowmen, you could grab this one AND get the free one as well! 

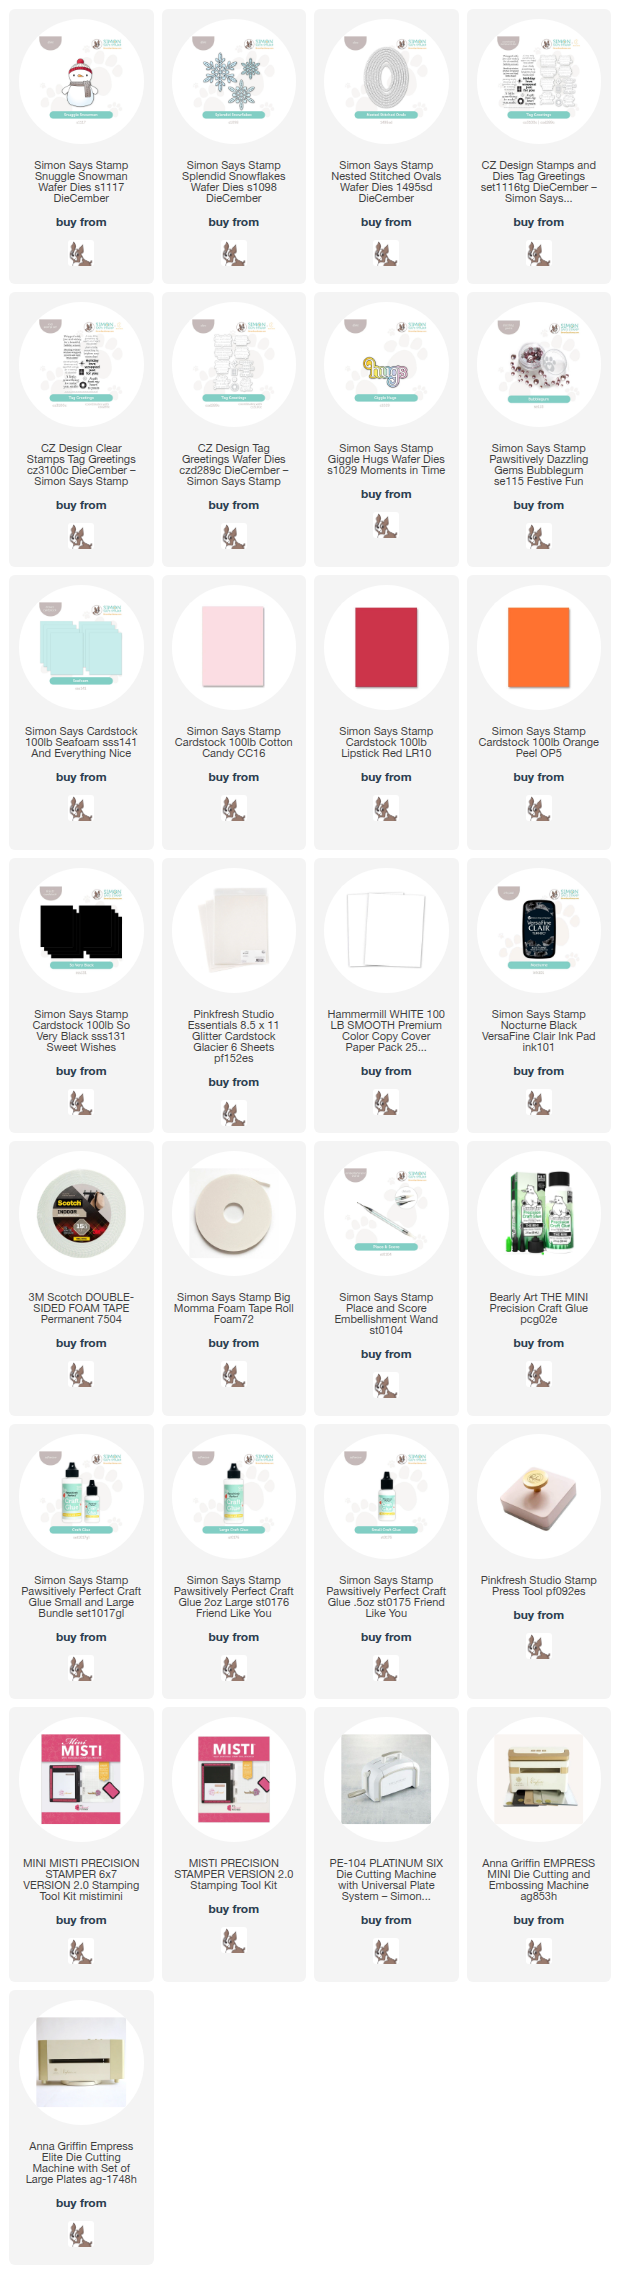
I started off by die cutting and assembling the cute Snuggle Snowman using white glitter cardstock for the main body, then a mix of Black, Orange Peel, Cotton Candy, and Lipstick Red cardstocks. I used some Seafoam cardstock to create the cardbase, and layered over one of the new Nested Stitched Ovals dies. I also die cut several Splendid Snowflakes from more of the white glitter cardstock, and tucked those around, some on top and some behind the oval. The stamped sentiment is from the new Tag Greetings set, and I paired it with previously released Giggle Hugs sentiment die. Finishing touch was a good sprinkle of Bubblegum Dazzling Gems! Here are more photos of the finished card:


GIVEAWAY INFO:
Simon Says will be giving a $25 gift certificate to their online store at each stop along the hop - so make sure and leave a comment before you leave for a chance to win! Winners will be announced next Wednesday on the Simon Says Stamp Blog.


Product links are all below - including affiliate links where possible, which simply means if you use one of the links below that I receive a small commission at no additional cost to you. Thanks so much for stopping by! Have a wonderful day!!!