Showing posts with label honey bee pearls. Show all posts

Monday, April 13, 2026

Framed Florals Mom Card - Simon Says Stamp May 2026 Card Kit

 Hello! I'm dropping by to share my first card using the newest May 2026 Simon Says Stamp Card Kit - Long Stem FloralsThis month's kit has some fun florals with a modern feel, and some elements with a vintage twist - such a fun combo! The included stamp set by the same name has a fun set of coordinating stencils included for some creative fun. There are some rub-ons, pattern paper, embossing glaze (colors may vary), distress crayon, fun frames and floral embellishments, and that's all not to mention the cardstock, metallic kraft stock, and more! And, there is also a coordinating die available that is live in the store now as well!

The monthly card kit has even more perks now when you sign up for the Subscription service! There is a video HERE you can watch to learn more!


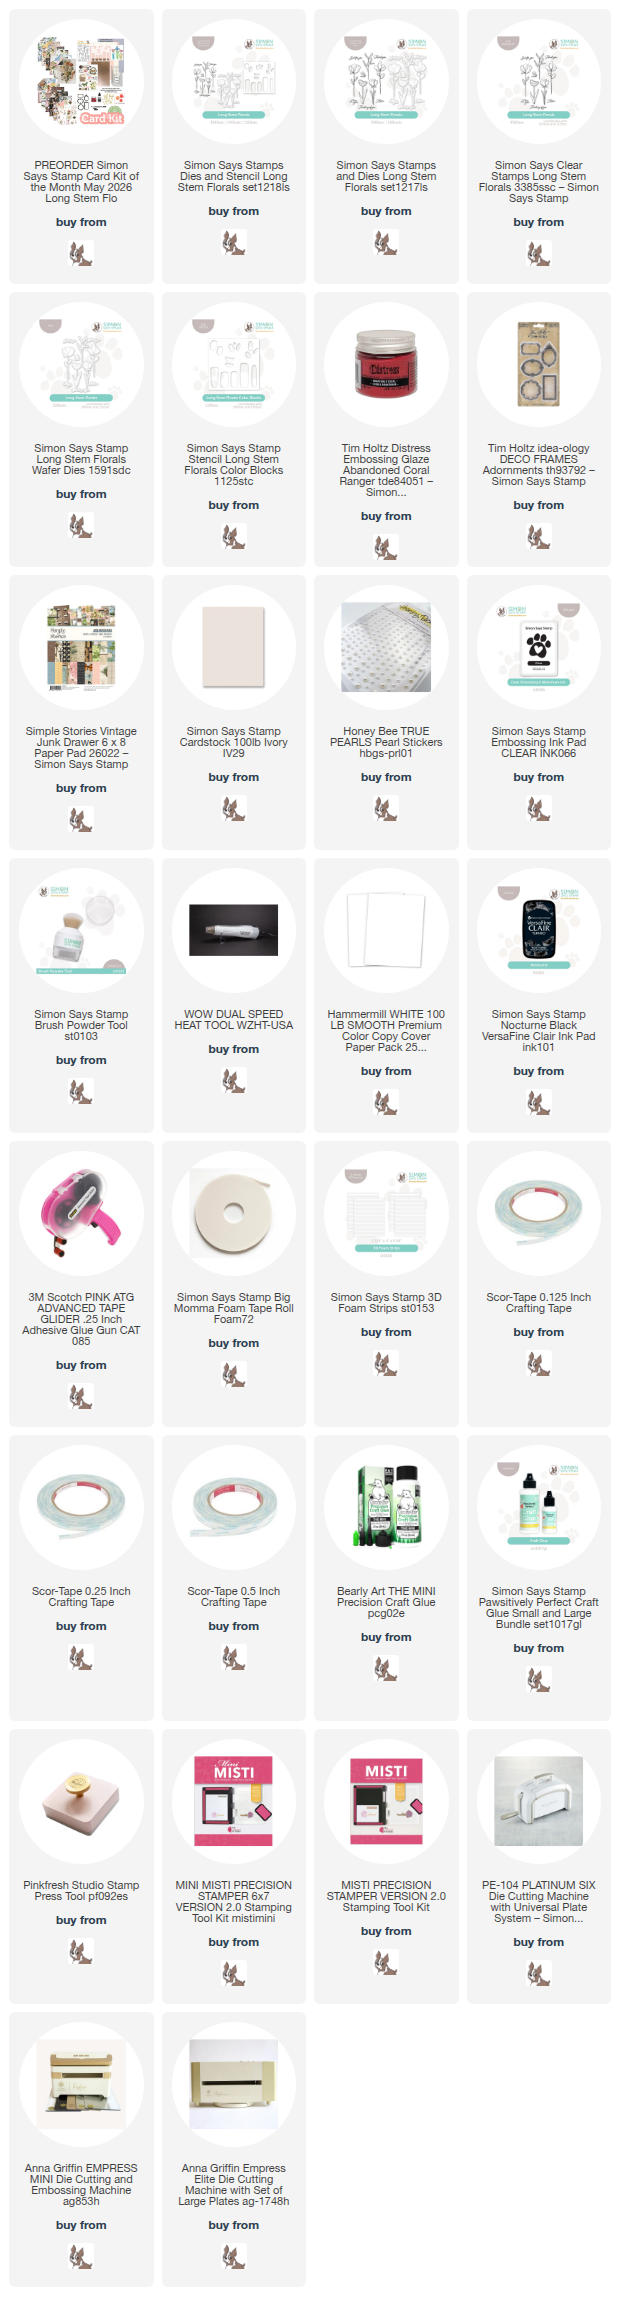
I love how this card turned out, using lots of goodies from the kit! I fell in love with those metal frames, and knew I wanted to use those. They felt like a perfect fit for some of the pattern paper in the kit, so I chose a few frames and glued some sections of the pattern paper behind the frames. While those dried, I swiped an embossing ink pad on some white cardstock, and then sprinkled on some of the Abandoned Coral embossing glaze in my kit (you might get a different color of that). This provided the perfect sketchy color background for those frames, popped up on thin foam adhesive for a touch of dimension. I added a bit of pattern paper behind that, then mounted on a cardbase created with the Ivory cardstock in the kit. I stamped a few sentiments from the stamp set, and die cut them with the separately available coordinating dies, then mounted all the frames and sentiments with foam adhesive. Finished off with a few pearl embellishments! Here is a closer look at this finished card:


Product links are all below - including affiliate links where possible, which simply means if you use one of the links below that I receive a small commission at no additional cost to you. Thanks so much for stopping by! Have a wonderful day!!!


Sunday, January 18, 2026

Hey Girl - Simon Says Stamp Heart to Heart Release

 Good morning! I'm still sharing more cards with the amazing Heart to Heart Release from Simon Says Stamp! I tried something new on this card with the sentiment, and I love the finished effect!


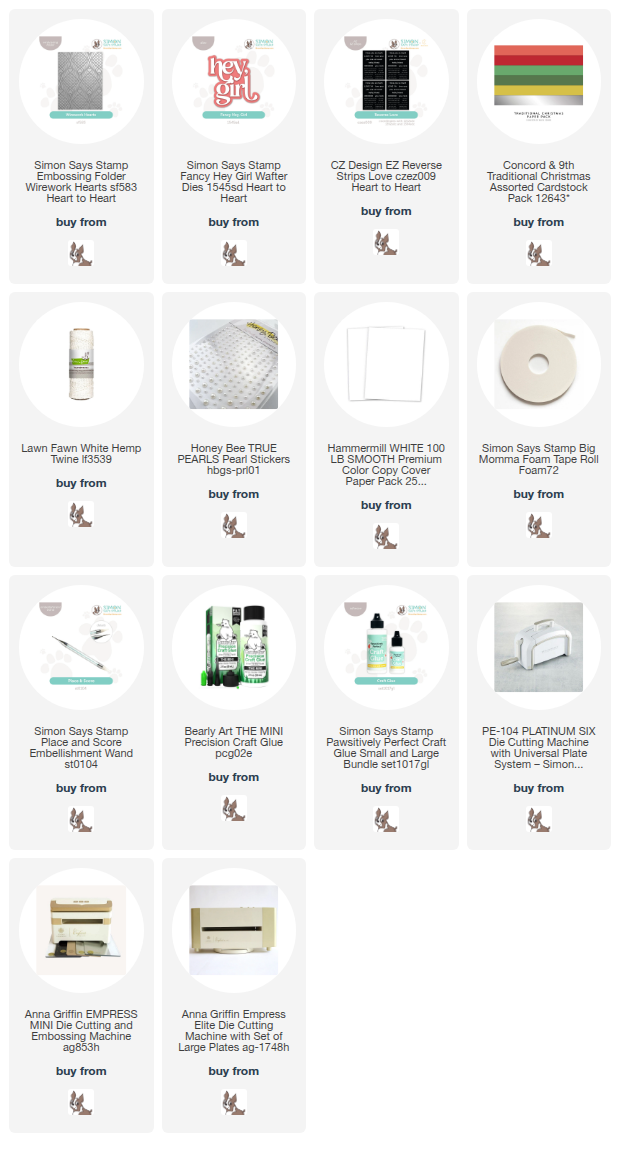
To start off, I used the new Wirework Hearts embossing folder on some Concord and 9th cardstock - and WOW! This folder is so fun - I love the incredibly deep impression it gives, and it's such a fun design as well! Next, I die cut the new Fancy Hey Girl die, and used the exact same shade of cardstock for the shadow layer as the embossed panel. I love how when layered together, the shadow layer kind of blends into the background, but is also a smooth surface to make the white die cut sentiment pop just right! Before adhering the layers together with foam adhesive, I wrapped around the tied a bow with some Lawn Fawn Twine. I added a supporting sentiment from Reverse Love EZ Strip sentiment strips, and a few Honey Bee pearls to finish it off! Here are more photos of the finished card:


Product links are all below - including affiliate links where possible, which simply means if you use one of the links below that I receive a small commission at no additional cost to you. Thanks so much for stopping by! Have a wonderful day!!!


Wednesday, December 31, 2025

Pinecone and Cardinal Birthday Wishes - Simon Says Stamp

Good morning! I've got one final card to share for the year using a mix of supplies from Simon Says Stamp - I really can't believe that this year is already over! This card uses a lovely layering stencil, and an adorable little die cut bird. And while I realize that these two things aren't really to scale - I just thought it was too cute to not add that little birdie. And if you can't exercise some creative license on a card, when can you, right? :)


I started off by stenciling the pretty Layering Pinecone stencil 2 times using Buttercream, Cookie, Gingerbread, and Cocoa inks, and die cutting with the coordinating die. I grabbed some pattern paper from Simple Stories Simple Vintage Flannel paper pad, and added the pinecones over the top with foam adhesive. I die cut the Cute Cardinal die from Lipstick, Creamsicle, and Black cardstock, then assembled it together before tucking on top of the pinecones. I added a birthday sentiment from Inside Greetings Birthday stamp set, and finished off with a few Honey Bee Pearls to embellish! Here is a closer look at this card:


Product links are all below - including affiliate links where possible, which simply means if you use one of the links below that I receive a small commission at no additional cost to you. Thanks so much for stopping by! Have a wonderful day!!!


Tuesday, November 4, 2025

Holiday Blog Hop with Tim Holtz stamps and Simon Says Stamp coordinating dies

 Good morning! I'm super excited today to be joining a fun blog hop featuring a few more cards that use some new dies that Simon Says Stamp just released to coordinate with previously released Tim Holtz stamp sets! There are so many fun techniques that are possible when you add coordinating dies! I shared a couple other cards yesterday with other sets in this release - if you're interested, you can check those out HERE!

The first card I'm sharing uses a fun colored cardstock technique for creating a unique background!


I stamped the fun candy cane image from Tattered Christmas several times on some pretty red cardstock with Nocturne ink, then heat embossed with clear embossing powder for some fun shine. I die cut each of them, then just die cut white cardstock with no stamping the same number of times, adhering them together with a slight offset for a fun shadow effect. I then popped those up with foam on the same color cardstock panel. I added a layer of white behind it, then a pretty scallop edge cut with A2 Scalloped Rectangles dies. I added the sentiment, stamped in black and die cut, some white gel pen accents, and then a heavy does of white pearls sprinkled around the background! Here is a closer look at this card:


Next up - another version of using lots of images to create a background!


This card uses the cute Holiday Things set - I chose 3 images, stamped them each several times with a specific color of Distress Oxide ink on white cardstock, then die cut with the coordinating die. I arranged them on a panel of kraft cardstock, trimming off any parts of overhang, then I popped them up on foam adhesive in the planned arrangement, before matting on a Dark Chocolate background for a framing effect. Added a sentiment from Scribbly Christmas, heat embossed in white on black cardstock, then a generous sprinkle of Dazzling Gems in Gold to add some sparkle! Here are more photos of this card:


And finally - jumping from more traditional and rustic holiday colors, to the bright and happy pastels!


These little trees in Scribbly Christmas are so cute! I stamped 6 different ones, using distress oxide inks in tone on tone distress oxides on coordinating cardstock colors. I then sprinkled on clear embossing ink and heat set for some fun shine. I die cut them all out, then put each card together. The top card I used the distress oxide cubes to swipe on a panel of cardstock, and then adhered the trees in alternating colors at the bottom with foam adhesive. The second one I used Snowflake Burst Pinpoint cover plate die for a background, and added the trees with foam adhesive slightly overlapping each other. I used coordinating tones of colors cardstock to add stripes to the cardbase, and popped that panel over top. I added stamped and die cut sentiments from the set, and used lots of Dazzling Gems in Clear to embellish! Here are more photos of these finished cards:


Here is the entire blog hop list - hop along for tons of amazing inspiration!

Heather Hoffman (you are here)

Product links are all below - including affiliate links where possible, which simply means if you use one of the links below that I receive a small commission at no additional cost to you. Thanks so much for stopping by! Have a wonderful day!!!



Sunday, October 5, 2025

Stack of Books Birthday Celebration Card

Hello! Today I wanted to share the card I made for my youngest daughter's 21st birthday. You might guess by glancing at this, that she is a bit of a book lover! When I saw this embossing folder from Spellbinders, I just knew it would be perfect for her. My friend Lea Lawson was kind enough to send it my way (you can check out some cards she created with it HERE if you'd like). I was so thankful, because it made it so I could create this card that was such a perfect fit for my daughter! 


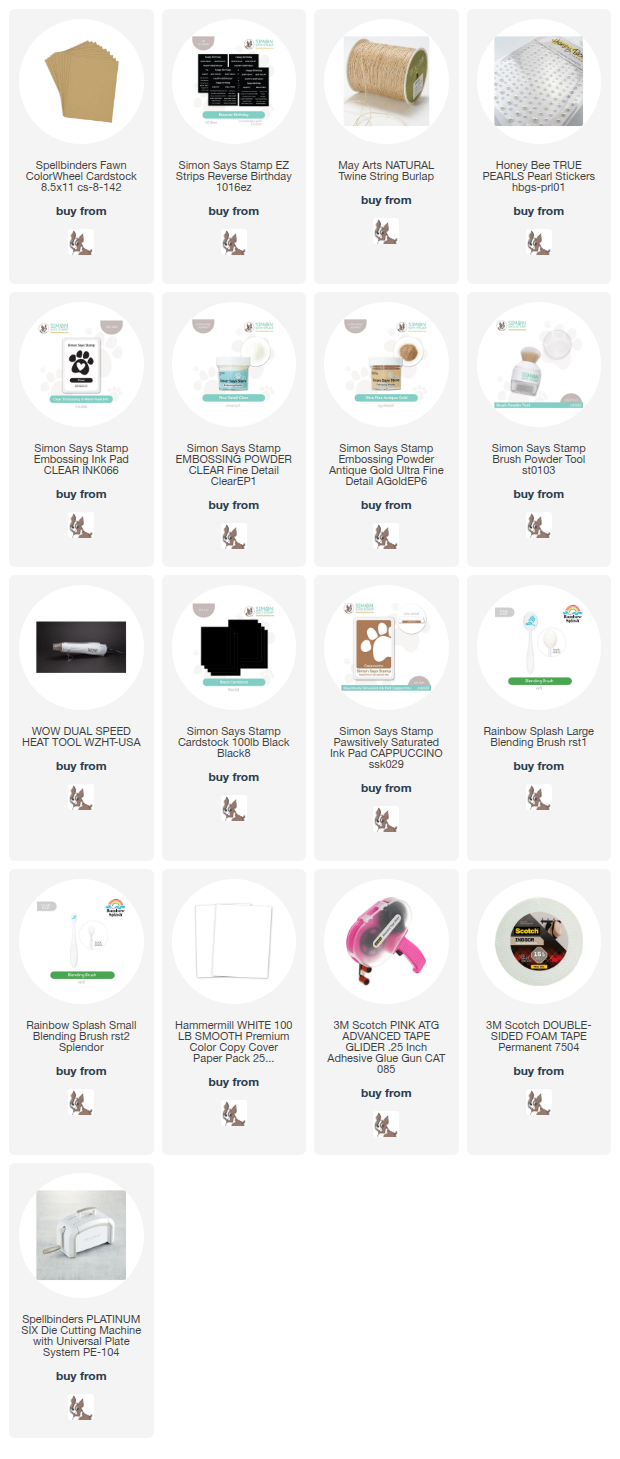
The main background is the Stacked Stories embossing folder from Spellbinders - it's only available from them, and was part of some of the past club kits, so I don't know how long it will be available. But it's a fun one! I embossed it with some light tan cardstock from Spellbinders, and trimmed it in half so it was perfectly sized for my A2 card. I lightly rubbed my embossing ink pad over the raised surface, and then sprinkled on clear embossing powder and heat set that. It added a lovely bit of detail to the design! It felt like it needed something more, so I then repeated that over the top, but a bit lighter, and added some Antique Gold embossing powder. Finally, I ink blended around the edges of the panel with Cappuccino ink to give even more texture and dimension. My daughter likes old books best, so I as trying to give them that feel! Finally, I added a sentiment from EZ Strips Reverse Birthday sentiment strips, a twist of May Arts jute string tied in a bow, and several Honey Bee pearl stickers to finish the design off! Here is a closer look at the finished card: 


Product links are all below - including affiliate links where possible, which simply means if you use one of the links below that I receive a small commission at no additional cost to you. Thanks so much for stopping by! Have a wonderful day!!!