Tuesday, August 26, 2025

Undersea Bubble Shaker Card - Simon Says Stamp

Good morning! Today I've got a sweet little ocean theme shaker card using lots of supplies from Simon Says Stamp - those little bubble shaker elements are SOOO incredibly cute, and I love them in this little scene!


I stamped an image from Undersea Friends on watercolor paper, then watercolored in the scene in soft colors with my Gansai Tambai watercolor palette, and then added some sparkly glitter glue to parts of the scene. While that dried, I created the window. I used Dot Spiral 3D embossing folder on white cardstock, then cut a perfect window out of it with Basic Circle dies. To merge the two pieces together, I added a bit of soft ink blending with Seafoam ink on the embossed panel - it coordinated perfectly with the watercolor I used for the background on my scene, and made it feel like the scene was coming out of the shaker and onto the outside of the card! I created the shaker element, and filled it with Doodlebug Bitty Bubbles embellishments - they are darling! Added a sentiment from the Undersea Friends set, as well as a few Trinity Bubble Blow Out embellishments on the outside to carry the theme fully through. Here are more photos of the details on this card:


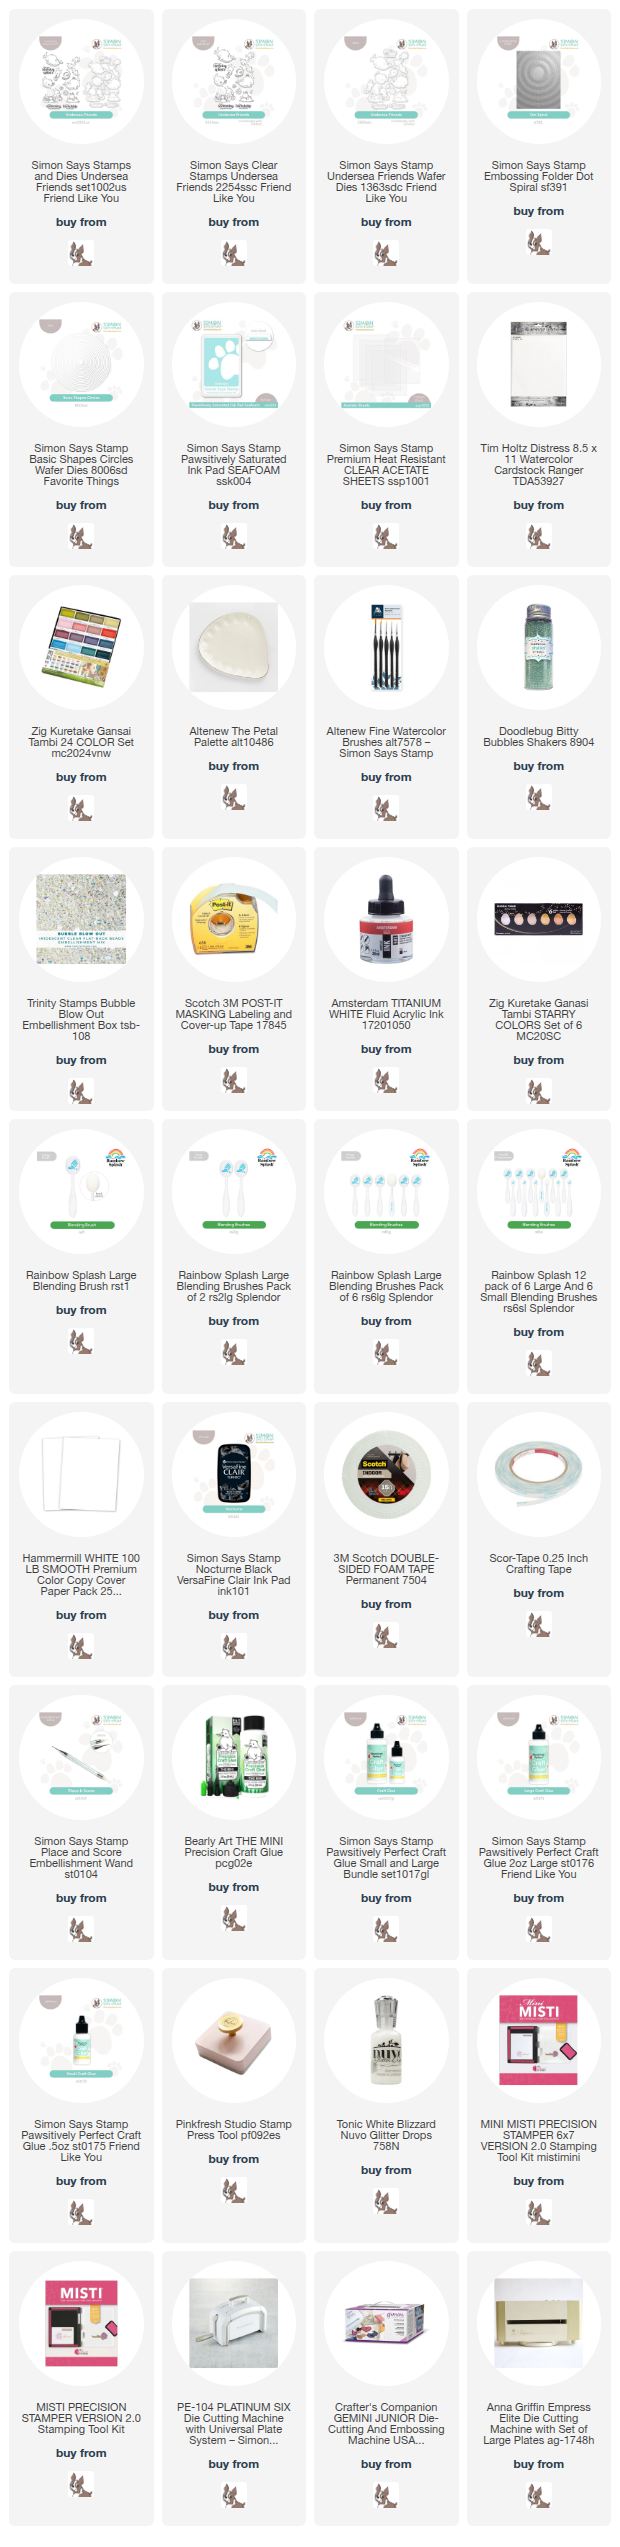
Product links are all below - including affiliate links where possible, which simply means if you use one of the links below that I receive a small commission at no additional cost to you. Thanks so much for stopping by! Have a wonderful day!!!

Monday, August 25, 2025

You are Loved Elegant Birthday Floral Cards - Simon Says Stamp

Good morning! I've got a couple of sparkly floral cards to share with you today! I used some lovely stamps and dies from Simon Says Stamp that worked together so beautifully on these. My favorite part is the layered sentiments - they are just so unique and fun!


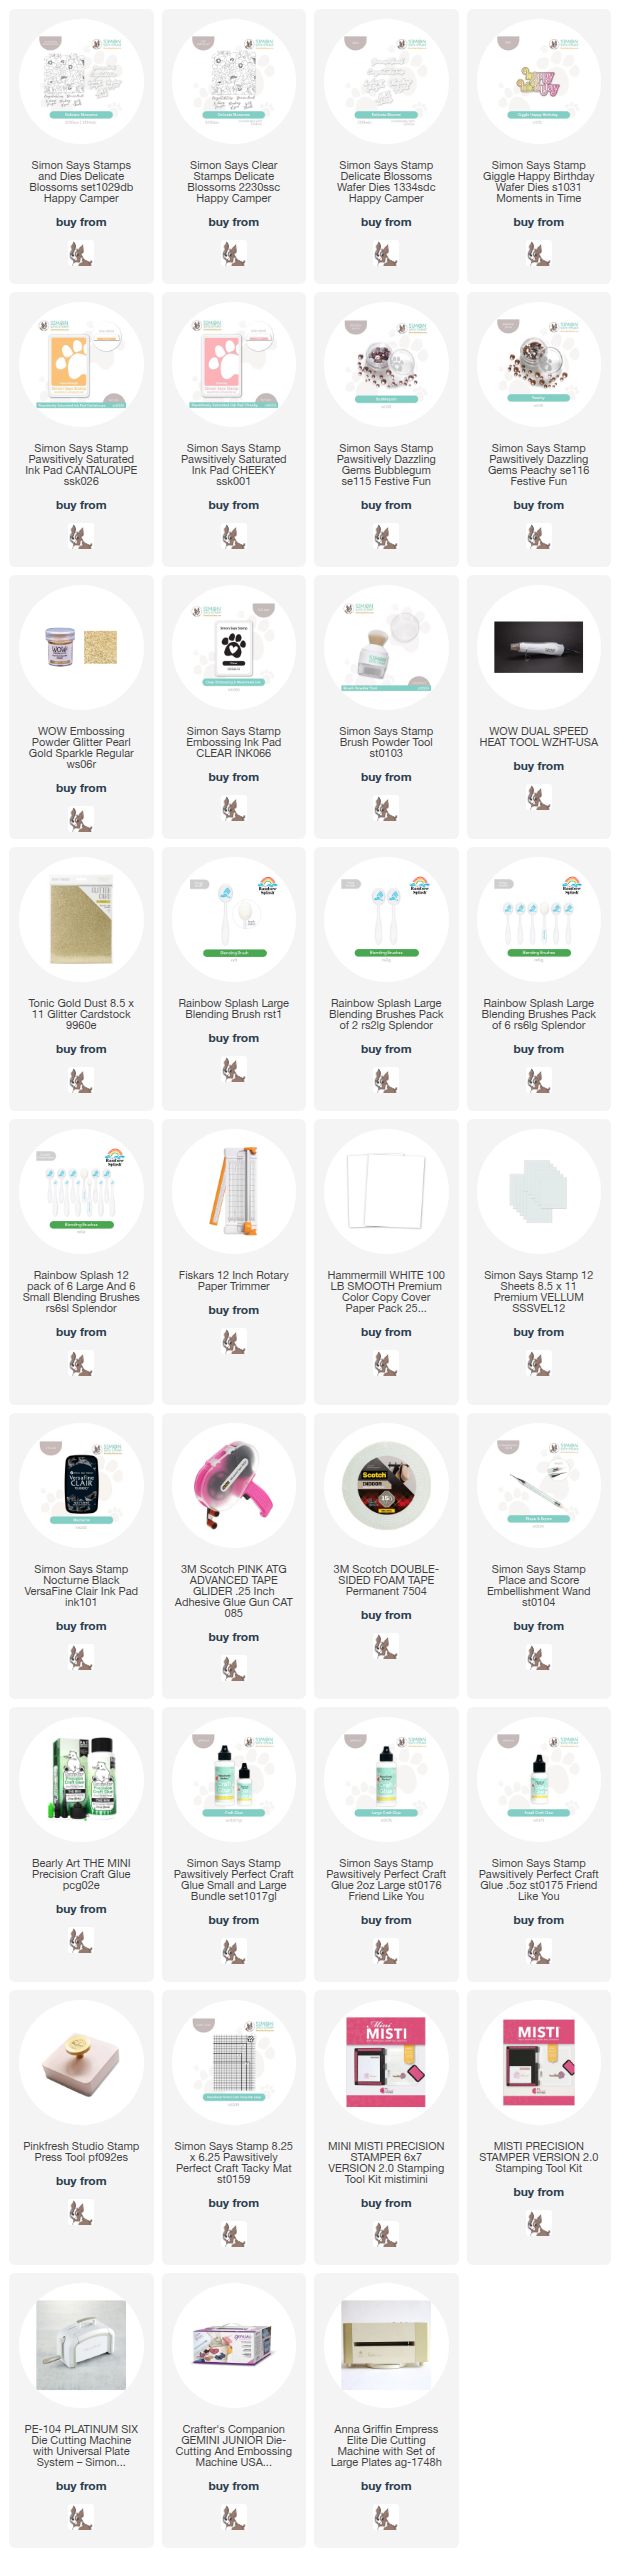
I started off by stamping the lovely Delicate Blossoms floral background on white cardstock, and heat embossing with WOW Gold Pearl Sparkle embossing powder - and it was stunning! I added some soft ink blending to each one around the edges with Cheeky and Cantaloupe inks. I also blended some extra of each of those inks on some scraps of cardstock, and die cut the Giggle Happy birthday sentiment. It's hard to see, but layered together both vellum and white cardstock for the shadow layer - it just helped to slightly soften the white. Trimmed some strips of Tonic Gold Dust glitter cardstock in varying widths, and created some fun patterns on the background for interest. Added the larger sentiments with foam adhesive, then stamped and die cut the secondary sentiments from Delicate Blossoms to layer over the top. Finished off with some coordinating Dazzling Gems in Bubblegum and Peachy for extra sparkle! Here is a closer look at these cards: 


Product links are all below - including affiliate links where possible, which simply means if you use one of the links below that I receive a small commission at no additional cost to you. Thanks so much for stopping by! Have a wonderful day!!!


Saturday, August 23, 2025

Cute Night Camping Scene cards - Simon Says Stamp

Good morning! I've got a couple cute little camping scene cards to share with you today! I'm using a fun newer stamp and die set from Simon Says Stamp that I hadn't had a chance to put to use yet, as well as an older stencil that I have wanted a chance to utilize!  


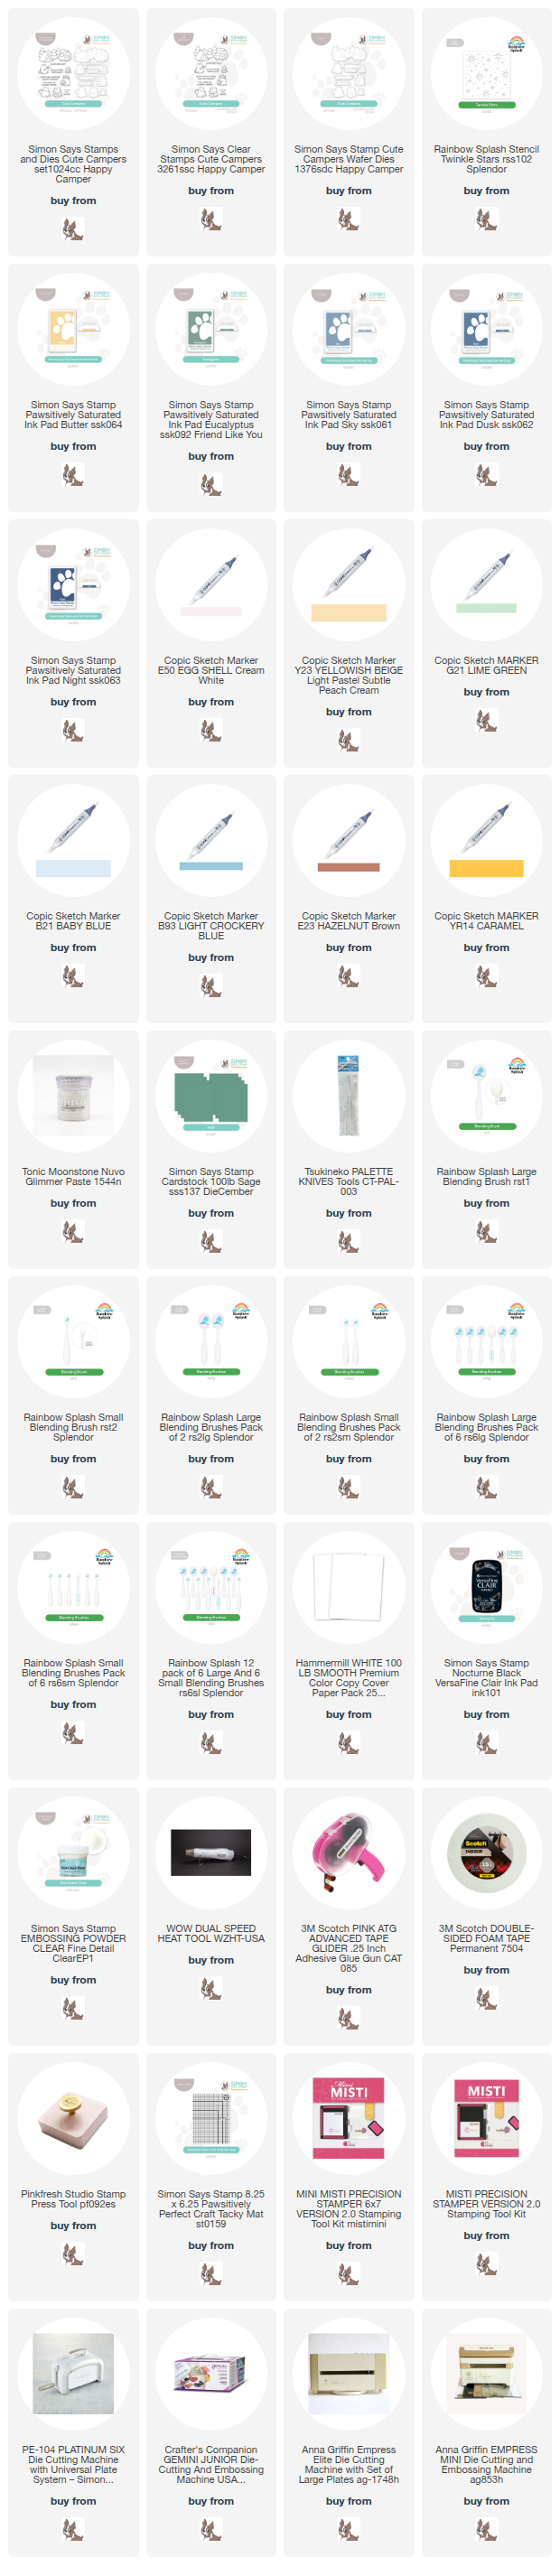
For this cute little scene, I started off with the darling Cute Campers set. I trimmed a panel of white cardstock down to smaller than A2 (nothing too technical - haha!), and then stamped my images, leaving them going off the edges of the card. In hindsight - I wish I had either left the kitties tail more in the scene, or trimmed off a bit more, but I guess it just looks like it has a stubby tail! Haha! I then ink blended around the scene a little bit to create some background, and then created a starry night sky by stenciling over the top with Twinkle Stars stencil and Nuvo Moonstone Glimmer Paste. I added more color to the scene using my Copic markers and some simple shading, then matted the panel with white, and popped on foam on Sage cardbases. Finished off with the sentiments, stamped and popped up with foam! Here is a closer look at these two cards:


Product links are all below - including affiliate links where possible, which simply means if you use one of the links below that I receive a small commission at no additional cost to you. Thanks so much for stopping by! Have a wonderful day!!!

Friday, August 22, 2025

Birthday Hot Air Balloons - Simon Says Stamp

 Good morning! Today I have a trio of cards to share that feature hot air balloons and dreamy sky scenes! I'm using lots of supplies from Simon Says Stamp including a fun 3D embossing folder that I hadn't had a chance to use yet! I have a fascination with hot air balloons - I really hope someday to take  a ride in one, but it also slightly terrifies me at the same time. There is nothing scary about these cards though - and I'd love to step into one of these!


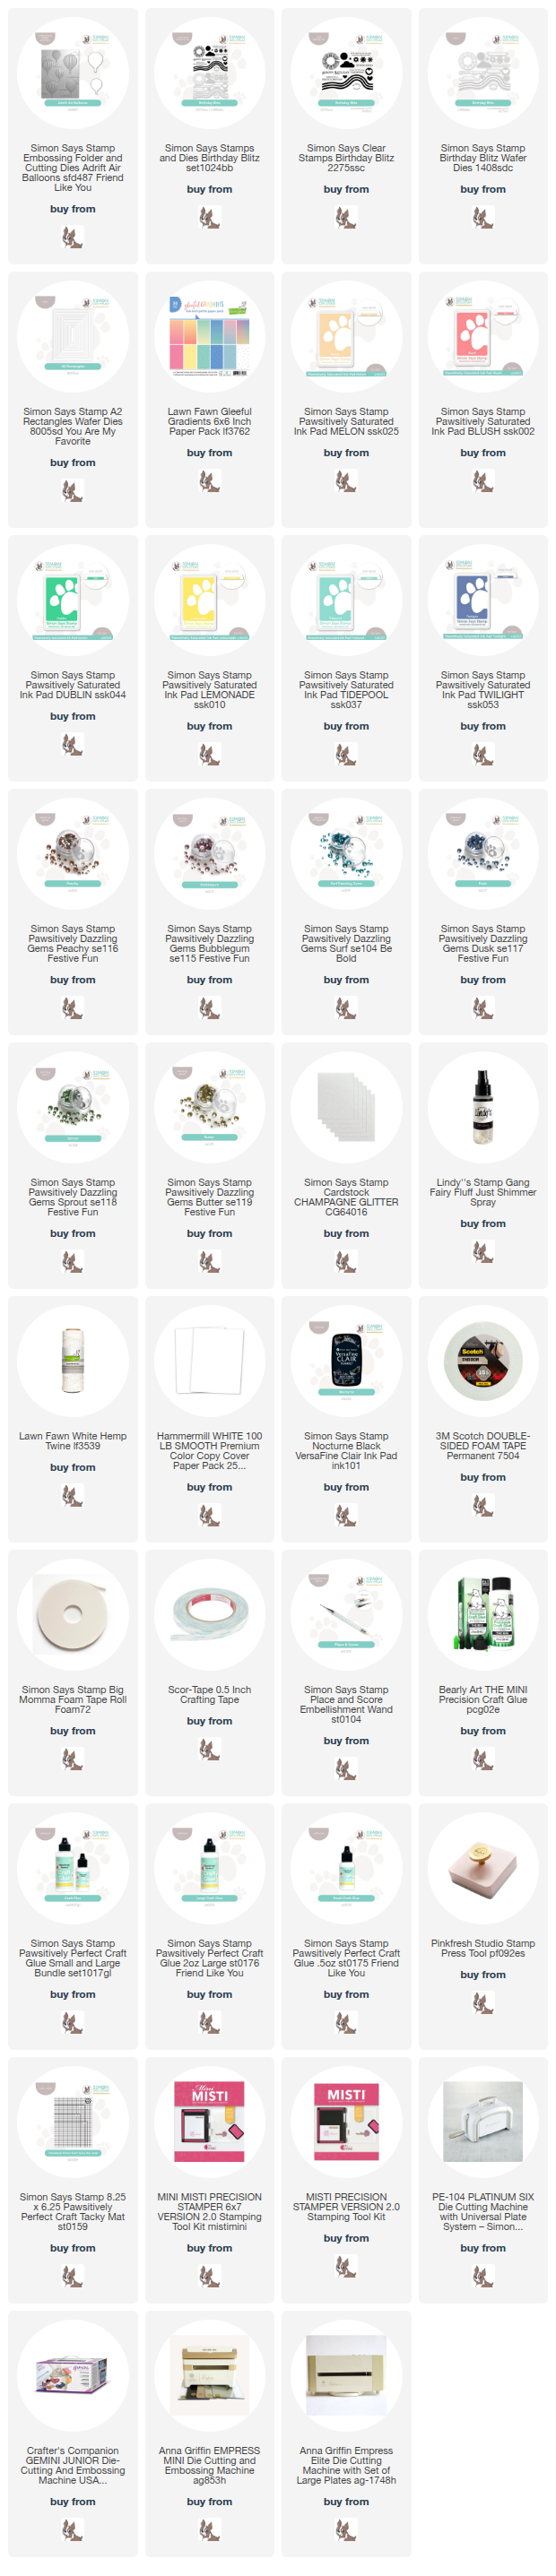
I started off with the Adrift Air Balloons embossing folder - it also has a coordinating die which is extra fun! I die cut several balloons first, then ran them through the embossing folder by setting them in place. This way I didn't destroy the dimension by die cutting afterwards. I ink blended onto each one (ink colors are all linked below if you're curious!), and then gave them a good spritz of glitter spray, splashing on some larger drips for extra texture and sparkle. I set those aside to dry, and started creating my backgrounds. I used Lawn Fawn Gleeful Gradients 6x6 paper pad for the backgrounds (which is how I chose my ink colors to blend on the balloons). I die cut them using A2 Rectangles dies, then cut the next size rectangle from Champagne Glitter cardstock to add a sparkly frame. I die cut several clouds using the Birthday Blitz dies from white cardstock, and also stamped and die cut sentiments from the same set. Then it was just a matter of laying everything out and adhering to my card with a mix of foam adhesive and adhesive tape. I added a bow with Lawn Fawn white twine, and a few coordinating sparkly Dazzling Gems to finish them off! Here is a closer look at the finished cards:


Product links are all below - including affiliate links where possible, which simply means if you use one of the links below that I receive a small commission at no additional cost to you. Thanks so much for stopping by! Have a wonderful day!!!


Wednesday, August 20, 2025

Ferris Wheel Shaker Card - Simon Says Stamp

 Good morning! I'm back with another card that was inspired from some recent browsing on Pinterest - and once again, using a fun die from Simon Says Stamp that was a PERFECT fit for my inspiration! You can see my inspiration photo HERE - and here is the result:


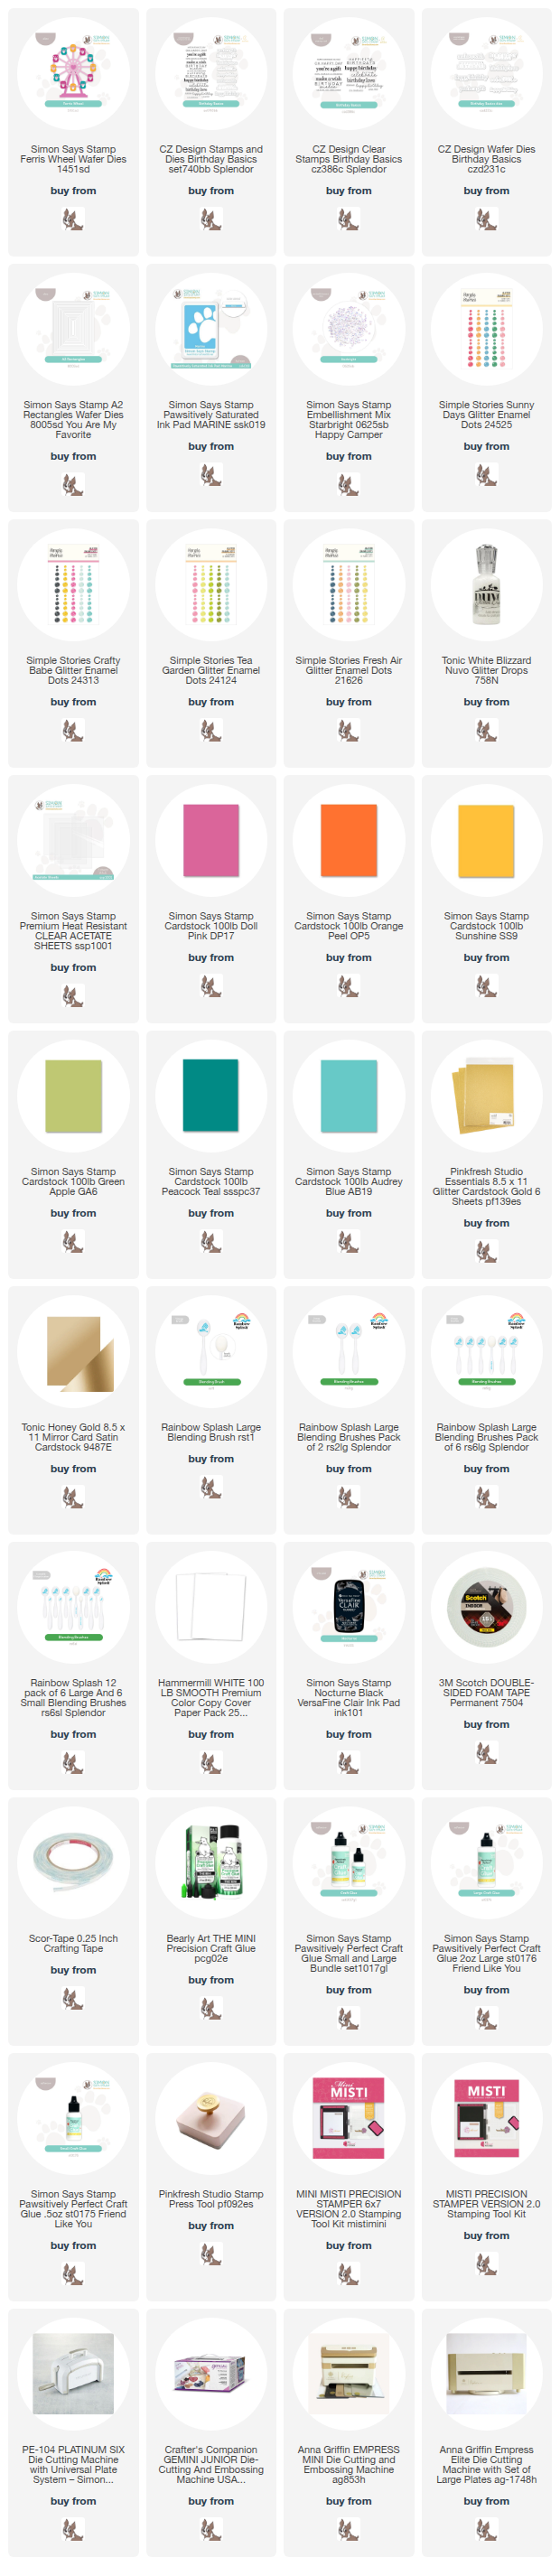
This card is so bright and happy - I can't help but smile! I love how all the bright colors pop paired against all the open space. And a shaker card is always extra fun! I started off by die cutting the Ferris Wheel - using an assortment of Simon Says Stamp cardstock, white cardstock, Honey Gold Cardstock, and a bit of gold glitter cardstock. I layered everything together with liquid glue, then added some glitter drops for accents, and set that aside to dry. Next, I created the shaker element. I blended Marine ink on my cardbase leaving some areas lighter and some darker. I die cut a window in a panel of cardstock with A2 Rectangles die, and created my shaker window with acetate and foam adhesive. I filled it with the cute and sparkly Starbright Embellishment mix - it's the perfect shaker size, and so sparkly! I added my ferris wheel, using foam adhesive for the center and the base of the wheel, added sentiments from Birthday Basics set, and finished off with lots of coordinating glitter enamel dots from Simple Stories! Here is a closer look at this finished card: