Showing posts with label trinity stamps embellishments. Show all posts

Tuesday, July 21, 2026

Summer Days - Simon Says Stamp

Good morning! Who else is having some hot weather in their neck of the woods? Summer has hit with full force here in the Pacific Northwest, and it definitely feels like summer. Yesterday I pulled out some supplies from Simon Says Stamp, and was clearly inspired by that feeling for the card I have to share today! 


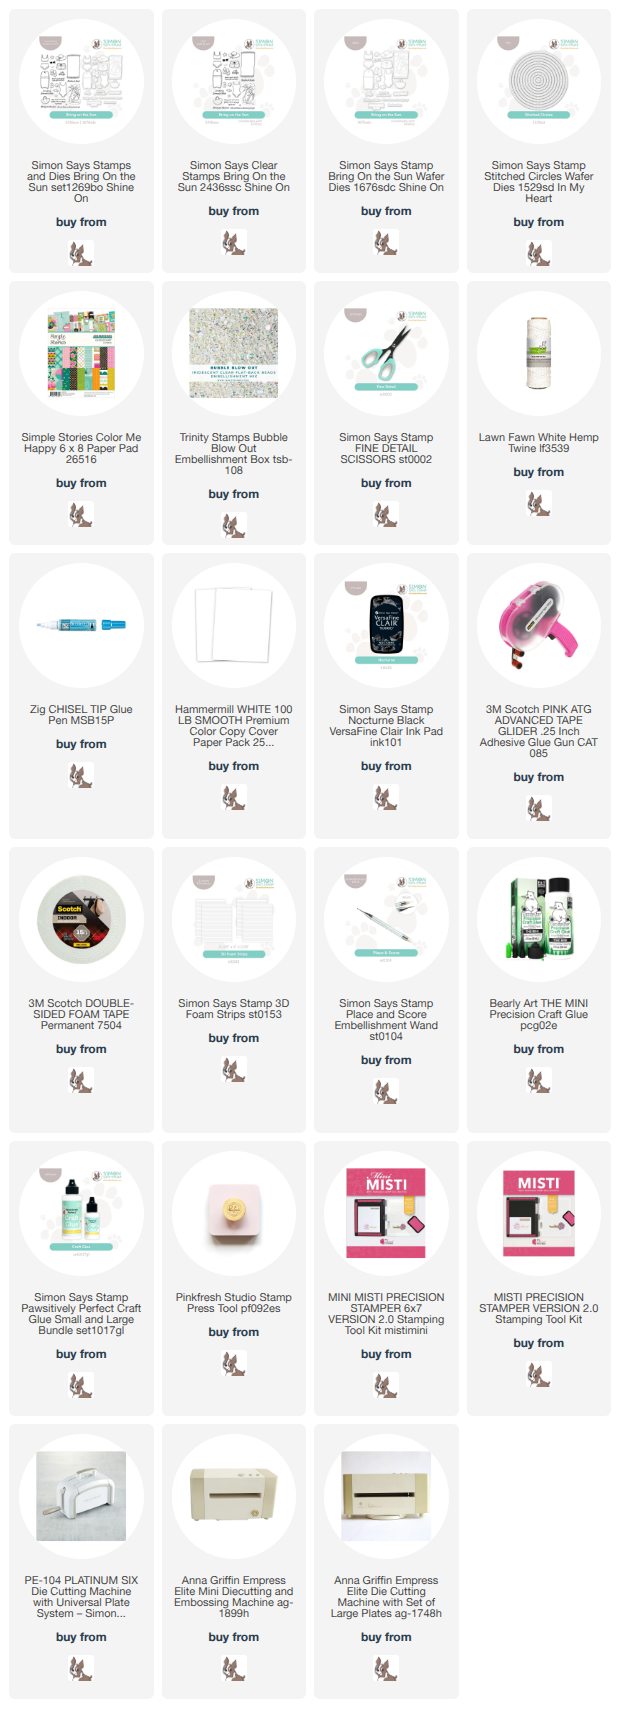
As soon as I saw the Bring on the Sun set, I knew this swimsuit looked like the perfect image for some paper piecing with pattern paper! I grabbed some Simple Stories Color Me Happy pattern papers in small designs, and stamped and fussy cut each one out. I then glued them on the same image stamped on white cardstock. Once I had all 3 done, I used the coordinating die to cut each one out. I used another piece of the same pattern paper pad for the background of the card, then die cut a partial circle from white cardstock using the largest Stitched Circle die. This provided the perfect place to adhere my images, and a sentiment from the same set. I also added a few Trinity Bubble Blow Out embellishments, as well as a loop of Lawn Fawn white twine tied in a bow! Here is a closer look at this summery card:


Product links are all below - including affiliate links where possible, which simply means if you use one of the links below that I receive a small commission at no additional cost to you. Thanks so much for stopping by! Have a wonderful day!!!

Monday, June 29, 2026

Wishing You Joy - Simon Says Stamp Shine On Release

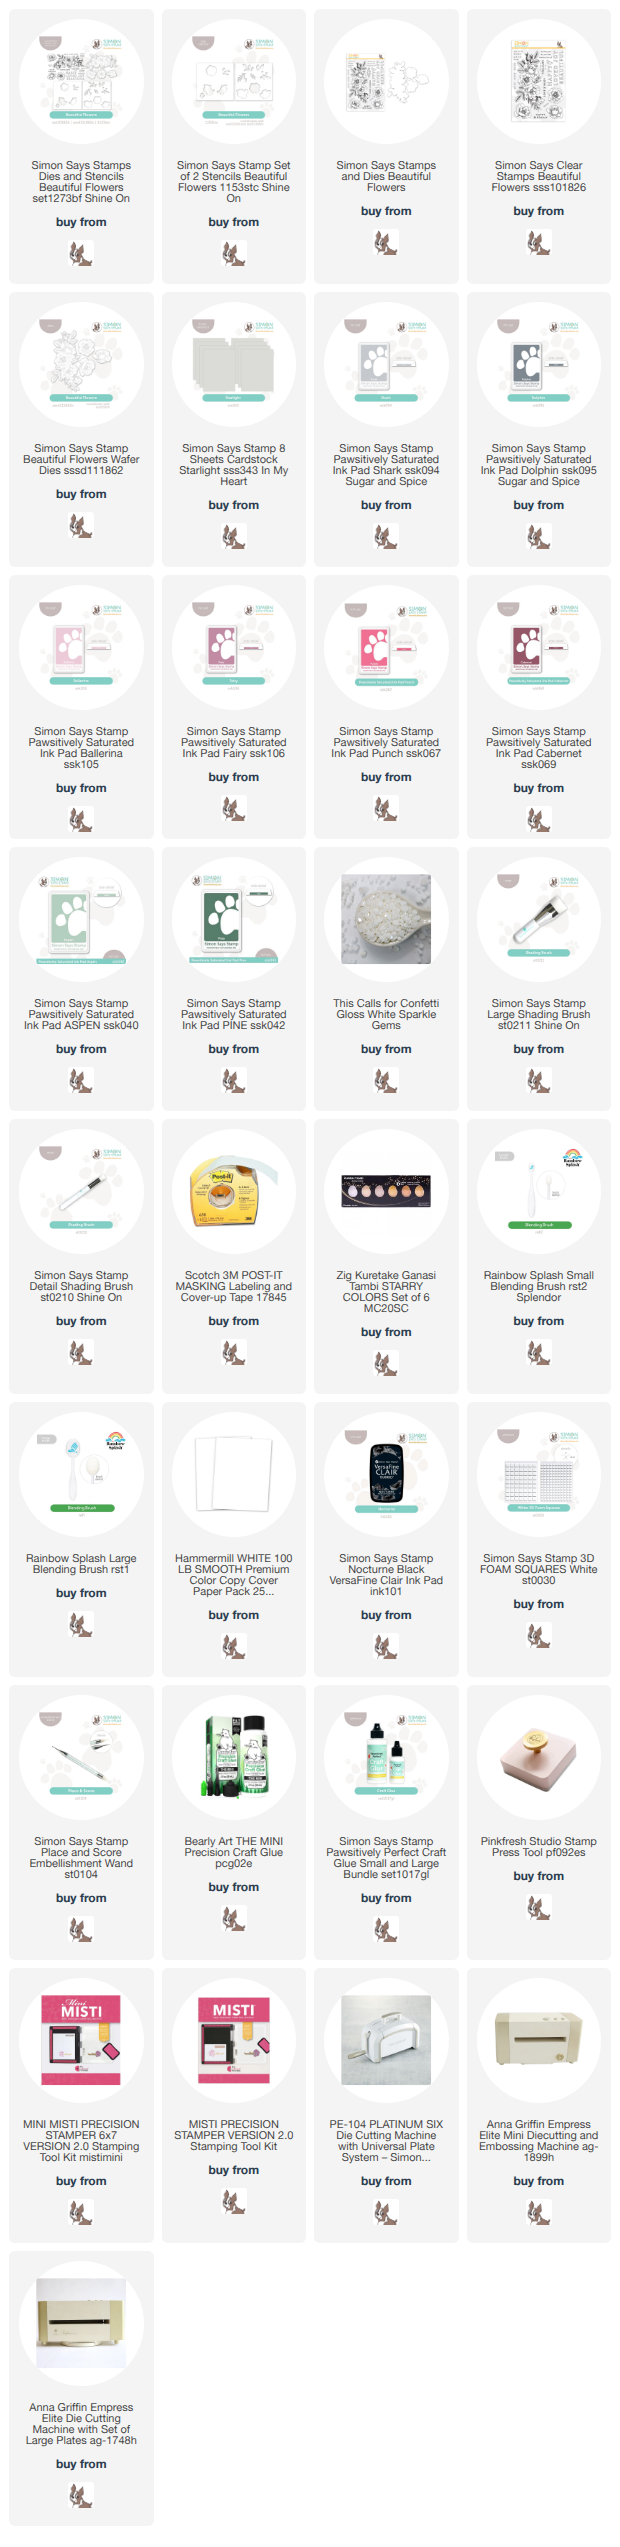
  Good evening! Tonight I've got a stenciled and layered card with some beautiful flowers to share. I used a new coloring stencil that coordinates with one of my favorite older floral stamp sets - the new stencil was part of the NEW Shine On Release from Simon Says Stamp! I love how it gave new life to this beautiful set!


I used the appropriately named Beautiful Flowers set for this card - beginning by stamping the image on a panel of white cardstock with Shark ink and leaving the stamp lined up in my MISTI. I used the new coordinating stencils to add color using Ballerina and Fairy for the lighter flowers, Punch and Cabernet for the deeper ones, then Aspen and Pine for the leaves. I then put that stenciled image back in my MISTI, and restamped over the top with Dolphin ink. I thought about stamping in black, but I loved the soft look of these florals with the gray ink! I then die cut it with the coordinating die, before carefully trimming it in half. I used a cardbase created with Starlight cardstock, and adhered my florals with foam squares. Next, I stamped the sentiments from the set directly on the cardbase, then masked off with a bit of low tack tape. I then added some gold splatters with my Starry Colors palette over the florals and the cardfront. Finished off with a few Trinity Gloss White Sparkle Gems! Here are more photos of these lovely blooms:


Product links are all below - including affiliate links where possible, which simply means if you use one of the links below that I receive a small commission at no additional cost to you. Thanks so much for stopping by! Have a wonderful day!!!


Saturday, June 13, 2026

Ocean Seahorse Scene - Tim Holtz June coordinating die release

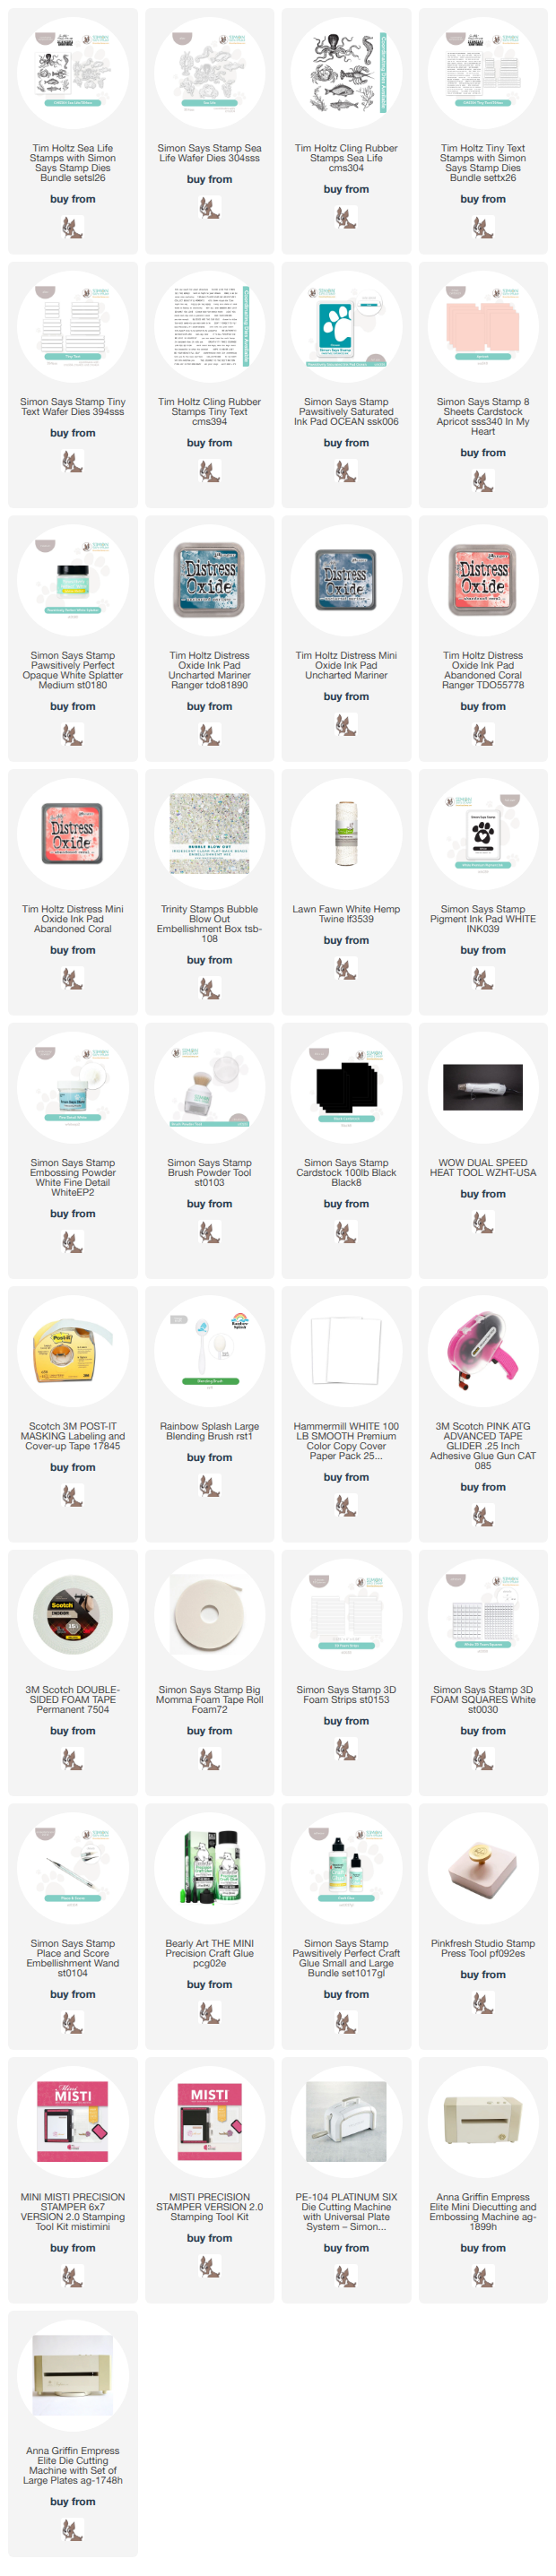
 Hello! Today I'm popping in with another card using the June 2026 installment of Tim Holtz coordinating dies that released recently from Simon Says Stamp! Today's card is more repetition - one of my favorite things with this release apparently! But this time a fun underwater scene!  


For this card, I used the Sea Life set, and stamped the seahorse 3 times with Abandoned Coral distress oxide ink, and the coral a few times with Uncharted Mariner distress oxide ink, then die cut them with the new coordinating Sea Life die set. I ink blended some SSS Ocean ink on a panel of white cardstock, creating a gradient that was deeper at the base and faded off towards the top, and added some white splatter over that for texture. Once that dried, I arranged all the elements, trimming off the excess coral pieces as needed. I stamped and heat embossed a sentiment from Tiny Text in white on black cardstock to make it pop, then die cut that with the (also new!) Tiny Text coordinating die set. I mounted that panel on a cardbase created with Apricot cardstock, wrapped some white twine around the card and tied in a bow, then added a heavy sprinkle of Trinity Stamps Bubble Blow Out embellishments to complete the underwater feel! Here are more photos at this fun scene:


Product links are all below - including affiliate links where possible, which simply means if you use one of the links below that I receive a small commission at no additional cost to you. Thanks so much for stopping by! Have a wonderful day!!!

Wednesday, May 13, 2026

What's poppin? - Simon Says Stamp June 2026 Card Kit

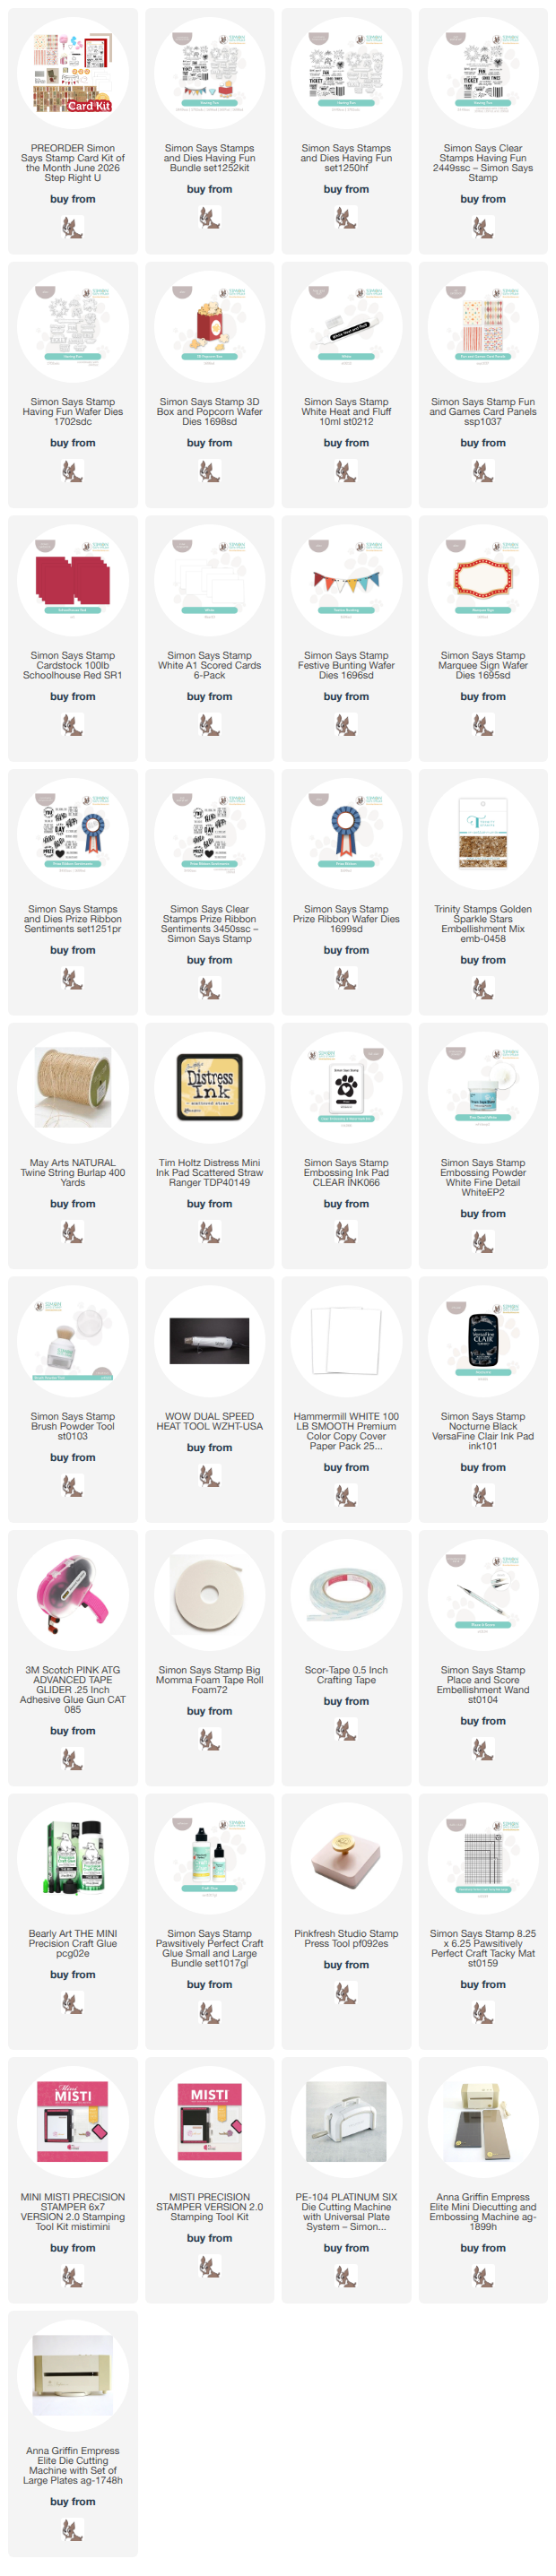
 Hello! I'm dropping by to share my first card using the newest June 2026 Simon Says Stamp Card Kit - Step Right UpThis month's kit is full of summery fun - perfect for carnivals, movie nights, and happy nostalgic memories! The included Having Fun stamp set has some fun images that pair with some of the dies included in the kit. There is some fun new Heat and Fluff (which is MAGICAL on the popcorn!), Scratch and Sniff stickers (takes me back to my childhood!), exclusive printed papers, craft fluffs, additional dies, and that's all not to mention the cardstock, notecards, and more! And, there is also a coordinating die set for the stamp available that is live in the store now as well!

The monthly card kit has even more perks now when you sign up for the Subscription service! There is a video HERE you can watch to learn more!


I had SOOO much fun making realistic popcorn for this card! I mean, that Heat and Fluff is absolute magic for this! I used the 3D Box and Popcorn die, die cutting the box from the Schoolhouse red cardstock in the kit, then stamping the strips on the box with the Having Fun stamp set. I blended a bit of the Scattered Straw distress oxide ink on the die cut popcorn pieces, then added little dabs of the Heat and Fluff and heat set it to "pop" up my popcorn! I assembled everything together, and used one of the panels of pattern paper in the kit for my cardfront, adding some white cardstock with a torn edge and layered up across the front. Stamped a sentiment, wrapped around some jute twine to tie in a bow, and embellished with some fun little sparkly stars! Here is a closer look at all the details - especially check out the detail on that popcorn(!!!):


Product links are all below - including affiliate links where possible, which simply means if you use one of the links below that I receive a small commission at no additional cost to you. Thanks so much for stopping by! Have a wonderful day!!!


Sweet Sheep Birthday - Simon Says Stamp

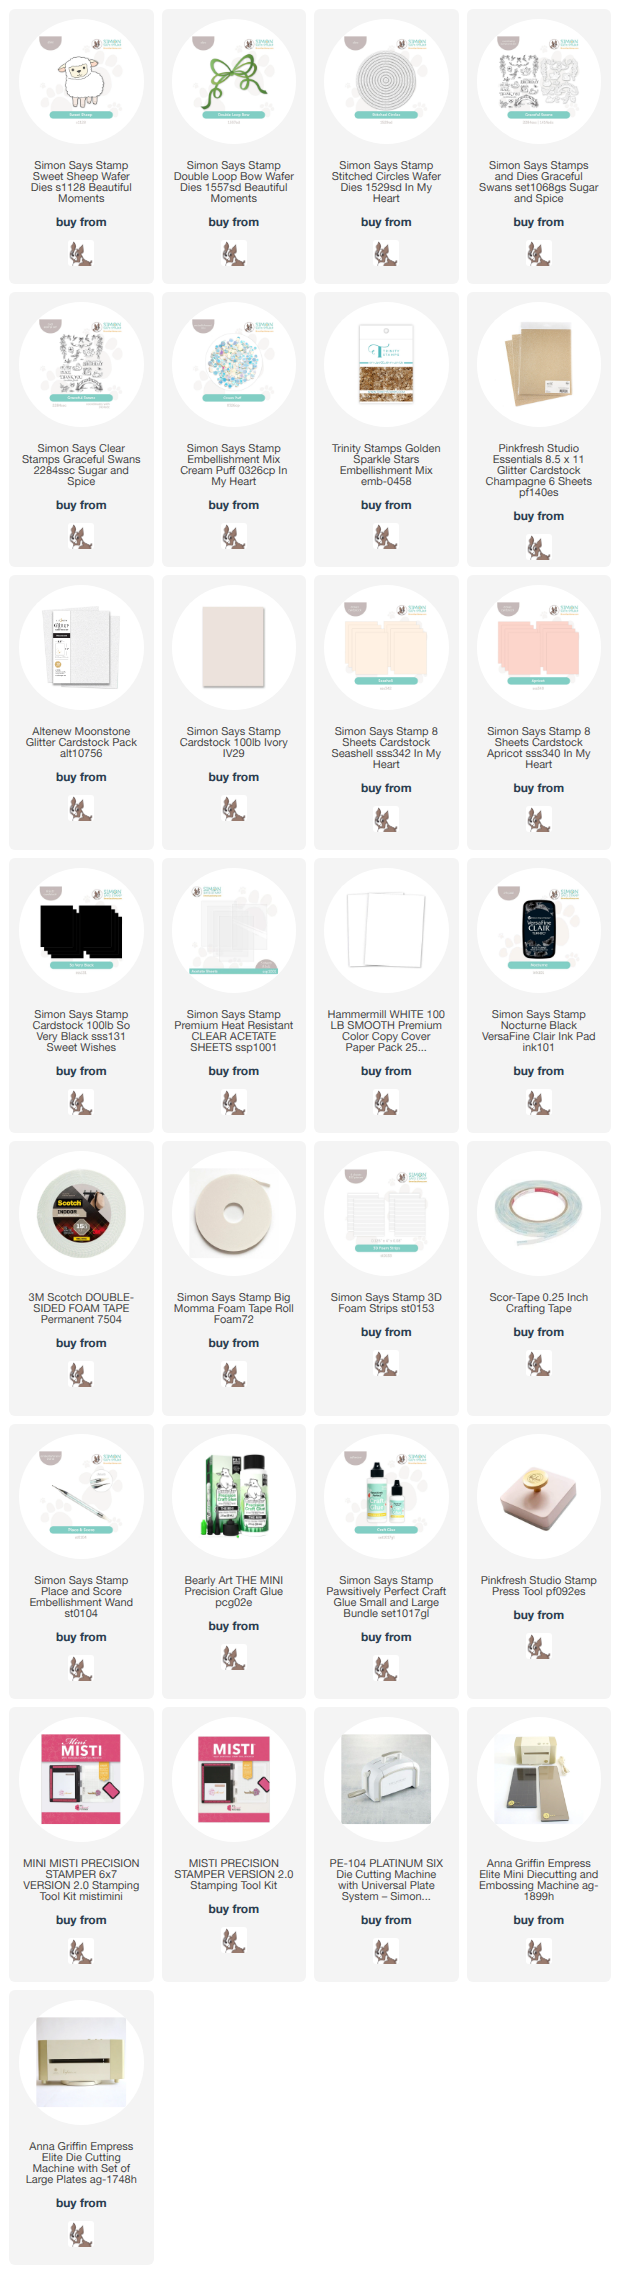
Good morning! I will probably always have a soft spot for sheep - they were my mom's favorite animal, and she collected pretty much anything that had a sheep on it! Now that she's gone, every time I see one, it makes me think of her. So of course I had to use this adorable little die from Simon Says Stamp - even it if took me a while to get around to it. And adding a shaker to the card just made it that much more special. :)  


I assembled the little Sweet Sheep die set first, using a mix of Altenew Moonstone glitter cardstock, then SSS Seashell, Ivory, and Black cardstock. I did a bit of trimming on the layer with the legs, so that I could have two colors on them. Next. I created a shaker cut with a Stitched Circle die, then filled with mix of Cream Puff embellishment mix and Trinity Stamps Gold Sparkle Stars. I backed it with a panel of Apricot cardstock for a dreamy background! I stamped a sentiment from Graceful Swans at the bottom, then added a BIG glittery Double Loop Bow die cut from Pinkfresh Champagne glitter cardstock. I love how this card feels both adorable and elegant! Here is a closer look:


Product links are all below - including affiliate links where possible, which simply means if you use one of the links below that I receive a small commission at no additional cost to you. Thanks so much for stopping by! Have a wonderful day!!!


Wednesday, February 4, 2026

Love Ya Heart Shaker - Simon Says Stamp

Good morning! Yesterday I talked about following a cardmaking trail - and today is the next part of the journey along that trail! I used a negative die cut from something I cut from yesterday's card (you can see it HERE) as the starting point for the card I'm sharing today! And a sparkly love theme shaker card is such a fun different direction to go, don't you think? As always, I used lots of supplies from Simon Says Stamp to put this card together!


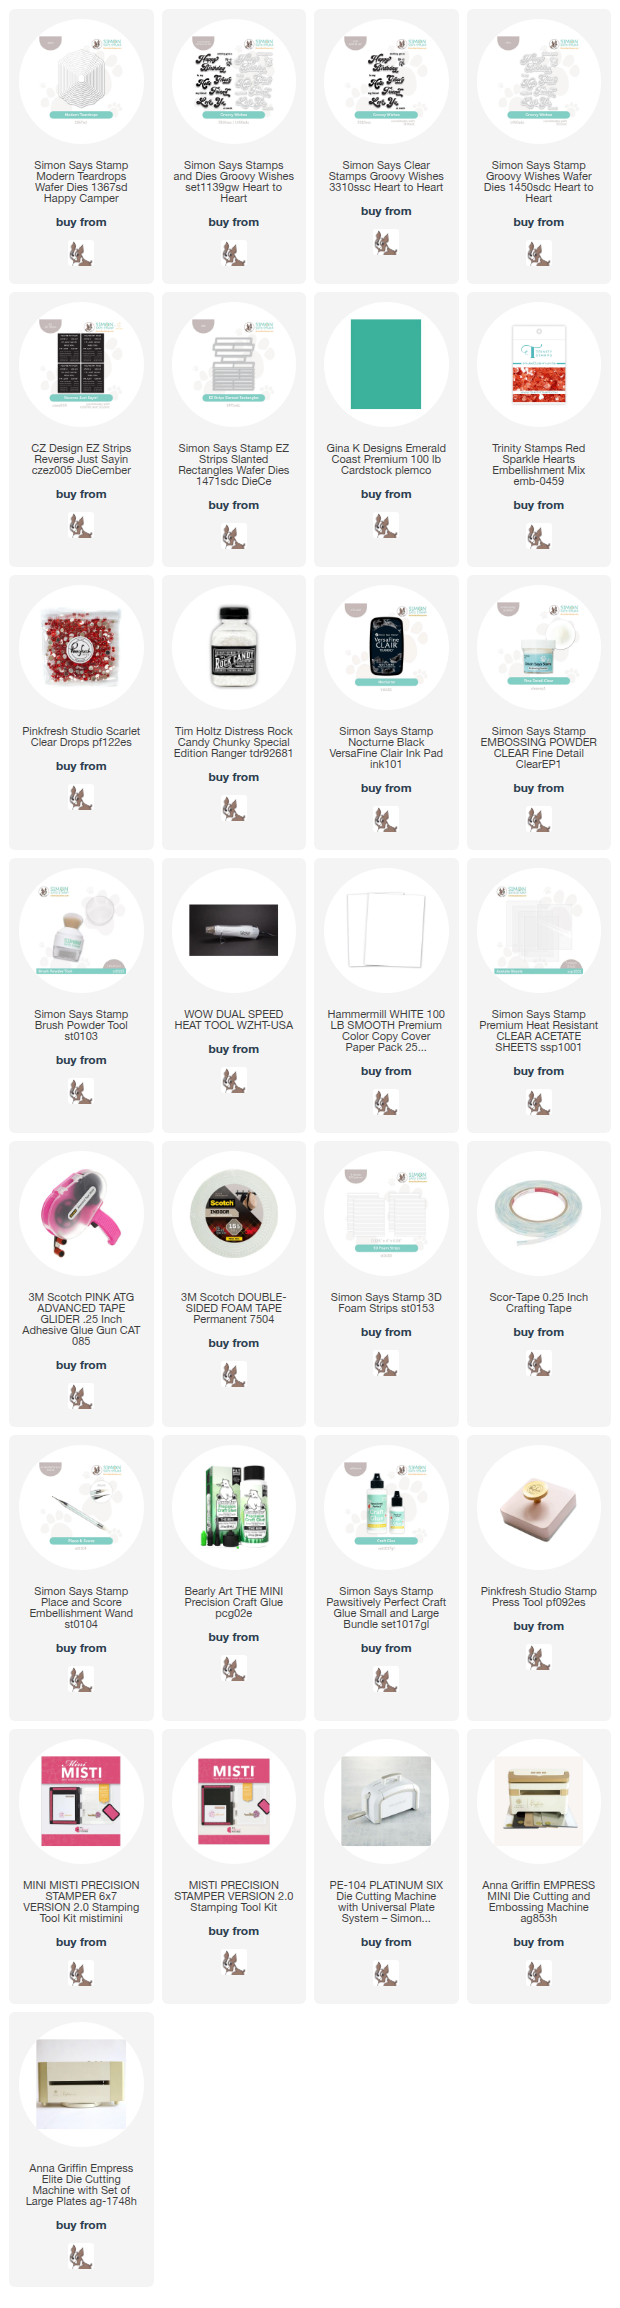
I love a reverse stack of die cut frames, especially when I'm able to turn it into a shaker card! For this one, I used the Modern Teardrops die. I had die cut a frame for another card from Gina K Emerald Coast cardstock, so I decided to use the negative space as the base for a shaker card. I die cut another slightly larger frame from white cardstock, and stacked them together. I filled my shaker with some ADORABLE new to me Trinity Stamps Red Sparkle Hearts and added a good dose of Chunky Rock Candy Glitter to make it extra sparkly! I added a sentiment from Groovy Wishes and a secondary sentiment from Reverse Just Sayin' sentiment strips die cut with the EZ Strips Slanted Rectangles die. Finished off with a few Pinkfresh Scarlet clear drops that perfectly coordinated and brought the sparkle outside of the shaker! Here are more photos of this fun shaker card:


Product links are all below - including affiliate links where possible, which simply means if you use one of the links below that I receive a small commission at no additional cost to you. Thanks so much for stopping by! Have a wonderful day!!!


Saturday, January 17, 2026

Felt Toaster Pastry card - Simon Says Stamp Heart to Heart Release

Good morning! I've got another card to share today using the newest Heart to Heart Release from Simon Says Stamp! I tell you what - cutting dies with felt is SOOO much fun! I mean, a felt toaster pastry?!? Is there anything cuter?!? Also, did you know that putting glitter drops on felt is amazing as well?


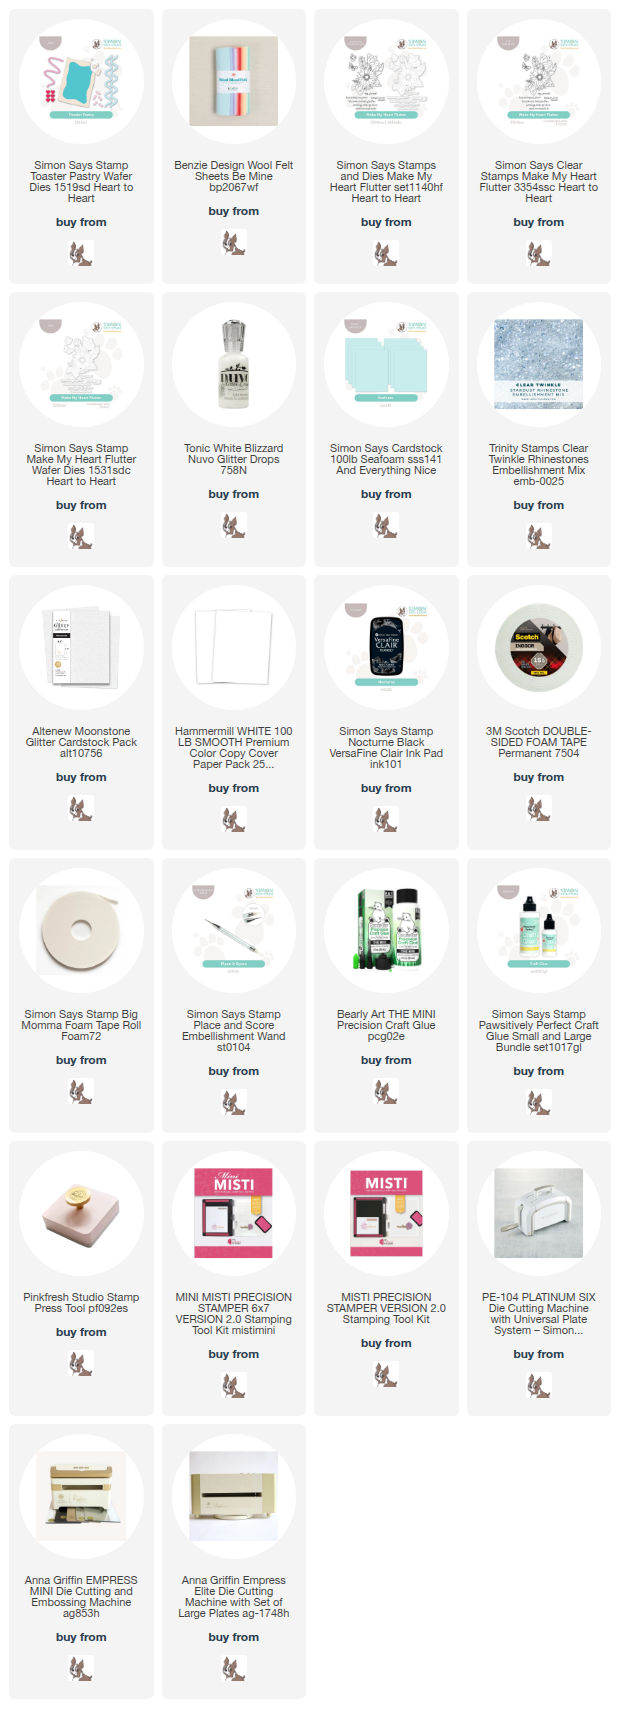
I had recently picked up some Benzie Designs Felt in the Be Mine color pack, and really wanted to put it to use on something. I spotted the Toaster Pastry die, and thought it was perfect for it! I'm going to date myself a bit, but does anyone else remember flannel graph stories when you were a kid? Yeah, before I glued it together, I was almost tempted to leave the pieces separate to use that way - haha! I used some Altenew glitter cardstock to cut the longer squiggly lines, and tucked those behind the toaster pastry that I adhered at an angle, then trimmed all the extra overhanging pieces off. I used some Nuvo Glitter drops on the hearts and squiggle of frosting on the toaster pastry for extra sparkly fun! I added a sentiment from Make My Heart Flutter stamp set, a sprinkle of Trinity Clear Twinkle Rhinestones, rounded off one corner, and mounted the panel on a cardbase created with Seafoam cardstock! Here is a closer look at the finished project:


Product links are all below - including affiliate links where possible, which simply means if you use one of the links below that I receive a small commission at no additional cost to you. Thanks so much for stopping by! Have a wonderful day!!!