Showing posts with label black splatter. Show all posts

Saturday, July 18, 2026

Soft Sympathy Card Duo - Simon Says Stamp

Hello! It had been a while since I added sympathy cards to my stash, and since I always prefer to make those before I need them, rather than in the moment when it is sometimes harder, I pulled out some items from Simon Says Stamp the other night and created these soft and simple cards. The muted tones seemed like the perfect choice for a sympathy card!


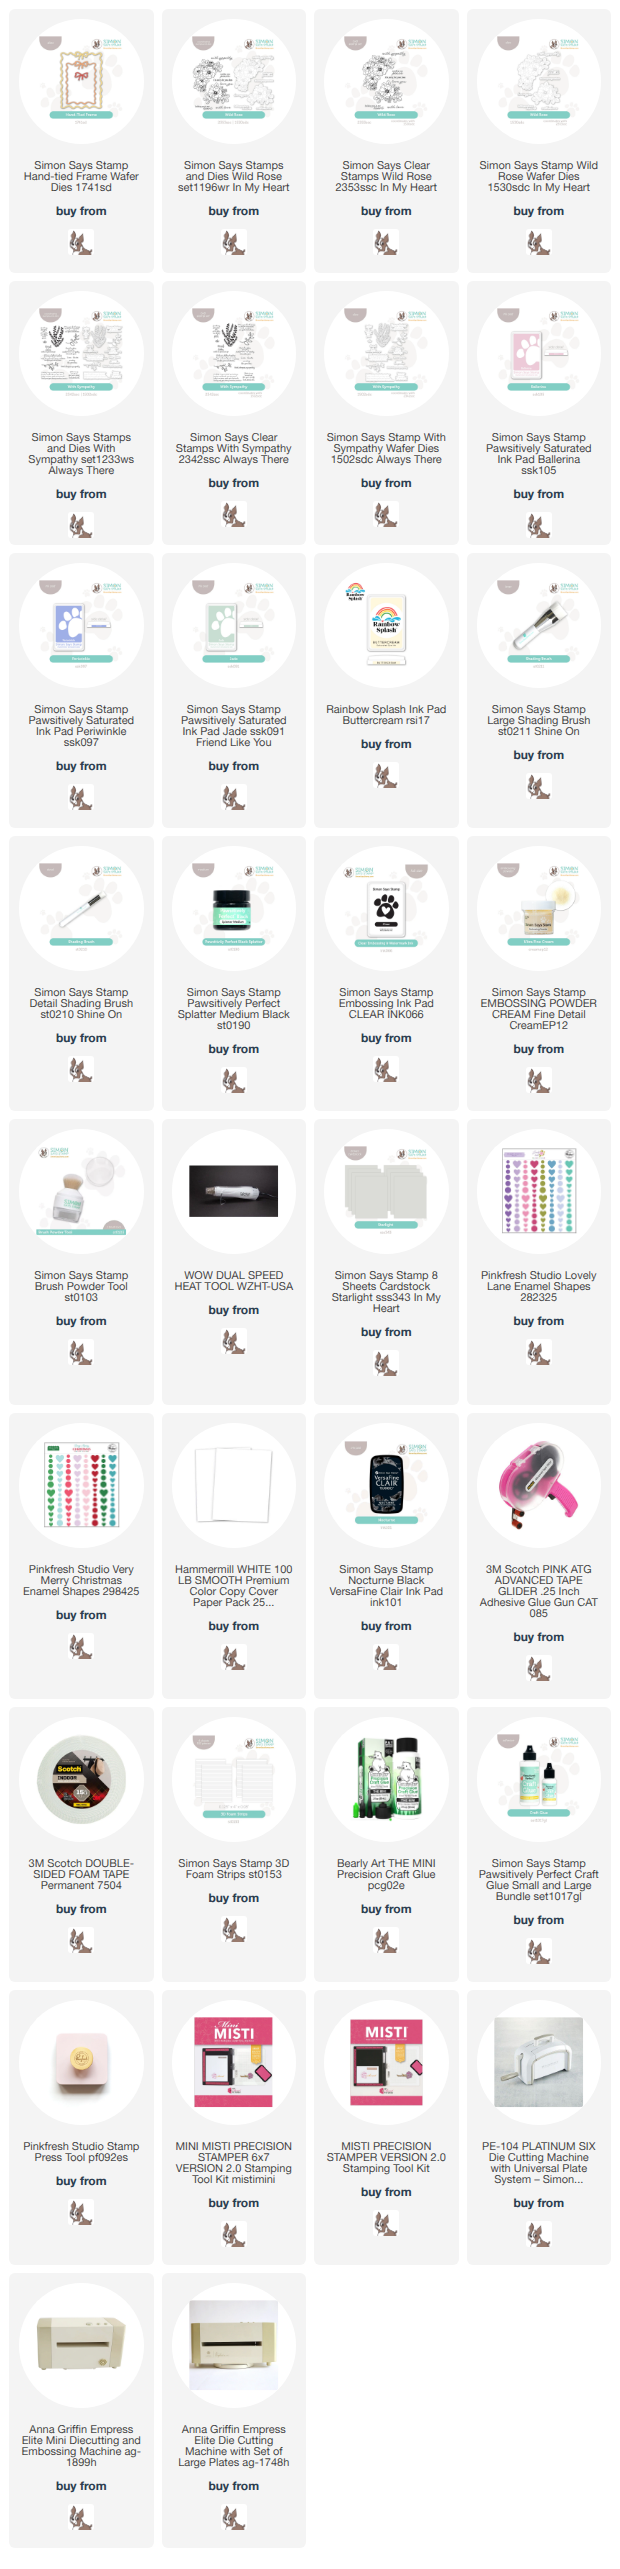
I started off with the lovely frames cut using Hand Tied Frames from Starlight cardstock, the perfect soft gray. Next, I stamped one of the floral images from Wild Rose on white cardstock, and heat embossed with my underused Cream Embossing powder. I used small Shading Brushes to add a hint of color to some areas of the image, using Jade for the leaves, and either Ballerina or Periwinkle for the blooms, then die cutting with the coordinating dies. Next, I added some shading to the cardbase, using Buttercream for the top portion, and the coordinating ink for the blooms in the bottom portion. I added some Black splatters, allowed that to dry, and then added the frames with liquid glue. Sentiments are from With Sympathy, and I popped those and the floral images up on foam adhesive, then finished off with some coordinating enamel dots and enamel hearts from Pinkfresh Lovely Lane and Very Merry Christmas enamel packs. Here are more photos of these finished cards:


Product links are all below - including affiliate links where possible, which simply means if you use one of the links below that I receive a small commission at no additional cost to you. Thanks so much for stopping by! Have a wonderful day!!!
Wednesday, June 24, 2026

Bright Vintage Notecards - Tim Holtz June coordinating die release

Good morning! I've got one last thing to share with the June 2026 installment of Tim Holtz coordinating dies that released recently from Simon Says Stamp! This time instead of one card, I'm sharing a sweet little set of notecards! They are the small 4 Bar notecards from SSS, and the perfect size to let these sweet little images shine. And I found a fun way to do the banner dies to add extra dimension!


I started off by die cutting and creating the backgrounds. I used Lime, Lake, Heather, and Princess Color Splash cardstocks, cut with the Crimped A2 Rectangles, then cut watercolor paper using a smaller sized A2 Rectangles die. On the watercolor paper, I blended the coordinating ink colors of Lime, Lake, Heather, and Princess onto two corners of the panels, then misted with some water for a watercolor effect. While those dried, I stamped and heat embossed my images from Tiny Things and Tiny Things 2 sets, stamping in Nocturne ink, then clear heat embossing for extra shine. I die cut them each with their coordinating dies. I also stamped the "Hello Friend" from Tiny Text a few times, and die cut with the smallest banner die from the coordinating die set. I also cut the next largest banner die for each one to layer underneath. That way, when I adhered them together with foam adhesive, it gave them a more dimensional banner look - and it was so easy! I added some Black Splatter to my little cardbases, then assembled all my layers, using Big Momma foam adhesive so I could have lots of layers, but they wouldn't get too thick. Finished off with a few Clear Dazzling gems for the final touch of sparkle! Here is a closer look at each of these sweet cards:


Product links are all below - including affiliate links where possible, which simply means if you use one of the links below that I receive a small commission at no additional cost to you. Thanks so much for stopping by! Have a wonderful day!!!


Friday, June 12, 2026

See the World - Tim Holtz June coordinating die release Blog Hop

Good morning! I'm super excited today to be joining a fun blog hop featuring a another project using some new dies from the June 2026 installment of Tim Holtz coordinating dies that released yesterday from Simon Says Stamp There are so many fun techniques that are possible when you add coordinating dies! I shared a a card yesterday that uses another set in this release - if you're interested, you can check it out out HERE

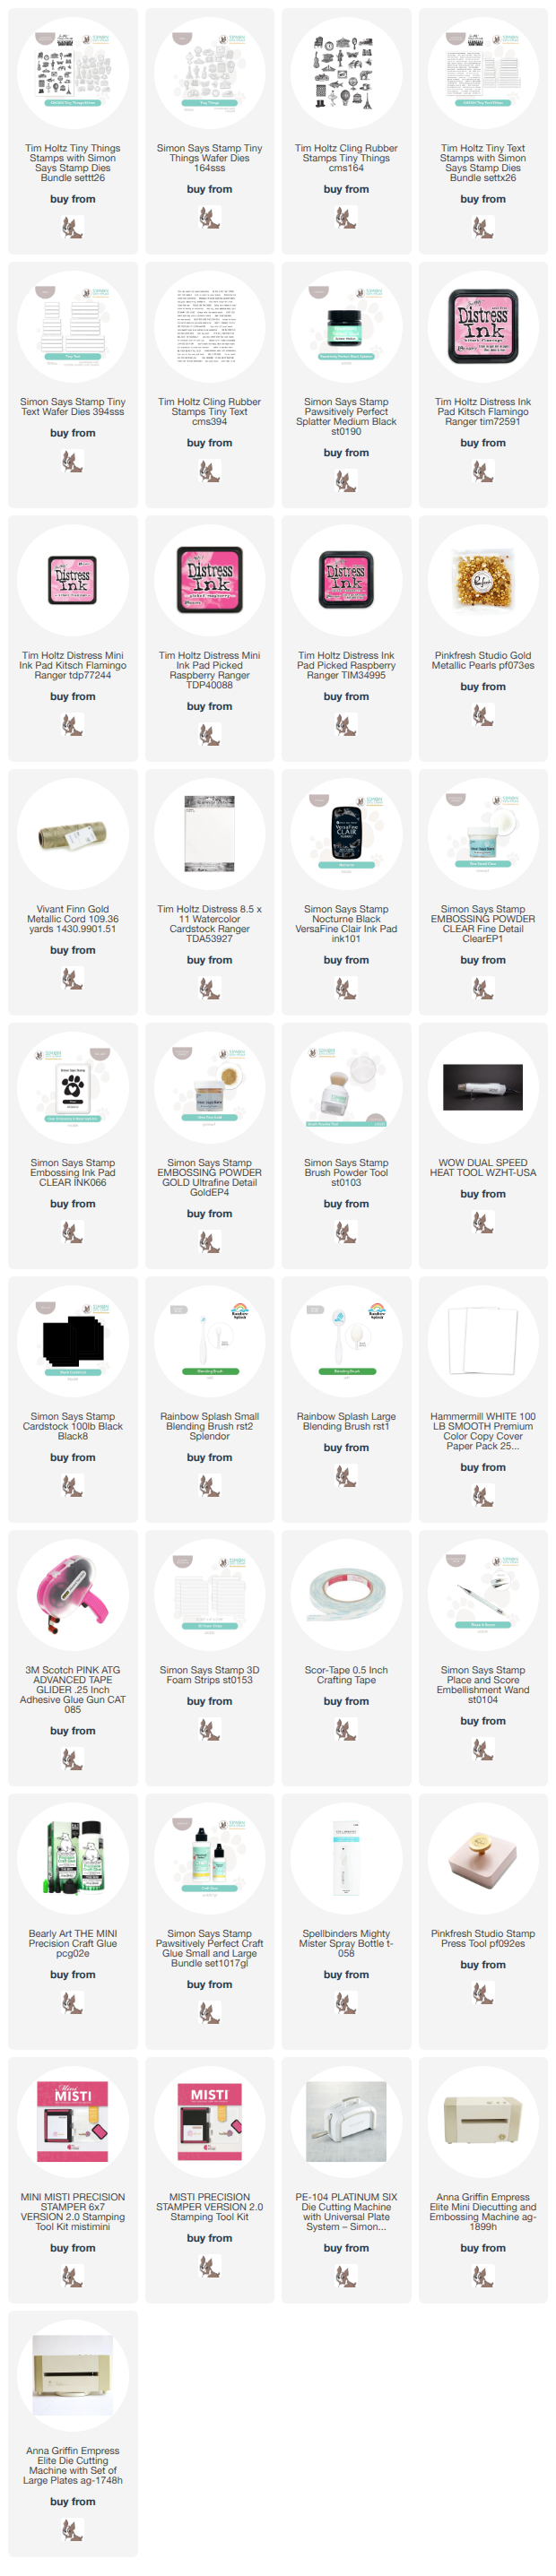
I love using small images in repetition, and when I saw this cute little Eiffel tower, I just couldn't help but see it paired with pink, black, and gold - so perfect together!


I started off by stamping the image from Tiny Things multiple times with Nocturne ink, then heat embossing with clear embossing powder to add a subtle bit of shine. Then I die cut the image out with the coordinating Tiny Things dies. For the background, I did a bit of ink blending with Kitsch Flamingo and Picked Raspberry distress inks on watercolor paper, then misted with water to give a faux watercolor effect. Once that dried, I also added some Black Splatter for more texture. I used Tiny Text to heat emboss several sentiments in gold on black cardstock, then die cut those out with the coordinating Tiny Text dies. Then, I arranged everything on the card base, using foam strips to adhere the images and sentiments. I also tied a bit of gold cord around one of the images, and added a sprinkle of Gold Pearls to glam it up a bit extra! Here is a closer look at all that fun sparkle and shine:


Here is the entire blog hop list - hop along for tons of amazing inspiration!

Product links are all below - including affiliate links where possible, which simply means if you use one of the links below that I receive a small commission at no additional cost to you. Thanks so much for stopping by! Have a wonderful day!!!


Friday, May 22, 2026

Hanging Herbs - Simon Says Stamp

Good morning! I recently was perusing Pinterest on one of those occasions when I felt like I was stalling and trying to get my creative juices flowing. That usually works to get me inspired, and this time was no exception! I came across some images of cute little hanging herbs, and suddenly had the idea to create something similar on a card! I mixed and matched some older and newer releases from Simon Says Stamp and got busy crafting! This card also has lots of lovely texture thanks to die cutting felt - and also a little trick to help keep the felt more stable! 


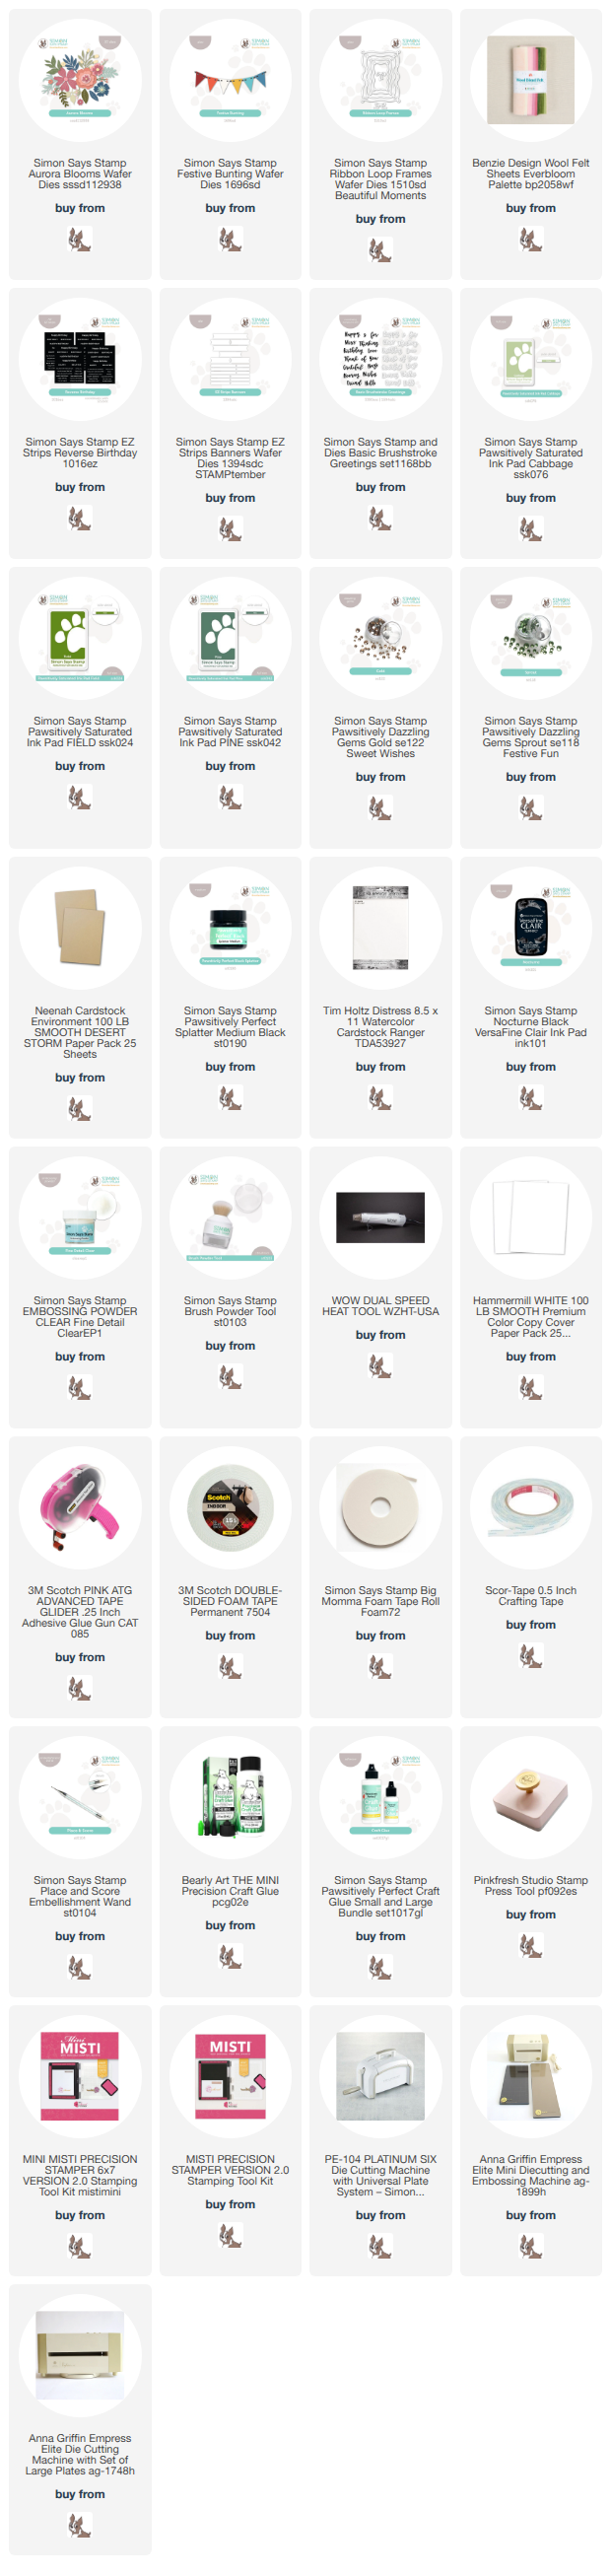
I love using felt on cards, but sometimes when you are die cutting, the pieces are so thin and dainty that the felt falls apart if you aren't careful. I had the idea to die cut once from felt, and once from white cardstock, and then glue them together. It worked beautifully! Perfectly stable, but all the fun texture of the felt! I used Aurora Blooms die set to cut my stems to resemble herbs, and die cut them from Benzie Everbloom felt colors. For the "string" I used the recently released Festive Bunting die, and cut it from Desert Storm cardstock. I die cut some little bows from Ribbon Loop Frames die to finish the look. I wanted a softer background, so I grabbed some coordinating Cabbage, Field, and Pine inks, blended a bit on some watercolor paper, then misted with water for a faux watercolor effect. Once that dried, I added some Black Splatter, and then set that aside to dry. Sentiment was created with Reverse Birthday EZ Strips, and Basic Brushstroke Greetings. I added a good sprinkle of Dazzling Sprout gems to the background, and one of Dazzling Gold to the center of each of the bows for plenty of sparkle! Here are more photos of the finished card:


Product links are all below - including affiliate links where possible, which simply means if you use one of the links below that I receive a small commission at no additional cost to you. Thanks so much for stopping by! Have a wonderful day!!!


Wednesday, April 29, 2026

Patterned Paper Hexagon Thank You - Simon Says Stamp

Good morning! Today I have a simple geometric card to share featuring some pretty pattern paper and all die cutting - no stamping at all! I love this die set from Simon Says Stamp, and hadn't had a chance to use it yet. Pairing a nested die with pattern paper is a fun way to use several sizes on one card!


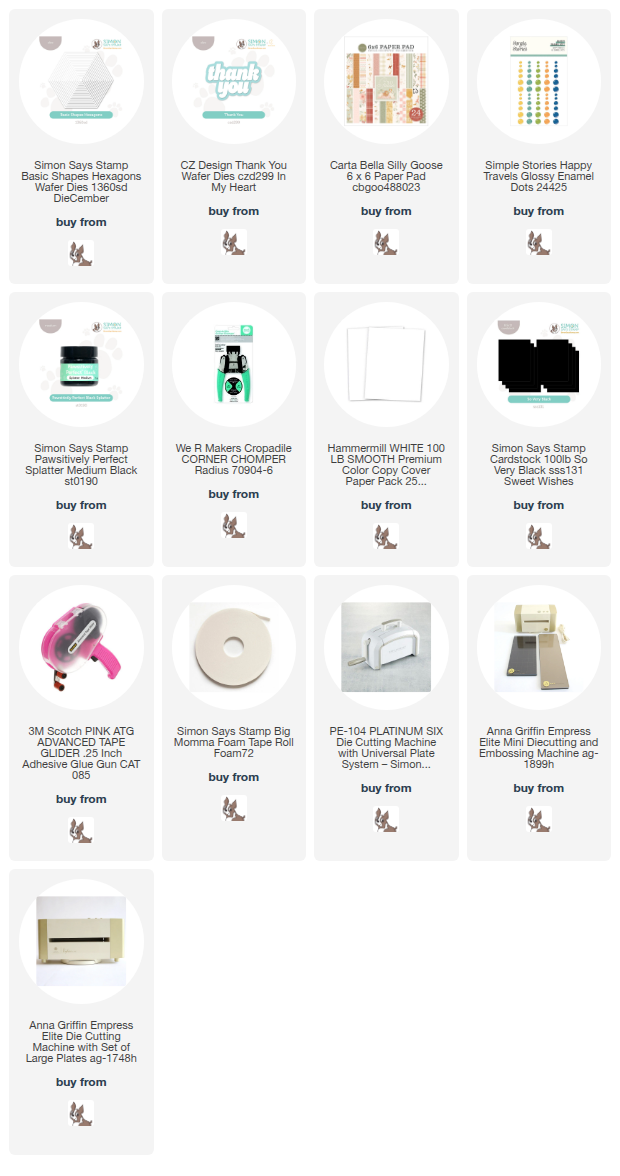
I used the Basic Shapes Hexagons paired with some of the Carta Bella Silly Goose 6x6 pattern paper pad. I also used one of the more neutral papers for the background, adding some black splatter on for some extra interest. I die cut 3 sizes of the hexagons from different papers, and then layered them on with foam adhesive. The sentiment is a CZ Designs Thank You, cut from black cardstock for the shadow layer to make it pop, and white for the main one. I found some Simple Stories Enamel dots that PERFECTLY coordinated for a tone on tone bit of texture, and love the fun addition those make! Finally, I rounded off two opposite corners for some interest! Here are more photos of this card:


Product links are all below - including affiliate links where possible, which simply means if you use one of the links below that I receive a small commission at no additional cost to you. Thanks so much for stopping by! Have a wonderful day!!!