Showing posts with label white pigment ink. Show all posts

Thursday, June 11, 2026

Use Your Wings - Tim Holtz June coordinating die release

 Hello! Today I'm popping in with a layered monochromatic card to celebrate the June 2026 installment of Tim Holtz coordinating dies that released today from Simon Says Stamp! These die sets coordinate with previously released stamp sets, and add an entire new level of versatility to these sets - and I'm loving it! I used 3 of the new die sets to create this card - keep reading to find out more!


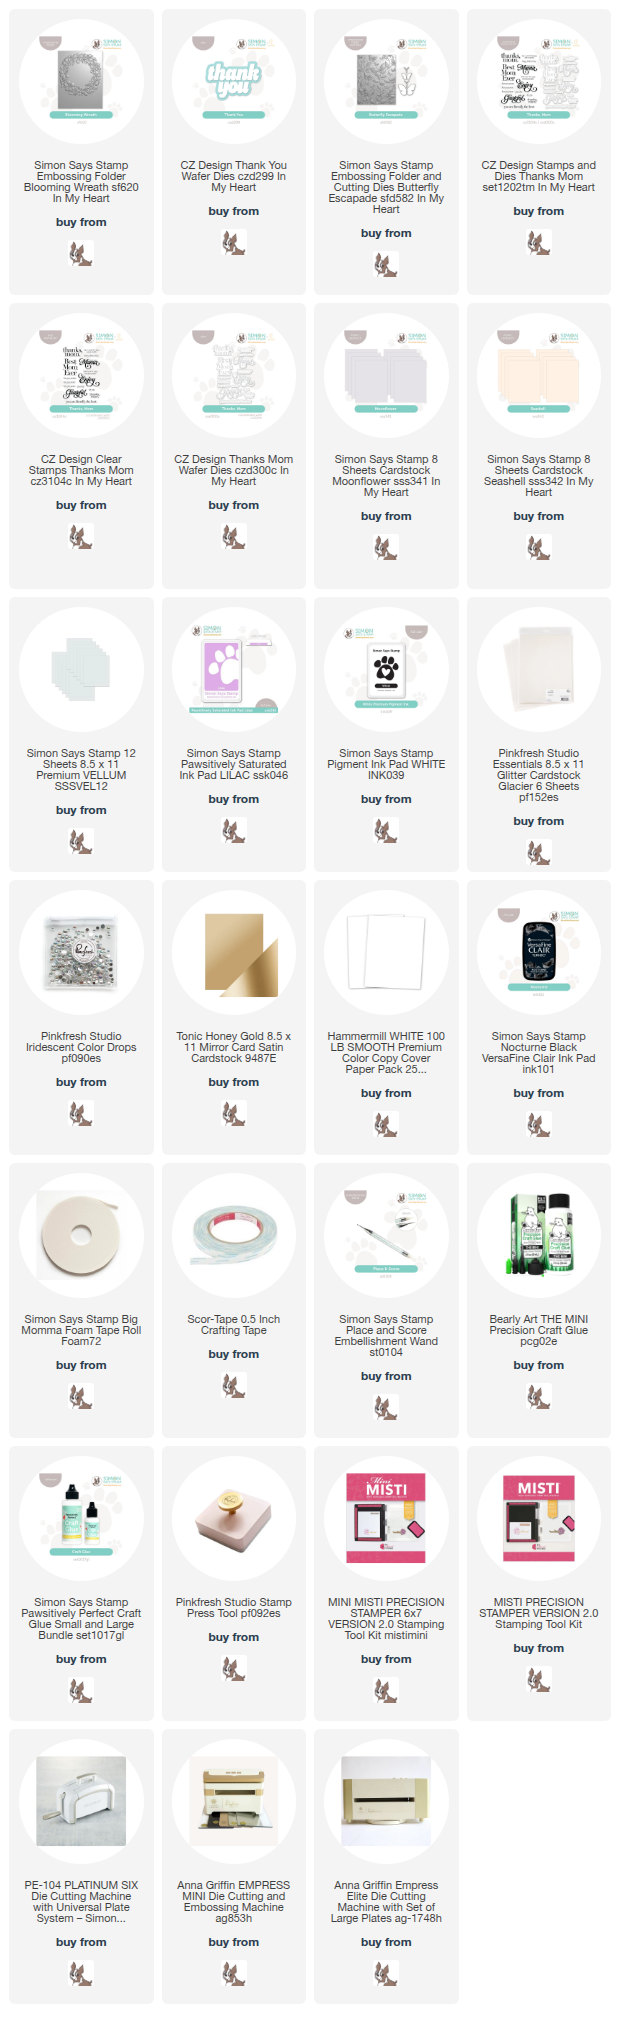
I started off by stamping several of the greenery images from Floral Elements, a couple of the images from Moth Study, and a sentiment from Tiny Text on Sage cardstock. I stamped with white pigment ink, then heat embossed with white embossing powder to get a nice opaque and detailed image for all of those. Then I die cut each of them out with the new coordinating Floral Elements dies, Moth Study dies, and Tiny Text dies. I grabbed a few of the florals from Floral Elements stamp set and arranged those and stamped on another panel of Sage cardstock, this time just in white pigment ink with no heat embossing for some varying texture. I then popped all those die cut images on the cardfront, trimming off any excess on the edges. Finished off with a tiny bow from Lawn Fawn white twine tied on one of the stems! I kind of wanted to add bling or gems, but every time I tried, it just took away from the organic and elegant feel of this card. So I resisted, and kept it as is! Here is a closer look at the dimension and detail on this card:


Product links are all below - including affiliate links where possible, which simply means if you use one of the links below that I receive a small commission at no additional cost to you. Thanks so much for stopping by! Have a wonderful day!!!

Monday, March 23, 2026

Blooming Wreath - Simon Says Stamp In My Heart Release

Good morning! I'm stopping by with another card using the NEW Simon Says Stamp In My Heart Release! I'm using another of the new embossing folders, a few different dies, and more of that yummy new colored cardstock!


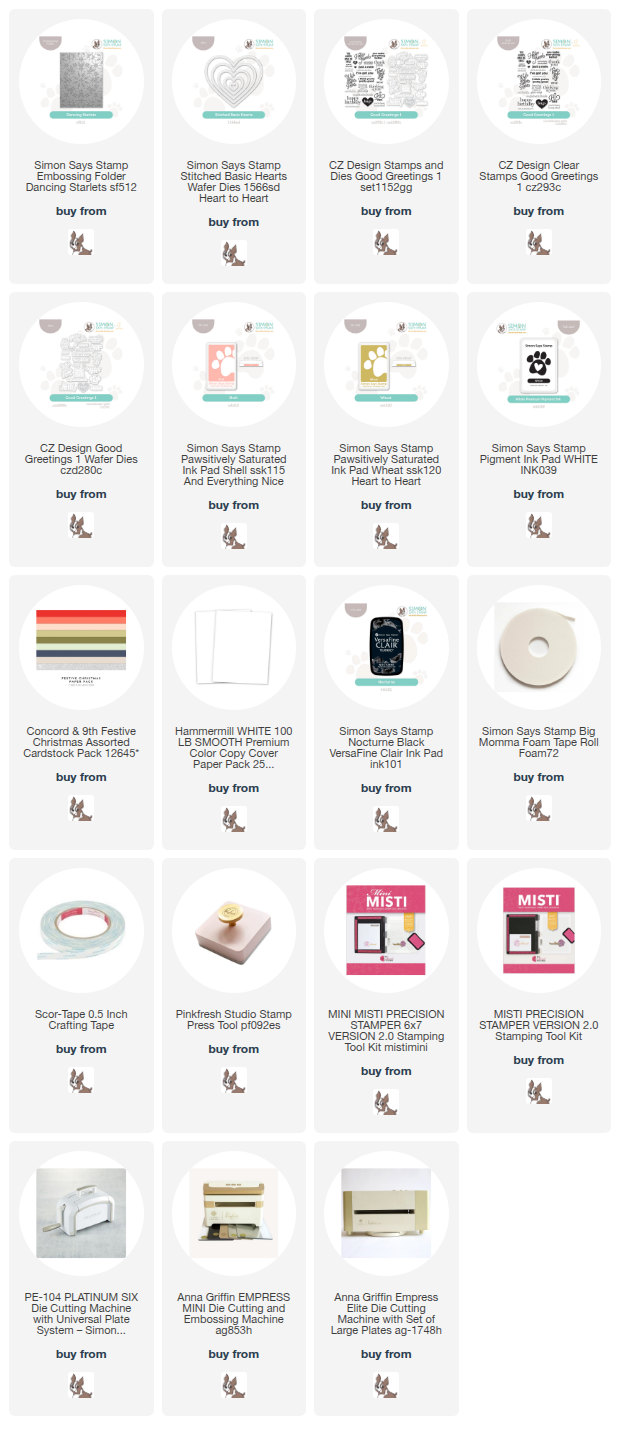
I started off by using the new Moonflower cardstock and embossing it with the new Blooming Wreath embossing folder. I used the debossed side of the panel, and swiped my White Pigment ink over the top to lighten the outside portion a bit extra. Then I blended just a touch of Lilac ink into the flowers in the wreath to make them pop a bit extra. I added the Thank You Sentiment die, cut from glitter cardstock and vellum for the shadow layer, and added a secondary sentiment from Thanks, Mom. The butterfly is from Butterfly Escapade, die cut from the new Seashell cardstock and embossed, then with the center cut from Honey Gold cardstock. I then went crazy with Iridescent Clear Drops to embellish the flowers - I love all that sparkle! Here is a closer look at the finished card:


Product links are all below - including affiliate links where possible, which simply means if you use one of the links below that I receive a small commission at no additional cost to you. Thanks so much for stopping by! Have a wonderful day!!!


Wednesday, February 18, 2026

In and Out Embossing Folder Technique - Simon Says Stamp

Good morning! Okay - I am SOOO excited to share today's cards - it's kind of a fun mixing of different techniques, and I love how it turned out! I also used one more final leftover from the previous string of cards - these are the heart cut outs from the shaker cards I shared yesterday! I used lots of supplies from Simon Says Stamp to put these together - keep reading to find out how!


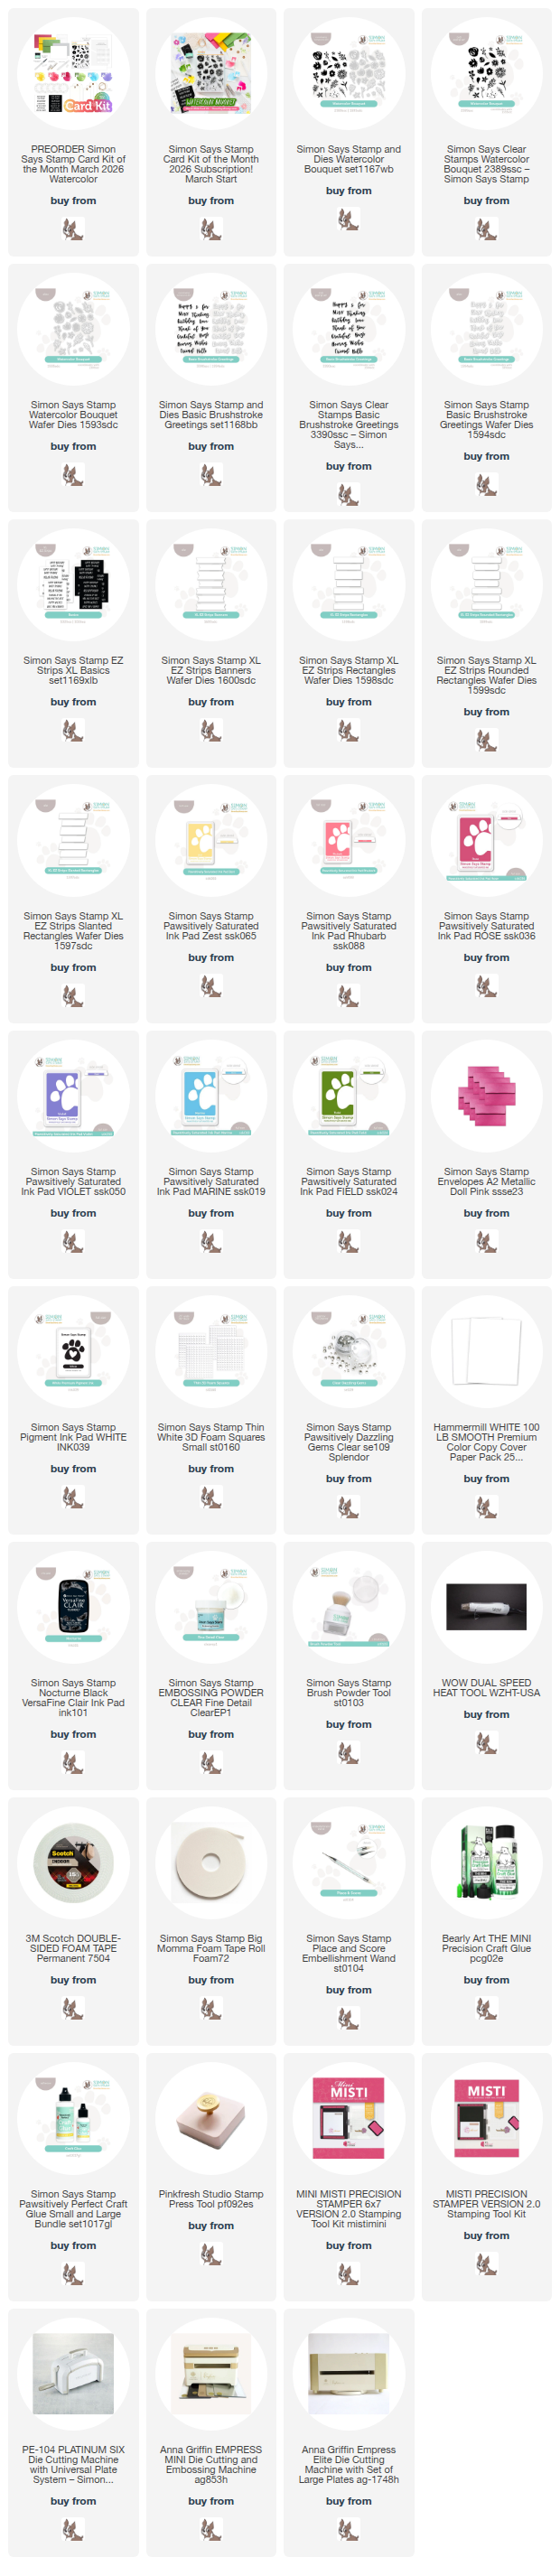
This card uses both the embossed AND debossed side of the Dancing Starlets embossing folder. It works so great, because it is a symmetric design. I first used it with white cardstock, then turned the cardstock over and swiped an ink pad over the entire surface a few times. I used a full size Wheat and Shell ink pad. Doing this adds a light brushing of ink on the flat part of the cardstock, and leaves the debossed portions white, making the pattern pop. It also concentrates color around the detail places, making them stand out even more! Then, I ran the die cut hearts from Stitched Basic Hearts die through the embossing folder, taping them in the place I wanted them so they would be centered in the design. Then, I pulled out my White Pigment ink pad, and swiped that gently across the surface of the embossed side of those. This time, the white ink stuck to the raised areas, leaving the underneath portion the colored cardstock color. Then I carefully placed it with Big Momma foam adhesive (for subtle dimension!) in place over the other panel, so it created a sort of inlaid and reverse image. Isn't it cool? I'm so happy with how it turned out! To finish, I simply added the hugs sentiment, stamped and die cut with Good Greetings 1 stamp set, and the tiny supporting sentiment from the same set, hand trimmed into a banner shape. Here is a closer look at the details of this cool technique: 


Product links are all below - including affiliate links where possible, which simply means if you use one of the links below that I receive a small commission at no additional cost to you. Thanks so much for stopping by! Have a wonderful day!!!


Sunday, February 15, 2026

Ink Stroke Birthday Wishes - Simon Says Stamp March 2026 Card Kit

Good morning! I'm dropping by to share another card using the newest March 2026 Simon Says Stamp Card Kit - Watercolor BouquetThis month's kit is an explosion of spring colors and flowers! The included stamp set by the same name has some beautiful solid floral and greenery elements, perfect for all kinds of watercolor techniques. There are some tags, foam squares, sentiment strips, ink cubes, and that's all not to mention the watercolor paper, envelopes, and more! And, there are  some great add on items available that coordinate wonderfully with this kit, and are live in the store now as well!

The monthly card kit has even more perks now when you sign up for the Subscription service! There is a video HERE you can watch to learn more! 


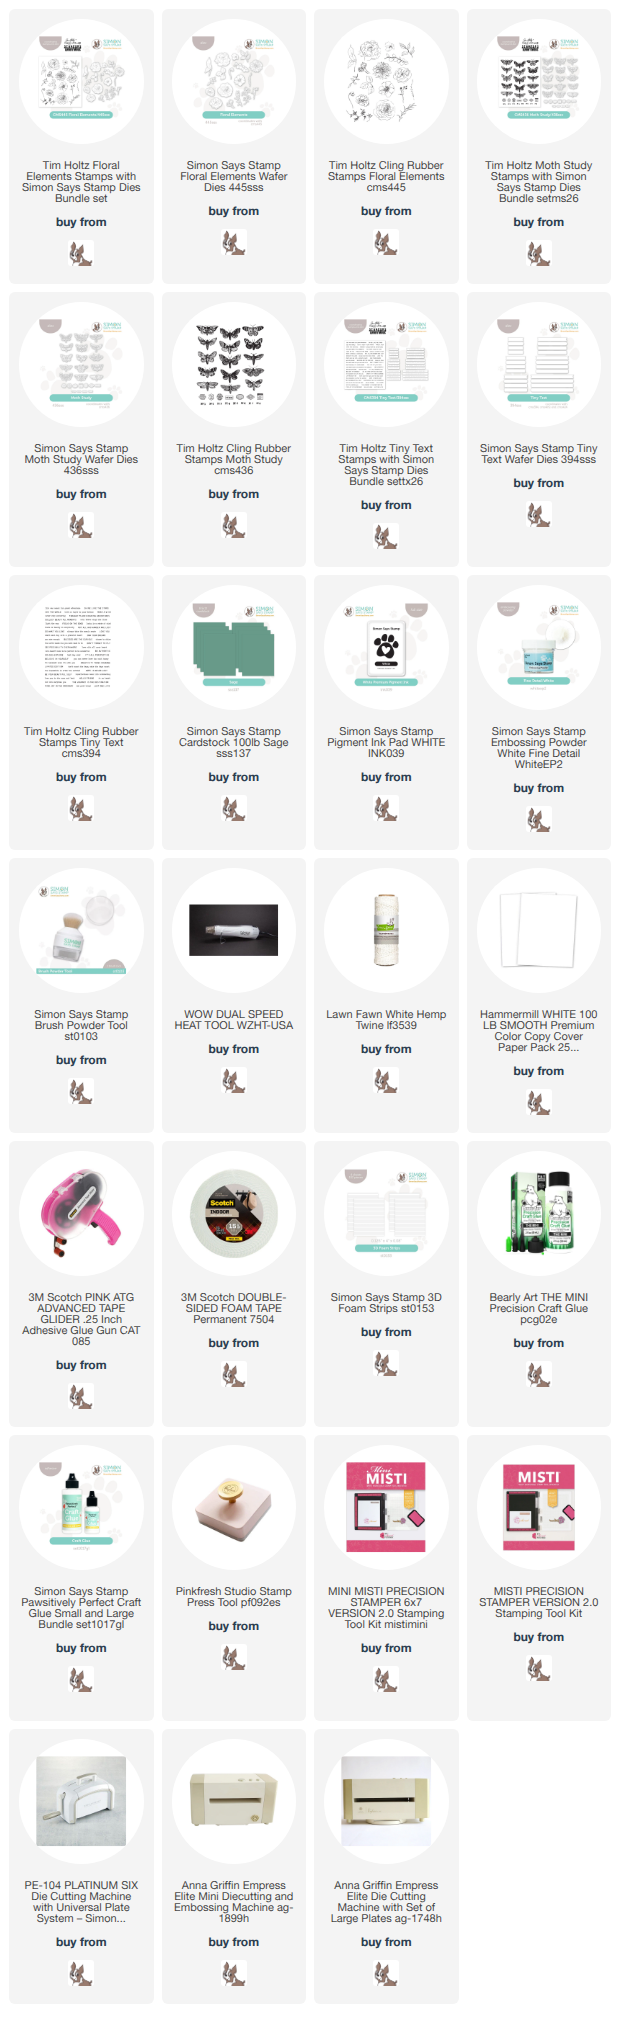
For this card, I had fun with the amazing ink cube bundle in the kit! I adore the colors in this pack - so fresh and bright! I've included the colors in full size pads in the link list below, but obviously this technique used the cubes. :) I swiped them directly onto a panel of white cardstock, which gave a lovely and sketchy watercolor effect. Then, I grabbed one of the tiny flowers in the Watercolor Bouquet stamp set and stamped some of them tone on tone over each section. It gives a lovely bit of muted texture! Then, I grabbed the ink splatter image from the same stamp set, and stamped it all over in White Pigment ink to add even more texture and interest. I added a sentiment from XL EZ Reverse Basics Sentiments strips, die cut with the separately available XL EZ Strips Banners die. The secondary sentiment is from another separately available set - Basic Brushstroke Greetings - stamped in Nocturne ink then heat embossed with clear ink for some fun shine. I popped that entire panel up with foam on a white cardbase, then finished off with a few tiny Clear Dazzling Gems in the flower centers! all together, it pairs perfectly with the Metallic Doll Pink envelope included with the kit! Here are more close up photos of this finished card:


Product links are all below - including affiliate links where possible, which simply means if you use one of the links below that I receive a small commission at no additional cost to you. Thanks so much for stopping by! Have a wonderful day!!!