Showing posts with label may arts string. Show all posts

Monday, July 27, 2026

Miss You Cottage - Simon Says Stamp

Good morning! Last week while getting ready to go camping for the weekend, I spotted a couple things in my leftovers and extras pile (tell me I'm not the only one who has one of those?!?), and had a burst of inspiration! This card came together so quickly using a mix of supplies from Simon Says Stamp, and while I probably never would have pulled these items out together to create this card, I love how all the elements came together in this quirky design!


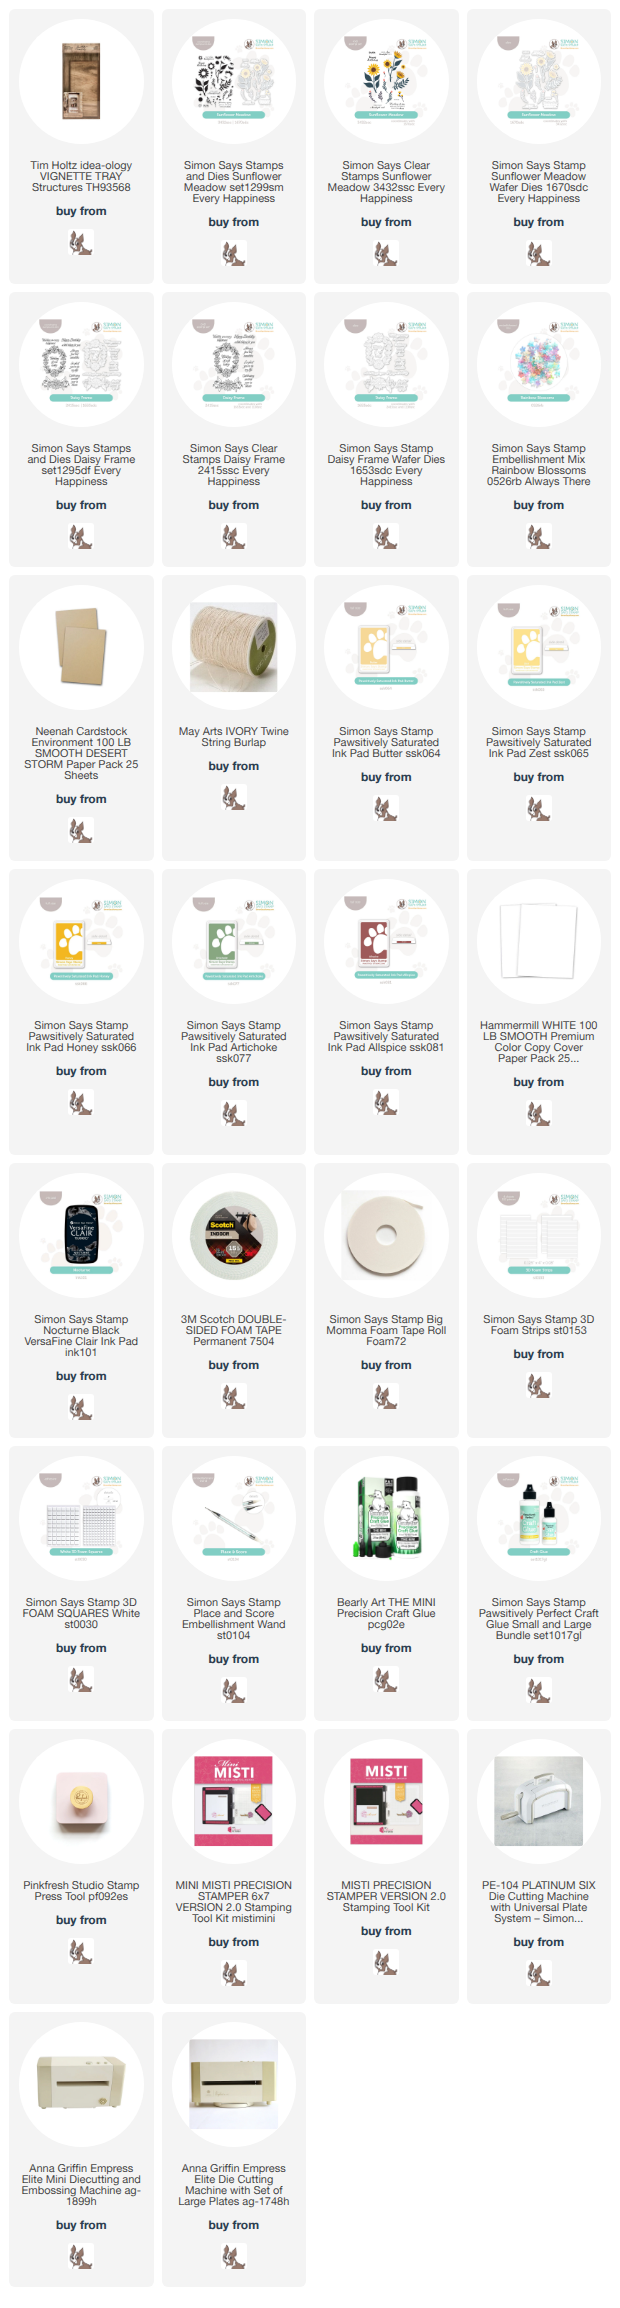
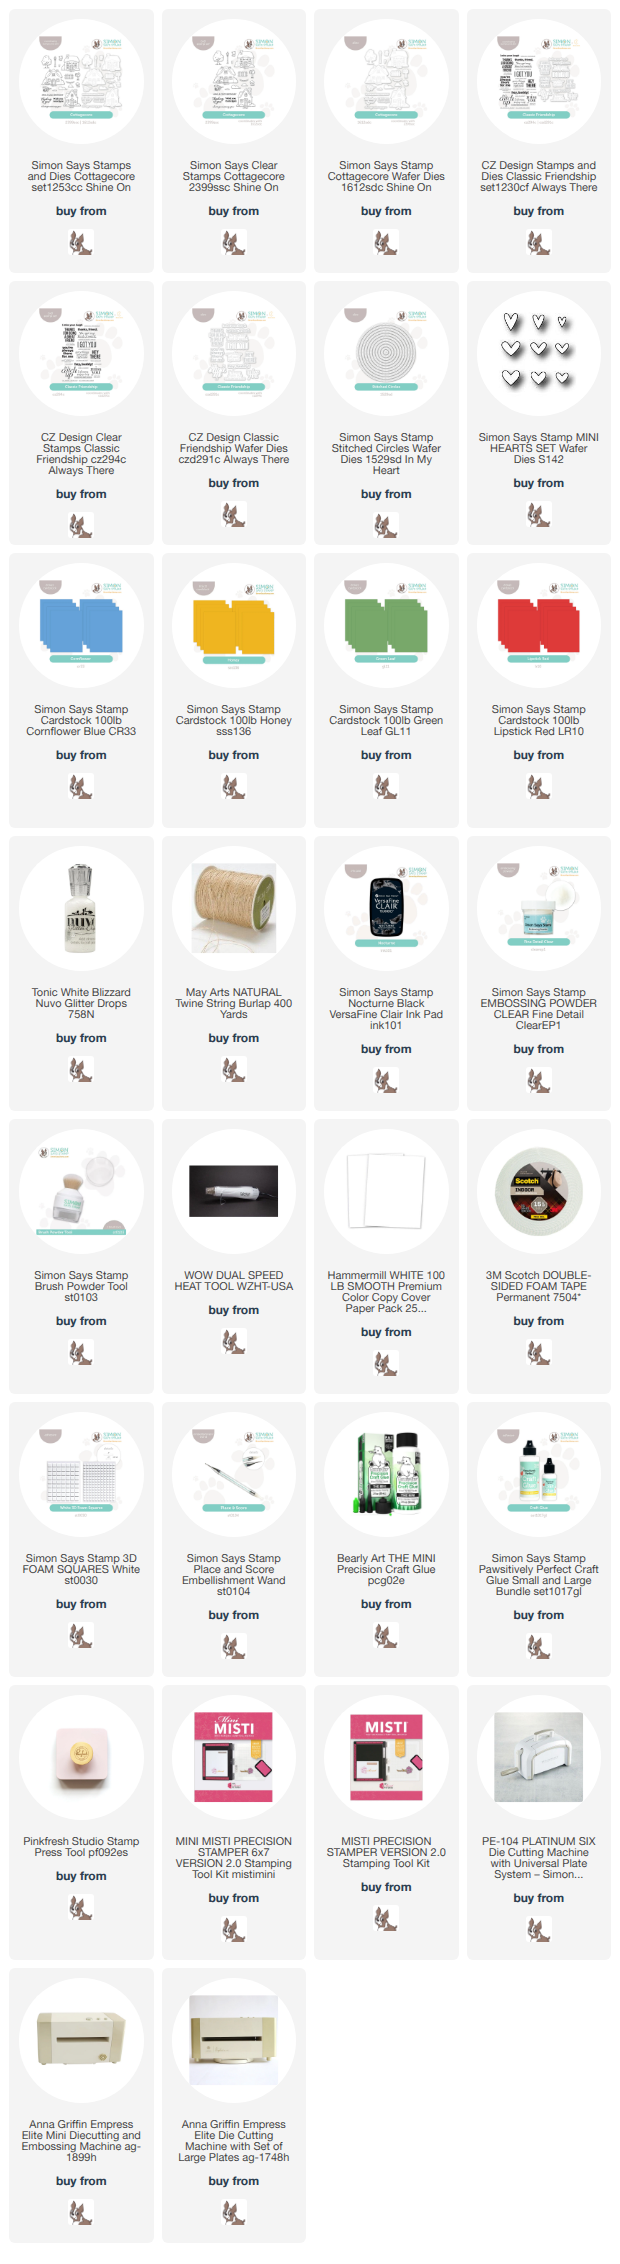
That adorable little house was stamped in black and clear heat embossed using the adorable Cottagecore set - leftover from another project that I took in a different direction. I had a partially die cut circle that was also something I hadn't ended up using as I planned - die cut from an A2 panel using the largest of the Stitched Circles dies. I pulled out a fun assortment of colored cardstock - Cornflower, Honey, and Green Leaf, and trimmed strips in two different sizes. I tucked the larger ones at an angle across a white cardbase, then added the partial circle panel with foam adhesive, and the house tucked in over that with more foam adhesive. I stamped a sentiment from Classic Friendship directly on the cardbase, then die cut a few hearts using an older set called Mini Hearts and some Lipstick cardstock to look like they were popping out of the chimney. I added glitter drops on those hearts for extra sparkle, added the thin strips of cardstock to the bottom of the card, and finished off with some May Arts Natural jute string wrapped around and tied in a bow! Here is a closer look at the finished card:


Product links are all below - including affiliate links where possible, which simply means if you use one of the links below that I receive a small commission at no additional cost to you. Thanks so much for stopping by! Have a wonderful day!!!
Friday, July 24, 2026

Sunflower Framed Art - Simon Says Stamp Every Happiness Release Blog Hop Day 1

Good morning! Excited today to be joining in on Day 1 of an inspiring blog hop to celebrate the BRAND NEW Every Happiness release from Simon Says Stamp! Make sure to check out all the inspiration with this new release AND link up your creations as you receive your orders HERE in the Gallery created just for this release! And check out the graphic below to receive a FREE not-yet-released adorable Golden Sunflower stamp set FREE with any purchase from the Every Happiness Release products (will be automatically added to card!) through July 26, 2026 - while supplies last (offer ends at 11:59 PM EDT)!!!

Today I have a home decor project to share, instead of my usual card! I've been trying to stretch myself to make other projects, and I love how this one came out. Wouldn't it be a fun give to give someone to let them know you are thinking of them?


This project started off with one of the Tim Holtz Vignette Trays that I used to build my scene. I stamped out the adorable new Sunflower Meadow set using a mix of Butter, Zest, Honey, Artichoke, and Allspice inks, then die cut each image out with the coordinating dies. I tore the edge of a couple panels of Kraft cardstock at the perfect width to fit in the wooden tray, I built the scene outside the box, arranging my flowers on top of the first layer, then adding the next layer of ground over the top with foam adhesive. I wrapped some twine around a few times and tied in a bow, then adhered into my box with foam adhesive and liquid glue to make sure it dried and stayed stable, supporting the top portions with small pieces of more foam adhesive. I added a sentiment from Daisy Frame, and embellished with a good sprinkle of Rainbow Blossoms embellishment mix from a previous release. Here are more photos of the finished project, including a few showing it placed as home decor in my house:


GIVEAWAY INFO:
Simon Says Stamp will be giving a $25 gift certificate to their online store at each stop along the hop - so make sure and leave a comment before you leave for a chance to win! Winners will be announced next Wednesday on the Simon Says Stamp Blog.


Product links are all below - including affiliate links where possible, which simply means if you use one of the links below that I receive a small commission at no additional cost to you. Thanks so much for stopping by! Have a wonderful day!!!

Tuesday, July 14, 2026

Textured Floral Card Trio - Simon Says Stamp August 2026 Card Kit

Good morning! I'm dropping by to share a few more cards using the newest August 2026 Simon Says Stamp Card Kit - Made to Flourish! This month's kit is a wonderful and eclectic mix of florals - most of them aren't really designed to work together, but instead to give you lots of fun variety for whatever technique or style you want to use! The included Made to Flourish stamp set has some adorable floral and vase images, and super cute and playful sentiments. The coordinating dies are also included in the kit, which is amazing! There are some printed floral watercolor panels, a layered floral die, an embossing folder, beautiful floral ephemera, and that's all not to mention the cardbases, watercolor cardstock, Distress Crayons, and more! And, there are also several add on sets available in the store now!

The monthly card kit has lots of perks now when you sign up for the Subscription service! There is a video HERE you can watch to learn more!


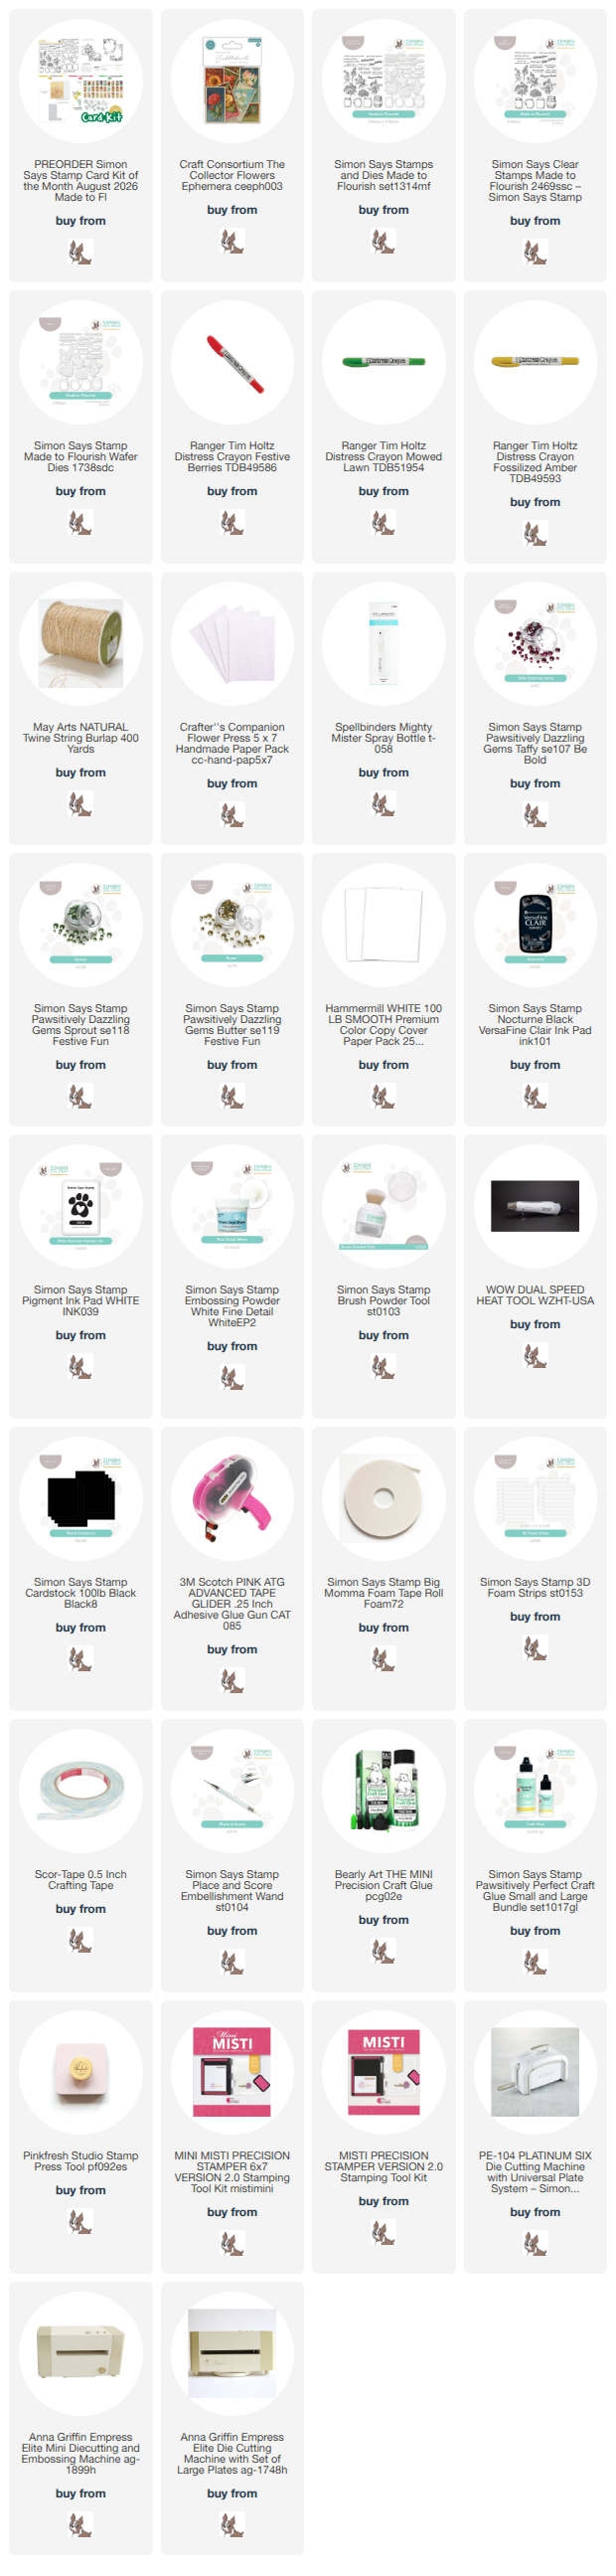
I had lots of fun with this fun layered set! I actually had recently picked up THIS pack of handmade paper from SSS, and used those as the base for my cards. I trimmed a couple pieces in half to make them perfectly sized for my cardfronts (which I trimmed slightly less wide, so they are 4"x5 1/2"). I scribbled each of the 3 Distress Crayons in my kit (Festive Berries, Mowed Lawn, and Fossilized Amber) onto my glass mat, misted with water, then smooshed the handmade paper onto them to get a soft background. They are SOOO pretty and textured - I love it! Once those dried, I added a couple of the Flowers Ephemera from the kit onto each one, popping up with foam, and a sentiment from the Made to Flourish stamp and die set, heat embossed in white on black cardstock. A few coordinating Dazzling Gems in Butter, Sprout, and Taffy, and then some May Arts jute string (I added more from my stash beyond the 12" in the kit) - and these cards were finished! Here is a closer look:


Product links are all below - including affiliate links where possible, which simply means if you use one of the links below that I receive a small commission at no additional cost to you. Thanks so much for stopping by! Have a wonderful day!!!

Tuesday, June 23, 2026

Thank You Floral Stem - Simon Says Stamp

Good morning! So, yesterday I shared a bright and happy floral card using a new stencil that released recently from Simon Says Stamp to coordinate with an older stamp set. Today I'm sharing another of the images from that set, and even using the same ink colors, but gold heat embossing instead of black, and some softer toned background elements to pull it together for an entirely different look!


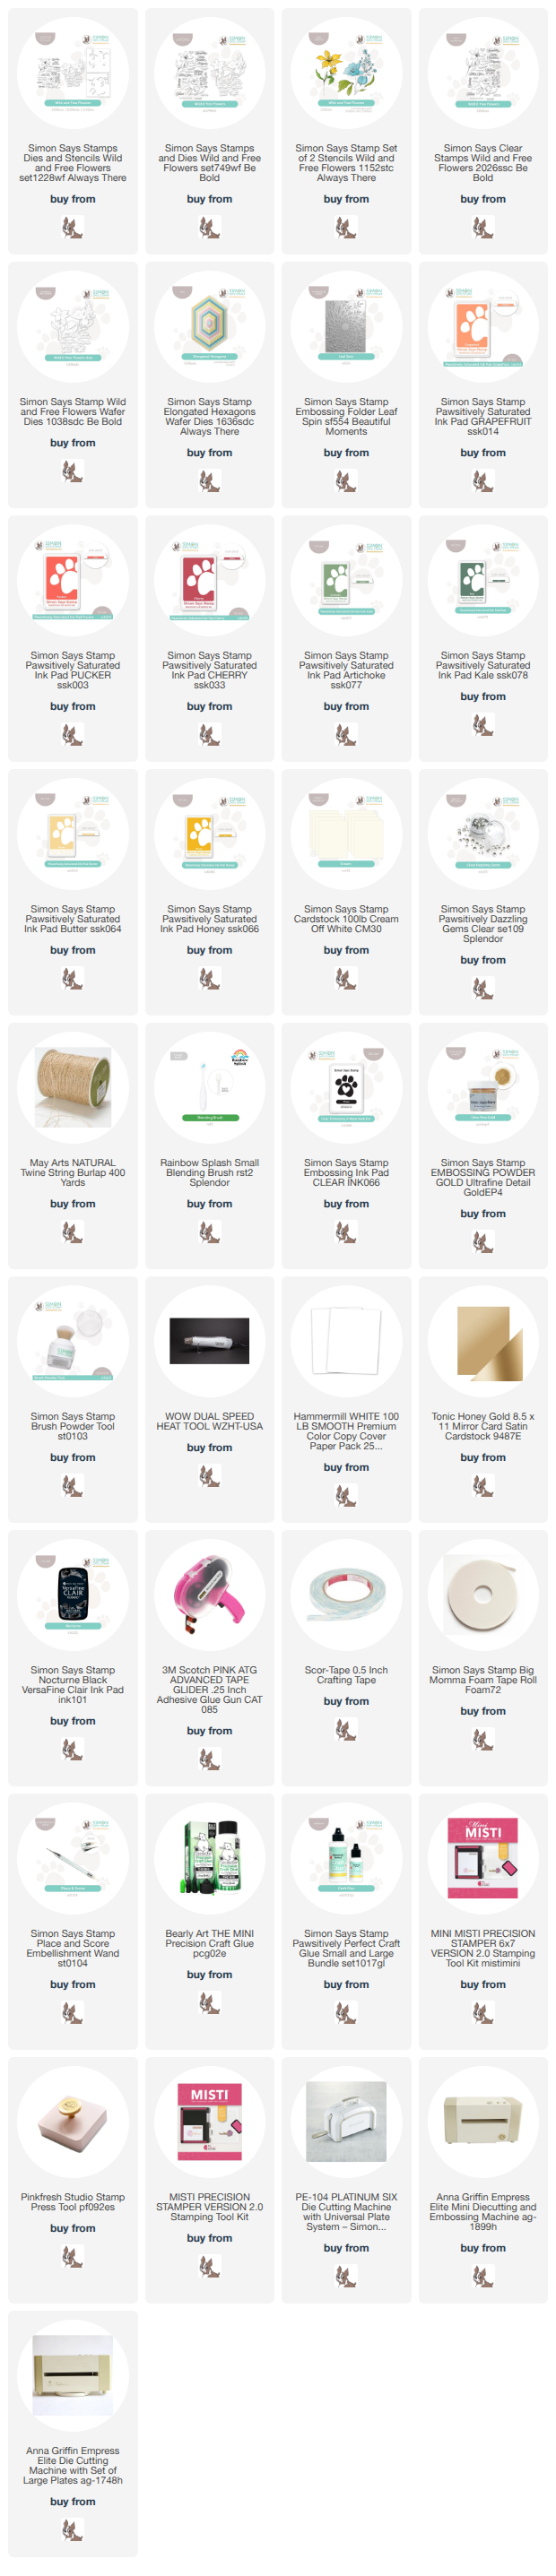
For today's card, I chose to heat emboss in gold instead of black for a softer more romantic effect. I used a different stem from Wild and Free, and then stenciled and ink blended with the same Grapefruit, Pucker, Cherry, Artichoke, Kale, Butter, and Honey inks before die cutting with the coordinating die. I used softer background colors as well, so started with some Cream cardstock that I embossed with Leaf Spin embossing folder, then layered over a couple of Elongated Hexagons cut from Honey Gold and white cardstocks. I stamped and die cut a sentiment from the same set as well, and added a few Dazzling Clear gems tucked under that sentiment. Finished off with a loose wrap of twine tied in a loopy bow of May Arts natural jute string! Here are some more photos of that finished card:


Product links are all below - including affiliate links where possible, which simply means if you use one of the links below that I receive a small commission at no additional cost to you. Thanks so much for stopping by! Have a wonderful day!!!


Saturday, April 4, 2026

Masculine Birthday Trio - Simon Says Stamp

Good morning! I'm back today (as promised!) with a second set of masculine birthday cards, using many of the same supplies from Simon Says Stamp. You may recognize this pattern paper? Yep - these are the panels that I cut the frames out of for yesterday's cards! I always love not wasting anything, and these were no exception. Instead of just cutting from a corner of the pieces of pattern paper, I cut from panels so that I could use the windows I created for more cards!


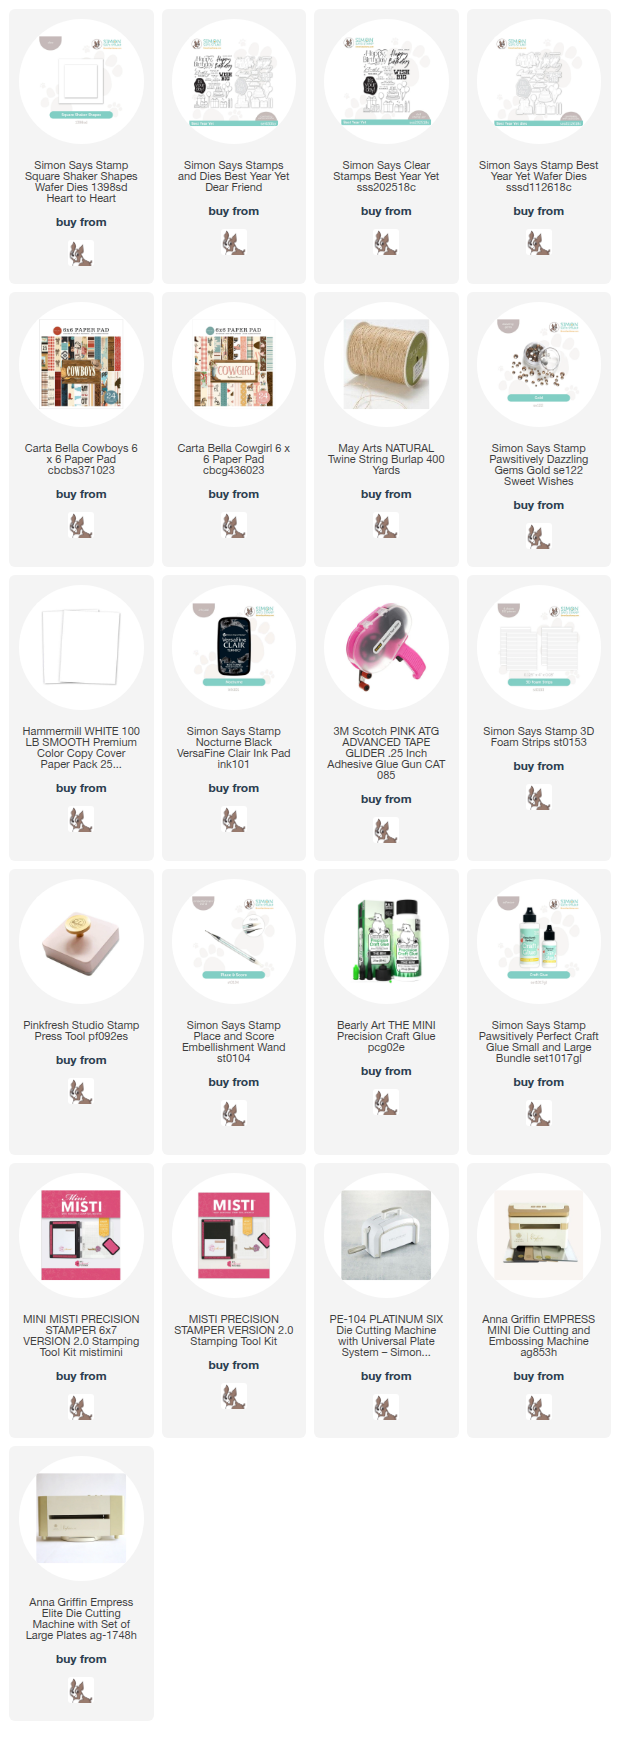
The pattern paper is from the same Carta Bella Cowboys and Cowgirl paper pads from yesterday, and the window was cut with Square Shaker die. I stamped some images and sentiments from the older Best Year yet stamp set on my cardbases behind the windows first, then adhered those framed panels with foam adhesive over the top. I wrapped several wraps of Jute Twine around each card, and tied in a bow - I thought about just tying a knot to make them even more simple and masculine, but decided a bow was okay! :) Haha! Finally, I added a few Dazzling Gold gems - again, pushing the masculine a bit, but I couldn't resist! I guess if you put some money inside, is any guy really going to care?!? Here is a closer look at this set of cards:


Product links are all below - including affiliate links where possible, which simply means if you use one of the links below that I receive a small commission at no additional cost to you. Thanks so much for stopping by! Have a wonderful day!!!


Monday, November 10, 2025

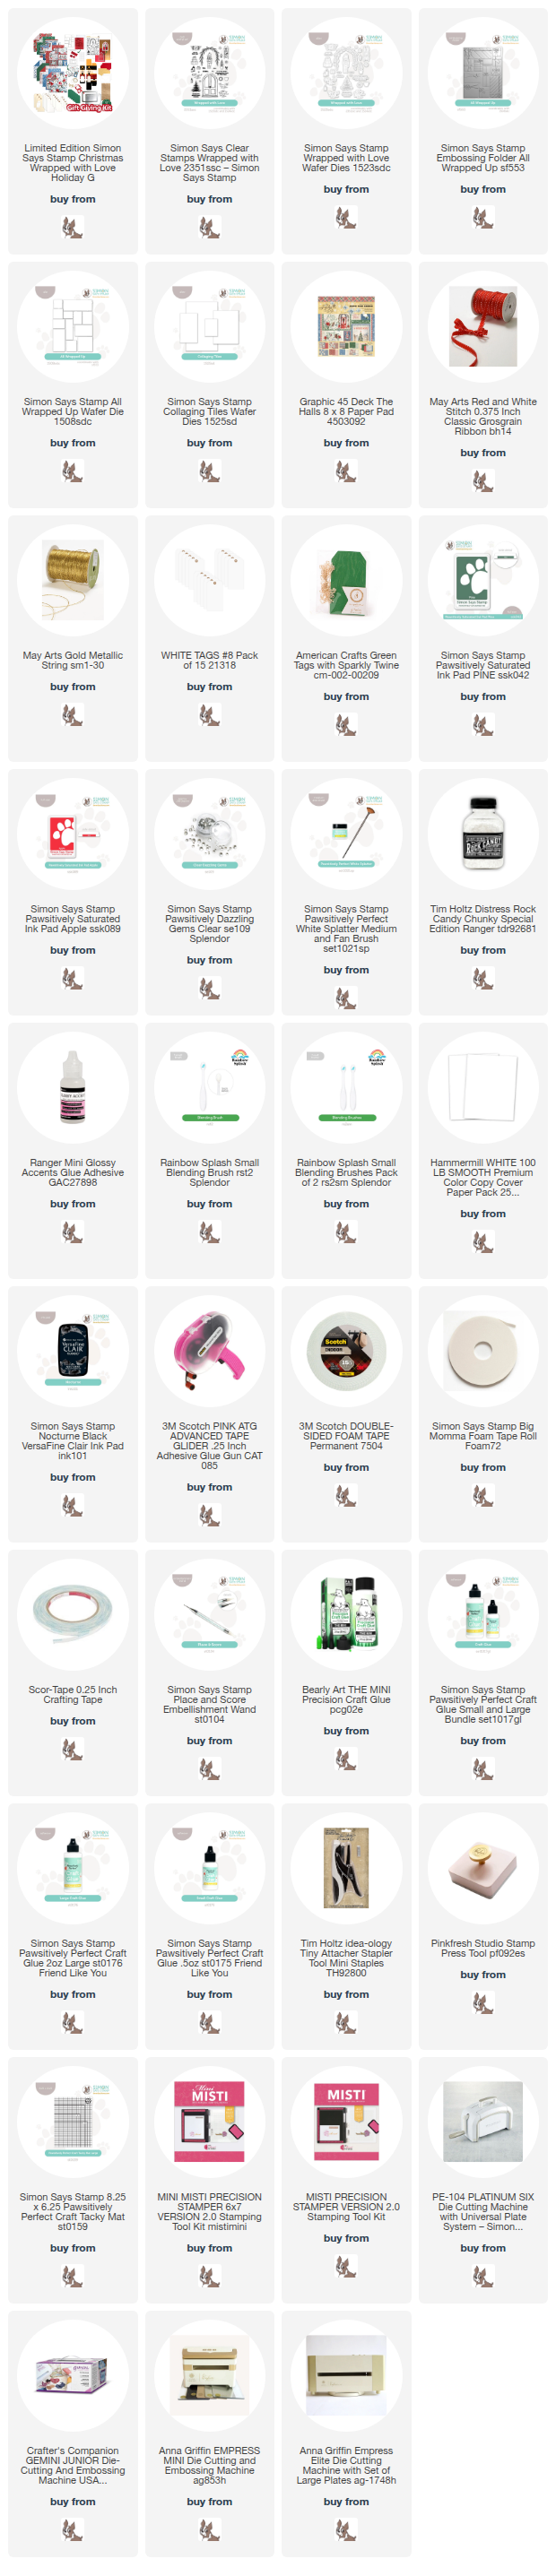
Wrapped with Love Limited Edition Holiday Gift Giving Kit - Simon Says Stamp

 Hello! Today I've got a few cards to share with you using a BRAND new LIMITED edition holiday gift giving kit from Simon Says Stamp! While this kit is definitely geared towards gift packaging and tags (and I have a few tags to share below as well), I also couldn't resist making a set of cards witht he lovely pattern paper in the kit! Every beautifully packaged gift needs a card as well, don't you think?


These first cards are pretty much made up of lots of the pattern paper in the kit. The new Collaging Tile die is actually sized perfectly to fit some of the square elements in the pattern paper - so I used it to die cut out the center pieces on these cards, then trimmed other paper to mat behind or fit on my cardbases. I added some of the pretty red May Arts ribbon and Gold metallic string to embellish, and foam adhesive to pop the front panel up for dimension. Keep scrolling to see the tags I created - but here is a closer look at these cards:


Next up - more of that pattern paper, but this time mixed with a bit of the included stamp set! For these, I used the Collaging Tile die again, but a smaller one to cut out the main center pieces, then trimmed varying sizes of pattern paper to adhere behind it, trimming off anything that hung off the edge of the tag. I used the branch die from the Wrapped with Love stamp set with Pine ink, and stamped a bit of a border around the edges. For the left card, I kept the color more bold, and the right card I used more second generation stamping for a softer effect. I couldn't decide which style I liked better, so I did one of each! I added more of that red ribbon at the top, stapled in place, then embellished with Dazzling Clear gems. Finally, I applied some Glossy Accents in select areas, and sprinkled on the magical Rock Candy Chunky Glitter for lots of sparkle! I have one more set of tags below - but here is a better look at these tags and their sparkle:


These final tags are tiny and cute! I used the American Crafts Green Tags with sparkly twine, and stamped the floral image from the Wrapped with Love stamp set around the edges, and added some white splatter. I used a couple of the embossed and die cut Wrapped Up embossing folder pieces, cut from white cardstock, and with a bit of Apple ink blended over the top, and popped those up with foam, then added another sentiment from the stamp set. On the reverse (see the next photo), I stamped an additional sentiment and tiny bow image! Here are more photos of these finished tags:


Product links are all below - including affiliate links where possible, which simply means if you use one of the links below that I receive a small commission at no additional cost to you. Thanks so much for stopping by! Have a wonderful day!!!