Showing posts with label Glossy Accents. Show all posts

Wednesday, September 3, 2025

Sweater Weather - Simon Says Stamp STAMPtember Special Release

 Hello! Today I'm sharing a fun fall card featuring a new SURPRISE release from Tim Holtz and Ranger, available now at Simon Says Stamp! This release is some fun large bottles of Rock Candy glitter - including a NEW Chunky glitter! I absolutely love this version, and had fun creating a fall theme card with lots of sparkle! It seems like since the calendar switched over to September, it suddenly feels like fall. And I am here for it!


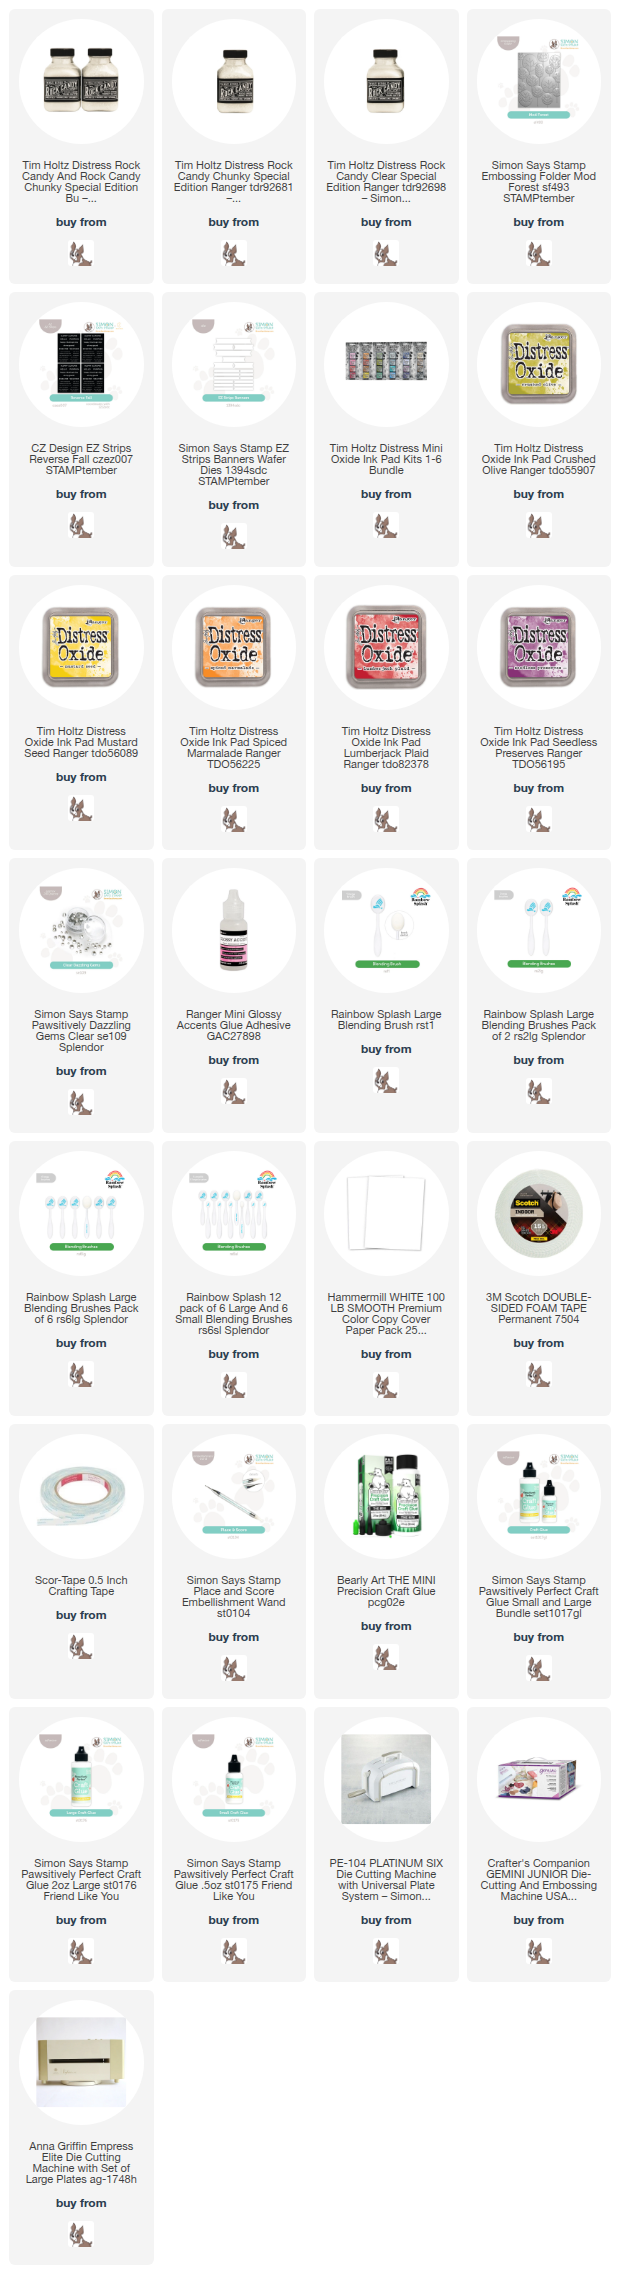
I started off by using the Mod Forest embossing folder on white cardstock. I blended Distress Oxide inks over the top, using Crushed Olive, Mustard Seed, Spiced Marmalade, Lumberjack Plaid, and Seedless Preserves. Then, I added a squirt of Glossy Accents to several of the trees, smeared it around with my finger, and sprinkled on the glitter, shaking off the excess. Isn't it the most beautiful sparkle?!? I added sentiments using Reverse Fall EZ Strips sentiment strips, die cut with the new coordinating EZ Strips Banners dies, popped up on foam, then finished off with a few Dazzling gems in Clear for a touch of extra sparkle! Here is a closer look at this finished card and all it's sparkle: 


Product links are all below - including affiliate links where possible, which simply means if you use one of the links below that I receive a small commission at no additional cost to you. Thanks so much for stopping by! Have a wonderful day!!!


Monday, July 28, 2025

Sail the Ocean - Simon Says Stamp

Hello! I'm popping in later to share this card than I intended, but better late than never, right? This card uses a fun stamp set that I hadn't had a chance to use, as well as some pattern paper and embellishments, all from Simon Says Stamp


I love a good pattern paper, and had recently picked up the Carta Bella Seashore 6x6 paper pad. As I was looking through my supplies, it caught my eye as a perfect pairing for the cute Ahoy Matey set that I hadn't had a chance to put to use yet! I started off by using a die cut arch from A2 Arches die set, and then stamped the main image slightly off the right edge. I added some torn paper over the bottom of that panel, trimming off the excess, then put the arch back in my MISTI to restamp so it added the details on the bottom where the water was! I stamped a sentiment at the top, then added a twine bow. I cut some different pattern papers down, and layered together in wonky layers using Big Momma foam adhesive for a touch of dimension between each layer. I added a pattern paper heart die cut from Geometric Heart Builder die, popped up with foam, and then with a good layer of Glossy Accents for a touch of shine. Finished off with a few Trinity Stamps Bubble Blow out accents for a bit of extra fun! Here is a closer look at this card:


Product links are all below - including affiliate links where possible, which simply means if you use one of the links below that I receive a small commission at no additional cost to you. Thanks so much for stopping by! Have a wonderful day!!!


Wednesday, May 28, 2025

Rainbow Thank You Teacher - Simon Says Stamp Moments in Time Release

Hello! I'm super excited to share my first card using the BRAND NEW Moments in Time Release from Simon Says Stamp! This card uses some of the fun new items, and  branched out of my usual color scheme into a bold and fun rainbow! I love how it turned out!


I started off by die cutting the pencil from Pencil Embossing Folder and die a total of 8 times, and then running each one through the embossing folder to add the texture. I then ink blended over each one with various SSS inks to create a rainbow of pencils! I ink blended a bit of each of the same colors on the bottom of a panel of watercolor paper, then misted it with water and let the colors run together. I layered a piece of white cardstock over the top portion, then layered my pencils on with foam adhesive so they matched up with their corresponding watercolor portion. I used the new Thank You Teacher die to create the sentiment - using vellum for the shadow layer, and black cardstock for the main part. I covered the black with Glossy Accents when the card was assembled to add some fun shine! I added glitter drops to the tips of the pencils, as well as the erasers for extra sparkle. Finished off with some white Lawn Fawn twine in a bow, and a coordinating sprinkle of Dazzling Gems for each color pencil! Here are more photos of the finished card:


Product links are all below - including affiliate links where possible, which simply means if you use one of the links below that I receive a small commission at no additional cost to you. Thanks so much for stopping by! Have a wonderful day!!!


Monday, March 10, 2025

Puppy Birthday Card Duo - Simon Says Stamp

 Good morning! This weekend I realized I need a couple of birthday cards for my adorable twin nephews, so I pulled out a mix of older and newer supplies from Simon Says Stamp, and made these cute puppy theme cards! I was so happy with how they turned out!


For these cards, I wanted to use the adorable new Round of Appaws set, but create birthday cards. So I pulled out a couple older birthday sentiment sets - Big Old Birthday and Best Year Yet. I started off by stamping and building my sentiments, using Artichoke ink for the large main sentiment, then stamping the additional ones in black. Next, I stamped the 3 puppies twice each, and several of the paw prints, and die cut with the coordinating dies. I grabbed the balloon from Best Year Yet, and stamped it in a placement directly next to the sentiments so I could pop the one puppy over it so it would look like it was holding the balloons. I paper pieced the balloons with Sage cardstock, then covered them with Glossy Accents to make them a little more realistic and shiny! I added some simple grounding with my gray Copic markers, and a touch of pink to each of the puppies cheeks, and then mounted them all with foam adhesive. Finally, tucked a few of the paw prints on each card, and mounted those panels on Sage cardbases to finish! Here is a closer look at each of these cards:


Product links are all below - including affiliate links where possible, which simply means if you use one of the links below that I receive a small commission at no additional cost to you. Thanks so much for stopping by! Have a wonderful day!!!


Friday, August 30, 2024

Birthday Love Flower Vases - Simon Says Stamp

 Good morning! I'm back with another little card for the month using some supplies from Simon Says Stamp - I had fun with some inky watercolor blending, a bit of Glossy Accents, and glitter for some 3 dimensional effects!

For today's card, I started off by stamping my images from Garden Fresh stamp set on watercolor paper, and added a sentiment from the Big Old Birthday stamp set. I then did some ink blending around the edges before misting with water. This gave a fun and simple pop of color to the panel - and I love the sort of faux watercolor effect it gives! I wanted to add some extra texture, so I covered each of the vases with a good solid coat of Glossy Accents, then sprinkled on some fine Rock Candy distress glitter along the right and bottom edge of the vases. This leaves part of the vases shiny and glossy, and then part of them looking a little frosted. It was hard to capture it in photos - but the first photo below shows it best! Scroll down to see them all:


Product links are all below - including affiliate links where possible, which simply means if you use one of the links below that I receive a small commission at no additional cost to you. Thanks so much for stopping by! Have a wonderful day!!!


Wednesday, August 30, 2023

Flower Jar Trio - Simon Says Stamp

 Good morning! I'm popping in to share a card I created recently using a fun stamp and stencil set from Simon Says Stamp - it's been a minute since I pulled out my Copic markers - and with the included stencils for the vase, there was minimal coloring needed on this card, so it was perfect!


It's funny, because overall, this is a fairly simple card - and you can see that clean and simple design. But looking at the supply list, there was a lot happening on it! I stamped and gold heat embossed the floral jars from Garden Fresh stamp set, and then added color on each one using the Botanical Jars stencil set, and 3 colors of ink for each layer (all listed below in the supply list). I then colored the flowers with Copic markers, and stamped my sentiment at the top of the panel. I added some white gel pen accents, and adhered that panel to a white cardbase, curling up the outer edges a bit for dimension. To finish, I added Glossy Accents to the jars to add some texture, shine, and a bit of realism! Here are more photos of this card - scroll to the last one for a good look at the shine from the Glossy Accents!


Product links are all below - including affiliate links where possible, which simply means if you use one of the links below that I receive a small commission at no additional cost to you. Thanks so much for stopping by! Have a wonderful day!!!


Monday, January 30, 2023

Hope Your Day is Sweet - Simon Says Stamp February Card Kit

 Good morning! It's the end of the month, so I'm once again late - this time thanks to another trip I took, then the cold I brought home as a souvenir! But, I'm finally popping in to share my first card using the (sort of) NEW February 2022 Simon Says Stamp Card Kit - Sweet Days! This month's kit is full of sweet touches! The included stamp set by the same name has sweet images and sentiments, there is a cute word die, some fun pattern paper, glitter sticker sheets and metallic cardstock, a stencil, and tri blend marker...that's all not to mention the cardstock, envelopes, and more!

I'm sharing a first card that is light, bright, and airy - with a bit of dimension and sparkly shine!

I'll come back to this later - but wanted you to see this fun shine! Have you ever put Glossy Accents over the top of glitter paper? It's such a fun and different look - extra sparkly and shiny!

Okay - back to how I created this card! I started off with a piece of some of the pattern paper in the kit. I die cut it with a Basic Rectangle die to trim it down.


Next, I die cut a window in it with the shadow portion of the Fancy Love die in the kit. I adhered one of the Adhesive Glitter sheets in the kit to white cardstock, and then die cut the main word out of that piece. Then I mounted both pieces with foam adhesive. I love the floating effect this gives to the word in the center - kind of magical!


I heat embossed a sentiment from the stamp set in the kit in white on black cardstock, trimmed it down, and adhered it at the bottom of that panel, tucking a little extra foam under the bottom edge, and using liquid glue to adhere it to the popped up panel. I added a few Pinkfresh glitter drops in aqua to add some sparkle, then coated the glittery word carefully with Glossy Accents, and let it dry thoroughly. So fun!


Here is a closer look at the entire kit contents - you can see it all HERE:


Doesn't that word just look like candy?!? And wouldn't this be a fun card to tuck a little coffee gift card into?


Product links are all below - including affiliate links where possible, which simply means if you use one of the links below that I receive a small commission at no additional cost to you. Thanks so much for stopping by! Have a wonderful day!!!