Showing posts with label Rubber Brayer. Show all posts

Tuesday, May 13, 2025

Vintage Floral Birthday Cards - Simon Says Stamp

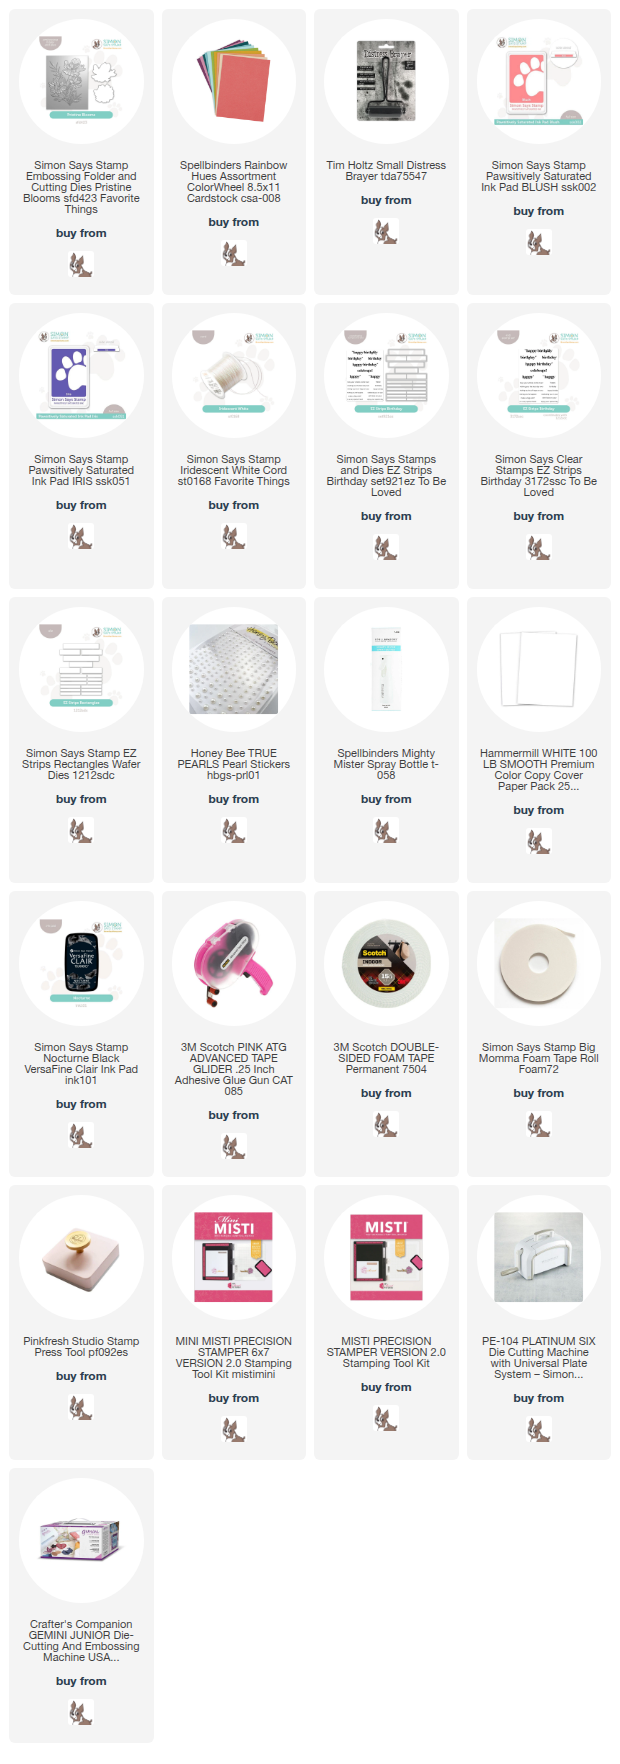
Good morning! I've been trying to make my way through supplies that haven't been used yet, so to that end, I have a couple cards to share today using a Simon Says Stamp embossing folder from a couple release back, and used a fun technique for a unique look!


To create these cards, I first used the lovely Pristine Blooms embossing folder on two colors of Spellbinders colored cardstock. I then used closely matching colors of SSS ink - Blush and Iris - with a rubber brayer over the back side of those panels (the debossed side). This gave a lovely vintage look that made these florals just pop! I stamped and die cut the EZ Strips Birthday sentiments, and adhered those with foam adhesive over some Iridescent Cord that I looped behind them. Finished off with a few adhesive pearls for an elegant finish! Here are a few more photos of these cards:


Product links are all below - including affiliate links where possible, which simply means if you use one of the links below that I receive a small commission at no additional cost to you. Thanks so much for stopping by! Have a wonderful day!!!


Tuesday, July 31, 2018

Technique Tuesday Countdown Day 2 - Sunny Flowers

Good morning! Welcome to Day 2 of sneak peeks for the August Release from Technique Tuesday! Woohoo!!! Lots of fun new stamps and dies in this release - make sure and check out the Technique Tuesday Blog to find links to all the Design Team's projects for today!


I used one of the new sets we are sharing sneak peeks of to create a little different style of a card for me! Instead of stamping and coloring this image, I did some distress inking over heat embossing, and carried that style over to my background on my card as well!


I used the new Sunny Flowers Stamp Set and Coordinating Dies for my card. I heat embossed the image in clear on white cardstock, then die cut the image. I then did some blending over the top with Distress Oxide inks - using a couple different colors.


I used a rubber brayer and more Distress Oxide Ink to create a background on my white cardbase, then adhered my image with foam adhesive and added a heat embossed sentiment on black cardstock from the same stamp set. Finished off with a touch of jute twine around the top!


Product links are all below - including affiliate links where possible, which simply means if you use one of the links below that I receive a small commission at no additional cost to you. Thanks so much for stopping by! Have a wonderful day!!!


Monday, March 12, 2018

Rubber Brayer Backgrounds - on the Unity Blog

Good morning! Wanna see how I used a a long forgotten tool - a rubber brayer - to create these backgrounds? Head on over to the Unity Stamp Company Blog for details and a video - you can find the post HERE!


Thanks for stopping by! Have a fabulous day!

Friday, April 27, 2012

Beautiful Flowers - Friends with Flair


Good Friday morning! Here is my post for this weeks Unity Friends with Flair:
Another new experiment for me - I used a rubber brayer and some Tim Holtz distress ink to make the background, then stamped the flowers from the Unity March 2011 KOTM over the top - several times for each inking so it had some softer more faded images. 
That was matted in white, then mounted on black cardstock. 
The sentiment was stamped and heat embossed in white. I mounted the whole thing on some older Basic Grey paper that I inked the edges of with more Tim Holtz distress ink. 
Finished off with a little bling, and some jute twine from Ribbon Carousel tied in a large loose bow on the side.
Thanks so much for stopping to see me! Hope you are having a wonderful week!