Tuesday, April 30, 2024

Delighted for You - Pinkfresh Studio Instagram Release Hop

Hello! Today I am part of a fun Instagram hop to celebrate the new Pinkfresh Studio "Delightful" Release. There are giveaways up for grabs, so hop on over to check that out if you haven't yet! I have had so much fun creating with this release - yesterday was the blog hop, and I shared a LOTS of cards for that! Today I'm sharing a a fun card I created on YouTube Live last week with Lea Lawson using similar sets but in slightly different ways! You can watch that video HERE if you want to see more details! 


Here is the replay of the live video if you'd like to watch it here:


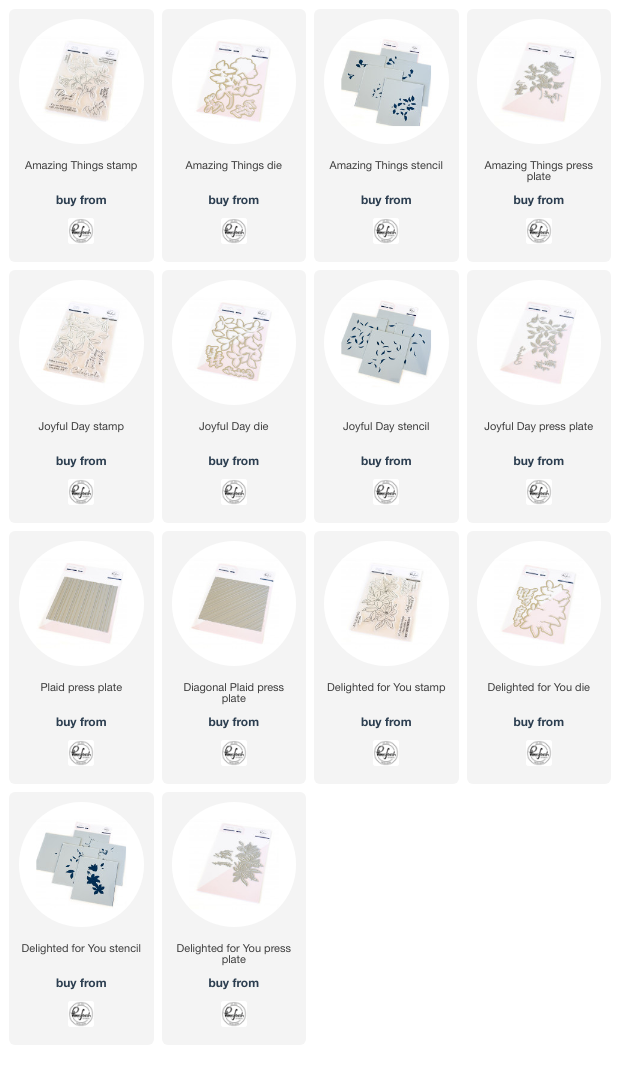
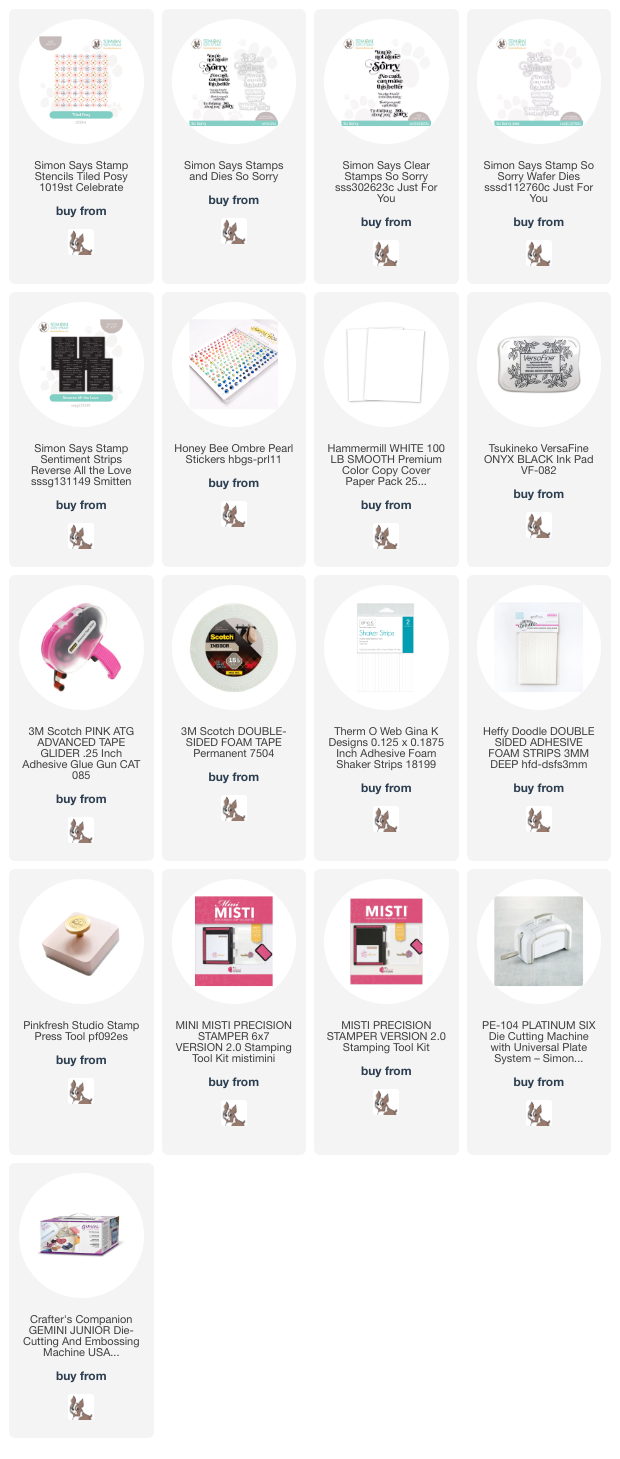
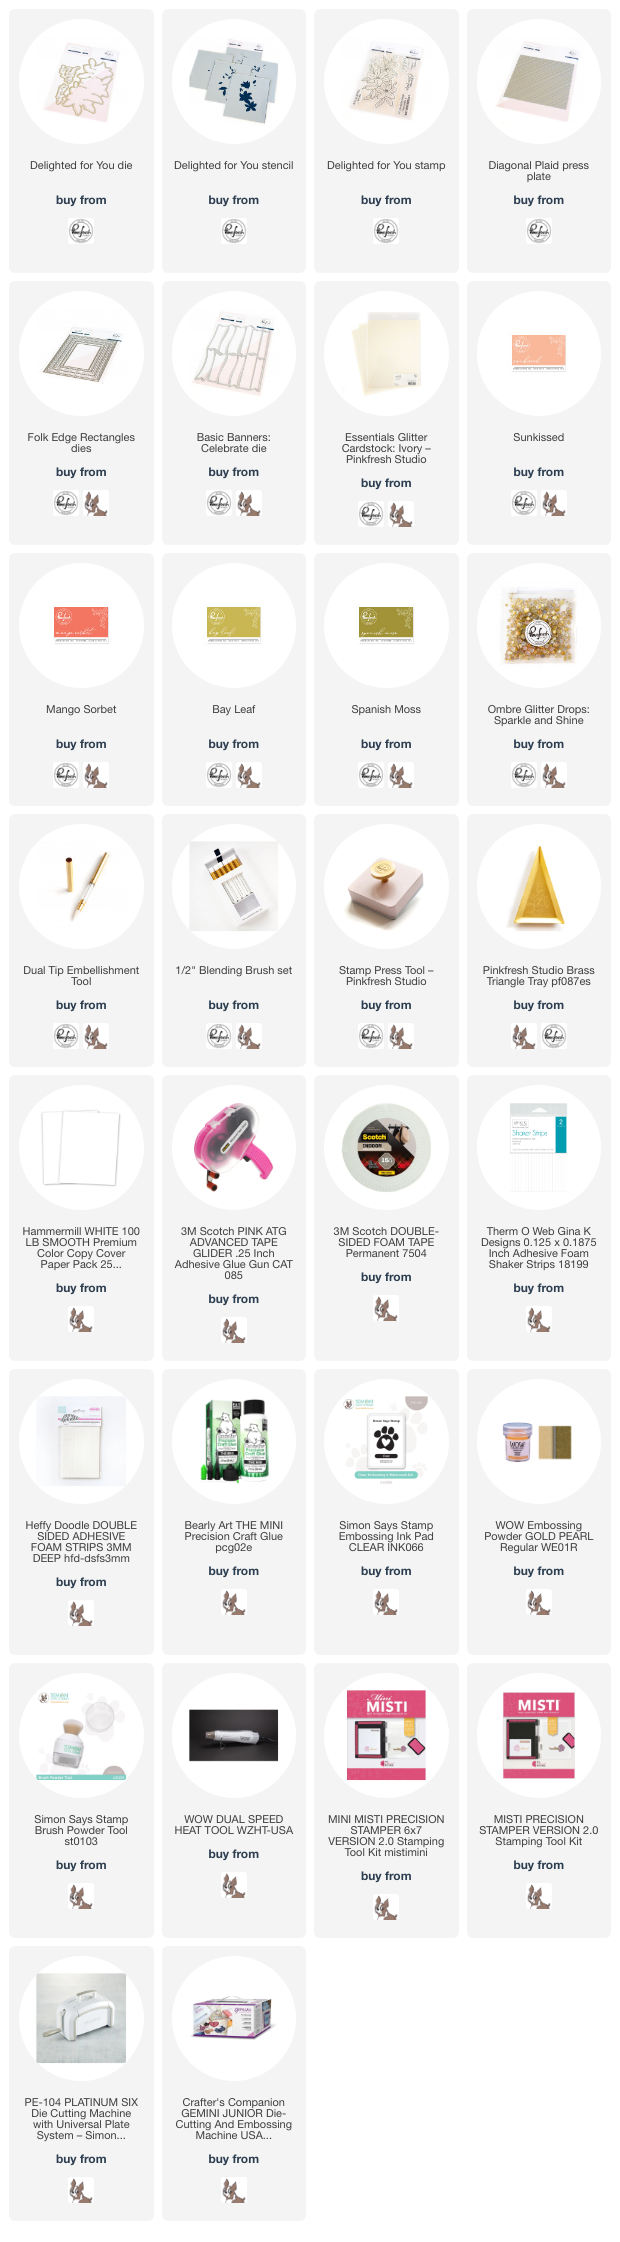
I used the new Diagonal Plaid press plate to create a dry embossed texture on my background - and in the end, used some leftover ink on that background to help the texture pop a bit more. I heat embossed the Delighted for You stamp set in Gold Pearl, then ink blended with the coordinating stencils in oranges and yellow-greens for a vintage feel before die cutting with the coordinating dies. I added a frame using Folk Edge Rectangles die cut from Ivory Glitter Cardstock, then added a sentiment from the stamp set, stamped in the same green from the leaves, and die cut using one of the banner shapes on Basic Banners die. Finished off with a few Sparkle and Shine Ombre glitter drops! Here are more photos of this finished card:


Product links are all below - including affiliate links where possible, which simply means if you use one of the links below that I receive a small commission at no additional cost to you. Thanks so much for stopping by! Have a wonderful day!!!


Lush Lemon background - Simon Says Stamp

 Good morning! Stopping by today to share a fun watercolor citrus card I made recently, featuring a slightly older stamp set from Simon Says Stamp - and some pattern stamping to create a background!


I used the You Shine stamp set, and the one large lemon image to create my background, stamping in black on watercolor paper, and turning and rotating to fill the panel. Then I smooshed a few colors of SSS Pawsitively Saturated inks on my glass mat, and used that to watercolor the images. I love the yellow and aqua together! I added some white splatters with Amersterdam Titanium ink, then adhered that panel to a white cardbase. I added a sentiment over the top, stamped in black from Big and Bold, and popped up with foam adhesive. Finished off with little trios of Glacier white jewels on each of the lemons! Here are more photos of this card:


Product links are all below - including affiliate links where possible, which simply means if you use one of the links below that I receive a small commission at no additional cost to you. Thanks so much for stopping by! Have a wonderful day!!!


Monday, April 29, 2024

Pinkfresh Studio “Delightful” Release Blog Hop

{This post contains affiliate links where possible, which simply means if you use one of the links that I receive a small commission at no additional cost to you. I greatly appreciate it!}

Good morning! Today is the blog hop to celebrate Pinkfresh Studio's "Delightful" Release! You aren't going to want to miss a stop along the way - TONS of inspiration and prizes up for grabs! YAY! Click HERE to shop the new release!  


There is also a FABULOUS freebie available while supplies last with this release - the Make a Wish press plate:


I have this set of cards that I created using it, and each one with 3 colors of ink for an ombre effect:

For each one, I added a simple sentiment from Basic Banners: Celebrate, and used the coordinating dies to add a layer of glitter paper for interest. And a few glitter drops add a touch of sparkle. This plate makes for perfect and simple cards though! Here are a few photos of these cards:


I have several cards to share today with the rest of the new release - and there are some super fun new items included! First up - this clean and simple card!


For this card, I hot foiled the new Amazing Things press plate, then added color with the coordinating stencils, and die cut with the coordinating dies. For the background, I used the Dotted Scallops coverplate die on the cardbase, then created a two tone plaid using the new Plaid press plate. This press plate is so fun and clever - you can rotate 90 degrees with the same plate, and get an overlapping effect! For this one, I used Fresh Pear and Ballet Slipper. I trimmed the panel at a diagonal, popped it up with foam, then added the florals. Stamped the sentiment from the coordinating stamp set, then die cut from one of the banner shapes from Basic Banners dies, and embellished with Metallic Gold Pearls. Here are more photos of this first card:


Next up - I went with an aqua and purple color combo!


For this card, I used the new Joyful Day press plate (including one of the sentiments that is part of the press plate set!), and hot foiled with matte silver foil. I ink blended it with a mix of purple and aqua tone inks, then die cut with the coordinating dies. I used that same plaid press plate for the background, only this time I used it to foil with Satin Pastel foils - love the look that gave as well! The oval was the center negative from Ornate Ovals, and gave a perfect touch of contrast from the background. A few Clear Drops: Lilac finish this one off. Here are more photos of this card:


And finally, this card mainly focusing on the plaid background, but heat embossing with florals is such a fun way to feature them!


For this card, I used the Diagonal Plaid press plate, which works the same as the previous ones. I used Satin Pastel foil, and Satin Gold foil. On the background, I used Dotted Scallops coverplate, then mounted a strip of the plaid panel along the side with foam adhesive. I heat embossed the lovely floral from Delighted for You in white on vellum, and die cut with the coordinating die. I used a sentiment from the set as well, and die cut it with a different banner from the Basic Banner die - this made a great place to add some adhesive on the vellum floral. I also tucked a bit on the parts that overlap the plaid. I finished off with a few Champagne and Aqua glitter drops, and some Iridescent Clear Drops as well. Here are more photos of this card:


GIVEAWAY INFO:

Make sure and leave a comment before you leave for a chance to win one of 10 $25 gift certificate to Pinkfresh Studio chosen from comments left across the hop! All winners will be chosen and posted on the Pinkfresh Blog on Tuesday, May 7, 2024 - so make sure and check back to see if you were a winner! Winners must check that page and claim their prize within 2 weeks.

Here is the entire blog hop line-up so you don't miss a single stop! Thanks so much for stopping by! Have a wonderful day!!!

You are invited to the Inlinkz link party!

Click here to enter

Stenciled Sorry Duo - Simon Says Stamp Celebrate Release

 Good morning! Today I'm stopping by with a couple more cards featuring a stencil set from the recent  Celebrate Release from Simon Says Stamp! I created one stenciled panel, and got two similar cards out of it - I love using angles on cards!


I used the Tiled Posy layering background stencil to create a fun panel, then trimmed it in half and created two cards with the one panel. I used the pattern of the flowers to pick where to create my angled trim of the panel. Then I used the So Sorry stamp and die set to create the large part of the sentiment, and added secondary sentiments to each one from the Reverse All The Love preprinted sentiments, popping both sentiments up with foam adhesive. Finished off with a few Honey Bee ombre pearl stickers - they so fun! Here are more photos of these cards:


Product links are all below - including affiliate links where possible, which simply means that if you use one of the links below, I receive a small commission at no additional cost to you. Thanks so much for supporting my blog, and stopping by! Have a wonderful day!!!