Showing posts with label Heidi Swapp Color Shine. Show all posts

Tuesday, June 19, 2018

Wish You Were Here - Simon Says Stamp Good Vibes Release

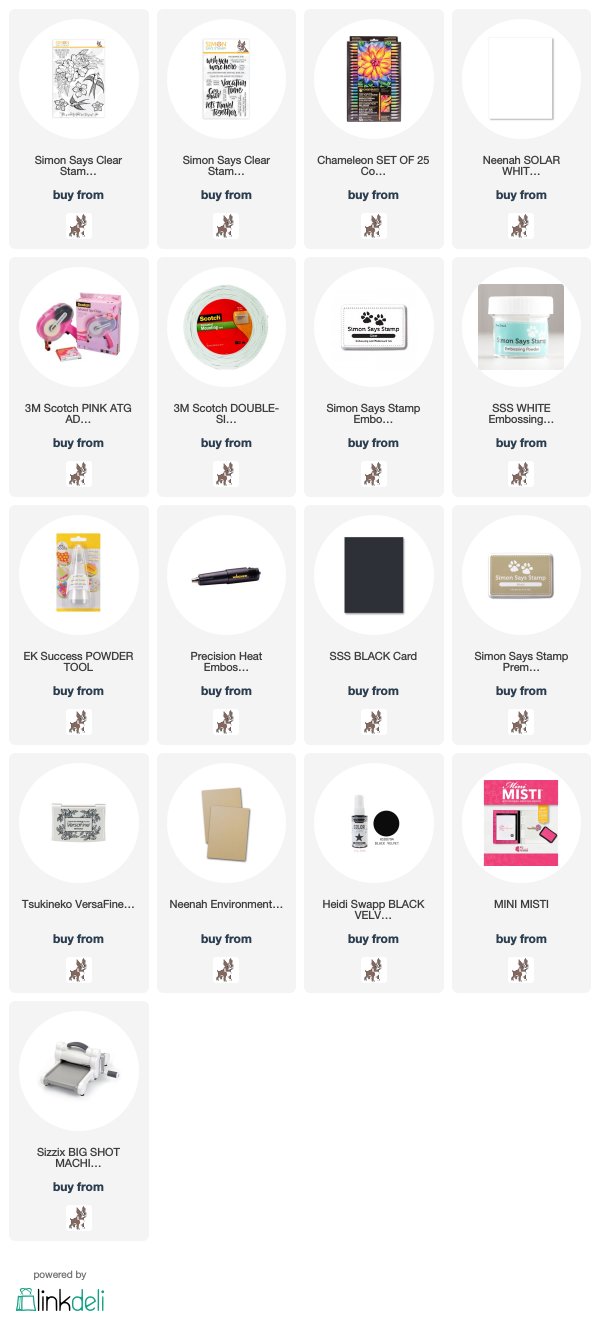
Hello! It's finally time to start sharing my projects with the brand new Simon Says Stamp Good Vibes Release! YAY!!! Such a fun and happy release - just like the name implies! I have a feeling you will be seeing lots of the stamp set that I used on the card I thought I would kick off with - a GORGEOUS and unique floral set - definitely a unique and different feel to this image! I should also note that it is HUGE! This isn't an A2 card - it is actually a 5x7 card!


I started off by stamping the large floral image from Strangeness Stamp Set on kraft cardstock with kraft in k and coloring with my colored pencils. It took a while - quite a while, but was so fun! Once I finished, I used my MISTI to perfectly line up the image, restamp, and heat emboss in white. At first, I regretted doing that - kind of wished I kept gone more neutral and stamped in gold or something along those lines. But...I couldn't let ALL that WORK go to waste - so I set out to figure out how to use it on a card! :) 


I'm glad I did - because I ended up being happy with the end result! I created a 5x7 cardbase, and stamped my sentiment on there using another NEW stamp set called Vacation Time, and stamping in Khaki ink for the main sentiment, and in black for the mini one. I slightly masked that part off, then added a healthy dose of black splatters on the card base. While that dried, I fussy cut out the floral arrangement (I didn't have the dies on hand) - then mounted that with foam adhesive. All done!


Make sure and go check out the new release HERE - and come back on Thursday when I will be part of Day 1 of a fabulous blog hop to celebrate - and there will be giveaways too! And finally - if you are looking for inspiration, make sure and heat to the permanent gallery for all things from the Good Vibes collection, and add your own projects as well! You can find it HERE!

Product links are all below - including affiliate links where possible, which simply means if you use one of the links below that I receive a small commission at no additional cost to you. Thanks so much for stopping by! Have a wonderful day!!!

Friday, June 1, 2018

Heffy Doodle June 2018 Release Hop

Good morning! Welcome to the blog hop to celebrate the BRAND NEW June release at Heffy Doodle Stamps! So much cuteness going on here - and there is lots of inspiration and a great prize up for grabs as well! You should have arrived here from the awesome Crystal Thompson - and your next stop is Koren Wiskman - the entire blog hop line up is listed at the bottom of this post if you get lost along the way!


I couldn't resist pulling out and using the darling Wingman stamp set for my card today!


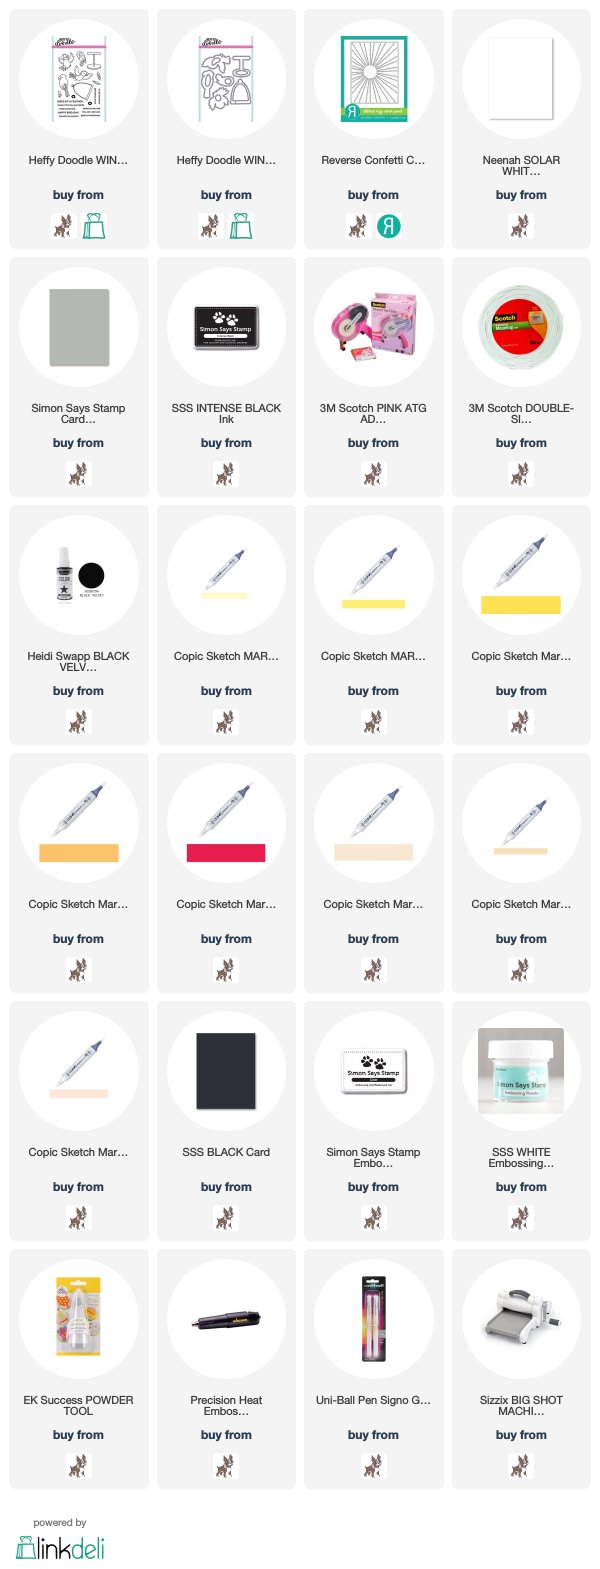
I used a die from Reverse Confetti for my background, and then stamped the bird, feathers, and little stamp from Wingman stamp set and die cut with the Coordinating Dies. I added some black splatter to the background as well.


The sentiment was heat embossed on a strip of black cardstock, and then I mounted everything with foam adhesive on my background, before attaching to a medium gray cardbase!


Here is another card I made recently with the new release - this card and details were on the Heffy Doodle Blog earlier this week. You can find details HERE if you're interested! 


GIVEAWAY INFO:

There is a £50 Gift Certificate up for grabs! Make sure and leave a comment on each stop of the hop to qualify - winner will be announced on the Heffy Doodle Blog on Friday, June 8, 2018.

Here is the entire blog hop line-up:

Heather Hoffman (you are HERE)

Product links are all below - including affiliate links where possible, which simply means if you use one of the links below that I receive a small commission at no additional cost to you. Thanks so much for stopping by! Have a wonderful day!!!


Monday, April 30, 2018

Technique Tuesday Countdown Day 2 - Attractive Sir and Congrats Grad

Good morning! Welcome to Countdown Day 2 for the May Release from Technique Tuesday! I had so much fun playing this release! Make sure and check out the Technique Tuesday Blog to find links to all the Design Team's projects for today!


Again today - I have TWO cards to share! First up - this hilarious little sentiment from Sassy Guy Stamp Set just called out to me to go on a card!


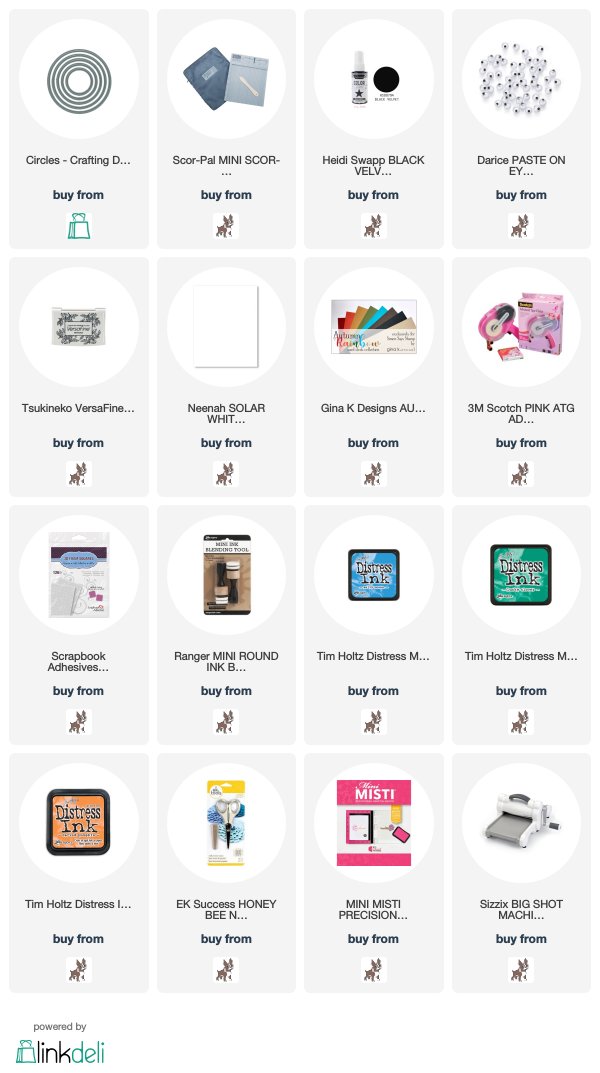
As this is a great guy card, I kept it very clean and simple! I started off with a circle of cardstock cut with Circles Crafting Dies and stamped my little image and sentiment on that. I added wiggly eyes to the glasses - because who could resist?!?!?!?


I added some scored lines to the cardbase for some texture, and some simple black splatters for interest, then mounted the circle with foam adhesive. BAM! Done!


And of course this time of year you can't have too many graduation cards! The new Congrats Grad stamp set is perfect for this!


I again used Circles Crafting Dies, only this time I cut three windows out of a panel of white cardstock. I added distress ink in a few colors behind the windows. I used my MISTI to line up and stamp my sentient, laying the front panel on the front of the card, stamping the sentiment, then removing and restamping so that it was clear on both layers and could be lined up and adhered together.


I stamped and fussy cut several of the images from the stamp set and adhered them with foam adhesive on the front of the card. I was going to stop here, but felt it needed just a touch more - so I grabbed a ruler and black pen and added the outline to the top layer. 


Product links are all below - including affiliate links where possible, which simply means if you use one of the links below that I receive a small commission at no additional cost to you. Thanks so much for stopping by! Have a wonderful day!!!


Tuesday, April 24, 2018

LID April Release Day 3 - Sentiment Focus

Hello! Welcome for the 3rd and final day of the the BRAND NEW April release hop at Lil' Inker Designs! There are a ton of fun new stamps and dies to share! You can find the entire new release HERE!


You should have arrived here from Chrissy Larson - if you stopped by here you can refer to the entire blog hop at the bottom so you don't miss a stop or a chance to win the amazing giveaway. I also have links to all the new products I used on today's cards! Today I'm rounding out a bit more of the release that I haven't shared yet!


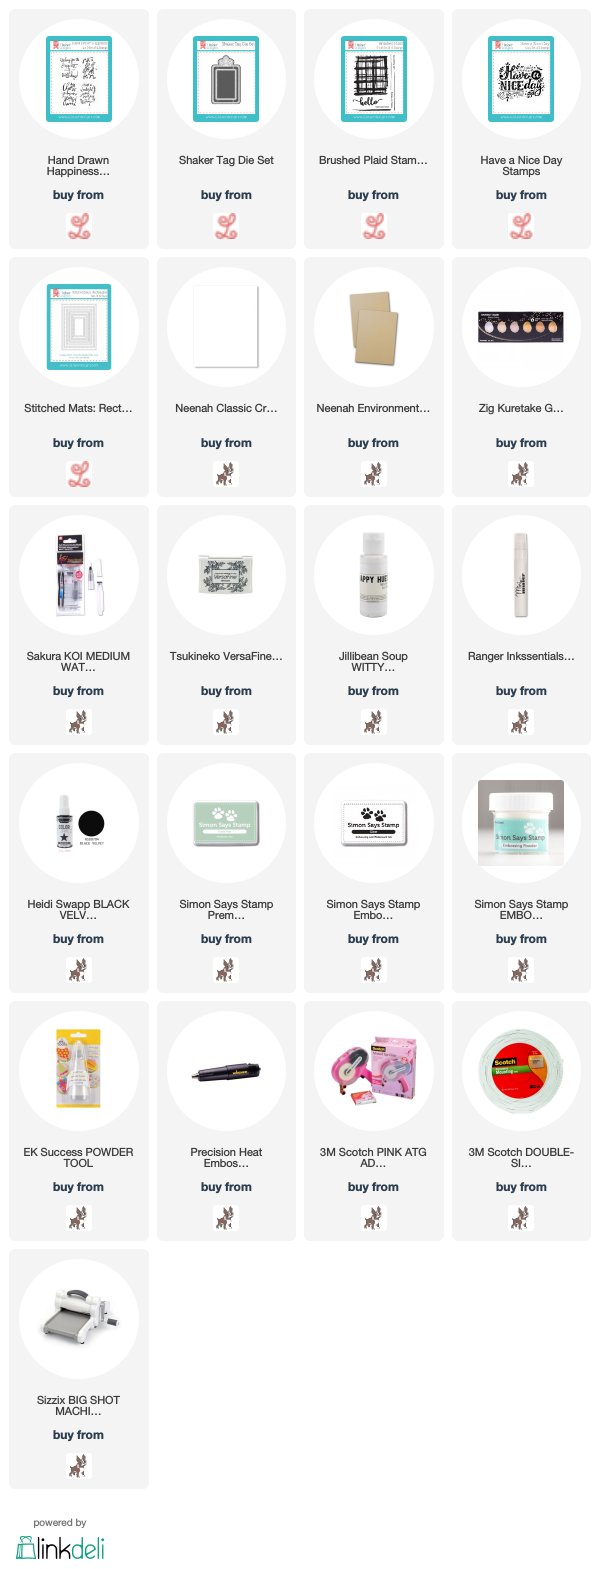
For this one I used the new Hand Drawn Happiness Stamp Set - LOVE the sentiments in this one! I stamped my sentiment from this set on a rectangle cut with the inside of the Shaker Tag Die Set - love when I die can be used more than one way!


This first card actually works really well for even a guy card! I had fun creating the background by adding splatters on kraft paper with white paint, gold watercolors, and black ink mist. I didn't let them dry in between, so it kind of gave a fun effect where they mixed together!


My second card today features a couple of my favorite things from this release!


First off, that gorgeous background which is part of the Brushed Plaid Stamp Set! I stamped it with a soft green ink on a panel of white cardstock, then stamped the gorgeous Have a Nice Day Stamp set over the top in black pigment ink, then heat embossed it with clear powder for a nice shine.


Finished off by trimming that panel down, mounting over a thin white frame, then mounting onto a kraft cardbase on which I used the largest Stitched Rectangle Die. Nice and flat and one layer - but I love how detailed that stamp set is!


Your next stop along the blog hop is Jennifer Carter - head over there next to finish the hop before you go shopping. See you tomorrow with more projects and fun!

Now...how would you like to win the ENTIRE new release?!?!?!? WOW - some lucky winner is going to be VERY happy! Make sure and leave a comment here before hopping along to the next stop - and leave comments at each stop for a chance to win!


Here is the entire Blog Hop line-up - make sure and check out each stop and leave your comments:

Heather Hoffman (you are HERE)

Product links are all below - including affiliate links where possible, which simply means if you use one of the links below that I receive a small commission at no additional cost to you. Thanks so much for stopping by! Have a wonderful day!!!


Thursday, March 15, 2018

Today is a New Day - Simon Says Stamp April Card Kit

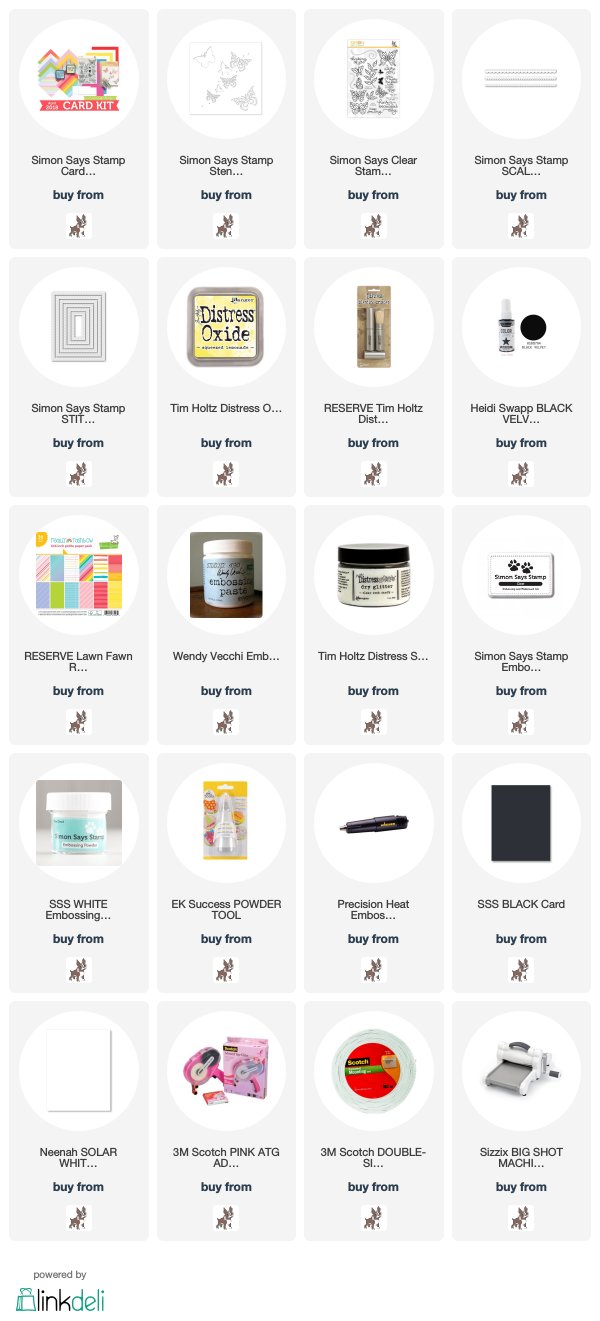
Hello! I'm dropping by again with another card using the NEWEST Simon Says Stamp April Card Kit - Beautiful Day! You can go check it out HERE! Tons of pretty embellishments, a couple of the newest Distress Oxide Ink colors, one of the new Tim Holtz Distress Blending Brushes (that I've been DYING to get my hands on!) - and I love the BIG and BEAUTIFUL stamp set included in the kit, also named Beautiful Day. There is also a gorgeous Butterflies Stencil, which I used on today's card:


For this card I used the stencil with the new Tim Holtz Distress Blending Brush included in the kit and the Squeezed Lemonade Distress Oxide Ink - oh my goodness, they worked like a dream! Once I had added color, I left the stencil in place and applied Translucent Embossing Paste, then peeled off the stencil and sprinkled on Rock Candy Distress Glitter for some sparkle.


I added a stamped sentiment from the included stamp set, Beautiful Day, heat embossed in white ona  small bit of black cardstock, added some black splatters to the background, then paired up some of the lovely Lawn Fawn pattern paper with some black die cut Scallop Stitches. Definitely a bold and graphic card!


Here is a look at the entire card kit - you can find it and all the info HERE:


Product links are all below - including affiliate links where possible, which simply means if you use one of the links below that I receive a small commission at no additional cost to you. Thanks so much for stopping by! Have a wonderful day!!!


Friday, July 28, 2017

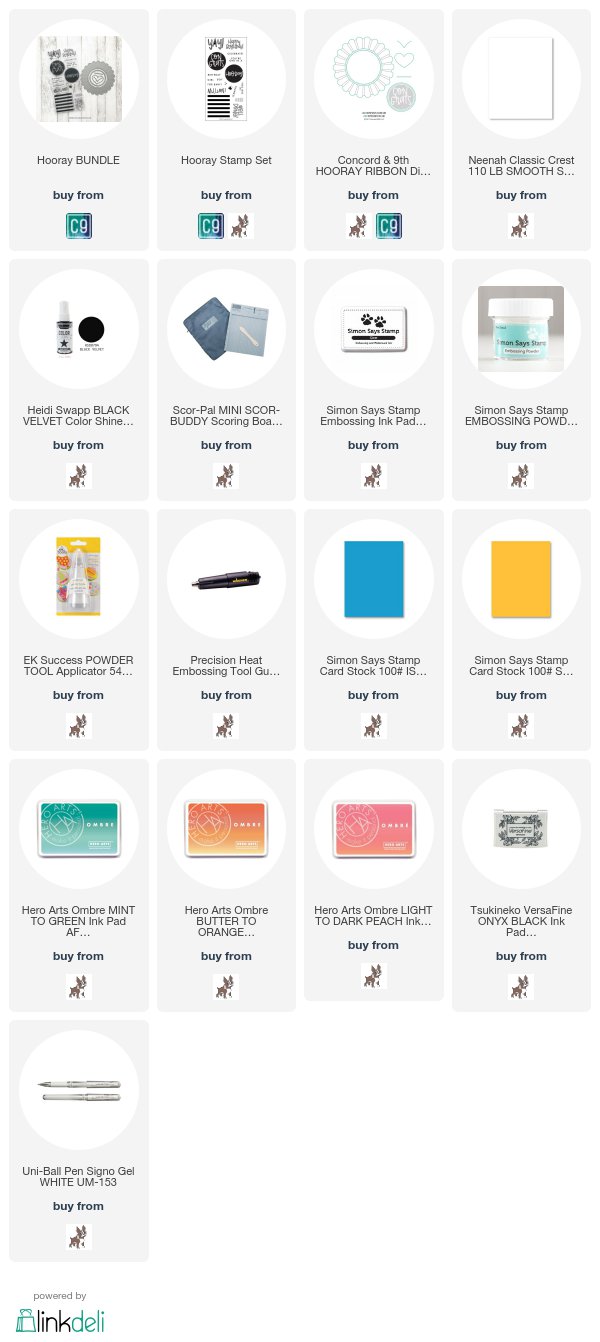
Concord and 9th - Hooray Bundle

Good morning! Back again today with my third guest designer post for Concord and 9th's BRAND NEW release! Today we are showcasing the Hooray Bundle. You can check out the other guest designers and their takes on the Concord and 9th blog HERE!


I have to admit, I wasn't quite sure what to do with the Hooray Ribbon Dies - they looked a little intimidating to me! However, they could NOT have been any easier to use! It comes together SOOOO very easy - and I love the fun 3D effect that was so simple to create! These would be fun for gift tags, name tags, prizes for kids birthday parties or events - SOOO many fun ways to use them!


I ran score lines around the outside of my white card base (for SOME reason I can't get them to show in the photo!) - then masked those off, and added some black ink splatters. The perfect way to add some interest to the background before adding this fabulous ribbon.


Then, I decided to use the Hooray Stamp Set on it's own to create these CAS birthday cards - they came together in a snap!


I used various Hero Arts ombre inks - adds a bit of interest to the striped background.


I stamped my sentiments (quick trivia...can you spot which one is different than the other two? It's the first one I did, and I changed how I stamped one part because I liked it better). I added some white gel pen on the inside portion of the "happy birthday" to make it pop a little more off the colored stripes.


I also used some of the fab sentiments from the Hooray Stamp Set (and the little heart from the Hooray Ribbon Dies) on this card that I posted the first week when we were featuring the Sunshine Turnabout - you can read more details of this one HERE if you are interested:


Product links are all below - including affiliate links where possible, which simply means if you use one of the links below that I receive a small commission at no additional cost to you. Thanks so much for stopping by! Have a wonderful day!!!


Wednesday, July 19, 2017

Pink and Doilies Cards

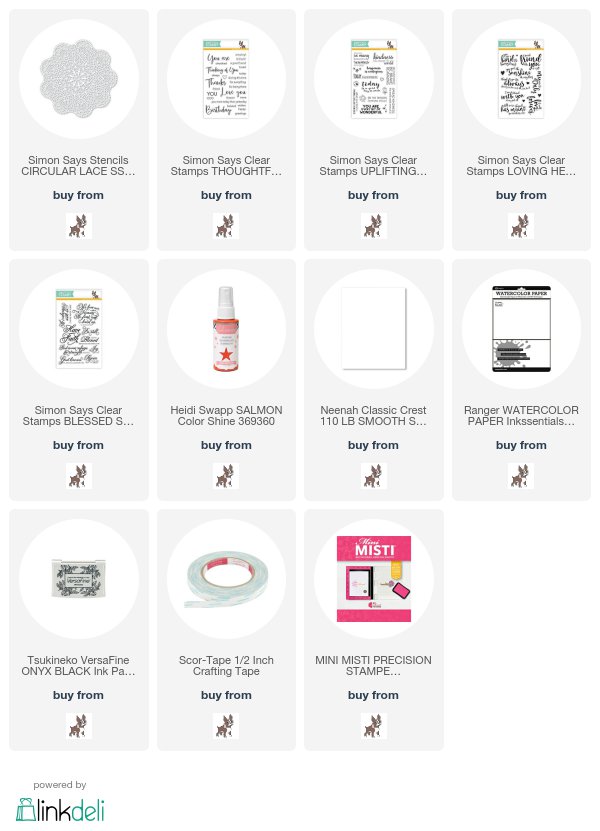
Good morning! Dropping by this morning with a trio of cards I put together SUPER quickly the other day with an amazing new stencil from Simon Says Stamp, paired up with some fabulous Simon Says Stamp sentiments!


I had just received the new Circular Lace stencil and was excited to try it out! I started off by laying it on a panel of watercolor paper and misting it heavily with some pink mist. Turns out it was a bit TOO heavy, and I lost the detail on the center of the doily. Turns out that it was still a good spot to stamp a sentiment, so instead of throwing it away, I added a sentiment from Loving Heart to it.


After I peeled the stencil off, I glanced at it and realized how much mist was still sitting on it - so I grabbed a white card base I had laying on my desk, and pressed it onto the stencil to soak up the extra color! I think this one ended up being my very favorite effect! I added a sentiment combined from Thoughtful Messages and Uplifting Thoughts for a completely one layer card!


And then I tried again, this time keeping the misting a *little* less heavy - it came out perfect! Sentiment on this one is from Blessed.


The two watercolor cards I trimmed down a bit and mounted on a white cardbase after stamping my sentiments using my MISTI for a nice dark impression.


Product links are all below - including affiliate links where possible, which simply means if you use one of the links below that I receive a small commission at no additional cost to you. Thanks so much for stopping by! Have a wonderful day!!!


Friday, July 14, 2017

Concord and 9th - Sunshine Turnabout

Good morning! Super excited to be one of this month's guest designers for Concord and 9th's BRAND NEW release - and it is a FABULOUS one! Today we are showcasing the awesome new addition to Concord and 9th's popular Turnabout series of stamps - Sunshine Turnabout. You can check out the other guest designers and their takes on the Concord and 9th blog HERE! I put together this set of cards featuring that stamp set, as well as several other items to show how well the other items from the new release all work together with it!


For each of these cards I used a different set of Altenew inks - this allowed me to create an ombre sunshine since the colors are pre-coordinated together into color families. I used my MISTI to make it easy to quickly stamp all of these backgrounds - which is why I couldn't stop with just one! I also added some black ink splatters to each one with some Heidi Swapp Color Shine mists, and trimmed them down to just *slightly* smaller than an A2 card front so that they have a bit of white cardstock peeking around the front of each of them.


For this first one, I only used the stamps and dies that are part of the Sunshine Turnabout Bundle. Even those flowers are part of the stamp set! I heat embossed the sentiment on the black circle die cut with Sunshine Dies, stamped the flowers and leaves randomly on the background, then adhered the center of the circle with foam adhesive. Finished off by adding the scallop circle flat on the cardbase. 


And of course, it is a NO-BRAINER that this stamp set would work fabulously with the brand new Unicorn Awesomeness Stamp Set


For this one, I stamped the sentiment right on the card front, then stamped the unicorn, stamped it again on white cardstock, fussy cut out, and paper pieced it on so it would pop a little more. Added a touch of pink to the main, ears, horn, and feet, then covered them with clear sparkly Stickles. A few flat sequins from Pretty Pink Posh finish it off!


And the next one is a nice flat card - but I love the bold sentiment!


For this one I used the new Aloha Friend Stamp set to stamp a bold black sentiment right over the Sunshine rays. I also added the flowers on the side. I used my MISTI to stamp it a couple times for a nice deep, dark, crisp impression.


And finally for this set - I stacked a few sentiments from the fun new Hooray Stamp set!


To add a bit of dimension, I die cut a little heart using the coordinating Hooray Ribbon Dies and popped it up with foam adhesive. Since it is right in the center of the sunshine rays - it just pops even more!


I so love making sets of cards - once you have sort of a plan, it is usually just as easy to make several slightly different cards as it is to make one exactly the same! These came together so quickly, and I can't wait to try even more color combinations with the Sunshine Turnabout - definitely a new favorite!


And, just for fun - I have one little bonus card! For this one I used the Sunshine Turnabout Bundle, but just used a sentiment stamp and the coordinating dies with some pretty pattern paper!


A little vellum with a torn edge, heat embossed sentiment, and some layered pattern paper helped this card come together so quickly and easily as well!


Product links are all below - including affiliate links where possible, which simply means if you use one of the links below that I receive a small commission at no additional cost to you. Thanks so much for stopping by! Have a wonderful day!!!