Showing posts with label glitter cardstock. Show all posts

Sunday, August 31, 2025

I Like Big Birthdays Highland Cows - Simon Says Stamp STAMPtember Release

Hello fabulous friends! It's time to kick off a super fun month - STAMPtember with Simon Says Stamp! The party begins with an epic release, full of so many fun things! I fell in love with the Highland Cows set, and thought it was super funny paired with this greeting from another set in the release!


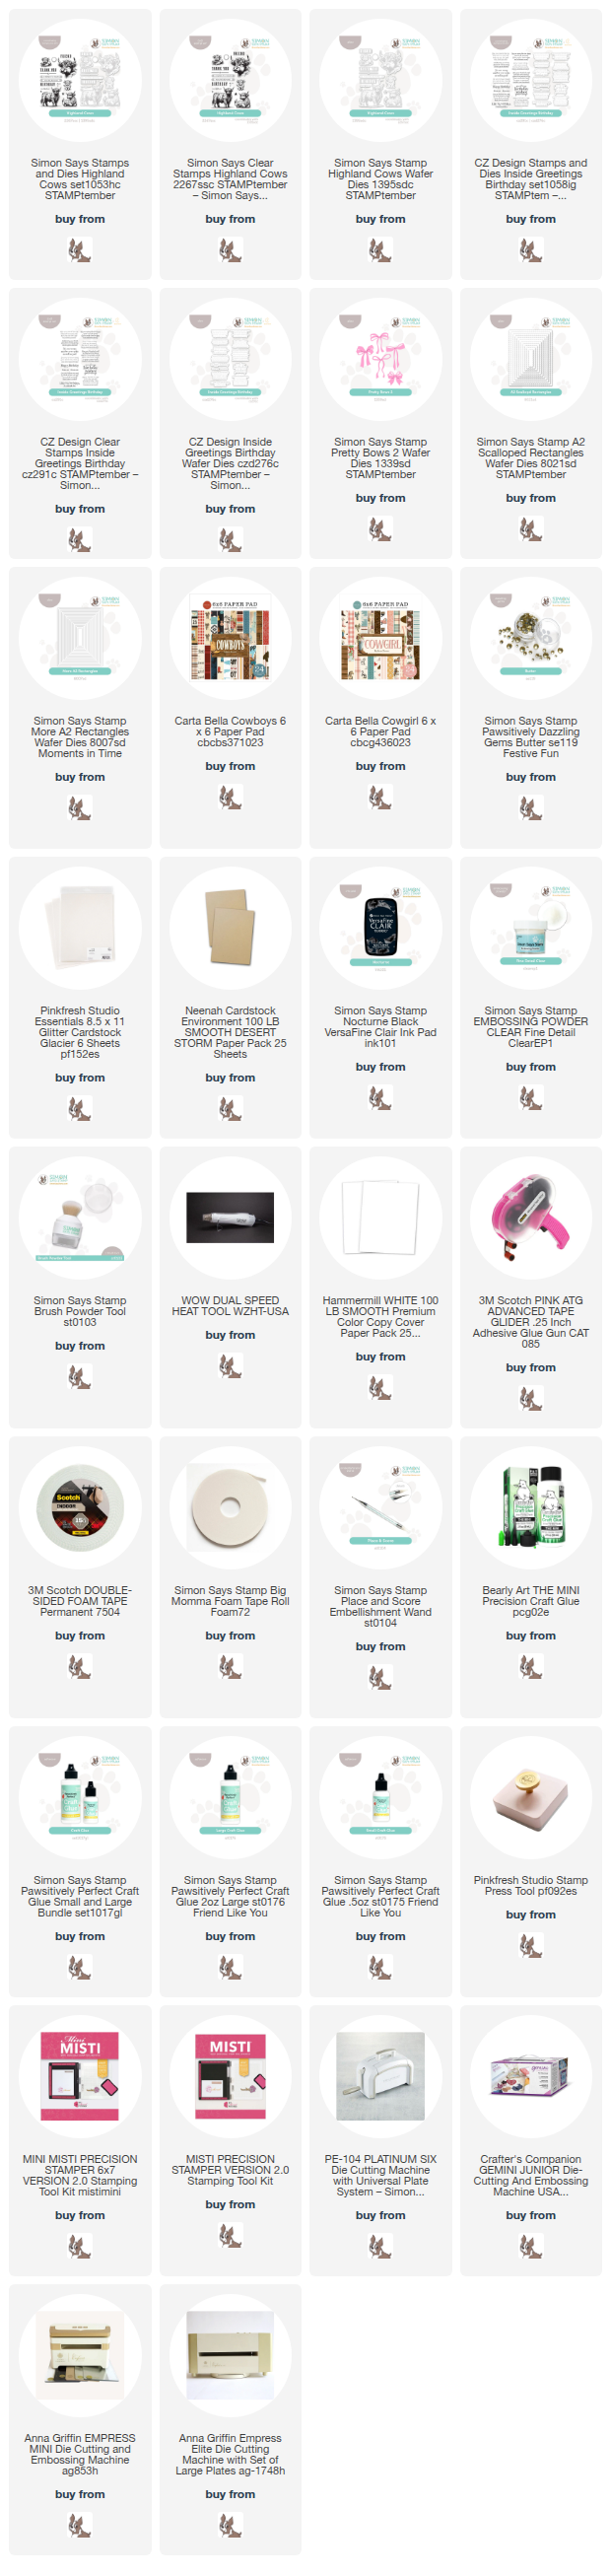
I started off by stamping the Highland Cows in black on white cardstock, and heat embossing with clear embossing powder to give it a bit of shine and texture. For the backgrounds, I paired up the new A2 Scalloped Rectangles dies with More A2 Rectangles dies, cutting the scallops with white cardstock, and the front layer with the rectangles for a perfect shadow layer, and mixing two pattern papers together to give a good grounding effect for the images. I stamped, heat embossed, and die cut these hilarious sentiments from Inside Greetings Birthday set - they crack me up so much! I used kraft cardstock for the cardbases, and then tucked a little bow from Pretty Bows 2 on the girly version of this card - cut from white glitter cardstock, and added a single Dazzling Gem in Butter to the center of it. I love how just changing the pattern paper and adding the bow to one of them changes up the same design to leave one more masculine, and one more feminine! Here is a closer look at both of these:


Product links are all below - including affiliate links where possible, which simply means if you use one of the links below that I receive a small commission at no additional cost to you. Thanks so much for stopping by! Have a wonderful day!!!


Thursday, August 28, 2025

Soft Poppy Pod Trio - Simon Says Stamp

 Good morning! As I often like to do, I'm sharing some cards today that take a leftover element from another card, and put it to use on something else! I had the strips of pattern paper left from yesterday's cards, so I pulled out a newer die from Simon Says Stamp that I hadn't used yet, and paired it with some other supplies to create these simple cards.


I started off by die cutting the sweet little Poppy Pods die from white glitter cardstock. I tore the edges on some strips of white cardstock, and then layered the leftover Favorite Flannel pattern paper over the top, after tearing out a section in the center. In hindsight, I'm not sure if I love that? Or wish I had left them solid...but at this point, it was done, so I just rolled with it! At the very least, it's interesting I guess! Haha! I adhered the die cut poppy pods with liquid glue, trimmed excess stem off the end, then added those panels with foam adhesive on my white cardbases. I and stamped sentiments from Flower Love on the side, embellishing with a few coordinating jewels in Surf, Sprout, and Gold. Finally, rounded off the lower right corner of the cards, and then added a sweet little bow with Lawn Fawn white twine! Here is a closer look at each of the finished cards:


Wednesday, August 20, 2025

Ferris Wheel Shaker Card - Simon Says Stamp

 Good morning! I'm back with another card that was inspired from some recent browsing on Pinterest - and once again, using a fun die from Simon Says Stamp that was a PERFECT fit for my inspiration! You can see my inspiration photo HERE - and here is the result:


This card is so bright and happy - I can't help but smile! I love how all the bright colors pop paired against all the open space. And a shaker card is always extra fun! I started off by die cutting the Ferris Wheel - using an assortment of Simon Says Stamp cardstock, white cardstock, Honey Gold Cardstock, and a bit of gold glitter cardstock. I layered everything together with liquid glue, then added some glitter drops for accents, and set that aside to dry. Next, I created the shaker element. I blended Marine ink on my cardbase leaving some areas lighter and some darker. I die cut a window in a panel of cardstock with A2 Rectangles die, and created my shaker window with acetate and foam adhesive. I filled it with the cute and sparkly Starbright Embellishment mix - it's the perfect shaker size, and so sparkly! I added my ferris wheel, using foam adhesive for the center and the base of the wheel, added sentiments from Birthday Basics set, and finished off with lots of coordinating glitter enamel dots from Simple Stories! Here is a closer look at this finished card:


Wednesday, August 13, 2025

Happy 70th Birthday Elegant Letterpress Card

Good morning! Today I'm sharing a special card - I don't make very many cards specifically for someone, but usually have cards on hand that I go through to pick the perfect one for the recipient. However, a 70th birthday seemed like a special enough one that I had to make a special card! Ironically enough...I forgot to bring the card to her party (whoops!) - but thankfully was able to get it to her a couple days later! I used a mix of different brands on this card, which is always so fun! All items are available at Simon Says Stamp


I had recently purchased the Spellbinders Bold Color Mix Numbers, and hadn't had a chance to put them to use. This seemed like the perfect opportunity! I used Pinkfresh Slumber ink to press the large 70 onto a lovely shade of blue Spellbinders cardstock (tucking some cotton cardstock behind to ensure I got a good impression on the colored cardstock), and then added the happy birthday sentiment over the top. Love the elegant layered look! I die cut that in a circle using one of the Simon Says Stamp Basic Circles dies, then die cut one of the Simon Says Stamp Scalloped Circles dies that was slightly larger to layer together. Pattern paper is from Carta Bella On The Farm 6x6 paper pad, and I die cut some greenery using Simon Says Stamp Delicate Leafy Branches die on Pinkfresh Glacier glitter cardstock to tuck around the frame. I added some embellishments from Picket Fence Studio "Pick Me" sequin mix (sadly...this one does look like it's gone!), and a few Dazzling Gems in Mandarin for the center of the flowers. Finished off with a pretty bow created from May Arts Faux Silk ribbon in white. Here is a closer look at this card:


Product links are all below - including affiliate links where possible, which simply means if you use one of the links below that I receive a small commission at no additional cost to you. Thanks so much for stopping by! Have a wonderful day!!!


Tuesday, August 12, 2025

Gingham and Floral Shaker Card - Simon Says Stamp

Good morning! I'm back today with a card using an extra set of blooms from yesterday's cards - I used the same floral die from Simon Says Stamp and even the same colors, but decided to change up the design and make one stepped up version. I went all out and created a shaker this time!


I started off with the extra die cut and ink blended Arctic Poppies bloom - blended with Clay, Terracotta, Eucalyptus, and Juniper inks. Then I grabbed Modern Teardrops die set, and some pattern paper from Carta Bella On the Farm 6x6 paper pad. I die cut a window, and turned it into a shaker, filled with Starbright Embellishment mix - so sparkly! I also die cut a frame with the same set and Pinkfresh Glacier glitter cardstock - and glued that in place around the shaker, tucking the bottom of the blooms under the bottom edge of the frame as I adhered it down, then adding a bit of liquid glue under the flowers to hold them in place. I stamped a sentiment from Delicate Blossoms set, and again die cut a few extra layers for some dimension. I adhered the sentiment in place, added a tiny white bow created with Lawn Fawn white twine, and than added a few Clear Dazzling Gems for a finishing touch. Here is a closer look at this card:


Product links are all below - including affiliate links where possible, which simply means if you use one of the links below that I receive a small commission at no additional cost to you. Thanks so much for stopping by! Have a wonderful day!!!


Friday, August 8, 2025

Pink Bus Shaped Card - Simon Says Stamp

 Good morning! Today I have something a bit unexpected - using a fun new die from Simon Says Stamp. My kids are now in college, and since they homeschooled anyway, school buses weren't really part of their childhood. But when I saw the Big Bus die, I wanted to find a way to put it to use - and what could be more fun than a pink bus? And...it's a shaped card too to make it even more magical! I mean - I want to ride this bus! Haha!

As I mentioned already, I used the Big Bus die to create my card. I die cut the main layer 2 times from pink cardstock, once from white cardstock, and once from vellum. Then on one of the pink layers, I die cut the windows - the front window I just made sure to line up with the edge of the main piece. I backed the panel with vellum, then adhered it with Big Momma foam adhesive to the white bus layer. I scored the back pink layer across the top, then adhered them together, so that the back piece bends to allow the shaped card to open. Then, I die cut all the other layers from Pinkfresh Glacier glitter cardstock and Smoke and Slate SSS cardstock, adhering all to the front layer of the bus. I die cut Giggle Hello from white and glitter cardstock, and popped that up with foam, then added a secondary sentiment from For the Birds stamp set, trimmed into a thin strip with diagonal edges. Finished off with a few Clear Dazzling Gems for extra sparkle! Here are more photos of this fun card:


Product links are all below - including affiliate links where possible, which simply means if you use one of the links below that I receive a small commission at no additional cost to you. Thanks so much for stopping by! Have a wonderful day!!!