Showing posts with label Tim Holtz Distress Oxide Ink. Show all posts

Friday, April 11, 2025

Bunny Card Duo - Simon Says Stamp Easter Create Together Class

Hello! I'm popping in today to share a couple cards that I created using the kit contents for the Simon Says Stamp exclusive Easter Create Together Class. I have a video showing how these cards came together, providing extra inspiration if you grabbed the kit - you can also get the elements separately if you missed the kit! You can watch the video HERE if you want more details!


Since all the information is in that video - I'm going to let you head over to the Simon Says Stamp YouTube Channel to watch if you want more details, instead of trying to write everything out here! I hope you enjoy and find some inspiration in the video!


Product links are all below - including affiliate links where possible, which simply means if you use one of the links below that I receive a small commission at no additional cost to you. Thanks so much for stopping by! Have a wonderful day!!!


Wednesday, October 5, 2022

Party Like a Puffin - Simon Says Stamp Cozy Hugs Release

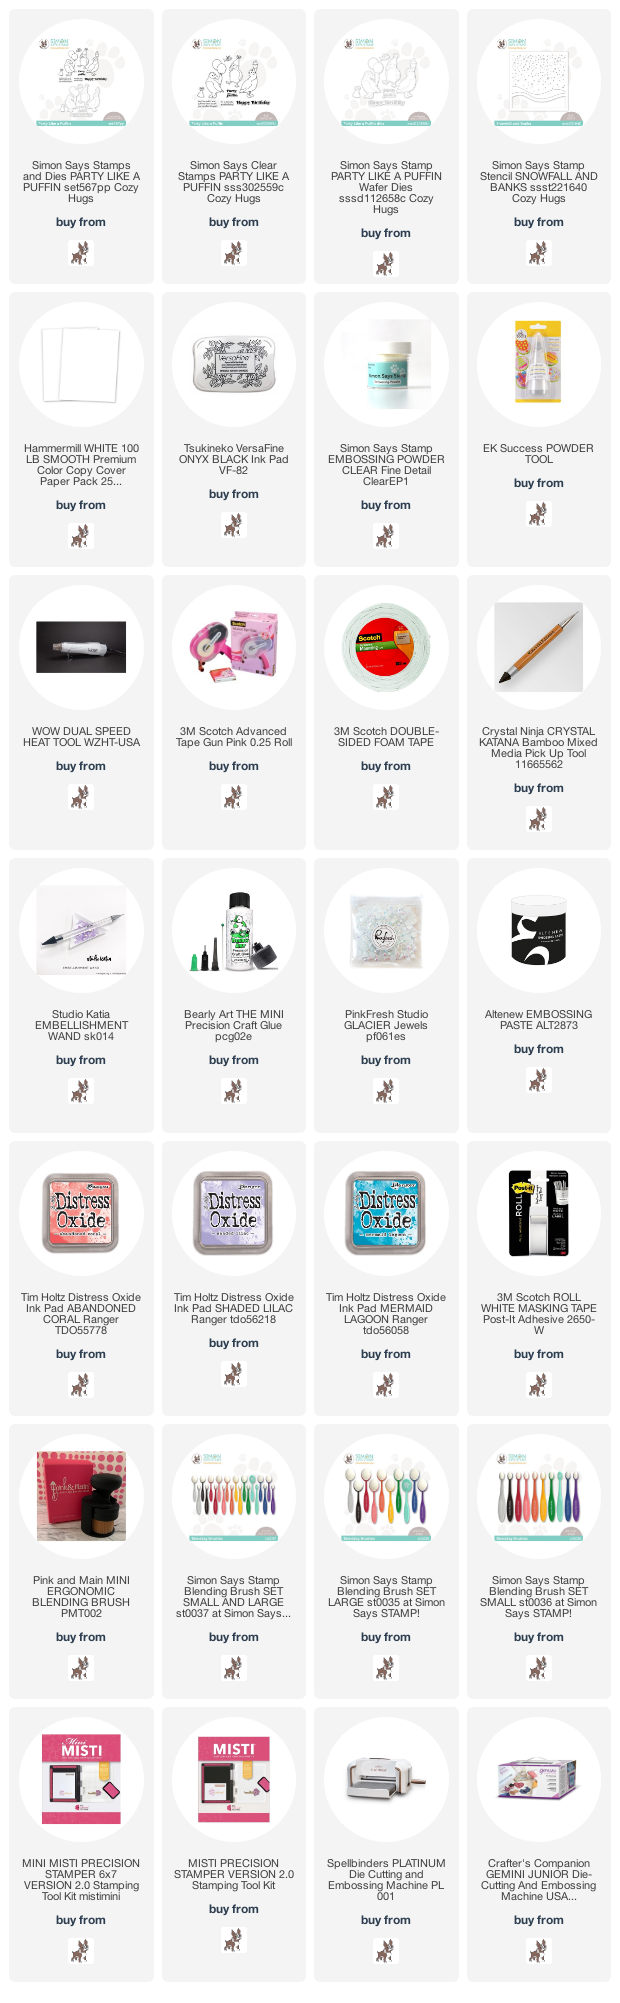
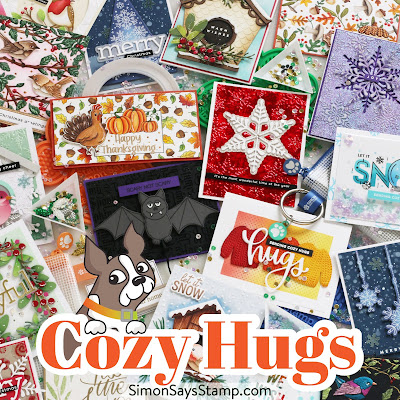
 Hello! Super excited to share a couple cards with you using the BRAND NEW Cozy Hugs release from Simon Says Stamp! A few years ago we briefly visited Iceland on our way to Norway for a summer trip, and we fell in love with the adorable puffins there. So when I saw the cute new Party Like a Puffin set, I was SUPER excited to play with it! And of course...I had to make 2 cards, not just one! :)


I started off by stamping all the fun images I wanted to use. I thought it would be fun to do something a bit different, so I stamped them in Versafine black ink, then heat embossed them with clear embossing powder. Hard to see in the photos, but it gives them such a fun bit of shine!


Next, I used Copic markers to color the images in. I kept it pretty simple, and used some bright and happy colors - fit for a party of course!


I die cut all the images, then stamped and heat embossed sentiments the same way as the images, and die cut those with their coordinating dies as well where that applied.


Next, I wanted to create a bit of a fun background for them. I used the new Snowfall and Banks stencil to do this. I used the bottom edge to mask off and create a blended sky - using Distress Oxides in Abandoned Coral, Shaded Lilac, and Mermaid Lagoon.


I then used the other portion of the stencil to add embossing paste to create a snowfall over the blended background. SOOO fun!


Once those backgrounds dried, I trimmed them down a bit to fit on my cardfronts. I added my images and sentiments using foam adhesive for a bit of dimension.


I then layered those on white carbases - layering up some paper scraps to add a bit of dimension on those, but without adding as much dimension as foam adhesive.


Finally, a few little Glacier jewels from Pinkfresh finish these cards off! I love the bright happy feel to them all! What about you - are you a fan of puffins too?!?


You can check out the entire NEW release HERE:


Product links are all below - including affiliate links where possible, which simply means that if you use one of the links below, I receive a small commission at no additional cost to you. Thanks so much for supporting my blog, and stopping by! Have a wonderful day!!!


Sunday, January 23, 2022

XOXO Love You - Simon Says Stamp And Back Again Release

Good morning! I'm popping in today to share another card using some goodies from the BRAND NEW And Back Again Release from Simon Says Stamp - I found a great pairing of stamp and die sets to create this simple card!


I die cut the window in my front panel using Big XOXO wafer die - and realized that long repeating stamped sentiment in XL Love Greetings was a perfect fit behind the window created from the two "O's"!


I created a blended background using three shades of distress oxide inks - Tattered Rose, Worn Lipstick, and Aged Mahogany, then lined up and stamped my sentiment so it would show evenly behind the openings.


Next, I popped up my front panel with some foam adhesive for dimension, making sure the words showed just right behind it.


Finally, I stamped and heat embossed another sentiment from the stamp set in white on black cardstock. There are coordinating dies, but since I don't have them, I went ahead and fussy cut that sentiment out. Used a bit of liquid glue to adhere it in the center of the panel, leaving the edges floating free for just a touch more dimension! 


Product links are all below - including affiliate links where possible, which simply means that if you use one of the links below, I receive a small commission at no additional cost to you. Thanks so much for supporting my blog, and stopping by! Have a wonderful day!!!


Monday, September 13, 2021

So Many Happy Thoughts - Simon Says Stamp October Card Kit

Hello! I'm here today to share my first card with the BRAND NEW October 2021 Simon Says Stamp Card Kit - So Talkative! This month's kit is super different and modern - and all about the fun sentiments! The included stamp set by the same name is full of great sentiments in a simple bold font, there is a perfect Talk Bubbles stencil, a super cool Friend Outline word die, a fun embossing folder, lovely SSS blending brush - that's all not to mention the cardstock, envelopes, and more! 


This card kit just lends itself perfectly to clean and simple card designs - so of course that is what I created! I started off by using the fun new Kaleidoscope embossing folder on some white cardstock, as well as some of the Burn Orange in the kit. I trimmed that panel into a diagonal strip so that it would create a band across the card front.


Next, I used two colors if distress oxide inks to blend over one of the Talk Bubbles stencil, and added a sentiment stamped over the top before fussy cutting out to mount with foam adhesive. Finished off with a few sparkly clear sequins!


Here is a closer look at the entire kit contents - you can find all the details HERE:


Product links are all below - including affiliate links where possible, which simply means if you use one of the links below that I receive a small commission at no additional cost to you. Thanks so much for stopping by! Have a wonderful day!!!


Friday, August 27, 2021

Magical Fall - Simon Says Stamp

 Good morning! As the days get shorter, the weather gets cooler, and the leaves start to give hints of color - I'm slowly beginning to transition fully into being excited about fall! Since I was feeling the fall vibes this week, I pulled out a fun die from Simon Says Stamp, some distress oxide inks, and some pre-printed sentiments to create this CAS fall card!


I started off by die cutting the gorgeous Birch Column die - it's been a while since I used this die, and I have no idea why it took me so long to pull it out again! So gorgeous - and perfectly sized for an A2 card.


I then used that to plan where to do my ink blending on my white cardbase. I masked off the sides (no sense in wasting ink, right?) and blended Fossilized Amber, Crackling Campfire, and Vintage Photo distress oxide inks over that portion.


I also added some spatters of gold with my Starry Colors palette, and allowed that to dry before adhering my die cut panel over the top of my cardbase.


Sentiments are pre-printed Reverse Magical Wishes Sentiment Strips - I trimmed them down and hand trimmed the edges into banners and mounted with foam adhesive on my card. I think fall is magical, so these sentiments felt PERFECT! Finished off with a few sparkly gold pearls to add a touch more sparkle, and this card was done!


Product links are all below - including affiliate links where possible, which simply means that if you use one of the links below, I receive a small commission at no additional cost to you. Thanks so much for supporting my blog, and stopping by! Have a wonderful day!!!


Friday, July 23, 2021

Sun, Moon, and Stars - Simon Says Stamp Make Magic Release Blog Hop

 Good morning! Excited today to be joining in on Day 1 of an incredible blog hop to celebrate the BRAND NEW Make Magic Release from Simon Says Stamp! Make sure and check out all the inspiration with this new release AND link up your creations as you receive your orders HERE in the Gallery created just for this release! And check out the graphic below to receive a FREE Art Supplies die set with the coupon code below through July 25, 2021 as well - while supplies last (code expires at 11:59 PM EDT)!!!


Today I'm sharing a card that is out of my usual creative zone - lots of layering and interesting things happening, and oddly enough, I am super thrilled with how it came out!


I started off using the new Mod Layering Leaves stencil to create a background. I used 3 colors of distress ink for the first layer - Rusty Hinge, Mustard Seed, and Speckled Egg. I then added the second layer of the stencil, and used the coordinating oxide inks over the top! Love mixing these together - and they both have a different look and tone and texture, so it made the background super fun!


Next, I used the new Sun and Moon Mandala stamp set. This is a fun red rubber set, that separates into separate pieces. I stamped the outer portion directly over my stenciled backgroundI stamped and heat embossed the moon in gold on black cardstock, then carefully fussy cut that image out to mount with foam tape on the background. I then stamped the sentiment directly on the cardbase as well.


To add some more interest to the design, I added some pretty Metallic Gold Pearls in two sizes around the edges of the circle, lining up with the pattern on the background. Love the extra dimension, and how it pulls out the gold heat embossing on the moon as well!


While I usually tend more toward clean and simple cards, it was fun using so many layers all together on this one card!


GIVEAWAY INFO:
Simon Says will be giving a $25 gift certificate to their online store at each stop along the hop - so make sure and leave a comment before you leave for a chance to win! Winners will be announced next Wednesday on the Simon Says Stamp Blog.

Simon Says Stamp Blog   

Nina-Marie Trapani

Caly Person

Nichol Spohr

Jennifer McGuire

Cathy Zielske

Lisa Addesa

Amy Rysavy

Sidnie Des Jardins

Amanda Korotkova

Heather Ruwe

Suzy Plantamura

Yana Smakula

Heather Hoffman (you are here)

Lea Lawson

Product links are all below - including affiliate links where possible, which simply means that if you use one of the links below, I receive a small commission at no additional cost to you. Thanks so much for supporting my blog, and stopping by! Have a wonderful day!!!


Saturday, June 19, 2021

Big Hugs at this Difficult time - Simon Says Stamp July 2021 Card Kit

 Hello! I'm here today to share another card with the BRAND NEW July 2021 Simon Says Stamp Card Kit - Garden Greetings! This kit is summery and full of gorgeous blooms! The included stamp set by the same name has some beautiful wreaths and swags - as well as some great sentiments, there is some lovely pattern paper, a sweet little scripty hugs die, fun embossing folder - that's all not to mention the cardstock, envelopes, and more! 

Today I'm sharing a simple, soft, and sweet sympathy or encouragement card:


To begin, I created the main card panel by inking up one side of the included Blossom Field embossing folder with Speckled Egg Distress Oxide ink - applying it directly to the embossing folder - then ran it through with white cardstock. This added color to the negative space of the embossed design. I then trimmed that panel down, and mounted with foam on a white cardbase.


I die cut the Scripty Hugs die two times, layered them together for some dimension, then layered over the shadow layer die cut from vellum. I also added another two layers of the Scripty Hug on the reverse side of the vellum - sort of works like foam adhesive, but hides it perfectly behind!


I used the Pinkfresh Puffy Alphas in the kit to add the word "big" - while the letters were white, I wanted them to pop a bit more from my background. No problem - I just colored over them with a Copic marker! It gave them a great sort of marbled look that I love as well as the custom color! Finished off with a secondary sentiment from the stamp set in the kit, heat embossed in white on Smoke cardstock then cut out with a small Circle die. A few of the clear sequins from the Orca sequin mix finish this off!


Here is a closer look at the entire kit contents - you can find all the details HERE:


Product links are all below - including affiliate links where possible, which simply means if you use one of the links below that I receive a small commission at no additional cost to you. Thanks so much for stopping by! Have a wonderful day!!!