Showing posts with label Catherine Pooler Inks. Show all posts

Wednesday, November 28, 2018

Winnie and Walter Winter Release - Day 2

Good morning! I'm back today to share some more projects with the BRAND NEW release from Winnie and Walter! It's been a while, but I promise you this release was worth the wait - SOOO fun and fabulous! You can find all the details for each day of the release, how to win it all, and lots more sneak peeks and inspiration over on the Winnie and Walter Blog HERE!

Once again today, I have two more cards to share with you - beginning with this bright festive card:


For this card I used the fabulous new Cover Model: Peppermint Zone Cutaway, die cut from red cardstock. I used my finger to smear some Glossy Accents in the center of it in a random pattern, then sprinkled on some chunky glitter to add a bit of frosty sparkle in the center.


Next, I added my sentiment using In a Word: Grand Merry and In a Word: Grand Merry Coordinating Cutaways - heat embossed on black cardstock, then mounted with foam adhesive. I used some liquid adhesive in the center of the red die cut panel to adhere it to my cardbase, leaving the outside edges floating free for a bit of a whimsical feel!


Next up, a super simple one layer card, using the fun new You Are a Blessing - which is also the new free with purchase stamp set with this release!


I love this line of mini stamp sets from Winnie and Walter - with the options to stamp the words in the center of the main image for a multicolor but one layer image. Or the option to use it without, or, just use the words on their own! So clever!


I used 3 colors of Catherine Pooler ink to stamp out the image - Aquatini, Orange Twist, and Flirty Fuchsia.


As a finishing touch, I added a touch of gold splatter with my Starry Colors Palette. See the fun shine?


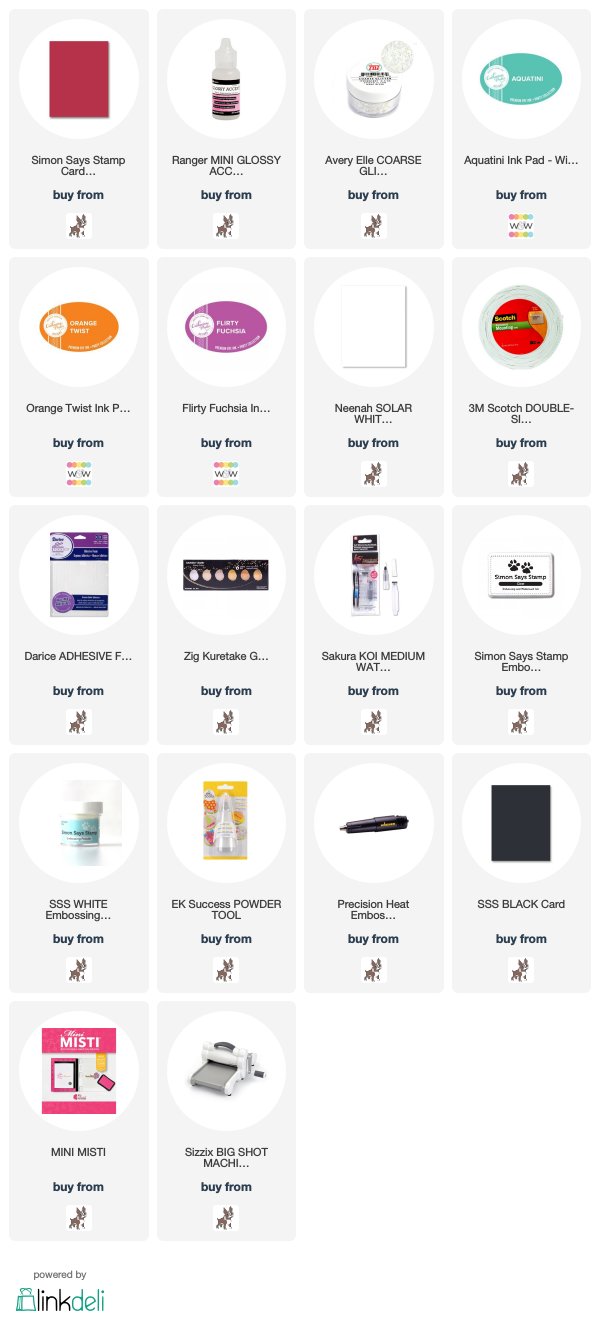
Product links are all below - including affiliate links where possible, which simply means if you use one of the links below that I receive a small commission at no additional cost to you. Thanks so much for stopping by! Have a wonderful day!!!


Friday, November 9, 2018

Peace Love and Joy - Winnie and Walter Rerun Challenge

Good morning! Today is the start of a new Rerun Feature and Challenge at Winnie and Walter - this month our featured set is In Bloom: Frenchy's Festive Florals - a lovely floral holiday set!

I used this beautiful set to create a stamped background - such a fun thing to do when you can't choose which images you want to use!


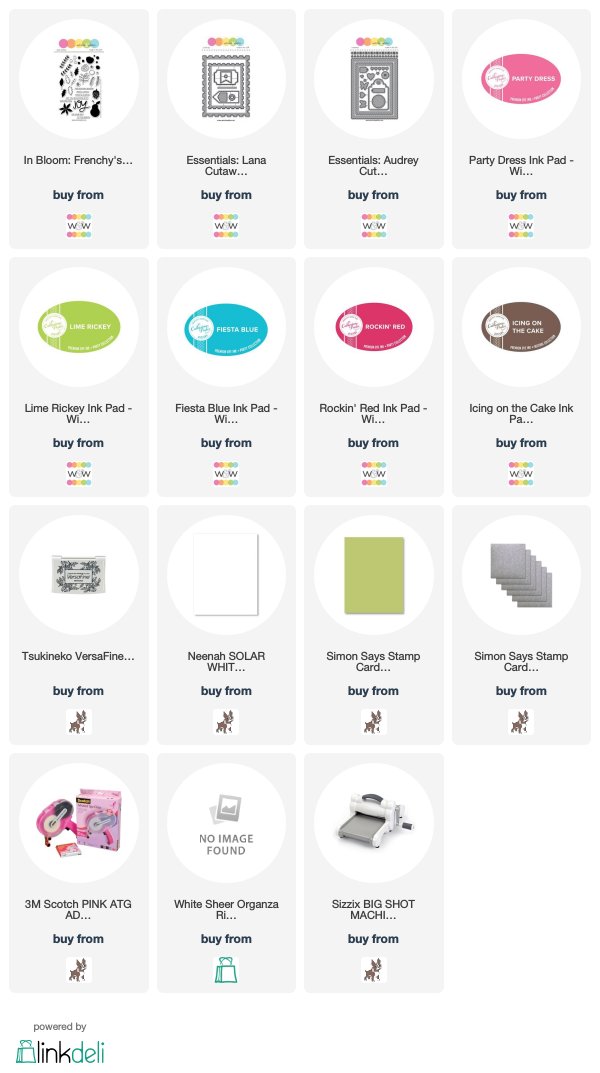
I started off by stamping my sentiment in the center of my cardstock panel. Then I built my stamped background using a variety of Catherine Pooler inks that are carried in the Winnie and Walter Store. 


Then, I decided it needed some depth and interest, so I did some die-cutting and inlaying using Essentials: Audrey Cutaways and Essentials: Lana Cutaways - adding some silver glitter cardstock as one of the layers. I tied some sheer white ribbon around in a bow, then mounted on a nice bright green cardbase to complete the card. Except for the sheer ribbon, this is a completely flat card - perfect for mailing! And this sheer ribbon compresses fairly well, so it would still travel through the mail fairly well!


Product links are all below - including affiliate links where possible, which simply means if you use one of the links below that I receive a small commission at no additional cost to you. Thanks so much for stopping by! Have a wonderful day!!!


Friday, October 12, 2018

Clean and Graphic Chevrons - Winnie and Walter Rerun Challenge

Good morning! Today is the start of a new Rerun Feature and Challenge at Winnie and Walter - this month our featured set is Scenery: V for cheVron - such a fun set to play with and create clean and graphic cards like these ones!


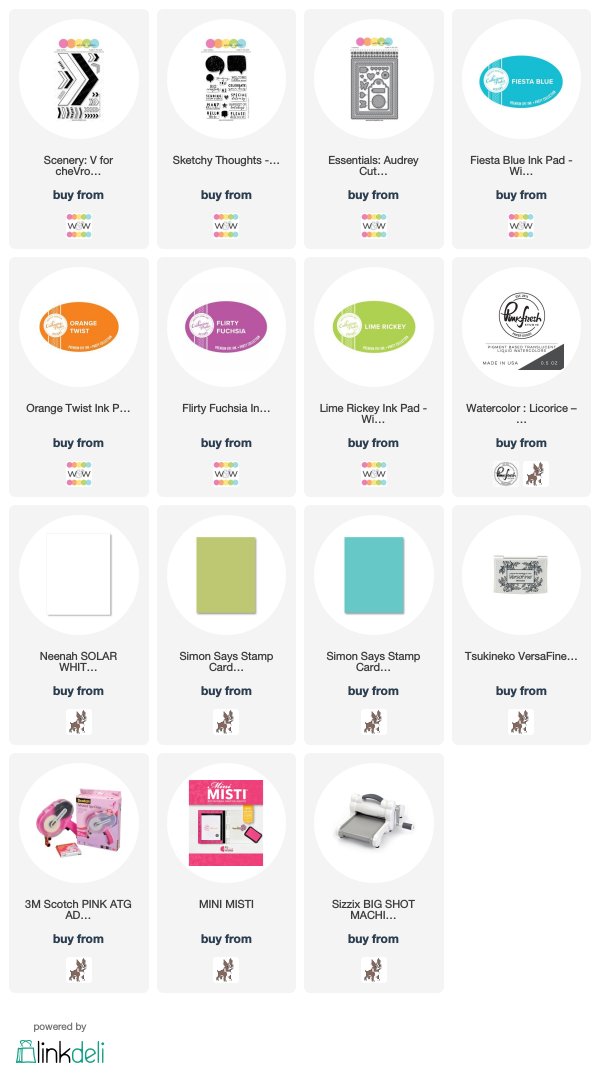
For both of these cards, I started off by stamping the sentiments on a panel of white cardstock, then moved on to building the patterns to accent the sentiments. The sentiments are both from Sketchy Thoughts stamp set - I love the font on these!


Next, I built the patterns. For this first card - I used Catherine Pooler Inks in Lime Rickey and Flirty Fuchsia:


For this second card - I used Catherine Pooler ink in Fiesta Blue and Orange Twist!


I finished off with a few black splatters using Pinkfresh Studio's Licorice Liquid Watercolor, then added some thin black lines with a black pen and a ruler around some of the edges, and matted each one with a colored cardstock panel die cut with Essentials: Audrey Cutaways.


Product links are all below - including affiliate links where possible, which simply means if you use one of the links below that I receive a small commission at no additional cost to you. Thanks so much for stopping by! Have a wonderful day!!!


Saturday, October 6, 2018

WCMD - Winnie and Walter CAS Challenge

Good morning - and Happy World Card Making Day! I am excited to be hosting a Clean and Simple Card Challenge today on the Winnie and Walter Blog - make sure and check it - and all the other fabulous challenges - out today HERE and play along for a chance to win some fabulous prizes! 

Despite the word "simple" in the title, CAS cards are not necessarily easy to create. Sometimes it takes a lot more effort to not add too many embellishments, and everyone knows what the smudge of an inky finger can do to all that nice clean white space! I have 3 examples of CAS cards to share with you - as well as some tips for making this style of card!

First up - using a stencil and leaving your background images uncolored is a great way to achieve a CAS design.


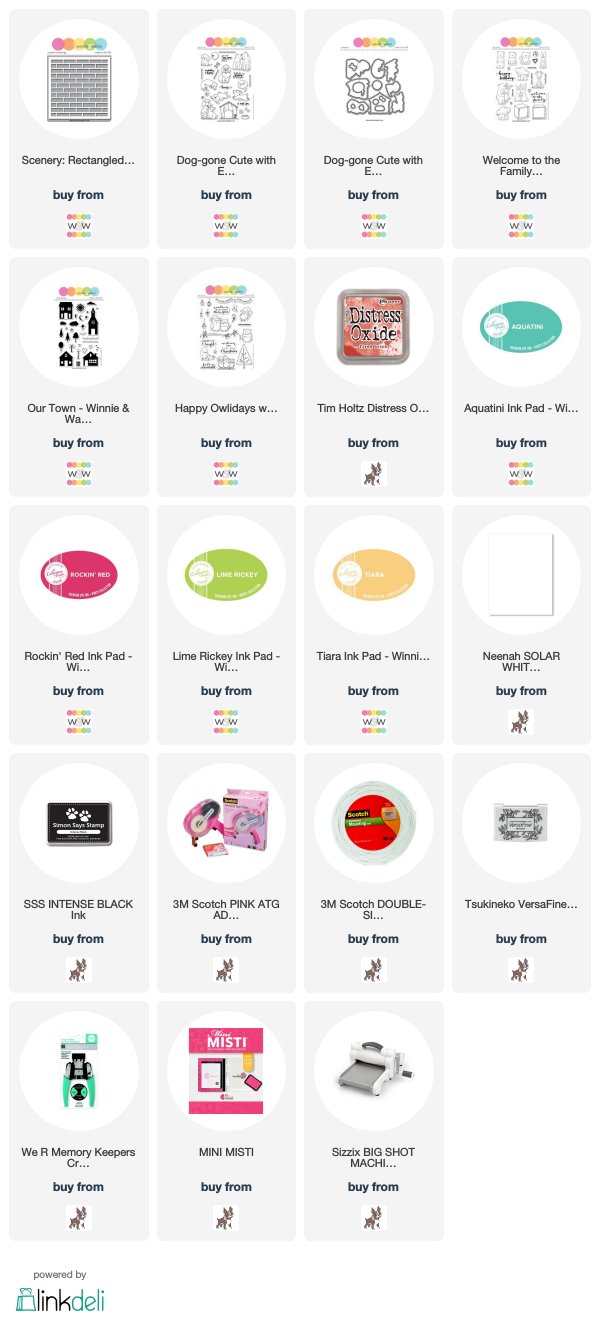
 For this card I used some Fired Brick distress ink and Scenery:Rectangled Creative Screenings to create a soft background, then stamped the sweet pups from Dog-gone Cute with Evelin T Designs and die cut with the Coordinating dies


I mounted this with foam adhesive on my cardbase, stamped a sentiment underneath, and then added the hearts from Welcome to the Family with Evelin T Designs.


Another fun way to twist up a CAS design is to stamp minimal images and sentiments, but instead of in the front and center of the card where you would first think, set it off in a corner. 


For this sweet and simple card I stamped the sweet house from Our Town in Aquatini ink in the bottom right corner, added the hearts coming out of the chimney with Rockin' Red ink, and then stamped a sentiment from Happy Owlidays with Evelin T Designs in black. 


All the white space lets the meaning of the card shine - and your eye follows the house up from the bottom corner, along the hearts out of the chimney, all the way to the sentiment that perfectly captures the scene!


And finally - another fun way to create a CAS card is stamping outline images in colored ink instead of coloring the images in! 


For this card I used images and a sentiment from Happy Owlidays with Evelin T Designs stamped in Lime RickeyRockin Red, and Tiara ink


I trimmed that white panel down and mounted it on my white cardbase for just a bit of a simple border and dimension.


Product links are all below - including affiliate links where possible, which simply means if you use one of the links below that I receive a small commission at no additional cost to you. Thanks so much for stopping by! Have a wonderful day!!!


Monday, August 6, 2018

Picture Perfect - Winnie and Walter Rerun Challenge

Good morning! Today is the start of a new Rerun Feature and Challenge at Winnie and Walter - this month our featured set is The Write Stuff: Picture Perfect.


I kept my card fairly clean and simple - and who can resist a mint colored camera?!?!?


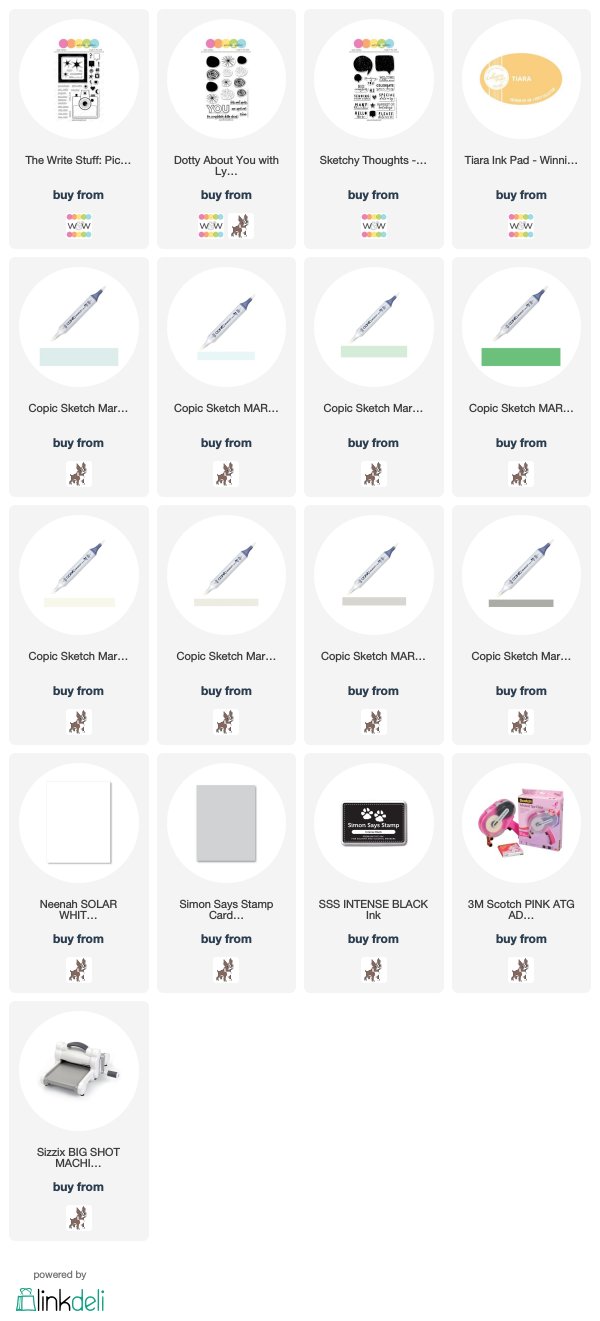
I added a flash to the camera using Dotty About You with Lydia Evans stamped with Catherine Pooler Tiara Ink, and a sentiment from Sketchy Thoughts. Stamped the "memories" from the featured stamp set randomly around for fun as well, then mounted the panel on a white cardbase to finish it off!


Product links are all below - including affiliate links where possible, which simply means if you use one of the links below that I receive a small commission at no additional cost to you. Thanks so much for stopping by! Have a wonderful day!!!


Monday, March 12, 2018

Spellbinders Sew Sweet Hand Cards

Hello! I was honored this month to be a guest designer on the Spellbinder's Blog to share cards using the brand new Sew Sweet Collection from Tammy Tutterow! Tonight I'm sharing the first couple of cards that I shared on their blog a week ago - you can view that post HERE


This collection is full of fun elements for cards and projects celebrating the art of the handmade - my mind first went to handmade quilts and gifts! But I also saw possibilities for other creative uses for this collection, so I decided to start with a couple cards that use these products for perhaps a different use than they were originally intended!


To start off, when I saw this sentiment from #Handmade stamps, my mind immediately thought of a very good friend of mine that is an ASL interpreter. So I had to make a card for her! 


I stamped the sentiment, and layered some of the images from the same stamp set (as well as a flower from Sew Tiny Sentiments stamp set. I also added some chevron border elements using Shapeabilities Sew Sweet Trims die set, and used this same die set to die cut a kraft border to tuck under the edges of the front stamped white panel.


I wrapped some hemp twine around that panel, added some white gel pen accents, and then mounted that on a cream colored cardbase.


And then, of course, the first thing that popped into my head when I saw the fabulous hand die from Shapeabilities From Heart and Hand die set was a hand waving hello!


I did some ink smooshing in green and aqua inks for my background, also adding some white paint splatters. Once that dried, I added some washi tape along the bottom, and some letter stickers to build my sentiment!


And to make it more fun and interactive, I used a mini Action Wobble to attach the hand - so that it can ACTUALLY wave!


 Thanks to the Action Wobble, do you see how it pops out at you from the card as well?


So there you go! Do you like stretching your stamps and dies to find more creative uses for them? I love to find unique ways to use things that I already have!


Which one is your favorite? Would you make a card like this?


Product links are all below - including affiliate links where possible, which simply means if you use one of the links below that I receive a small commission at no additional cost to you. Thanks so much for stopping by! Have a wonderful day!!!


Rubber Brayer Backgrounds - on the Unity Blog

Good morning! Wanna see how I used a a long forgotten tool - a rubber brayer - to create these backgrounds? Head on over to the Unity Stamp Company Blog for details and a video - you can find the post HERE!


Thanks for stopping by! Have a fabulous day!

Rainbow Color Challenge on the Winnie and Walter Blog

Good morning! After taking the month of February off due to all the Winnie and Walter Birthday Bash festivities, I'm back with a new Color Challenge on the Winnie and Walter Blog this morning! Here is a peek at my card - go check out all the details (and see last challenge's winners) on the Winnie and Walter Blog HERE:


Thanks for dropping by! Have a wonderful day!!!

Monday, February 12, 2018

Baby Card Duo on the Unity Blog

Good morning! Just wanted to share a quick peek at a couple baby cards I have up on the Unity Blog this morning! You can check them out (along with a video) HERE if you're interested!


Thanks so much - have a great day!!!