Hello - and HAPPY STAMPtember - a month long party by Simon Says Stamp to celebrate all things stamping.

Today is kicking off the first of the special SUPER SECRET collaboration stamp sets that will be happening throughout the month! So first up we have...Studio Katia with not one, but TWO stamp sets - and if you purchase one, you can get the other one for FREE! Isn't that the best! Today is Simon Says Stamp founder Heidi's birthday, and she wanted to do something extra special today to celebrate the occasion!

I have two cards to share today - using BOTH of these sets for a two for one card design!

First up, I die cut a heart window from some aqua cardstock using a Memory Box heart die that I love - the inside cuts a basic heart, the outside leaves a triple line of stitching around the negative space.

I chose some coordinating ink to stamp the florals on my white cardbase so that they would show through the window for a tone on tone look.

I stamped the sentiment, mounted the window over the top with foam adhesive, and added a few Pretty Pink Posh jewels to bling it up a bit.

I love the simple tone-on-tone look - and the window is such a fun way to showcase those florals!

Now - you don't think I throw away that heart I die cut, right?

Nope! I used the same ink to stamp the florals from the other stamp set over the heart, not filling the entire image. This gives another tone on tone look!

I trimmed a panel of white cardstock down smaller than my cardbase, and blended that same ink color very softly around the edges to help pull the colors together.

Stamped the sentiment, added a few more of those Pretty Pink Posh jewels, and mounted the layers together with foam adhesive for plenty of dimension!

And there you go - a perfect and easy card set. Which one is your favorite?

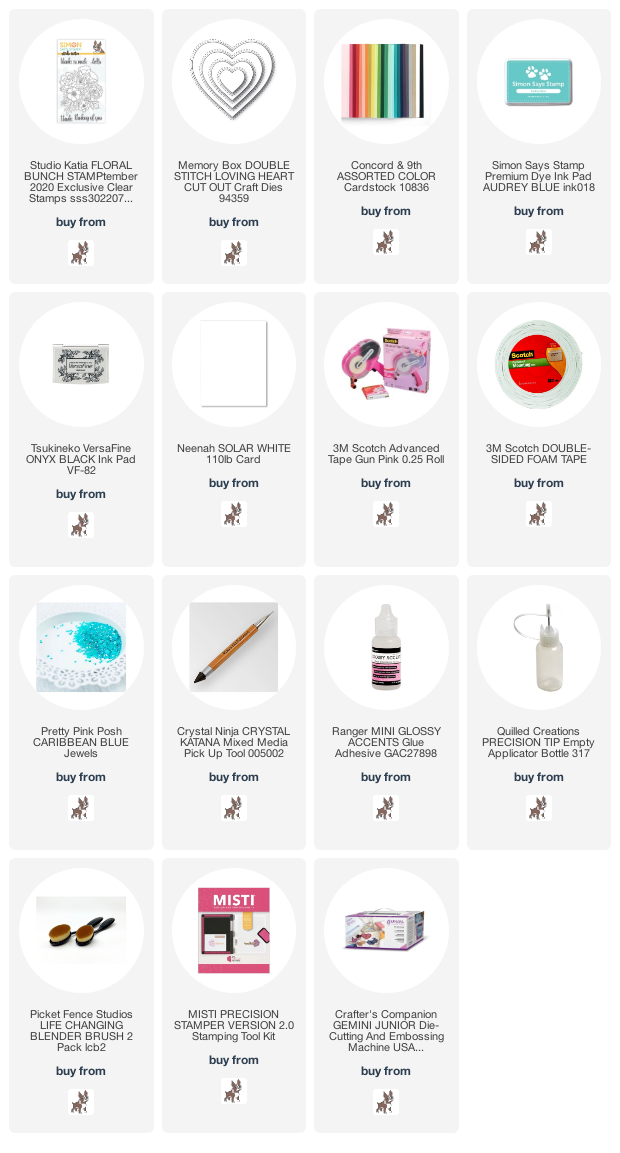
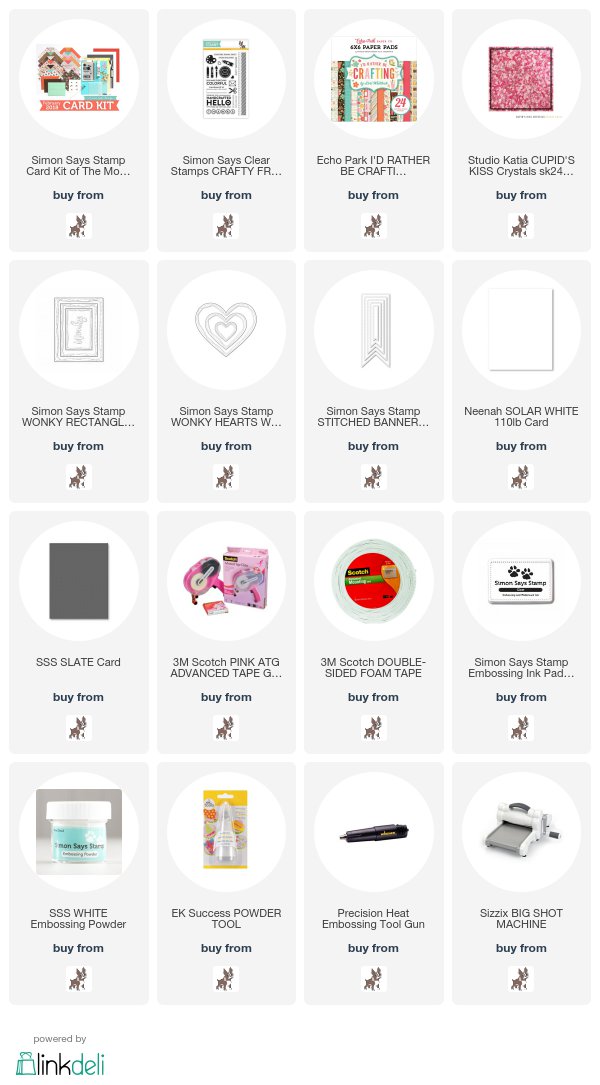
Product links are all below - including affiliate links where possible, which simply means if you use one of the links below that I receive a small commission at no additional cost to you. Thanks so much for stopping by! Have a wonderful day!!!