Showing posts with label sentiment strips. Show all posts

Sunday, July 27, 2025

Floral Dragonfly Cards - Simon Says Stamp

 Hello! Today I'm sharing a couple of cards with fun floral backgrounds, and a beautiful die cut dragonfly that I love! I'm using lots of supplies from Simon Says Stamp!


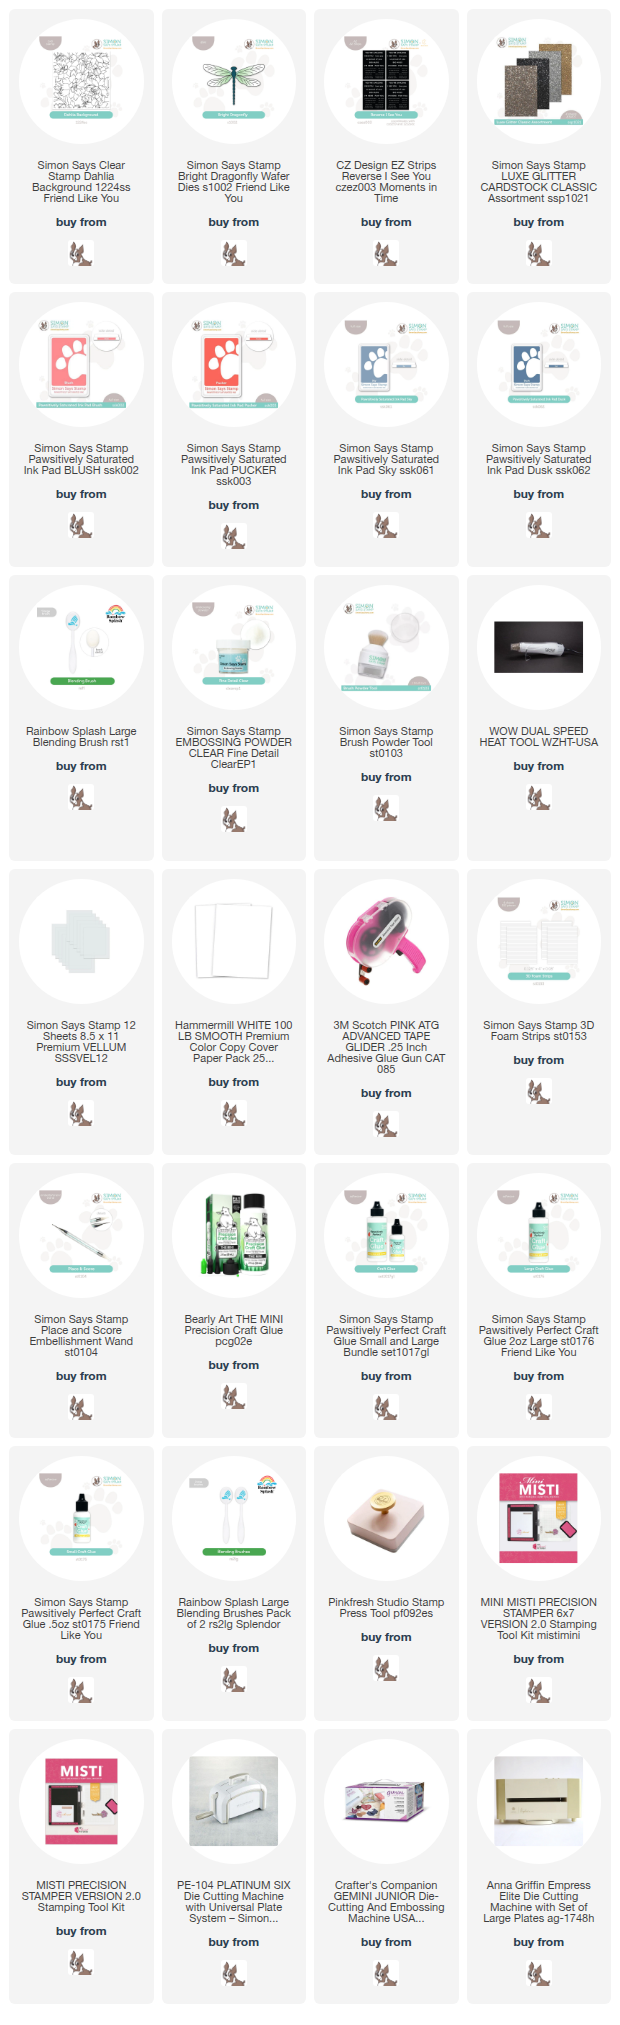
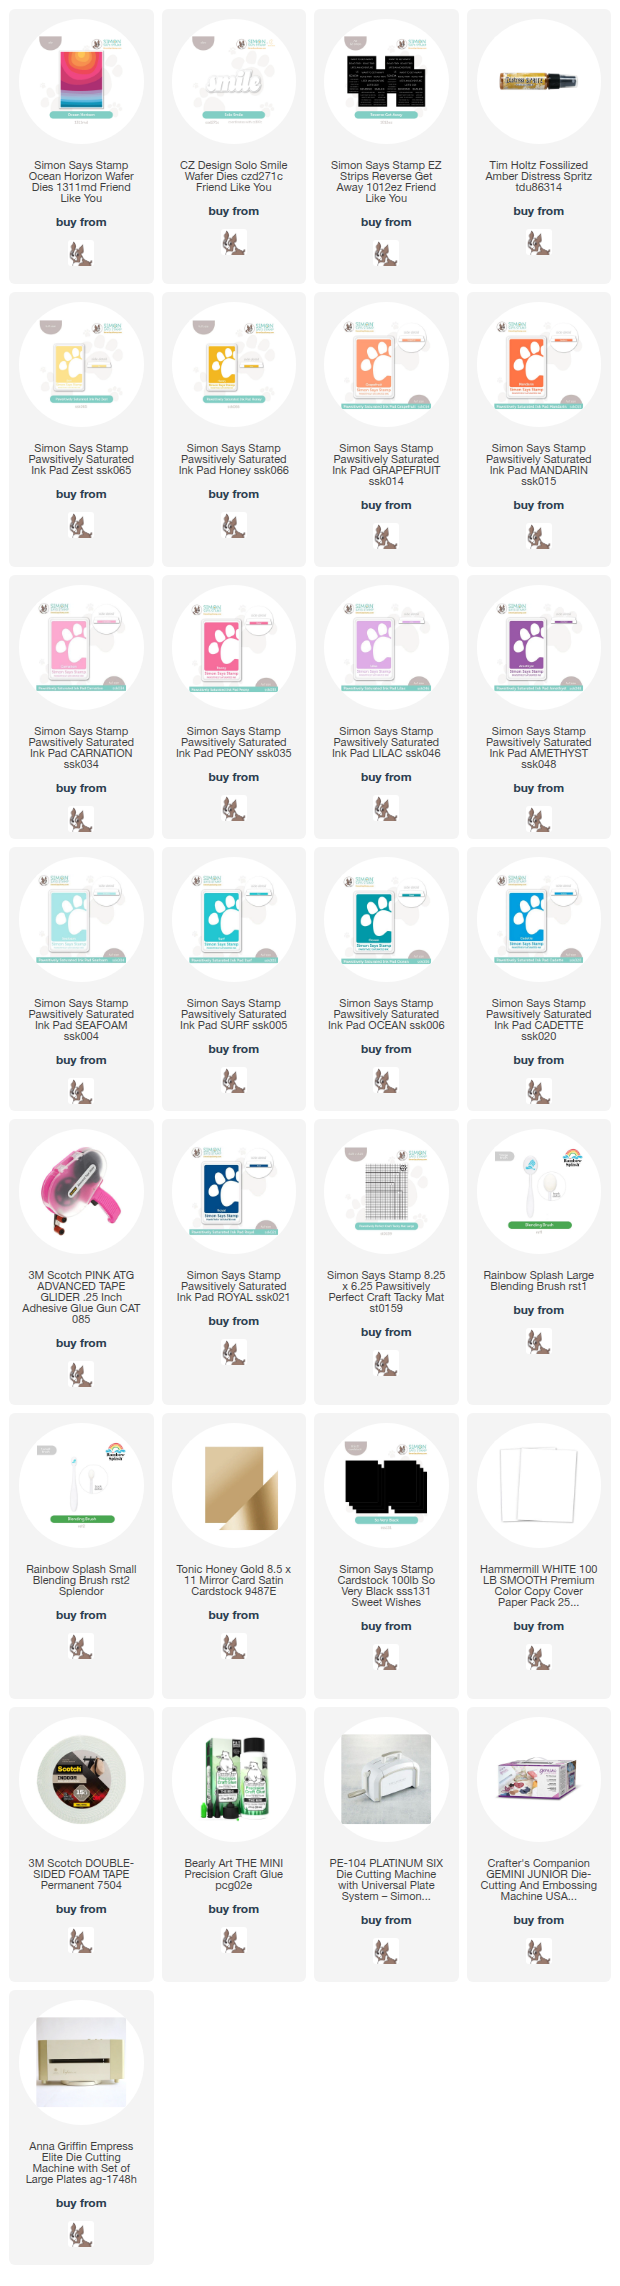
I started off by creating the stamped backgrounds. I stamped the pretty Dahlia Background on white cardstock in two tones of colored ink - Pucker and Dusk, and then added clear heat embossing over top. Then I grabbed a lighter shade in each of those ink families - Blush and Sky - and did some soft ink blending around the outer edges, fading in softer towards the center. Perfect for pretty monochromatic backgrounds! Next, I grabbed Bright Dragonfly die to add to these. I die cut the body from some dark gray Luxe Glitter cardstock, then the wings from white cardstock and vellum to layer together - that way I got the soft look of the vellum, but the white cardstock behind to make sure it stood out from the background. Finally, added sentiments from the Reverse I See You printed sentiments, popped up with foam adhesive.


Product links are all below - including affiliate links where possible, which simply means if you use one of the links below that I receive a small commission at no additional cost to you. Thanks so much for stopping by! Have a wonderful day!!!


Thursday, June 26, 2025

Colorful Horizons - Simon Says Stamp Friend Like You Release

 Hello! I'm stopping by with another fun card using the BRAND NEW Simon Says Stamp Friend Like You Release! I had so much fun putting this card together using a couple of new die sets, and lots of ink blending! 


For this card, I die cut the Ocean Horizon die from white cardstock, then used my Crafty Tacky mat to hold each piece in place while I ink blended color over them. I used a LONG list of inks - you can find them all linked at the bottom of this post! Next, I assembled it all together, adhering on a panel of white cardstock, and trimming it down slightly smaller to help even up the edges, and size it to fit my card. I also added some splatters with Fossilized Amber distress spritz for some added sparkle. I matted it with a slightly larger piece of black cardstock, then popped it up with foam adhesive on my cardbase. For the sentiment, I used the Solo Smile die, cutting it once from Honey Gold cardstock, and once from white cardstock, adhering them together slightly offset for a shadow effect. I popped that up on my card with more foam adhesive, and then added a secondary sentiment from EZ Strips Reverse Get Away sentiments. Here is a closer look at this finished card:


Product links are all below - including affiliate links where possible, which simply means if you use one of the links below that I receive a small commission at no additional cost to you. Thanks so much for stopping by! Have a wonderful day!!!


Tuesday, April 15, 2025

Textured Stripes - Simon Says Stamp May Card Kit

 Hello! I'm popping in to share a couple more cards using the newest May 2025 Simon Says Stamp Card Kit - Beautiful and Curious! This month's kit has a great vintage feel to it! The included stamp set by the same name features some florals and collage type images (there is also a coordinating die for this set available separately HERE). There are some fun pattern papers, distress crayons, sentiment strips...that's all not to mention the cardstock, envelopes, and more! AND - there is a free embossing folder for kit subscribers that I'm featuring on today's cards!

The monthly card kit has even more perks now when you sign up for the Subscription service! There is a video HERE you can watch to learn more!


For these cards, I used the FREE Dotted Diamonds embossing folder on some of the Steel and Ivory cardstock in the kit, then trimmed down some diagonal strips from those panels. I alternated the size and colors, and mounted them with foam on a strip of the new Ice Vellum included in the kit as well. Trimmed that down, and adhered to white cardbases. I heat embossed the butterflies from the stamp set on more of that vellum, and fussy cut them out (I don't have the dies yet!) - then attached those over the diagonal panels with a touch of liquid glue. I grabbed sentiments from the Lucky Sentiment strips in the kit, and popped those along the bottom of the diagonal strips, and then added some more stamping to the backgrounds using Buttercream ink for the floral image, and black ink for the little splatters and flourish to highlight the sentiments. Finished off with a rounded corner and some Clear Dazzling gems around the sentiments! Here are more photos of these finished cards:


Product links are all below - including affiliate links where possible, which simply means if you use one of the links below that I receive a small commission at no additional cost to you. Thanks so much for stopping by! Have a wonderful day!!!


Thursday, April 3, 2025

Shiny Floral Egg Trio - Simon Says Stamp

 Good morning! I have a light and airy trio of cards today using some recently released items from Simon Says Stamp, and a fun technique to get a fun shiny card highlight! You can check out my Instagram HERE to see a quick process video of how I did it!


I started off by embossing the Floral Easter Eggs embossing folder from 3 colors of Spellbinders cardstock, and 3 times from Cream cardstock. I then used the included die to cut out one particular egg from the background. (Check back tomorrow to see how I put those backgrounds to use!). I then held the cut out embossed egg with reverse tweezers, smooshed the front of it directly into my clear embossing ink pad, then sprinkled with clear embossing powder and heat set. I did this 2-3 times to each egg to make sure it had a good coating of shine. Then, I adhered it over the cream background with a bit of foam adhesive, and wrapped some Iridescent twine around those panels, before adhering with foam adhesive to white cardsbases. Added sentiments from Reverse Thank You sentiment strips, and a few sparkly Simple Stories enamel dots to finish off! Here is a closer look at these cards:


Product links are all below - including affiliate links where possible, which simply means if you use one of the links below that I receive a small commission at no additional cost to you. Thanks so much for stopping by! Have a wonderful day!!!


Tuesday, February 11, 2025

Candles and Embossing Cards - Simon Says Stamp

 Good morning! Today I'm sharing a couple of simple birthday cards featuring embossed backgrounds and the same birthday candle die from Simon Says Stamp - and I love the combination, and how simple these are. Perfect for when you need a quick birthday card at short notice!


These were even quicker to make, because I had the unused embossed cardstock panels, and the previously die cut and unused candles - so it was mostly assembly, and choosing some sentiments and embellishments! The two embossed backgrounds are Kaleidoscope embossing folder on Steel cardstock, and Floating Flowers on Honey cardstock. The candles were die cut using Sparkling Candles wafer dies. I used the solid version on one card, and the more intricate ones on the other. Sentiments for both cards came from the Reverse Birthday Sentiment Strips, and the pretty pearls are Honey Bee Ombre Pearl Stickers (which I love)! Finally, I added some sparkly Nuvo Blizzard glitter drops to the solid candle flames for a touch of sparkle. Here is a closer look at these:


Product links are all below - including affiliate links where possible, which simply means if you use one of the links below that I receive a small commission at no additional cost to you. Thanks so much for stopping by! Have a wonderful day!!!


Monday, February 3, 2025

Rainbow Foiled Snowflakes - Simon Says Stamp

Good morning! I'm here today with a couple of shiny foiled snowflake cards using various supplies from Simon Says Stamp. Have you ever noticed how HARD it is to photograph foiled cards?!? I feel like the photos never do them justice! :)


For these cards I used the Falling Snowflakes Foil Transfer sheets. These are toner based foiling - so they require the correct foil for that technique. While I don't have a laminator or a Minc machine to do this, I have found a trick that works with the Solid Hot Foil Plate from Pinkfresh. (You can watch a video HERE on my YouTube channel showing how this technique works - I want to do another video again soon sharing this trick with newer supplies, so watch for that someday soon!) Using that technique, I foiled the panel with Mystic Rainbow Decofoil. THEN...I used a White Toner sheet to foil the reverse image! What?!? My friend Lea told me about these - and I thought it was so cool! I trimmed the panels down, added sentiments from Everyday EZ Strips Sentiment Strips and Reverse Bold Hello Sentiment Strips, popped up on a bit of foam. Finished off with LOTS of Dazzling Gems in Prism for that extra touch of sparkle! Here are more photos of these cards - and my best attempt to capture the rainbow shine:


Product links are all below - including affiliate links where possible, which simply means if you use one of the links below that I receive a small commission at no additional cost to you. Thanks so much for stopping by! Have a wonderful day!!!