Saturday, September 12, 2026

Memory Box - Simon Says Stamp STAMPtember Collaboration

Hello! Today's set for the newest of the Simon Says Stamp STAMPtember Exclusive Collaborations is an adorable winter set from Memory Box that was so much fun to play with! This sweet little deer stole my heart, and it was so fun to put a little scene together with it!


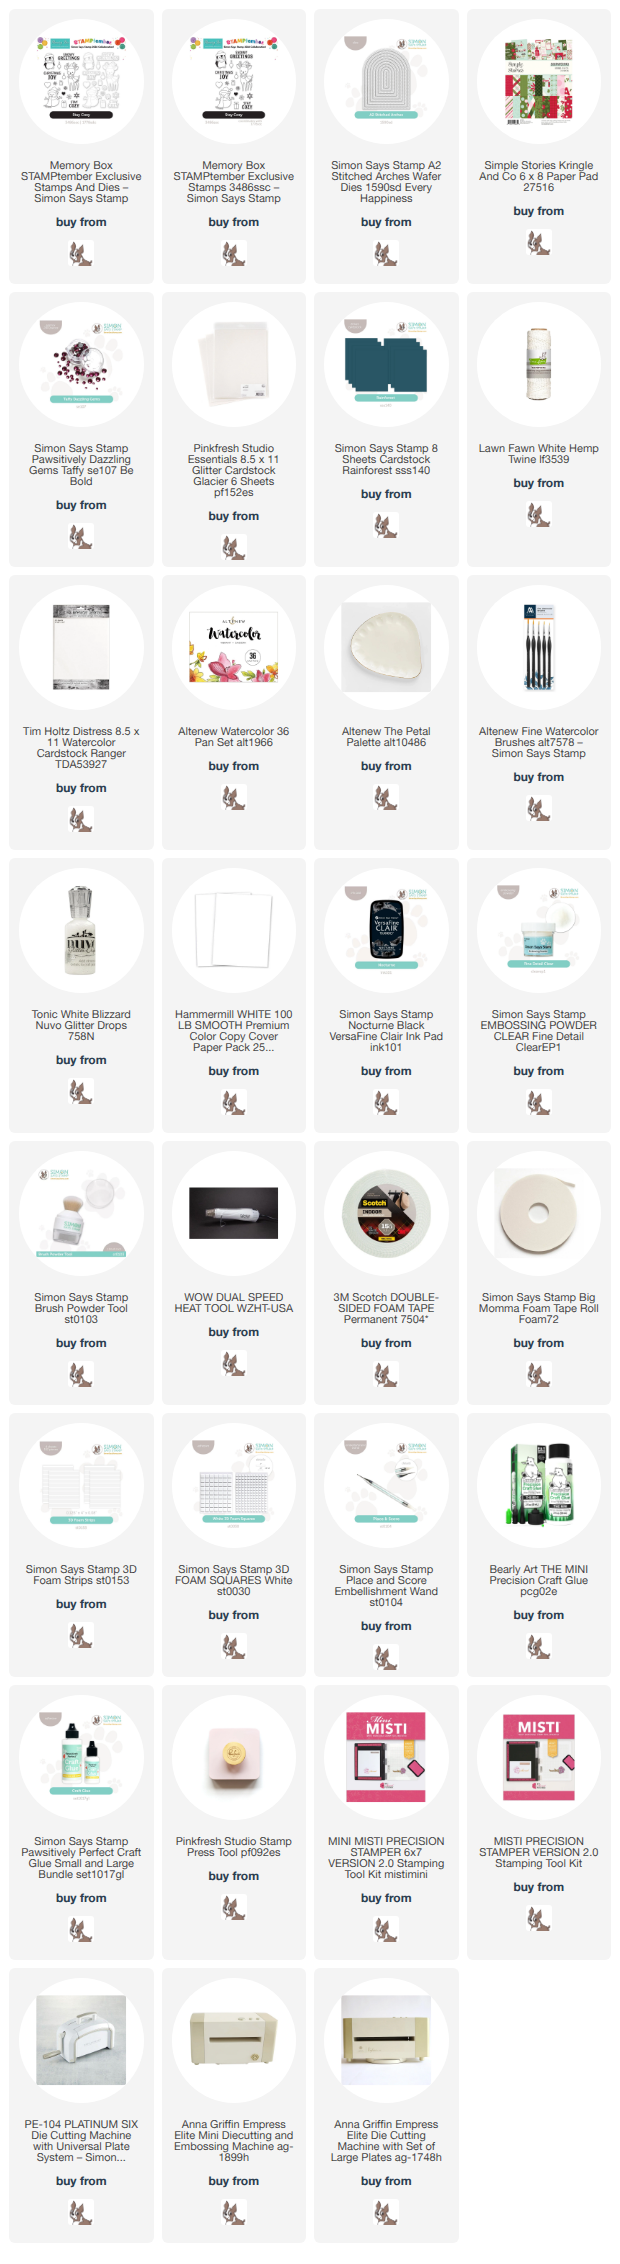
I started off by stamping and heat embossing the deer from Stay Cozy set on watercolor paper. I watercolored the image with my Altnew watercolors in simple colors with a bright pop of pink. I also stamped and heat embossed the snowflakes and sentiment from the set, then die cut everything out. I used some pattern paper from Simple Stories Kringle & Co pattern paper pad for the background, then used A2 Stitched Arches dies to create the front panel with Rainforest cardstock, creating a frame with two dies and some sparkly white glitter cardstock. I also tucked in a couple piece of white cardstock with a torn edge to mimic snow, and popped the frame up with foam adhesive strips. I arranged everything on my card, added a few Taffy Dazzling gems, some Nuvo glitter drops on the scarf and hat, and finished off with a good wrap and bow from white twine. Here is a closer look at the finished card:


Product links are all below - including affiliate links where possible, which simply means if you use one of the links below that I receive a small commission at no additional cost to you. Thanks so much for stopping by! Have a wonderful day!!!

Friday, September 11, 2026

Honey Bee Stamps - Simon Says Stamp STAMPtember Collaboration

Hello again! Can you believe it's time for yet another of the Simon Says Stamp STAMPtember Exclusive Collaborations?!? Today we are shining the spotlight on Honey Bee Designs with a unique and fun set! I couldn't choose just one of these lovely scripty frames, so I used a few to create a fun background on my card!


I started off by choosing 3 of the 4 frames in the Holly Jolly Frames set, and heat embossing them in gold on black cardstock, then die cutting them with the coordinating dies, both on the inside and outside. I cut the separate circle shape 3 times from Lipstick cardstock, and blended some Cranberry ink around the edges. After adding some black splatter to my cardbase, I arranged the frames on my card, and trimmed off the excess, then used the extra little pieces to tuck around the edges to fill those spaces a little bit, popping everything up with foam adhesive. I added those red pieces in the centers, then stamped and heat embossed the holly berry cluster 3 times, coloring with Copic markers. I added a stamped sentiment, tucked the colored images on each piece (adding some Nuvo glitter drops to the berries for a frosty effect), then finished off with lots of Dazzling Gold gems to finish off! Here are more photos of the finished card:


Product links are all below - including affiliate links where possible, which simply means if you use one of the links below that I receive a small commission at no additional cost to you. Thanks so much for stopping by! Have a wonderful day!!!


Thursday, September 10, 2026

Gina K Designs Bold and Bright - Simon Says Stamp STAMPtember Collaboration

Hello again! Back today with the next in line for the Simon Says Stamp STAMPtember Exclusive Collaborations - today's is the ever popular Gina K Designs, which I feel like just means it's guaranteed to sell out. And I had so much fun going off my usual style for this card! I feel like it's giving me 80's or 90's bold color scheme. Is it just me?!?


I started off by stamping and heat embossing the beautiful large floral image from the Best Moments set. There are coordinating stencils available (AND Poly-Glaze panels if you fancy some foiling!), but since I didn't have those, I initially planned to add some color in another way. But as this card came together, I ended up leaving them simple, and I love the effect! I had the panel of black cardstock with a window cut in it from Modern Teardrops die leftover from another project, and on a whim, I pulled it out to see if I could use it. I don't think I've ever made a card with that much black cardstock on it, but I just seemed to work! I added some Gina K Sweet Corn cardstock behind it, and die cut a frame from Gina K Petunia cardstock using two of the same dies taped together. I tucked the floral in, trimming off some excess from the bottom one, then adhered that entire panel down with foam adhesive. I heat embossed a sentiment from the set in white on black cardstock and die cut it out, then die cut that same sentiment die two times from the Petunia cardstock to layer together. I adhered the stamped sentiment slightly offset, so you can see a bit of a pink shadow effect underneath - so fun! Finished off with some Taffy Dazzling Gems for some extra sparkle! Here is a closer look at all the fun shine, bold color, and detail in those florals:


Product links are all below - including affiliate links where possible, which simply means if you use one of the links below that I receive a small commission at no additional cost to you. Thanks so much for stopping by! Have a wonderful day!!!


Wednesday, September 9, 2026

Alex Syberia Designs Lovely Day - Simon Says Stamp STAMPtember Collaboration

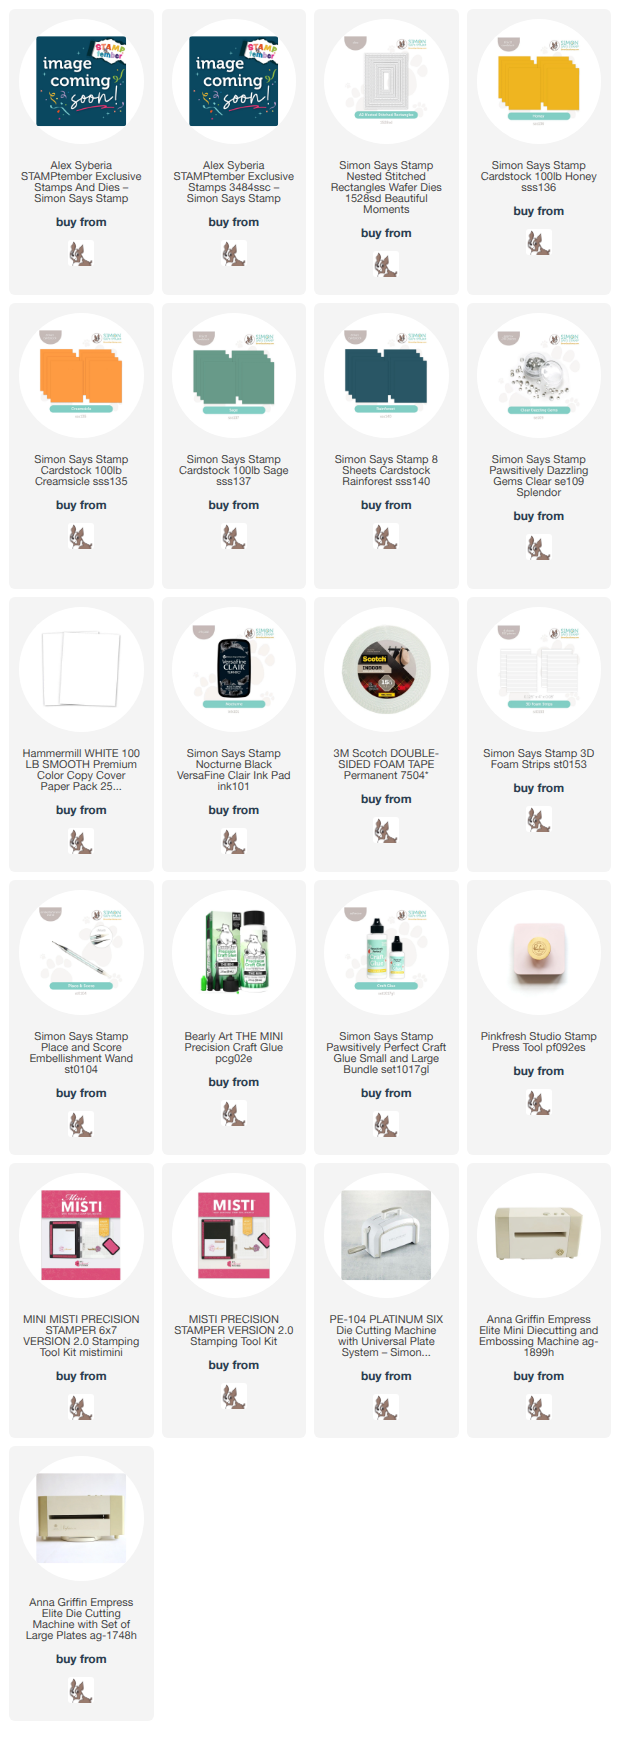
Good morning! I'm excited today to be sharing a card with the next Simon Says Stamp STAMPtember Exclusive Collaboration - and for today's collab with Alex Syberia Designs, I got to create a video to share on the Simon Says Stamp YouTube channel! You can check out the video and see how this card came together there, and I've posted additional photos here if you want to check them out!

I've listed a full supply list at the bottom of this post if you want to check that out - and you can grab this fun set with it's coordinating dies HERE, or just grab the stamp set on it's own HERE!


Product links are all below - including affiliate links where possible, which simply means if you use one of the links below that I receive a small commission at no additional cost to you. Thanks so much for stopping by! Have a wonderful day!!!


Tuesday, September 8, 2026

Mama Elephant Cute Vintage Holiday - Simon Says Stamp STAMPtember Collaboration

Hello! It's time for another Simon Says Stamp STAMPtember Exclusive Collaboration, and today's is the ever adorable Mama Elephant brand! While this collaboration is perfect for little gift tags, I pulled out some other dies and pattern papers and created this happy card with a bit of a vintage twist!


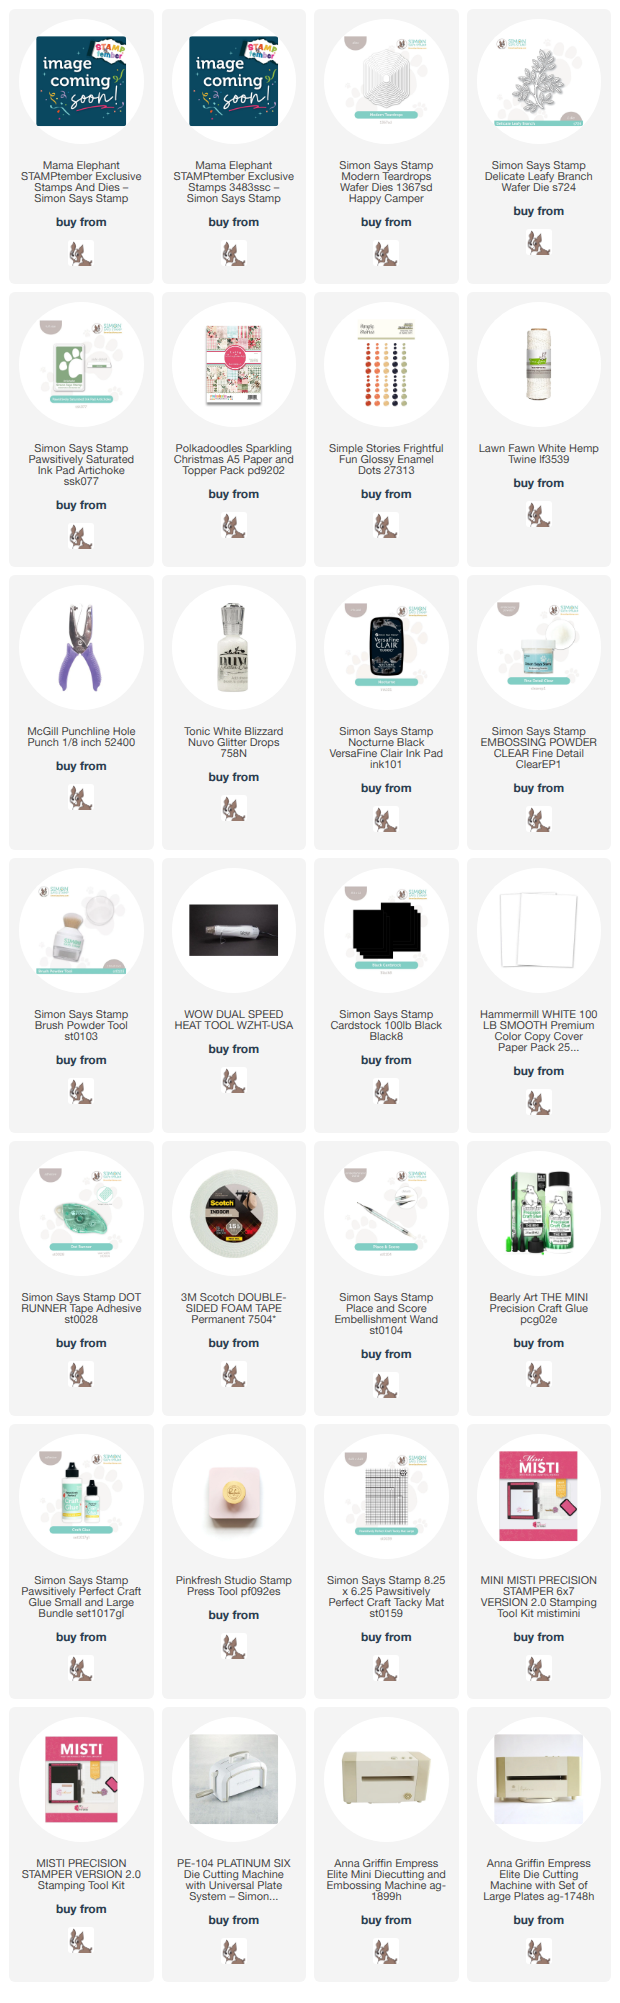
I started off by stamping my image, sentiment, and multiples of that tiny cute heart from the Round Tag Friends set on some of the Polkadoodles Sparkling Christmas pattern papers. I heat embossed with clear embossing powder, and die cut the image, then selected another piece of pattern paper for the background. One of the Modern Teardrops dies made a perfect focal point, and I paired two of them together to create that black frame to put around it to help it pop. I also die cut the Delicate Leafy Branch from white cardstock, then directly inked that die cut piece with my Artichoke ink pad. I assembled everything together, added some white twine in a loopy bow, some Nuvo glitter drops to parts of the image, and a few coordinating enamel dots to finish! Here's a closer look: 


Product links are all below - including affiliate links where possible, which simply means if you use one of the links below that I receive a small commission at no additional cost to you. Thanks so much for stopping by! Have a wonderful day!!!


Monday, September 7, 2026

Altenew Floral Bloom Card - Simon Says Stamp STAMPtember Collaboration

Hello again! Today's card features the next set in the Simon Says Stamp STAMPtember Exclusive Collaborations - today is all about Altenew! And it's only appropriate that it would be a layering floral stamp set, one of the things Altenew is known for! This beautiful set was so much fun to stamp and layer up!


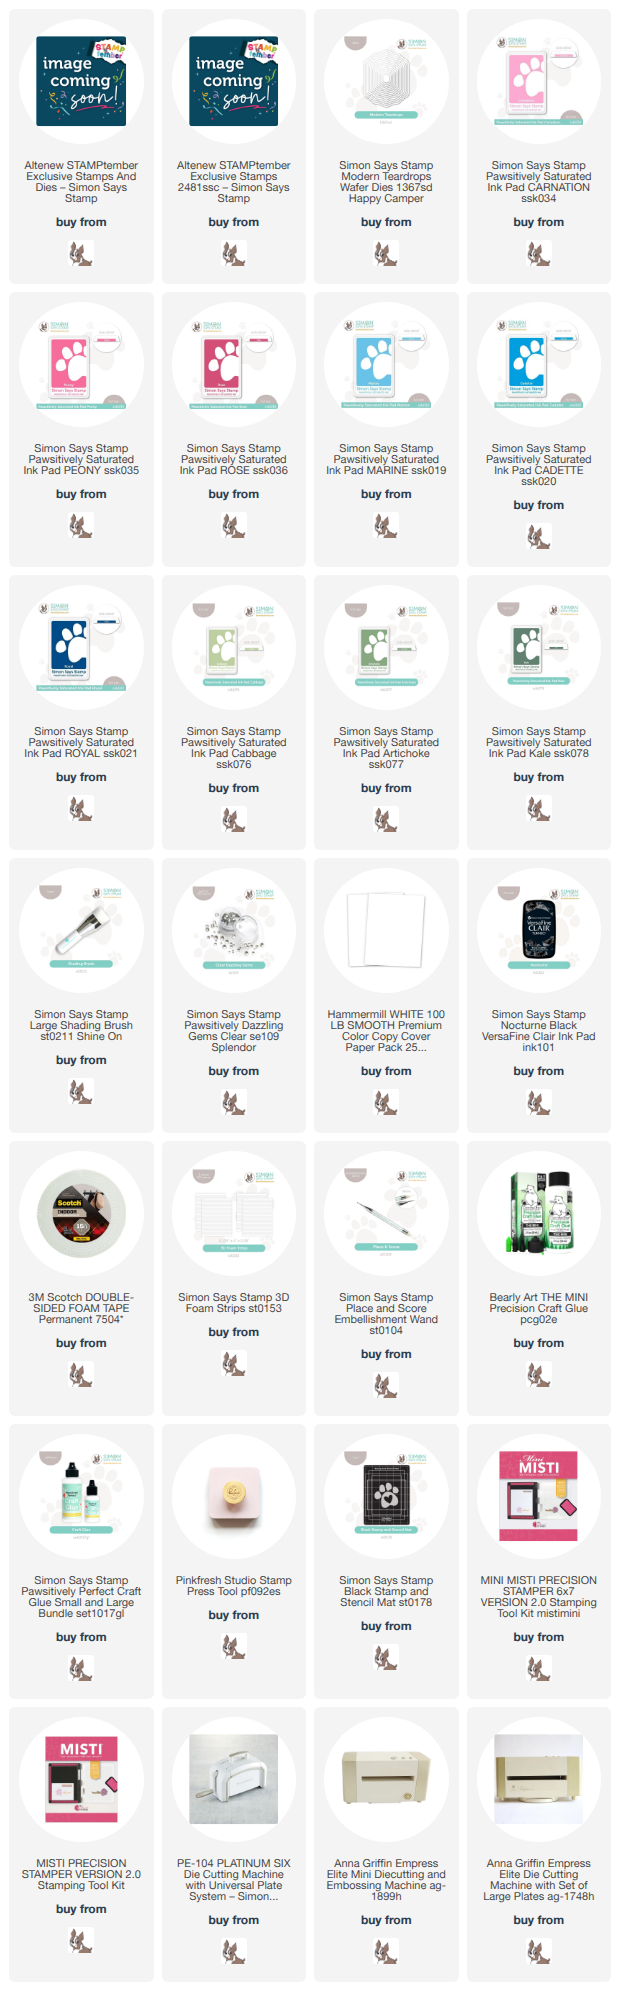
I started off by die cutting the panels for the florals from Graceful Blooms - before even stamping. One of the easiest ways I've found to stamp layering images is by using the negative space to line up each stamp layer. It's even easier if you use a dark surface behind like black cardstock or a black stamp and stencil mat. I used Marine, Cadette, and Royal for the blue bloom; Carnation, Peony, and Rose for the pink one; then Cabbage, Artichoke, and Kale for the greenery and details on the flowers. I die cut a window in a panel of white cardstock using one of the Modern Teardrops dies, then added some soft shading on the cardbase underneath with Marine and Carnation in opposite corners from where I was arranging the florals. I love how it looks like it's glowing from behind them! Finished off by stamping and die cutting sentiments to add, and sprinkling on a few Clear Dazzling gems. Here is a closer look:


Product links are all below - including affiliate links where possible, which simply means if you use one of the links below that I receive a small commission at no additional cost to you. Thanks so much for stopping by! Have a wonderful day!!!


Sunday, September 6, 2026

Ink Blending and Cheeky Sentiments - Simon Says Stamp STAMPtember CZ Design Feature

Hello! Today's STAMPtember surprise is a special release and feature of CZ Designs at Simon Says Stamp! I used a couple of the newly released items to put together this fun set of cards - I love a fun sentiment, and these just made me smile! And a bonus? These new items are not limited, and will be restocked when they sell out! Which makes me happy, because I am definitely looking forward to using these lots more in the future!


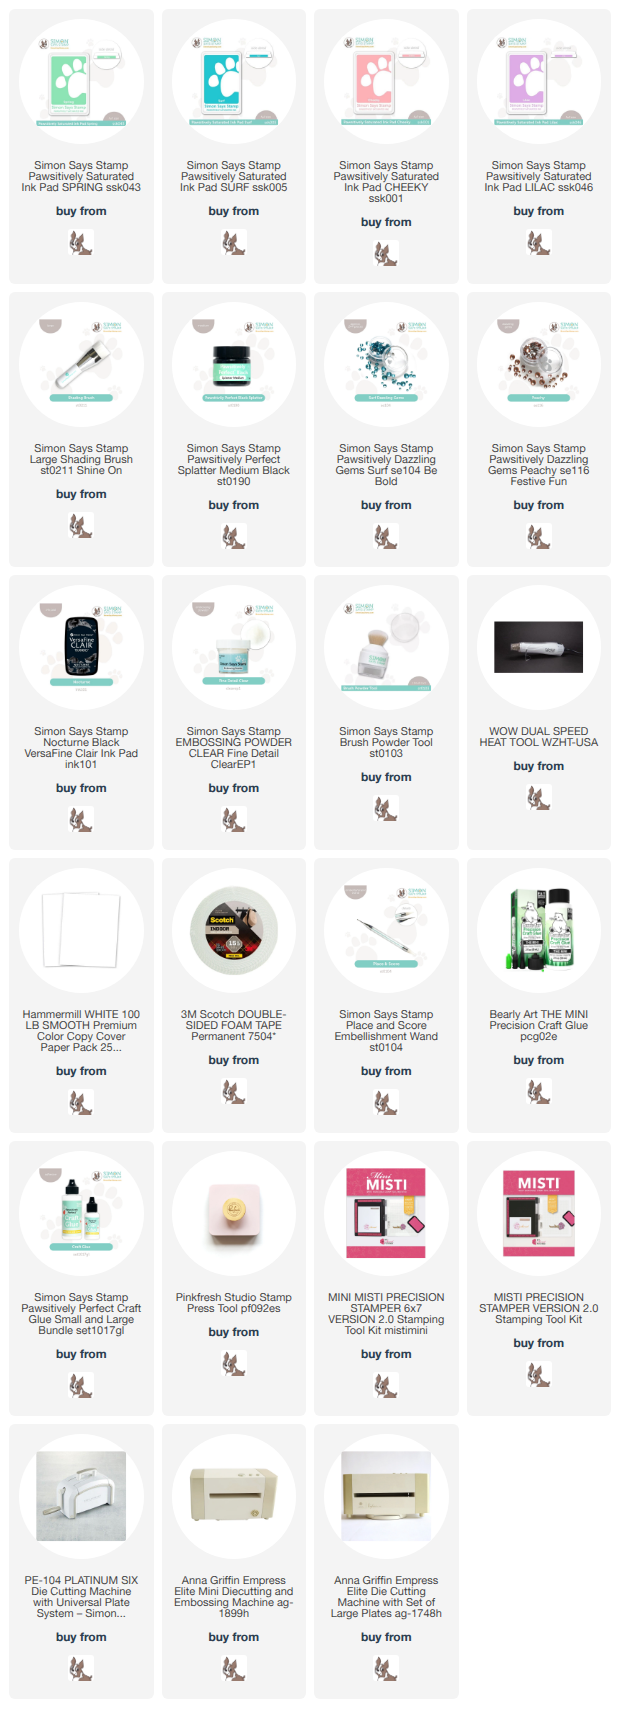
I started off by using the new Cropping Panels as stencils to ink blend on white cardbases. I used Spring and Surf inks for one card, and Cheeky and Lilac for the other. Before removing cropping panel, I also added some black splatter on each one. While those dried, I stamped and heat embossed some larger sentiments from the new Fresh Sentiments set, and die cut them with the coordinating die. I planned my placement for my larger sentiments, then stamped my smaller sentiments underneath directly on the cards. I popped up the larger sentiments with foam adhesive, then added a few coordinating Dazzling Gems in Surf and Peachy to finish off! Here is a closer look at these fun and sassy cards:


Product links are all below - including affiliate links where possible, which simply means if you use one of the links below that I receive a small commission at no additional cost to you. Thanks so much for stopping by! Have a wonderful day!!!