Sunday, November 30, 2025

Pattern Paper Framed Baby Cards - Simon Says Stamp

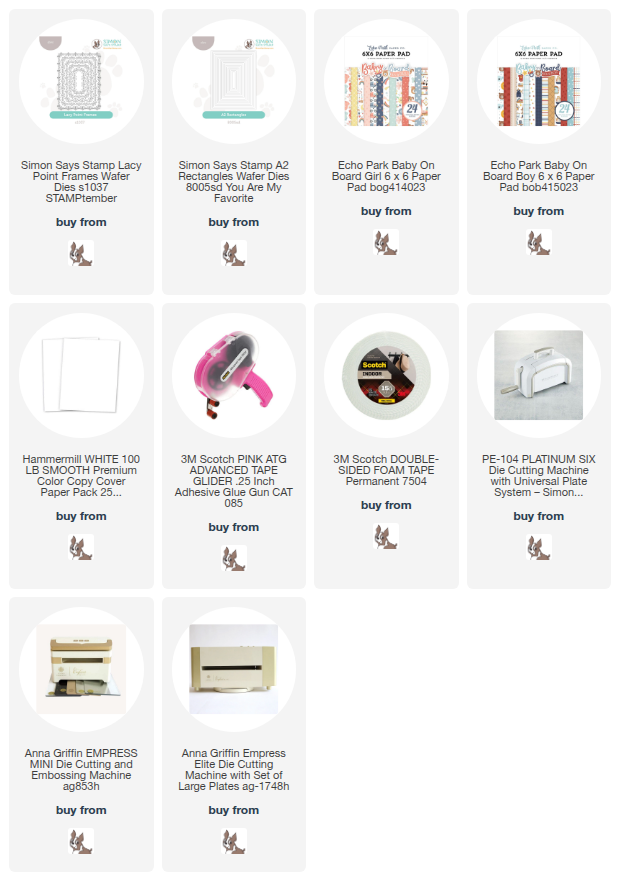
Good morning! This past week I shared a few baby cards I put together to build up my stash - and since that didn't feel like enough baby cards to have on hand (been going to lots of baby showers lately!), I decided to assemble a few more. I used a fun frame die from Simon Says Stamp - and paired it with some lovely pattern paper to help this set of cards come together so quickly and easily! 

I started off with some fun backgrounds, and then the main panels from some Echo Park 6x6 pattern paper - a mix of Baby on Board Girl, and Baby on Board Boy. I trimmed the front panels with A2 Rectangle dies, and cut white frame using Lacy Point Frames die. Then I just layered up pattern paper and the framed panels, using foam adhesive to pop the frames up. Easy peasy! And now I have a nice big stash of baby cards to pull out when needed - some boy, some girl, and some neutral for those fun surprises! Here are lots of photos of these finished cards:


Product links are all below - including affiliate links where possible, which simply means if you use one of the links below that I receive a small commission at no additional cost to you. Thanks so much for stopping by! Have a wonderful day!!!


Saturday, November 29, 2025

Patchwork Cozy Thank You - Simon Says Stamp

Good morning! Today I'm sharing a simple stenciled card in some warm and cozy colors - layering stencils just never get old, even when they are super simple ones like this! This was another set from a recent Simon Says Stamp release that I hadn't had a chance to use yet, so it was fun to pull out my inks and have some fun!


I used the Patchwork stencil set with a mix of Clay, Terracotta, Butter, Zest, Cabbage, and Artichoke inks. I just used two of the stencils for this card, and arranged them all on one panel of white cardstock, overlapping them slightly. Because of this, I chose colors that would blend in the overlap and look okay. I stamped a sentiment from Graceful Swans (I love the font on these sentiments!), then covered the sentiment to protect it and added a good amount of White Splatter. Once that dried, I rounded off one corner, and wrapped some Lawn Fawn white twine around to tie in a bow. I mounted that panel on a cardbase created with Concord and 9th cardstock, and rounded off one corner of that as well. Finished off with a few clusters of coordinating Dazzling Gems in Mandarin, Butter, and Sprout! Here are more photos of this finished card:


Product links are all below - including affiliate links where possible, which simply means if you use one of the links below that I receive a small commission at no additional cost to you. Thanks so much for stopping by! Have a wonderful day!!!


Friday, November 28, 2025

Watercolor Sunflower Birthday - Simon Says Stamp

 Hello! I've noticed that at the end of each month, I tend to pull out the supplies from recent Simon Says Stamp releases that I haven't gotten around to using yet. And today is no different it seems! These sunflowers are just so pretty, and were so fun to watercolor.

I stamped the beautiful Sunflower Dreams background stamp on watercolor paper in black ink, then watercolored with Gansai Tambai watercolors. I trimmed the panel down to fit my cardfront, then added some sparkle with Nuvo Moonstone glitter paste, using a small tool to kind of add little blobs on the berries, and smooth some on the centers of the sunflowers. I don't normally put it on that thick, but I kind of love the way the texture looks totally different this way! I mounted on a white cardbase, then added a sentiment from Sunflower Dance set (another cute newer one), and a secondary sentiment from an older preprinted Birthday Sentiment Strips set. Here's a closer look at the finished card:


Product links are all below - including affiliate links where possible, which simply means if you use one of the links below that I receive a small commission at no additional cost to you. Thanks so much for stopping by! Have a wonderful day!!!


Thursday, November 27, 2025

Fall Wreath Peace - Simon Says Stamp

Good morning - and Happy Thanksgiving to those who are celebrating today! I'm sneaking in one last fall card using supplies from Simon Says Stamp that I hadn't gotten a chance to put to use yet. I think this card turned out so fun with a fall theme, but a bit of an unexpected color twist!


I used a Fog gray for the cardbase - which was especially fitting, since fall in the Pacific Northwest is often gray skies with the bright colored leaves. Haha! I also added some texture to the background with White Splatter. While that dried, I die cut the Fall Wreath die from both white cardstock and Color Blend cardstock (I love that it has a nice glossy shine!). I layered them together, and then popped them up with small pieces of foam adhesive strips. Before adhering the wreath, I stamped a sentiment from Graceful Swans in the center of where the wreath was going to be placed. I added a loopy white bow from Lawn Fawn white twine, and sprinkled a few Dazzling Gems in Mandarin on the wreath for extra sparkle! Here is a closer look at the finished card:


Product links are all below - including affiliate links where possible, which simply means if you use one of the links below that I receive a small commission at no additional cost to you. Thanks so much for stopping by! Have a wonderful day!!!


Wednesday, November 26, 2025

Sparkly Snowflake Hello - Simon Says Stamp

 Good morning! Yesterday I shared a card using some leftover bits and pieces from other cards, and today I have yet another one. This one even uses a new leftover piece from yesterday's card, so it didn't have to even sit for long! As before, I used supplies from Simon Says Stamp to make this neutral and elegant card with a bold pop of black!

As a side note - there are some AWESOME doorbuster deals that just released from Simon Says Stamp! You can find them all HERE at a great price for a limited time!


The background is the reverse side of an panel embossed with the Dotted Spiral 3D embossing folder - sometimes I like the texture of the reverse side of those busier designs! I used the panel of glittery cardstock that I took from the middle of the background panel on yesterday's card, from Concord and 9th's Festive cardstock pack, and popped it up with thin foam tape. I added a die cut Large Snowflake, overhanging the edge, and trimming off the excess on the top and right edges, adhering with liquid glue. For the sentiment, I die cut the lovely scripty Simple Hello from black cardstock, and the shadow layer from vellum, and layered them together over the snowflake with tiny dots of liquid glue. Secondary sentiment is from the same Reverse Bold Hello sentiment strips I used yesterday, popped up on a foam adhesive strip. Finished off with a few Dazzling Gems in Opal for coordinating sparkle! Here are more photos of this finished card:


Product links are all below - including affiliate links where possible, which simply means if you use one of the links below that I receive a small commission at no additional cost to you. Thanks so much for stopping by! Have a wonderful day!!!


Tuesday, November 25, 2025

Hello Deer - Simon Says Stamp

 Good morning! When you make lots of cards like I do, you inevitably end up with leftover bits and pieces laying around. The things that didn't fit on a card like you thought, or you changed your mind, or didn't like the color, or leftover pieces from die cutting - so many reasons! I love when I can pull from my scrap pile, and create a card with the leftovers. Sometimes it helps me pair things together that I never would have thought to put together otherwise, and it also helps me waste less - win win! Lots of different sets and supplies from Simon Says Stamp were put to use on this card, and I love how it turned out!


The frame was cut with Lacy Point Frames dies, and had some Carnation ink blending along the lower half of it. The arch was cut from Nested Arches (and maybe anther set - I can't remember for sure! Nested Domed Arches Frames would also work well though.) from Honey Gold cardstock. The deer came from Nostalgic Christmas, and the hello was cut using Showboat Hello from black cardstock and vellum. I added some super sparkly cardstock to the background from Concord and 9th Festive cardstock paper pack (and because I didn't want to waste any of it, I cut a rectangle out of the middle that I then used on another card that I'll share tomorrow!). I also added a secondary sentiment from Reverse Bold Hello sentiment strips, a few sparkly Champagne Glitter Confetti embellishments, and a Gold Thread bow on the deer. Here are more photos of how this finished card turned out:


Product links are all below - including affiliate links where possible, which simply means if you use one of the links below that I receive a small commission at no additional cost to you. Thanks so much for stopping by! Have a wonderful day!!!