Showing posts with label Avery Elle Glitter. Show all posts

Sunday, December 8, 2019

Snowflake Shaker Card - Reverse Confetti December Blog Hop

Good morning! Today it's time for the monthly blog hop with Reverse Confetti! This month we are hopping to showcase a special exclusive release that will only be available in the Reverse Confetti Store - a beautiful Snowflake stamp and Coordinating Confetti set! I've created a shaker card to share with you - and I have a video tutorial as well. You can watch the video below, or on the Reverse Confetti YouTube channel HERE!


Here is the video showing how I put this card together:


I did an inlaid die cutting technique on this card - so to start with I die cut the snowflake outlines from Premier Polar White Cardstock to create the windows. Next I lined up the stamped images in the negative spaces over my Iced Aqua cardbase, and used my MISTI to stamp them perfectly in the windows. It's easiest to see it in the video if that didn't make perfect sense! :)


Next, I created my shaker element, and filled it with chunky sparkly glitter - another fun option for shaker cards that is a little different than the usual sequins or confetti.


I finished off with a sentiment from the set, heat embossed in white on a strip of Midnight cardstock and mounted with foam on my card front.


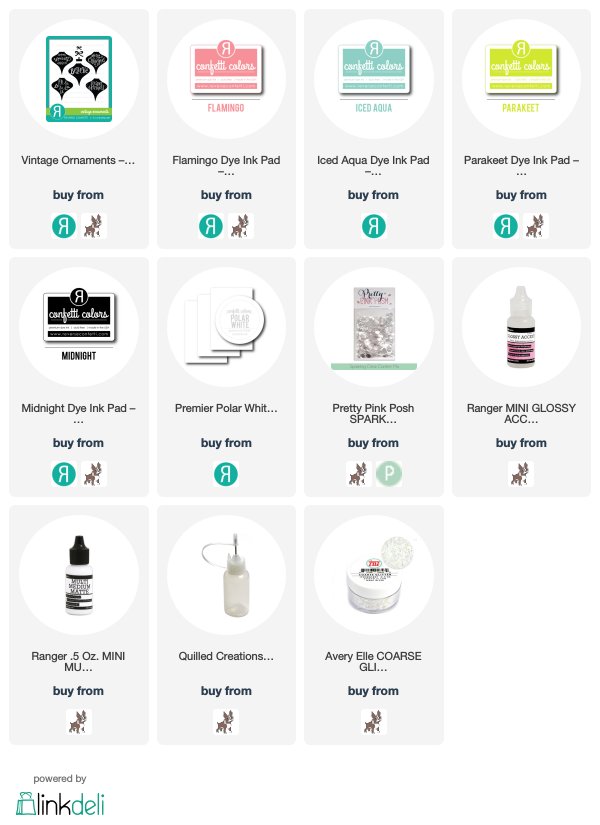
Here are the Reverse Confetti products I used today - click on any image to go check it out in the Reverse Confetti Store:


Here is the entire list of everyone participating today:

Heather Hoffman (you are here)

Product links are all below - including affiliate links where possible, which simply means if you use one of the links below that I receive a small commission at no additional cost to you. Thanks so much for stopping by! Have a wonderful day!!!


Sunday, December 2, 2018

Simon Says Stamp DIEcember Blog Hop - Sweet Lollipop Trio


Hello! Happy DieCember with Simon Says Stamp! This month is all about celebrating die cutting - and there is, of course, a fabulous NEW DieCember RELEASE for the occasion as well! You can check that out HERE! This post is part of a fabulous Blog Hop to celebrate - with giveaways at each stop along the hop! Info at the bottom of this post on the giveaway, as well as links to all the products I used on my cards today!


I can't say just HOW much FUN I had creating these fun and sparkly cards to share today! I am SOOO in love with how they came out!


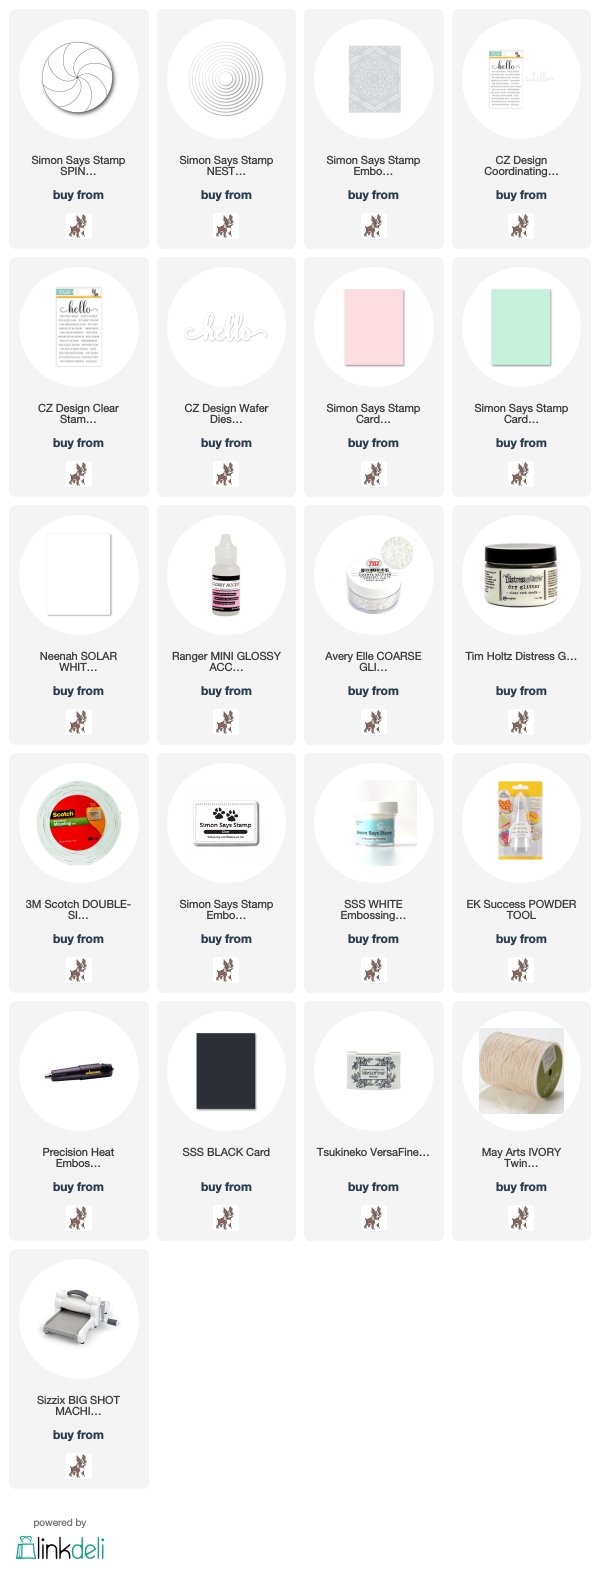
For this sweet trio of cards, I used the fabulous new Spinning Circle Wafer Die - and I know there are probably lots of different things you could see with this die, but the first think I noticed was how much it looked like a peppermint swirl! But I wanted to twist up the colors a little and not use just red and white - so I went with pink, mint, and white. I die cut each color one time, then assembled one with mint and white, one with pink and white, and used the leftovers mint and pink to assemble another one! I die cut a slightly smaller circle using Nested Circles Dies to place behind them and adhere the pieces together and hold them as one element.


For these first two - I covered them with a thick coat of Glossy Accents, spreading it around with my finger, then coated with chunky Avery Elle glitter for lots of sparkle and shine. Don't they look sugar coated?!?!? I thought these would be super fun baby cards, or birthday cards for little ones!


For all of these cards I added sentiments using Hello You Stamp Set and the coordinating Hello Wafer Die - both from CZ Designs (available as a set HERE). I thought they were such perfect sentiments for these cards - such a clever and unique sentiment set!


This final card I also covered with Glossy Accents, but used the finer Distress Rock Candy Glitter over it. This one has a completely different, but totally frosty and fun look!


It's hard to see in the photos, but I used the Cora Embossing Texture Plate from a previous release to add a touch of texture to the white cardbases. It adds a lovely soft lacy look in real life! I also added a strip of black cardstock to create the "stick" for these lollies, and then tied a bit of jute string around the top of the stick before adhering with foam adhesive on my cardbases.


If you're looking for a bit more inspiration with this release - I posted these cards on my blog using one of the new dies as well! These use the lovely Tree Frame Wafer Die - you can find details on these cards HERE if you want to see more!


Make sure and keep an eye out next week for part 2 of the blog hop - happening on December 7th - for even more inspiration! Simon Says Stamp is also offering an adorable stamp set free with any purchase - make sure and use the coupon code: DCMBR27 to receive it!


GIVEAWAY INFO:
Simon Says will be giving a $25 gift certificate to their online store at each stop along the hop - so make sure and leave a comment before you leave for a chance to win! Winners will be announced next Wednesday on the Simon Says Stamp Blog.

Here is the entire blog hop line up in case you get lost along the way:

Heather Hoffman (you are here)

Product links are all below - including affiliate links where possible, which simply means if you use one of the links below that I receive a small commission at no additional cost to you. Thanks so much for stopping by! Have a wonderful day!!!


Wednesday, November 28, 2018

Winnie and Walter Winter Release - Day 2

Good morning! I'm back today to share some more projects with the BRAND NEW release from Winnie and Walter! It's been a while, but I promise you this release was worth the wait - SOOO fun and fabulous! You can find all the details for each day of the release, how to win it all, and lots more sneak peeks and inspiration over on the Winnie and Walter Blog HERE!

Once again today, I have two more cards to share with you - beginning with this bright festive card:


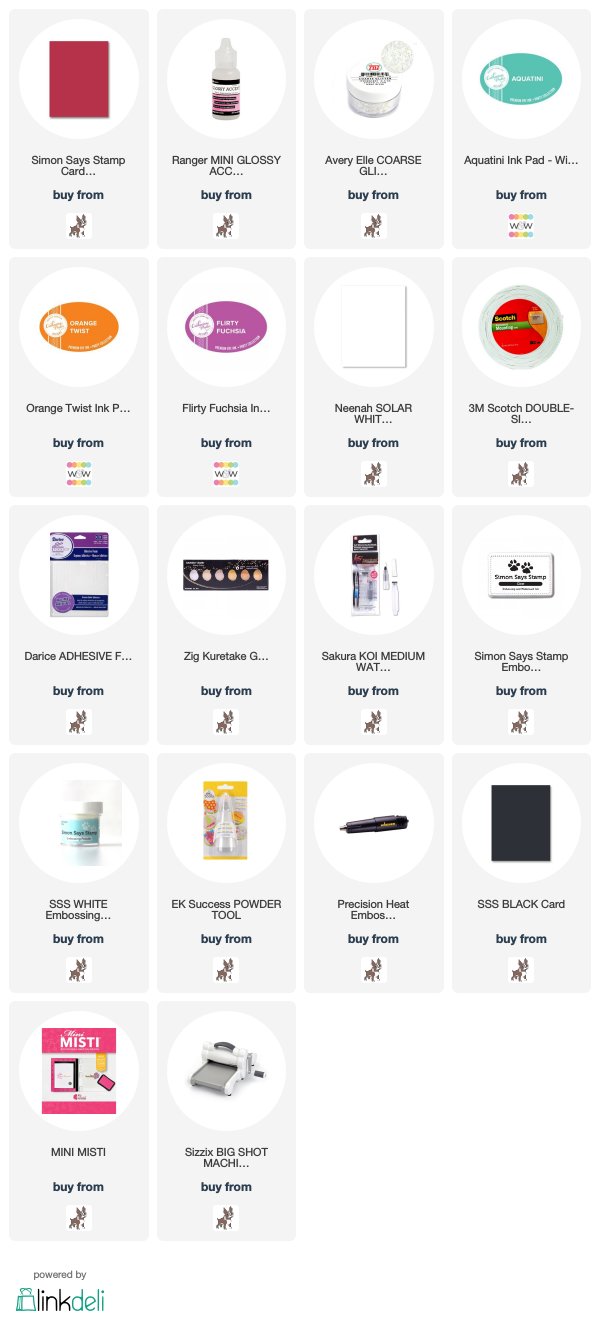
For this card I used the fabulous new Cover Model: Peppermint Zone Cutaway, die cut from red cardstock. I used my finger to smear some Glossy Accents in the center of it in a random pattern, then sprinkled on some chunky glitter to add a bit of frosty sparkle in the center.


Next, I added my sentiment using In a Word: Grand Merry and In a Word: Grand Merry Coordinating Cutaways - heat embossed on black cardstock, then mounted with foam adhesive. I used some liquid adhesive in the center of the red die cut panel to adhere it to my cardbase, leaving the outside edges floating free for a bit of a whimsical feel!


Next up, a super simple one layer card, using the fun new You Are a Blessing - which is also the new free with purchase stamp set with this release!


I love this line of mini stamp sets from Winnie and Walter - with the options to stamp the words in the center of the main image for a multicolor but one layer image. Or the option to use it without, or, just use the words on their own! So clever!


I used 3 colors of Catherine Pooler ink to stamp out the image - Aquatini, Orange Twist, and Flirty Fuchsia.


As a finishing touch, I added a touch of gold splatter with my Starry Colors Palette. See the fun shine?


Product links are all below - including affiliate links where possible, which simply means if you use one of the links below that I receive a small commission at no additional cost to you. Thanks so much for stopping by! Have a wonderful day!!!


Wednesday, October 10, 2018

Reverse Confetti Fall-idays Hop - Christmas

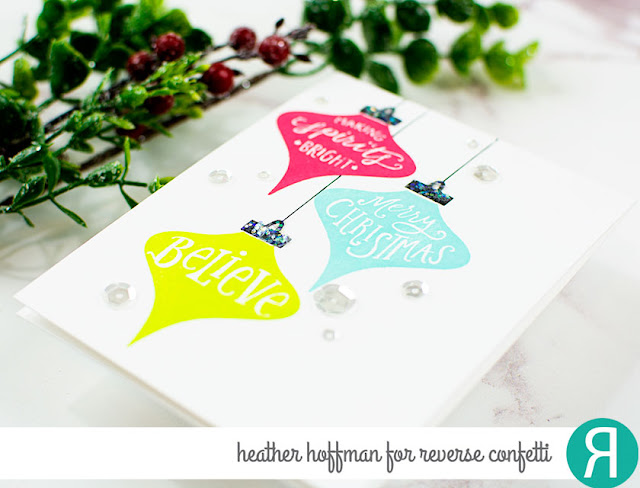
Good morning! Today is the final day of a fun 3 day hop with Reverse Confetti to celebrate fall and Christmas holidays! Today I'm sharing a clean and simple Christmas card using an older set from Reverse Confetti called Vintage Ornaments!


I stamped 3 of the ornament images from the set in a festive mix of inks from Reverse Confetti - Flamingo, Iced Aqua, and Parakeet - then used Midnight to stamp the tops of them. I used a ruler and fine line black pen to draw the strings down to the top of each ornament.


I added a touch of Glossy Accents to the tops of the ornaments, then sprinkled on some coarse glitter for a bit of sparkle.


Finished off this festive and fun simple card with a few sparkly clear sequins!


There is also a great sale - great time to grab anything you have your eyes on!


Here is a peek at the items I used for my project today:


Here is the entire blog hop line-up so you don't get lost along the way:


Product links are all below - including affiliate links where possible, which simply means if you use one of the links below that I receive a small commission at no additional cost to you. Thanks so much for stopping by! Have a wonderful day!!!

Sunday, September 30, 2018

Technique Tuesday Countdown Day 2 - Grape Cluster Blessings

Good morning! Welcome to Day 2 of sneak peeks for the October Release from Technique Tuesday! Woohoo!!! Lots of fun new stamps and dies in this release - make sure and check out the Technique Tuesday Blog to find links to all the Design Team's projects for today!


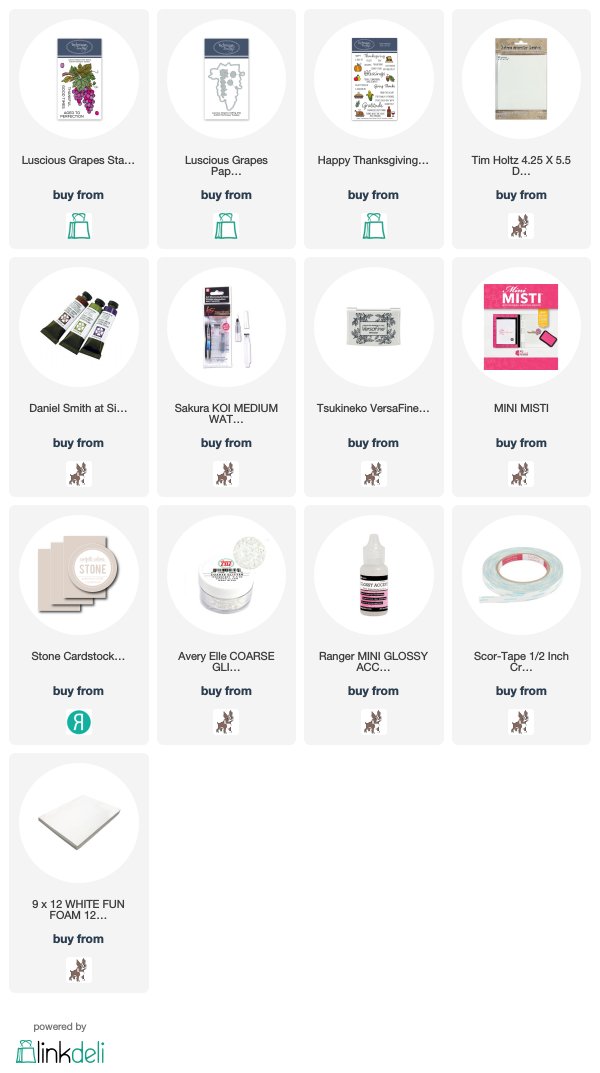
Today I have a simple card that combines two new stamp sets - Luscious Grapes and Happy Thanksgiving - with some simple watercolors and touch of glitter!


I stamped the lovely image and built my own sentiment with the options in the stamp set, then watercolored with my Daniel Smith Watercolors.


Once that dried, I added a layer of fun foam underneath and mounted on a soft gray cardbase, then added some Glossy Accents on parts of each grape, then sprinkled on some chunky glitter for a bit of sparkle! A tiny touch, but such a fun effect!


Product links are all below - including affiliate links where possible, which simply means if you use one of the links below, I receive a small commission at no additional cost to you. Thanks so much for stopping by - have a wonderful day!!!


Thursday, September 27, 2018

Unity and Brutus Monroe Blog Hop

Good evening! This post is part of a fun hop with Unity Stamp Company to celebrate a great new collection of backgrounds as part of a collaboration with Brutus Monroe - you can find them all HERE! There are 4 $100 prize packs up for grabs on this blog hop - AND, we are also having an Instagram Hop with giveaways as well!

My cards tonight feature the Spilled Paint background - there would have been a video, but...technical difficulties, you know? :)


I used a variety of colored cardstock, and heat embossed the Spilled Paint Background in simple clear embossing for a neutral but fun background, then die cut them first with a rectangle die, then used a circle die to cut out the centers.


I then filled in the centers of them with a sentiment and adorable images from another new release, Woodland Festivities - part of the adorable new line from Lisa Glanz! I colored them all up with just a few simple neutral colors, added some glittery snow under them each, then mounted the front frames over the top with foam adhesive on soft gray cardbases. Here is a closer look at each color:


Which color is your favorite? I think I'm a bit partial to the blue, but so hard to choose!


Here is the entire blog hop line-up so you don't get lost along the way:

Heather (you are here)

Product links are all below - including affiliate links where possible, which simply means if you use one of the links below that I receive a small commission at no additional cost to you. Thanks so much for stopping by! Have a wonderful day!!!