Showing posts with label Nuvo Glitter Pen. Show all posts

Saturday, August 8, 2020

You Stand Out in a Crowd - Simon Says Stamp Let's Connect Release Blog Hop

Hello! Today I'm part of an awesome blog hop celebrating the brand NEW Simon Says Stamp Let's Connect release! Make sure and check out all the inspiration with this new release AND link up your creations as you receive your orders HERE in the Gallery created just for this release! And check out the graphic below to select a a FREE Gina K Designs Dot Runner with any order using the coupon code below through Sunday, August 9, 2020 as well - while supplies last (code expires at 11:59 PM EDT)!!!


I fell in LOVE with the darling stamp set by the same name - Let's Connect! I created a couple cards - I shared one the other night, but today I'm sharing my favorite of the two cards! One of those cards where everything just came together perfectly the way you wanted it to - know what I mean?!?!?


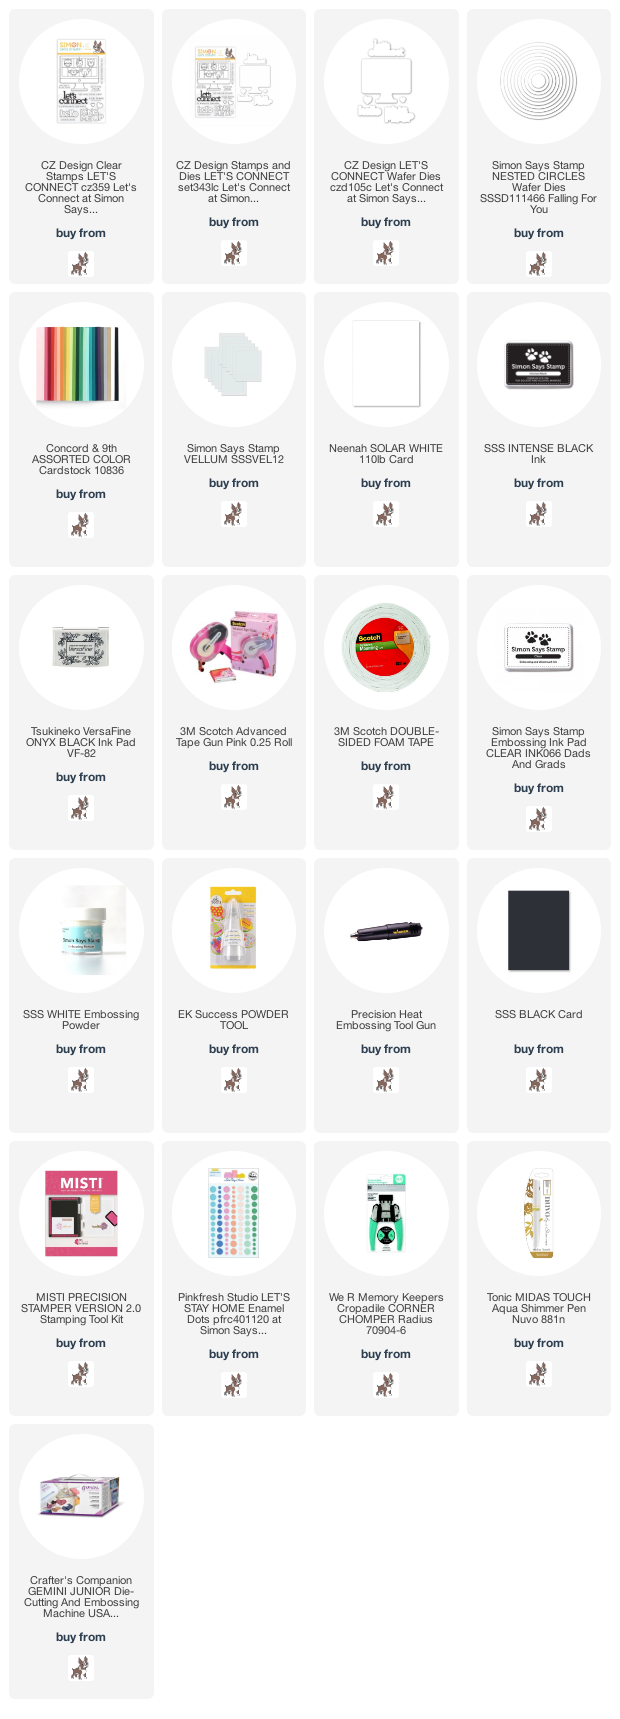
I thought this stamp set was so fun and perfect for a clean and graphic card - and had fun adding layers of cardstock, fun angles, and a few whimsical circle elements to break things up!  I started off with that darling image, and left all but the heart and the square with the unicorn in it black and white. It just went perfectly with that sentiment, don't you think? And the unicorn - I mean, c'mon! And to give it that little something extra, I covered the unicorn with a hearty dose of Nuvo Aqua Shimmer pen -  a good solid 2 coats. I wish you could see the sparkle better in these photos!


I added some yummy Concord and 9th cardstock to my cardbase, trimming the top at a fun angle and leaving room to stamp my large sentiment in the top left corner. I also added a strip of torn vellum to the bottom, hiding the adhesive behind the bottom of the computer monitor, which was mounted with foam tape.


I heat embossed a small supporting sentiment in white on a bit of black cardstock, then die cut it with a tiny circle from Nested Circles dies, and mounted it with foam adhesive, tucked behind the computer monitor and slightly covering the end of the large sentiment. Does the perfect job of keeping the flow of the card going! Finished off with a few Pinkfresh Studio enamel dots, and one more rounded corner using my Corner Chomper.


GIVEAWAY INFO:
Simon Says will be giving a $25 gift certificate to their online store at each stop along the hop - so make sure and leave a comment before you leave for a chance to win! Winners will be announced next Wednesday on the Simon Says Stamp Blog.

Here is the entire blog hop line up in case you get lost along the way:

Heather Hoffman (you are here)

Product links are all below - including affiliate links where possible, which simply means that if you use one of the links below, I receive a small commission at no additional cost to you. Thanks so much for supporting my blog, and stopping by! Have a wonderful day!!!


Monday, January 6, 2020

Reverse Confetti January Release Day 2 - Hearts and Butterflies

Good morning! Welcome to Day 2 of sneak peeks for the fabulous new January Release at Reverse Confetti! Woohoo! After today we have one more day of sneak peeks, then the release is live on the 8th and there will be a blog hop to celebrate!

I have two cards to share with you today - first up, this card that is covered in hearts and love!


For this card, I used the fabulous new Oh My Heart Cover Panel, then backed it with some pattern paper from the new 6x6 Sweet as Sugar pattern paper pad. I love all the sweet pinks in this paper pad!


Next, I heat embossed several of the sentiments from the new So Very Lovely Stamp Set in white on Flamingo Cardstock, and popped them all up on foam adhesive down the front of the card.


Finished off with a few sparkly clear PPP sequins tucked around the sentiments - just the perfect bit of sparkle!


And then switching gears and colors schemes, I have this cool purple and blue toned card:


For this card, I stamped and colored my images from the beautiful new Butterfly Wreath stamp set, then die cut with the coordinating dies.


I layered them over a panel die cut with the new Stitched Scallops Cover Panel, trimmed down slightly so I could place it over an Iced Aqua cardbase and leave a small border around the edges.


Before adhering it down, I tucked my sentiment (heat embossed on a strip of Stormy Cardstock) under one edge of the wreath, and over the other edge. This adds a bit of dimension and fun!


Finally, I added a nice heavy coat of Nuvo Glitter pen over all the butterflies - so hard to see in the photos, but adds a ton of lovely sparkle to them!


Here is a look at the new products that I used on these cards that will be releasing in a couple days!


Here is the entire list of everyone participating today:


Make sure  to check out all the release sneak peeks, and leave a comment before you leave for a chance to win a $25 gift certificate - all comments must be left by noon EST on January 7th - winner will be announced 5 PM EST - there is also a chance to win on the Reverse Confetti Facebook Page.

Product links are all below - including affiliate links where possible, which simply means if you use one of the links below that I receive a small commission at no additional cost to you. Thanks so much for stopping by! Have a wonderful day!!!


Thursday, October 17, 2019

Christmas Greetings and Joy - Pretty Pink Posh October Release Blog Hop

Good morning! So excited this morning to be hopping for Day 2 of the blog hop to celebrate the FABULOUS BRAND NEW holiday release from Pretty Pink Posh - full of adorable winter, Christmas, Hanukkah, and New Year stamps, dies, Confetti mixes, and stencils!!! Keep reading for more info, details on my card I'm sharing today, AND of course, some giveaway info at the bottom as well!


I have a total of 3 cards to share with you today using this beautiful new release - shall we get started?!?!?


I'm so thrilled with how this card came out! I love the beautiful new Stitched Poinsettia Die, and thought it would be super fun to use with Shimmer Powders - and it worked just like I was hoping!


I die cut all the layers of the die from watercolor cardstock, then sprinkled on some shimmer powders in the proper colors, then misted with water and set aside to dry nice and thoroughly. Once all the layers dried, I layered them up with a bit of liquid glue to hold all the layers together.


I finished off with a bit of soft stenciling on a white cardbase using the new Christmas Background Stencil with Antique Linen Distress Oxide Ink, then adhered the flower in place. Finished off with a simple sentiment from the new Winter Wreath stamp set. Don't you just love all the dimension and texture on this gorgeous bloom?


Next up, sticking with a fairly similar color scheme, but shaking things up this time!


The new Winter Frame Die is so intricate and gorgeous - I love it so much! Perfect to create a shaker card filled with the lovely new Merry Confetti Mix!


I added the large "JOY" word using the Joy Coordinating Dies. I die cut them from white cardstock, did some ink blending on the bottom of them with Candied Apple Distress Oxide ink, then went over it with a sparkly Nuvo Aqua Glitter Pen - it reacts with the ink to give a sparkly watercolor effect!


Finished off with some more ink blending just around the outer edges of the frame using Shabby Shutters Distress Oxide ink, then heat embossing a sentiment from Joy stamp set on a strip of white cardstock and blending the same ink over it to make a perfectly coordinated custom sentiment.


And finally, I couldn't throw away that negative from the previous card, so I changed up the color scheme and put it to good use on another card!


For this card, I started off by creating a background to go behind the window created from the Joy Coordinating Die. I used blue cardstock with the new Snowflakes Stencil - first adding a bit of Hero Arts Unicorn white ink, then leaving the stencil in place and blending over some sparkle with my Nuvo Glimmer Paste - love the sparkly but opaque look I ended up with!


While that dried, I colored up one of the little cuties from Holiday Signs. I added a sentiment to his sign from Joy stamp set, heat embossed on a bit of the same blue cardstock as my snowflake background, then trimmed into a thin strip and cut the words apart to fit on the sign.


Finished off with a thin mat of deep gray cardstock, a light blue cardbase, and popped the little penguin up on foam adhesive to finish!


GIVEAWAY INFO:
Now the fun part - there are a total of 4 $25 Gift Certificates up for grabs - 2 for each day of the hop!!! Winners will be picked randomly along the blog hop. Make sure and leave comments by 11:59 PM PDT on October 22, 2019 to qualify! Winners will be announced after that on the Pretty Pink Posh Blog!

Here is the entire Blog Hop line-up:

Heather Hoffman (you are here)

Product links are all below - including affiliate links where possible, which simply means that if you use one of the links below, I receive a small commission at no additional cost to you. Thanks so much for supporting my blog, and stopping by! Have a wonderful day!!!


Thursday, September 26, 2019

Simon Says Stamp STAMPtember Fall Watercolor Card Duo

Good morning! Happy STAMPtember - I know it is coming to an end soon, but it's still September, so it still counts! Can you believe how fast this month went? I just got back earlier this week from a two week trip to Italy - so I'm adjusting to the colder weather, different time zones (hello jet lag!), and getting back into the routine of things. But fall is one of my favorite seasons, so I don't mind at all! And I'm grateful to be home for the last tiny bit of STAMPtember! Woohoo! Today I'm sharing a couple cards made with the NEW STAMPtember Release from Simon Says Stamp - I actually made these before I left, and didn't have time to get my post written up in the pre-trip flurry of activity! These use the beautiful pre-printed Suzy's Fall Watercolor Cards!


I colored them in two different ways. This first one, I used my Daniel Smith watercolors, then added a layer of sparkle over the leaves with my Nuvo Glitter Pen. I also coated some of the letters and the acorns with Glossy Accents for additional texture.


The second one I colored with Distress Inks in Fired Brick, Carved Pumpkin, and Mustard Seed - starting off with some distress ink smooshing, then layering on some additional color layers using the same colors of ink! I also added a splatter of white using Copic Opaque White medium for nice, thick, and opaque white droplets.


I trimmed both panels with Stitched Rectangles, matted with a bit of white cardstock, then mounted on kraft cardbases!


Product links are all below - including affiliate links where possible, which simply means if you use one of the links below, I receive a small commission at no additional cost to you. Thanks so much for stopping by - have a wonderful day!!!


Thursday, October 11, 2018

Peace on Earth - Simon Says Stamp Fun and Festive Release Hop


Good morning! I'm thrilled to be hopping today to celebrate the BRAND NEW release from Simon Says Stamp called Fun & Festivec with a FABULOUS line up of talented creators! Today is Day 1 of the hop - make sure and check in tomorrow for Day 2 - there is a $25 prize up for grabs from EACH and EVERY stop along BOTH days of the hop!!!

You should have arrived here today from Suzy Plantamura - if you just happened along, head over to the Simon Says Stamp Blog to start at the beginning! You may notice that in the graphic below that you can also get a FREE sparkly gift with any purchase by using the code FEST587!


Today I used two of the fun new releases - Winter Scene and Tiny Words - to build this sparkly wintery scene on my card!


I started off by stamping the main background a total of 3 times - then I stamped out the mountains on masking paper, trimmed out, and used as a mask to stamp the mountains multiple times to create a whole row of mountains! I didn't worry about the outside or bottom of the mountains being masked - since I trimmed out the outer edges, that took care of that...


And the second two scenes I stamped I cut out to layer and paper piece the hills together! I colored each piece, then adhered them all together and added some sparkly Nuvo Glitter drops to the tops of the mountains and along the edges of the snowy hills.


The pattern paper was an unexpected perfect match! It is the Pinkfresh Studio Indigo Hills 6x6 paper pad - the blues and purples were just right for layering with my wintery scene! As a final finishing touch, I added a few clear snowflake sequins, and stamped my sentiment on a strip of white cardstock to foam mount on the bottom of my scene.


GIVEAWAY INFO:
Simon Says will be giving a $25 gift certificate to their online store at each stop along the hop - so make sure and leave a comment before you leave for a chance to win! Winners will be announced next Wednesday on the Simon Says Stamp Blog.

Here is the entire blog hop line up in case you get lost along the way:

Heather Hoffman (you are here)

Product links are all below - including affiliate links where possible, which simply means if you use one of the links below that I receive a small commission at no additional cost to you. Thanks so much for stopping by! Have a wonderful day!!!


Tuesday, March 6, 2018

Reverse Confetti March Release Day 2 - Tall Bloom Trio


Good morning! Welcome to Day 2 of sneak peeks for the new March Release at Reverse Confetti! Sneak peeks began yesterday, and run for through tomorrow, then the release is live on the 8th and there will be a blog hop to celebrate! Today's sneak peeks are using another favorite set from this release - and make such elegant and pretty cards so easy!


For these cards, I actually stamped and colored them planning on using them all on one card - but they were each so striking and pretty on their own (and I couldn't decide which sentiment I wanted to use!) - that I ended up making 3 separate cards. Here is a look at each one - just changing out the sentiment:


I added a frame from All Framed Up, mounted with foam adhesive, then added the colored flowers - also with foam adhesive. A few Nuvo Drops scattered around, and then a good coat of Nuvo Aqua Shimmer Pen on each flower finished these simple and elegant cards off.


Here is a peek at the new products I used that will be releasing in a few days !


Here is the entire list of everyone participating today:

Heather Hoffman (you are here)
Deanne Kuntz
Emily Midgett - Fetti' Friend

Make sure  to check out all the release sneak peeks, and leave a comment before you leave for a chance to win a $15 gift certificate - all comments must be left by noon EST on March 7th - winner will be announced 5 PM EST - there is also a chance to win on the Reverse Confetti Facebook Page.

Product links are all below - including affiliate links where possible, which simply means if you use one of the links below that I receive a small commission at no additional cost to you. Thanks so much for stopping by! Have a wonderful day!!!