Monday, November 30, 2020

Mountain Night Sky Scene - on the Unity Stamp Company Blog

Good morning! I'm back with another card for my series on the Unity Stamp Company Blog this morning! I'm so excited to be featuring the amazing Kit of the Month on Monday's on the Unity Stamp Company Blog! Since the Kit of the Month was the first thing I purchased from Unity, and what got me hooked to begin with, they hold a special place in my heart, so I'm super excited about this opportunity to give these kits some love! You can check out all the details HERE for today's card! 


Thanks for stopping by today - have a WONDERFUL day!!!


Missing you at Christmastime - Simon Says Stamp December 2020 Card Kit

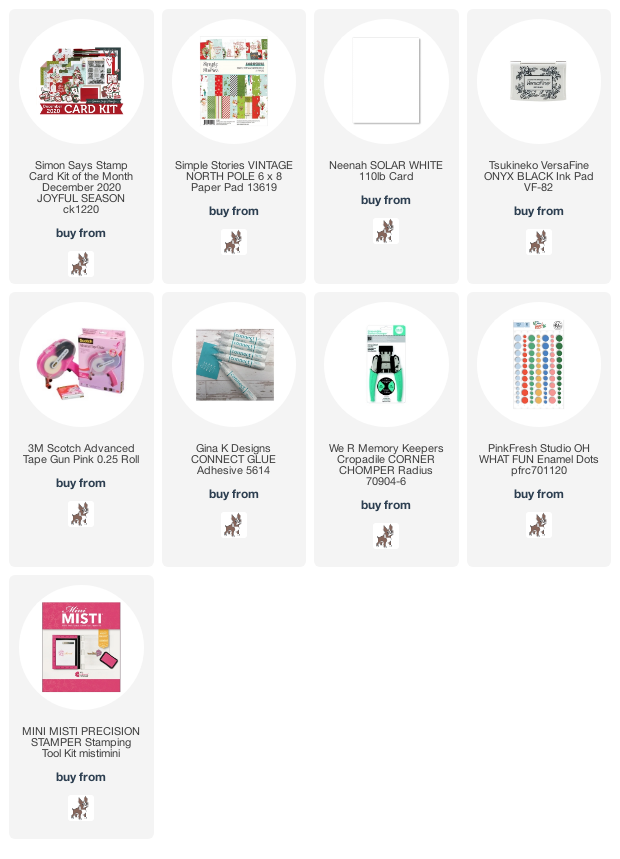
 Good morning! I'm back with one more card using the December Simon Says Stamp Card Kit - Joyful Season! This kit is festive and fun, and perfect for sending Christmas wishes across the miles this year! The included stamp set by the same name has beautiful vintage images and stunning sentiments, there is some LOVELY vintage holiday pattern paper and ephemera, a fun Candy Cane Heart die, and the newest distress ink color! That's all not to mention the cardstock, envelopes, and more!

Today's card is a nice simple one with a stamped sentiment on the inside - love how some of the smaller sentiments are a perfect fit for stamping inside the card!

This card was so easy to put together - and would be perfect for mass producing!


Some pattern paper on the bottom with some ribbon to separate it from the rest of the card, a simple stamped sentiment over the top of that, with a few enamel dots for fun texture on each side...


...then round off the top two corners and add a stamped sentiment on the inside!


Here is a closer look at the entire kit contents - you can find all the details HERE:


Product links are all below - including affiliate links where possible, which simply means if you use one of the links below that I receive a small commission at no additional cost to you. Thanks so much for stopping by! Have a wonderful day!!!


Birthday Candles - Simon Says Stamp

Good morning! So continuing my quest to have enough birthday cards, today I'm sharing a simple card design that works great for the guys in your life! The colors could be switched to make it feminine very easily, but I thought the design was perfect for the more difficult guy cards I always seem to need. I used an awesome Simon Says Stamp stamp set to create this card:
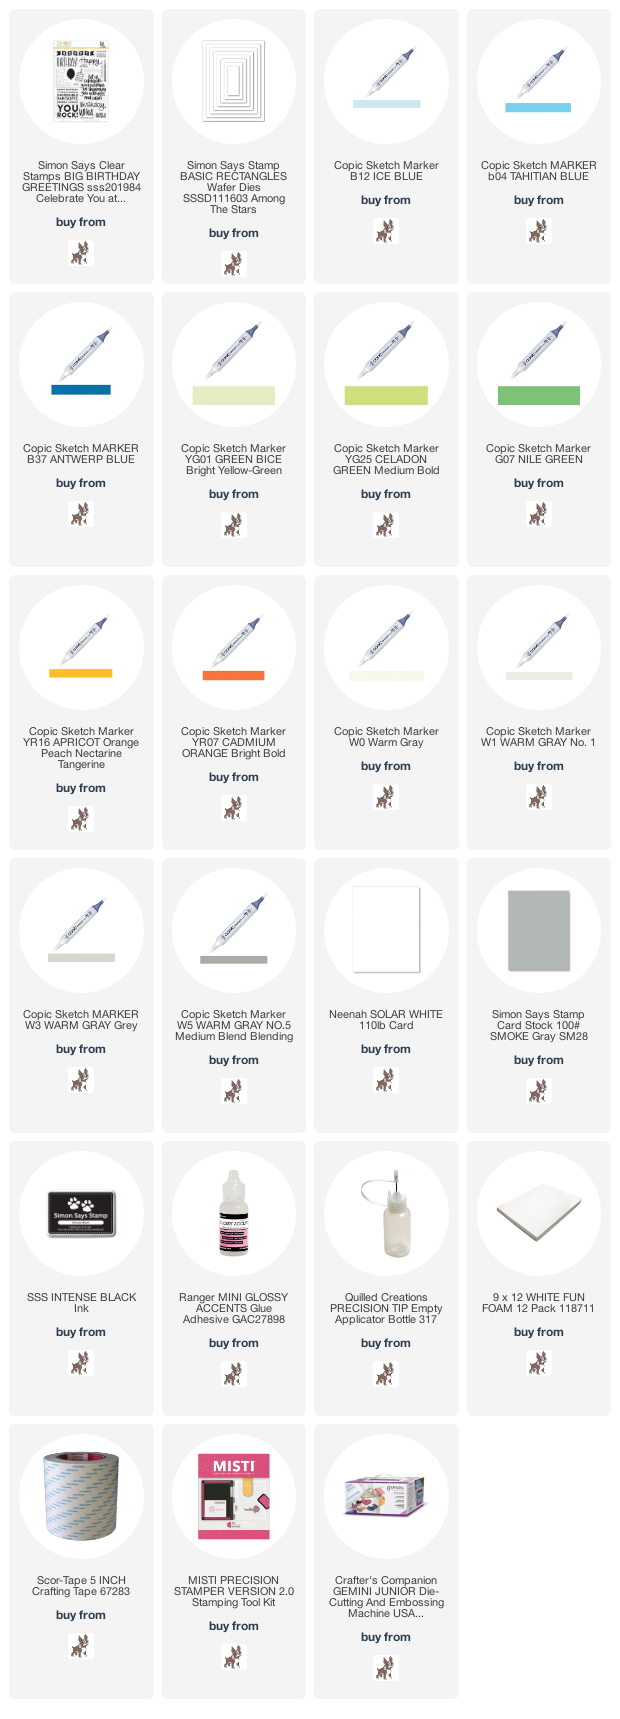

I chose that lovely large candle from the stamp set, and used my MISTI to line it up on a panel of white cardstock and stamp it 5 times equally distanced apart, just by moving my cardstock an equal number of grids for each stamped image.


I colored the candles in with Copic markers in two different monochromatic color combos of blues and greens - love the bit of dimension this gives. I also colored the flames in nice and simple, and added some shadows under the candles with gray markers.


I mounted that panel on a soft gray cardbase, and finished off with a touch of Glossy Accents on the flames - you can see if best in this final photo:


Product links are all below - including affiliate links where possible, which simply means that if you use one of the links below, I receive a small commission at no additional cost to you. Thanks so much for supporting my blog, and stopping by! Have a wonderful day!!!


Sunday, November 29, 2020

Birthday Snowflake - Simon Says Stamp

Good morning! It seems like as hard as I try, I can never keep enough birthday cards on hand in my stash. Part of that might be due to having a large family, and lots of friends - so I really can't complain! But last week I realized I needed a couple more, so I pulled out some a stamp, stencil, and die from Simon Says Stamp to remedy the situation!
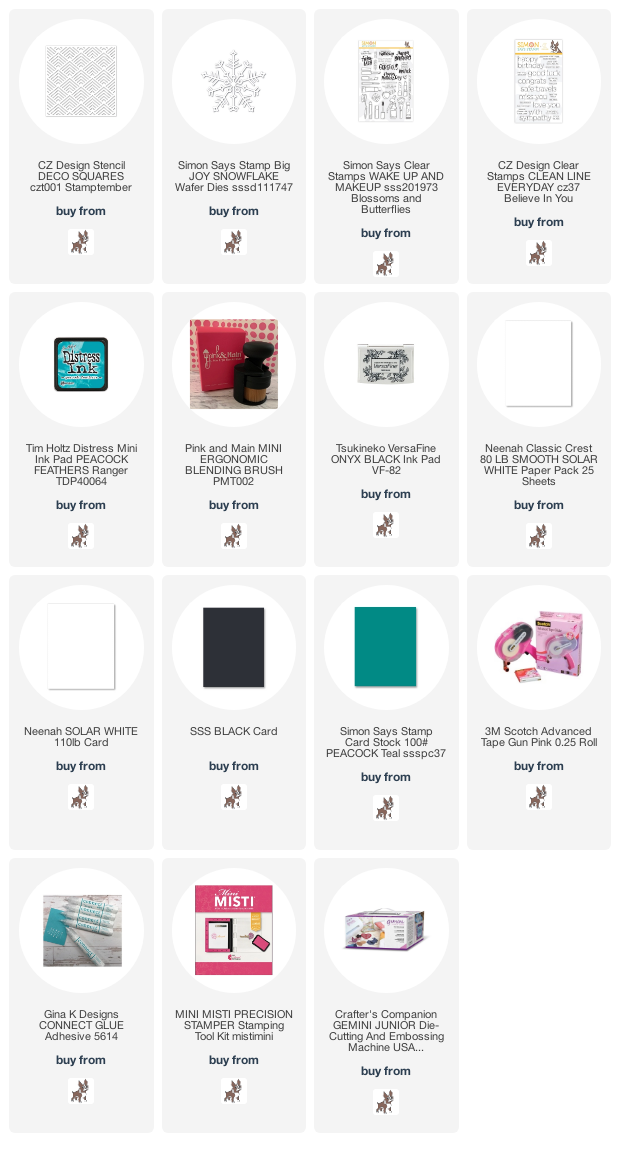

I started off by creating a bit of a background using Deco Squares stencil and Peacock Feathers Distress Ink.


Over the top of that I layered a Joy Snowflake, die cut from black cardstock, and a sentiment stamped in black from Wake up and Makeup and Clean Lines Everyday stamp sets.


I layered together several layers of white cardstock - using 80 lb Neenah so that I could add adhesive to the center of each panel and curl the edges up slightly for a bit of dimension. Finally, I adhered that panel to a cardbase created with Peacock Teal cardstock!


Product links are all below - including affiliate links where possible, which simply means that if you use one of the links below, I receive a small commission at no additional cost to you. Thanks so much for supporting my blog, and stopping by! Have a wonderful day!!!


Friday, November 27, 2020

Warmest Holiday Season - Simon Says Stamp

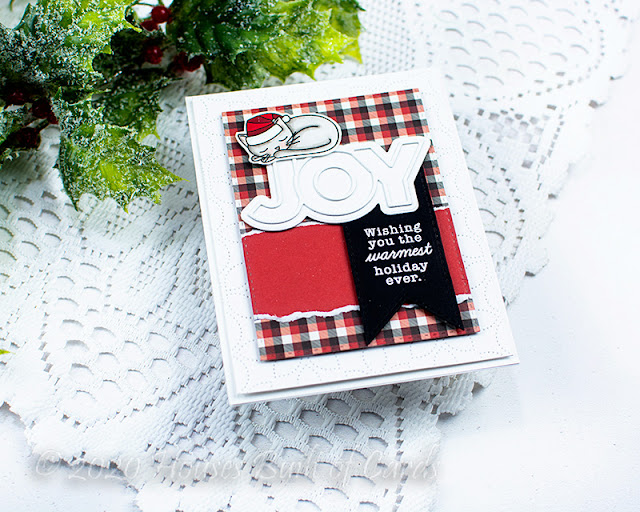
 Hello! Today I have a cozy holiday card to share using lots of dies and a fun stamp set from Simon Says Stamp! I loved using some gorgeous pattern paper to pull this entire design together!


I used the fun new Chunky Joy Die, die cutting both layers from white cardstock to layer together. I die cut the thinner layer twice to stack up for a bit more dimension.


I nestled a cute little kitty from the new Christmas Kitties stamp set on top of the word, and added a sentiment from that stamp set, heat embossed in white on a black banner cut with Stitched Banners.


I added a panel die cut with Detail Petal Plate underneath, then layered together some pattern paper from an Echo Park paper pad, then die cut it with Stitched Rectangles.


Product links are all below - including affiliate links where possible, which simply means that if you use one of the links below, I receive a small commission at no additional cost to you. Thanks so much for supporting my blog, and stopping by! Have a wonderful day!!!


Wednesday, November 25, 2020

Lion Baby Cards - Simon Says Stamp

 Good morning! Today I have a couple of baby cards to share using some supplies from Simon Says Stamp! I recently used up my final baby shower card that would work for either a boy or girl (I had some pink and blue ones in my stash...but that was about it!) - so I thought it would be a good idea to rebuild that part of my stash a bit!
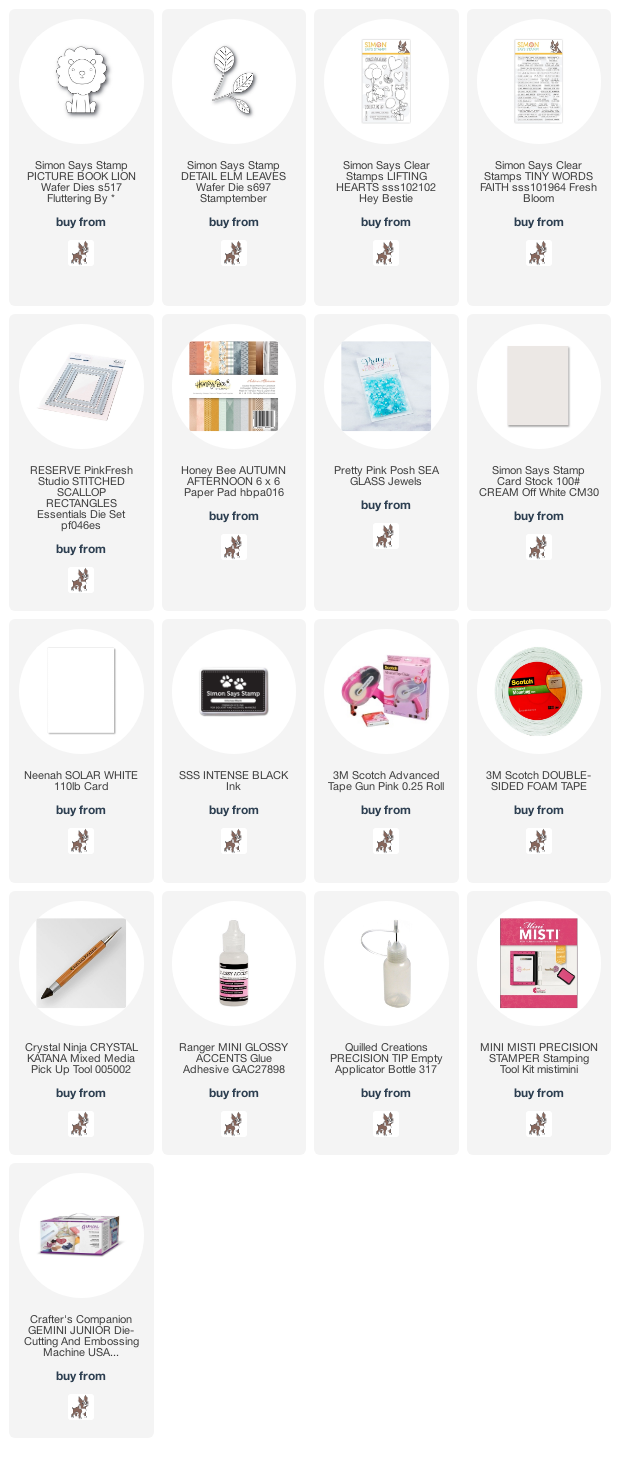

I always love when I can create cards in pairs - especially when I'm building my stash of a certain type of card! So since I was die cutting the adorable Picture Book Lion from some Honeybee pattern paper, I put them together in reverse order so I ended up with two lions. So naturally, I decided to make two cards with them!


I tucked a few leaves behind each one using Detail Elm Leaf, just die cut in white for a soft look. I layered some pattern paper from the same paper pad across the top of my panels, and then added the cluster of leaves, and the lions popped up on foam adhesive.


Sentiments were stamped underneath using a combination of Lifting Hearts and Tiny Words Faith stamp sets. 


I also added a scallop frame to each of them using a gorgeous new Pinkfresh Studio die called Stitched Scallop Rectangles.


To finish off, I added a few coordinating soft blue Pretty Pink Posh jewels, then mounted those panels on cardbases created with cream cardstock - just enough to contrast with all the white and add a touch of color around the edges!


Product links are all below - including affiliate links where possible, which simply means that if you use one of the links below, I receive a small commission at no additional cost to you. Thanks so much for supporting my blog, and stopping by! Have a wonderful day!!!


Monday, November 23, 2020

Watercolor and Mica Flake Sparkle - on the Unity Stamp Company Blog

 Good morning! I'm back with another card for my series on the Unity Stamp Company Blog this morning! I'm so excited to be featuring the amazing Kit of the Month on Monday's on the Unity Stamp Company Blog! Since the Kit of the Month was the first thing I purchased from Unity, and what got me hooked to begin with, they hold a special place in my heart, so I'm super excited about this opportunity to give these kits some love! You can check out all the details HERE for today's card!


Thanks for stopping by today - have a WONDERFUL day!!!

Friday, November 20, 2020

Pinkfresh Studio November 2020 Essentials Die Release Blog Hop

 Good morning! Today is an amazing blog hop to celebrate Pinkfresh Studio's November 2020 Essentials Release! You aren't going to want to miss a stop along the way - TONS of inspiration and prizes up for grabs! YAY!


All purchases over $50 will receive a FREE Hey Gorgeous Die while supplies last - and you can also receive free shipping on any order of $50 or more through November 25th - so a great time to pick up anything you have your eye on!


As always with new releases these days - I have TONS of cards to share, with lots of photos! So I apologize now for this photo heavy post! :)


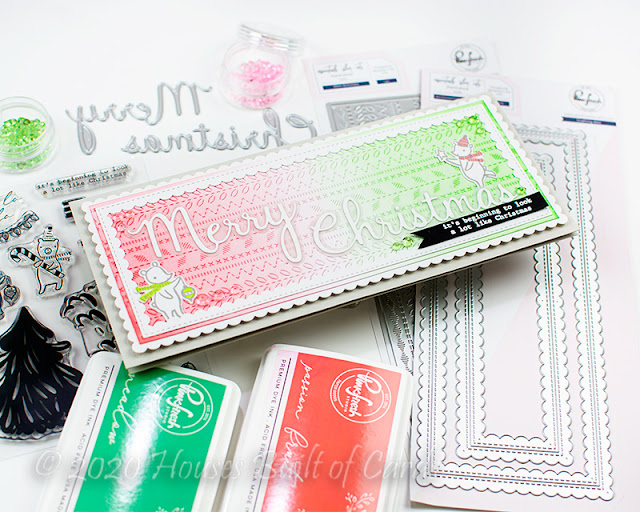
First up - I'm sharing a slimline Christmas card using two gorgeous new dies from this release - Slim Stitches and Slim Stitched Scallop Rectangles. 


I just love the texture on that gorgeous Slim Stitches die! Adding some ink blending with Passion Fruit and Meadow ink is a great way to help those patterns pop.


I used that Slim Stitched Scallop Rectangles in a bit of a unique way - the largest die actually cuts two scallop rectangles. One is facing out, one is inverted inward. I layered the largest one under the Slim Stitched panel that I trimmed down a bit on all 4 sides - this allowed those scallops to peak through from behind. I then used the inverted slightly smaller size over the top.


I added a large focal sentiment from Phrase Builder: Happy Holidays dies - the detail layer cut from white cardstock, and the shadow layer cut from vellum to help it pop. I added a couple sweet bears and a secondary sentiment using Tree Trimming Friends, and a few sparkly Essentials: Crystals in coordinating colors, before mounting the entire thing on a gray cardbase.


Next up, I have a card with a very similar color scheme, and using the Stitches die - same design as the last card, but the A2 version.


For this one I also used the new Diagonal Stitched Circles - I know I will be using this die set a lot in the future! I added a bit of Passion Fruit ink blending in the upper left hand corner to help it pop from the background.


I added the cute snuggly bears from Happy Hugs stamp set - colored in with Copic markers. I mounted those with foam adhesive on the circle, and also mounted the circle with foam adhesive on the background.


Sentiment is from the same Happy Hugs stamp set, heat embossed in white on a bit of black cardstock. I added a little row of bling up in the upper left corner above the circle as well.


Finished off with a soft gray cardbase, and as a finishing touch, wrapped around and tied some ivory jute string - the homespun look is the perfect finishing touch for this card!


And I couldn't let this release go by without creating at least one shaker card, right?


For this card I used the largest of the A2 version of the Stitched Scallop Rectangles. I die cut it once from gold glitter cardstock, and once from white cardstock, and used one of each together.


I heat embossed Cozy Christmas Wishes in gold on a panel of heat safe acetate to create my shaker window.


To help the colors pop - I added a bit of Ballet Slipper ink blended on the cardbase from the bottom up, darkest at the bottom, and fading out toward the top. Love that little blush of pink behind there! I then filled my shaker with a bit of iridescent star confetti.


And...if you watched YouTube live this week - you were able to watch a slimline version of this card be created with several of the new release items. If you missed it, the video is available to re-watch HERE


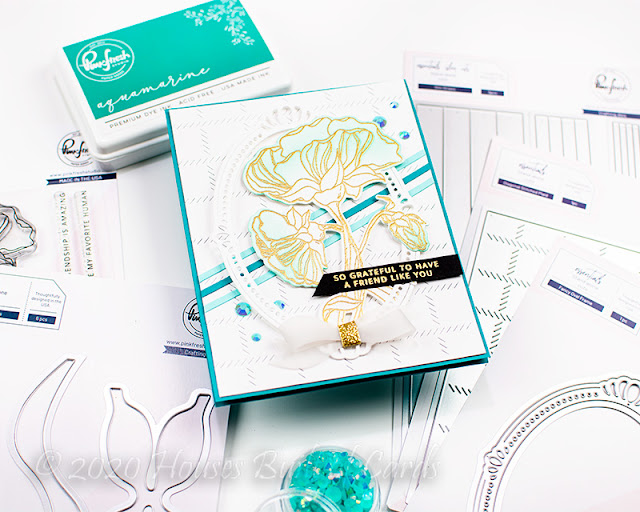
I used Slim Strips, Slim Diagonal Stitched Plaid, and the new gorgeous Fancy Oval Frame on this card. For more details - check out the video. Here are a few more detail shots of this card:


And - here is a peek at the slimline version that we created live. Would love to hear which version is your favorite!


And finally - instead of a card, I have a cute little gift card holder to share with you!


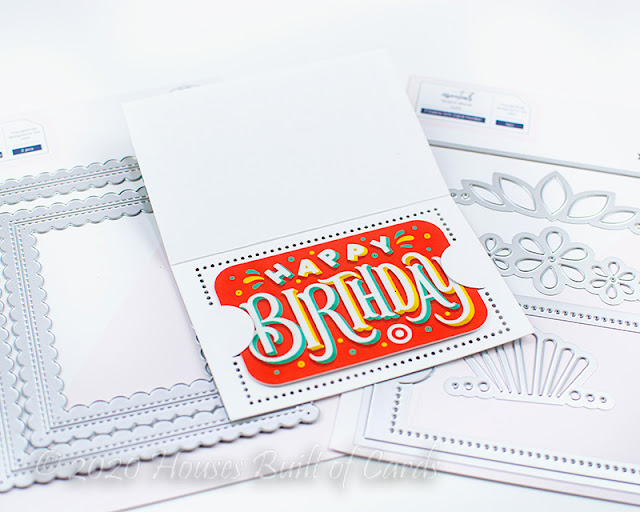
The new Fillable Gift Card holder is one of my favorites - and I know I will be using it TONS in the future!


I layered some of the elements together with the smallest rectangle from Stitched Scallop Rectangles, and some of the fun cut outs from the Fillable Gift Card Holder Die. The sentiment is from Floral Notes stamp set - with a few little jewels tucked on the side to hid the adhesive holding the heat embossed vellum down.


Here is what the inside looks like. This die gives you the option to not fold it, and just keep it open and flat, or adhere into a card if you wish. I chose to score along the little line that it marks for you to get perfect placement to fold it in half.


Such a cute and perfect little gift card holder, don't you think?!?


GIVEAWAY INFO:
Make sure and leave a comment before you leave for a chance to win a $25 gift certificate to Pinkfresh Studio! All winners will be chosen and posted on the Pinkfresh Blog on Monday, November 30, 2020 - so make sure and check back to see if you were a winner! Winners must check that page and claim their prize within 2 weeks.

Here is the entire blog hop line-up so you don't miss a single stop - and product links are below - including affiliate links where possible, which simply means if you use one of the links below that I receive a small commission at no additional cost to you. Thanks so much for stopping by! Have a wonderful day!!!

You are invited to the Inlinkz link party!

Click here to enter