Showing posts with label Prismacolor Pencils. Show all posts

Saturday, October 6, 2018

Share Cheer Campaign - Pinkfresh Studios

Happy World Cardmaking Day! And the fun continues even more! Today is a day filled with fun and crafting, and I am excited to be joining in on all the festivities in many different ways - one of them with Pinkfresh Studio, who has chosen to reveal a very special stamp & die set today called "Share Cheer" - available for purchase now! You can find it HERE!

When you purchase this stamp set, 100% of the net profits will benefit UNICEF. This organization was chose because they help children and operate in more countries than any other humanitarian organization. UNICEF works in 190 countries and territories and in the world's toughest places to reach the children and young people in greatest need. You can learn more about what they do HERE.


The second part of the Share Cheer campaign is a Holiday Card Drive benefiting The Holiday Project, which is local to Pinkfresh Studio Headquarters in Houston, TX. We would love for you to send a holiday themed card(s) to us, and we will personally deliver each card we receive to The Holiday Project! They need approximately 3,000 cards this holiday season, so let's put our best foot forward together and make a dent in that number! Share you card drive projects with us through the link list at the bottom of the Pinkfresh Studio blog post, and then physically send them to: 

Pinkfresh Studio
11261 Richmond Avenue, Suite #G108
Houston, TX 77082

You should have arrived here from Erum Tasneem - if you just happened along, make sure and head back to begin at the Pinkfresh Studio Blog so you don't miss a stop along the way!

Now...onto my card I have to share today using this fabulous new set!!!


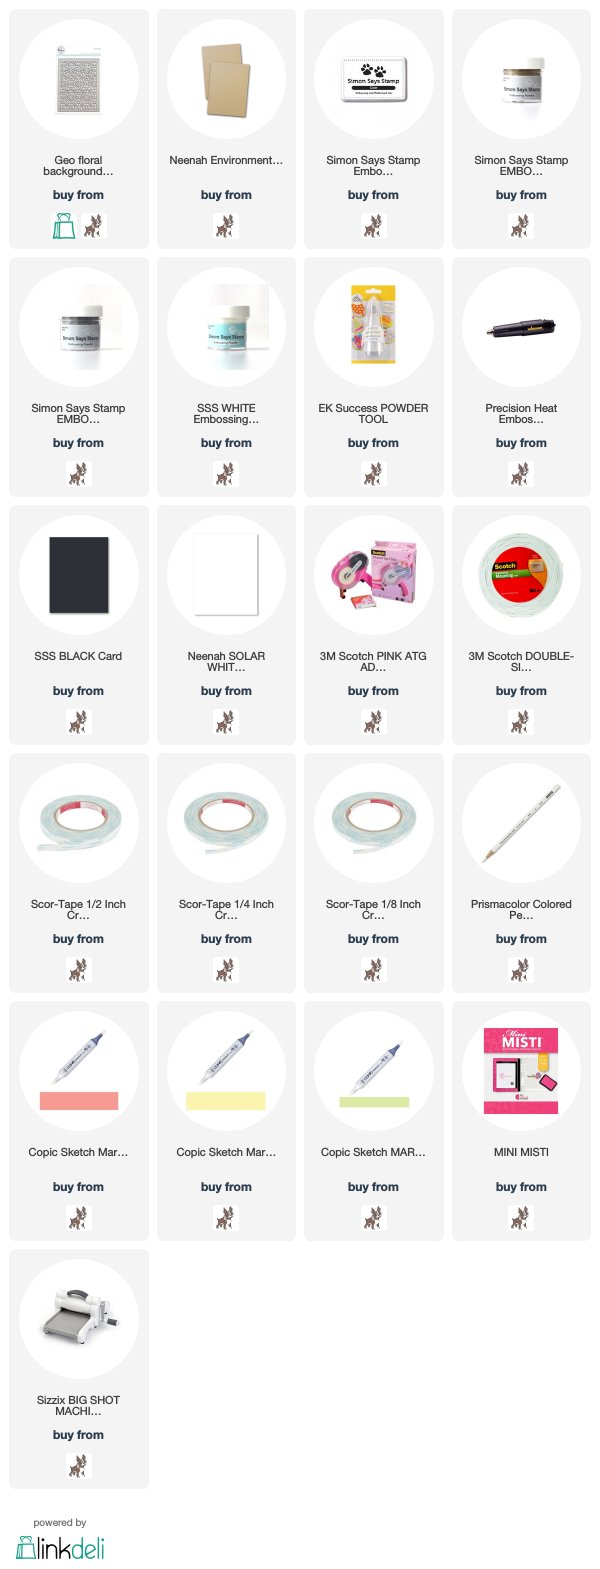
I started off by die-cutting a background using Geo Floral Background Die. I cut it from white cardstock to layer on a white cardbase - a nice soft subtle texture! Next, I die cut the main image panel from kraft cardstock, them using my MISTI to line it up, I stamped the bottom and heat embossed in gold, then stamped the bow on the top and heat embossed in silver. I colored with Copics and a white colored pencil to add accent details.


Finally, I heat embossed the sentiment in black, die cutting the "believe" with the coordinating dies, and trimmed the other part into a thin strip and cutting banner edges on the side.


GIVEAWAY INFO:
The spirit of this campaign is about giving, and we are grateful for those who are able to purchase this adorable stamp/die for a good cause. But in the spirit of giving, Pinkfresh is going to do 7 giveaways of holiday themed stamp sets! Four of the winners will be drawn from all of the blog comments, and 3 of them from the Card Drive link-up. So, by commenting and creating you have chances to win some adorable Pinkfresh Holiday sets! Winners will be drawn and posted on Sunday, October 21st on the Pinkfresh Giveaway Page. Winners much check that page and claim their prize within 2 weeks. The Card Drive link list will stay open until November 30th for those wanting to participate, but will not be eligible to win after October 21st.  

Your next stop along the way is Julie Ebersole - make sure and hop over there next to see what she has created to share!

Product links are all below - including affiliate links where possible (no affiliate used for the Share Cheer stamp and die set, due to the charitable nature of it) , which simply means if you use one of the links below, I receive a small commission at no additional cost to you. Thanks so much for stopping by - have a wonderful day!!!

Tuesday, September 11, 2018

Hello Friend - Gina K and Colored Pencils

Good morning! I'm stopping by today with a card I made with some coloring I did a bit ago while in a waiting room while my daughters each got hair cuts and I waited for my turn. It's so nice to bring something to do when you are sitting and waiting like that - and I don't normally have that much time to spend on coloring one image, so it was kind of a treat to relax and enjoy the process!

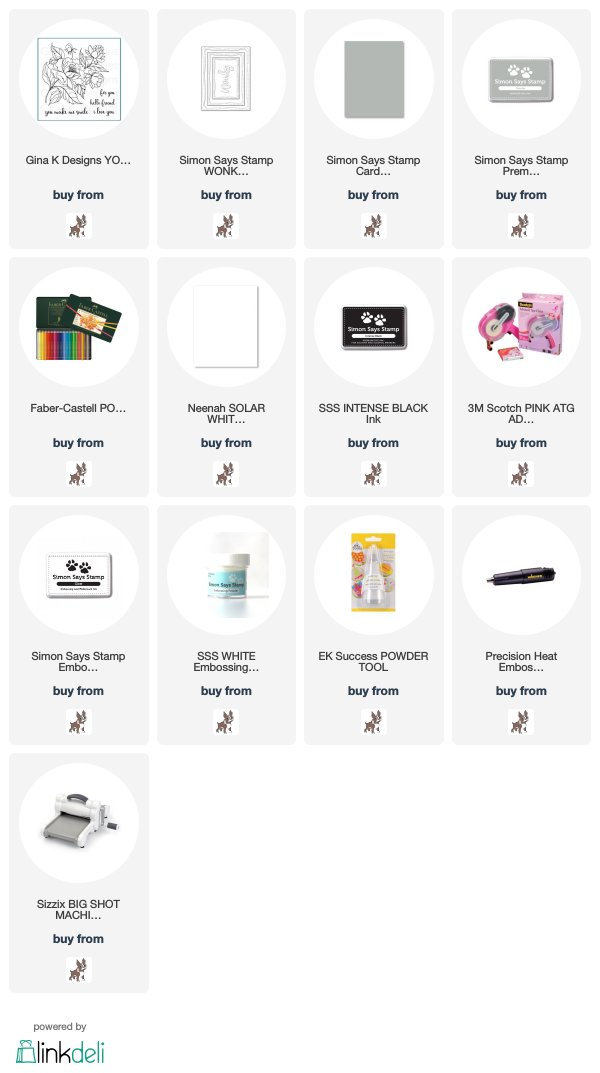
This GORGEOUS image is from Gina K Designs You Make Me Smile Stamp Set, and I was lucky enough to be one of the winners of this stamp set during the 30 Day Coloring Challenge - so I was super happy to be able to color it up finally! 


I stamped my image in Smoke ink on Smoke Cardstock and colored with my Polychromos Pencils. Originally I planned on head embossing over the top when I got home, but as I started coloring, I ended up outlining with coordinating pencils over my stamped image to provide definition to the image. I kind of like how it turned out!


Later at home, I die cut the panel with Simon Says Stamps Wonky Rectangles Dies, and heat embossed my sentiment from the set in white, then mounted the entire panel on a white cardbase.


Did you see the Gina K STAMPtember Exclusive Stamp Joy of the Season Stamp Set? Did you also know that for all the exclusive STAMPtember sets, Simon Says Stamp has a link up for anything you've made using that brand - with a $100 gift card up for grabs? Yep! So...HERE is the link up for anything made with Gina K in case you wanted to know! :-)

Product links are all below - including affiliate links where possible, which simply means if you use one of the links below that I receive a small commission at no additional cost to you. Thanks so much for stopping by! Have a wonderful day!!!


Wednesday, August 15, 2018

Spellbinders Hop - Inked Messages and Special Moments


Good morning! I'm excited today to be hopping with Spellbinders featuring the Special Moments and Inked Messages Lines! I have 3 cards to share today using some of the products in the new Inked Messages Line! You should have arrived here from Brenda Noelke - if you just happened along, make sure and head back to the Spellbinders Blog to hop all the way through. I also have an entire blog hop list at the bottom of this post in case you get lost along the way!


First up, I have this card using the super fun new Message in a Bottle Stamp and Die set! I absolutely love this fun scene in the bottle - and had so much fun coloring it in! And I made it a window card - die cutting out my colored image, and also die cutting a window in the front of my card, then mounting the colored image on the inside!


I added a sentiment from Simon Says Stamp's You Got This Stamp Set, stamped on a bit of Smoke Gray Cardstock, and hand trimmed to a banner. I mounted this on the front of the card, over the window.


Finished off with a few Nuvo Limoncello Jewel Drops, and used a black pen and a ruler to add some sketchy lines around the outside of the front of my card.


Next up, I have anther card created with the same Message in a Bottle Stamp and Die set - but this time I used the additional stamp set to add a note in the bottle. Such a fun idea!


I stamped and colored the bottle and the note - stamping a sentiment from the same Simon Says Stamp's You Got This Stamp Set as the previous card, but this time on the note. I attached the note to the jar with foam adhesive, and tied some jute string around the neck of the bottle. 


Next, I layered up some pattern paper from Lawn Fawn's Gotta Have Gingham 6x6 Paper Pad, and added some black splatters with Pinkfresh Studio's Licorice Liquid Watercolors - seriously the best way to add black splatters! Finally, I attached the bottle with foam adhesive over the top, at a bit of a jaunty angle!


And finally, a very neutral and simple card with some repeat stamping using Wanderlust Stamp and Die set:


For this card, I repeatedly stamped the main image - and wanderlust sentiment - on a panel of Smoke Gray Cardstock. I used a white Prismacolor Pencil to add a simple outline around each image to help it pop a little from the background. The sentiment from the set was heat embossed on a bit of black cardstock - and then die cut with the coordinating dies (I love that you can die cut this sentiment!) and mounted with foam over the entire panel. A simple mat in black cardstock and a white cardbase finish this card off.


Would love to hear what your favorite sets from this new release are! Or which of these cards is your favorite! I am kind of partial to the bottles myself...although I can't choose which one of the two is my favorite! :)


Your next stop is Rubeena Ianigro - make sure and head there next to see what amazing creations she has in store for you!

GIVEAWAY INFO:
There is a $50 gift certificate up for grabs on the Spellbinders Blog - AND, I get to give away a $25 gift certificate to the Spellbinders Store on my blog here (winners are responsible for shipping cost, duties, and taxes)! Make sure and leave a comment before you leave to be entered. Comments must be left by 11:59 PM EST on Sunday, August 19th.

Here is the entire blog hop list so you don't get lost along the way:
Heather Hoffman (you are here)

Product links are all below - including affiliate links where possible, which simply means if you use one of the links below that I receive a small commission at no additional cost to you. Thanks so much for stopping by! Have a wonderful day!!!


Thursday, December 7, 2017

This is the Day that the Lord has Made

Good morning! I've been so inspired lately by all the beautiful cards I've seen with colored pencils on colored cardstock - particularly by Yana, so I decided the other night to try my hand at it! I used a lovely Simon Says Stamp Set called Let Us Rejoice and came up with these two cards - I tried to add a couple things to the one on the right, I think I wish I had left it plain like the one on the left, but I decided to share it as is anyway!


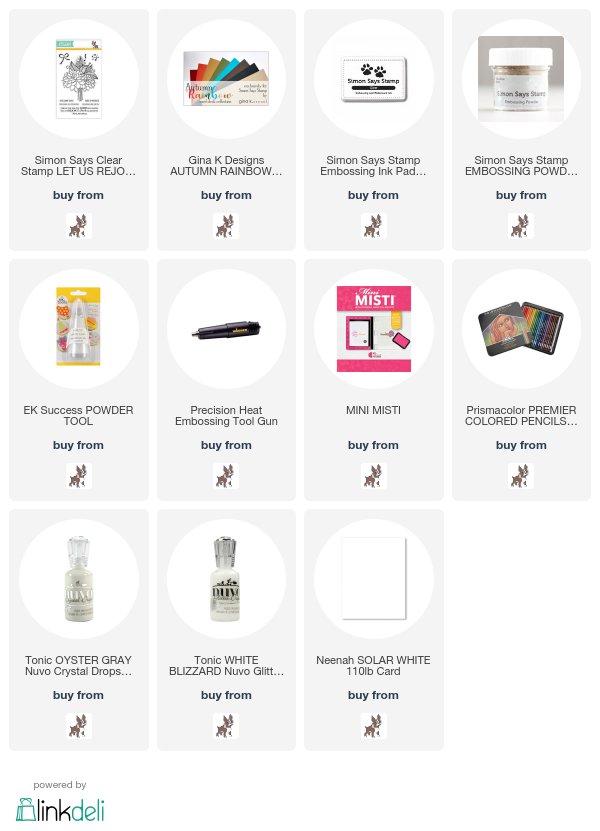
For both cards I used some of the Gina K Designs Autumn Rainbow cardstock set - a Simon Says Stamp Exclusive! I used Honey Mustard and Fresh Asparagus from the set. I then stamped and heat embossed my image and sentiment from Let Us Rejoice in Gold. I just LOVE this sentiment - and the florals in this set are gorgeous as well!


Next, I just slowly began coloring and blending out the colors using my Prismacolor Colored Pencils. Isn't that shine from the gold embossing gorgeous?


For the next one I did the same thing, but then thought I'd try adding a bit of white colored pencil around the outside. I didn't love that, so I took an artist eraser to it. While that didn't remove the pencil, it did soften it up a lot, and I found that I at least liked that effect a bit better.


I added a few Nuvo drops around the florals, and then some sparkly Nuvo glitter drops on the centers of each petal of the flowers.


What do you think - do you like the cleaner look of the yellow one? Or the more embellished effect on the second?


Product links are all below - including affiliate links where possible, which simply means if you use one of the links below that I receive a small commission at no additional cost to you. Thanks so much for stopping by! Have a wonderful day!!!


Monday, November 6, 2017

25 Tags of Christmas - Lil' Inker Designs

Good morning! I'm happy to be joining in again today one more time this month with a special event called the 25 Days of Christmas Tags - a fun event that Tracey McNeely does each year with tags every day from different companies, a link up to play along, and of course, prizes! You can read all the details HERE


Today's sponsor is Lil' Inker Designs - I put a tag together combining some of the newest release and a few older items as well:


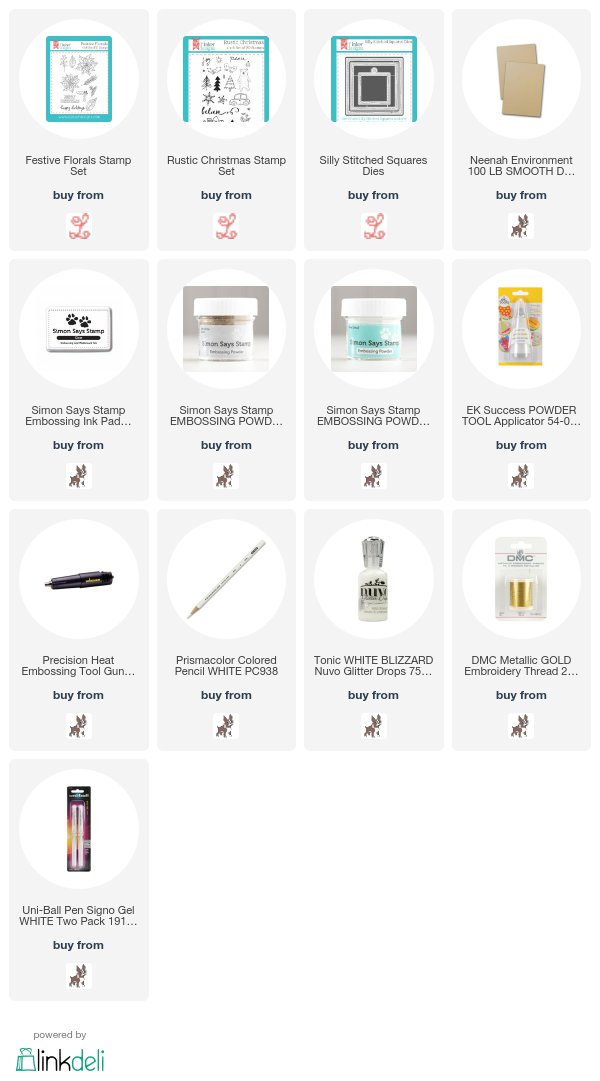
I started off by die cutting a tag from kraft cardstock using Silly Stitched Squares Dies. I then heat embossed the lovely poinsettia from the new Festive Florals stamp set in gold, slightly over the edges. I added the "peace" from the slightly older Rustic Christmas stamp set, this time heat embossed in white. Added some coloring with my white Prismacolor pencil, some Nuvo Drops to the center instead of coloring, and then added some dots with a white gel pen. Finished off with some lace and gold thread tied at the top! 


Don't forget there is a gift certificate to Lil' Inker Designs up for grabs! Stop by Tracey's blog to read the details of how to qualify!

Here is a peek at some of the awesome sponsors for this event - I'll be back a few more times this month with tags for other design teams I'm on - see you then!


Product links are all below (I'll add the new products once they release!) - including affiliate links where possible, which simply means if you use one of the links below that I receive a small commission at no additional cost to you. Thanks so much for stopping by! Have a wonderful day!!!


Thursday, October 26, 2017

My Heart Trusts Wreath

Good morning! Dropping in with a card I made using some Reverse Confetti stamps, dies, ink, and cardstock!


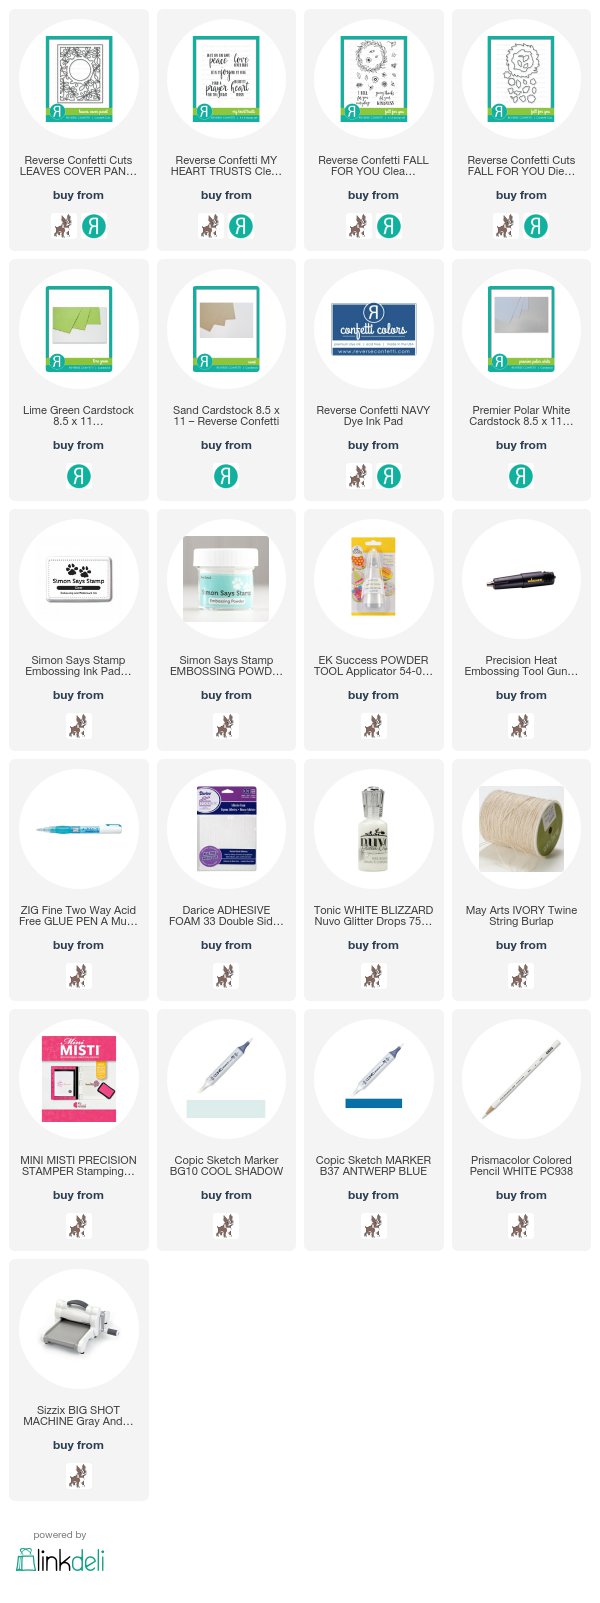
I discovered that the wreath from Fall for You was a perfect fit around the opening of Leaves Cover Panel! And the sentiment from My Heart Trusts was the perfect fit in the circle opening as well! I die cut Leaves Cover Panel from Lime Cardstock, then stamped and white heat embossed the wreath from Fall for You on Sand Cardstock and die cut with the Coordinating Dies.


I added a couple of the flowers from Fall for You, colored blue to match the Reverse Confetti Navy ink I used to stamp my sentiment. Added a touch of Nuvo drops in the centers of those, and used a white colored pencil to accent some of the leaves on the wreath. Mounted the wreath with foam adhesive over the circle opening, and finished off with some jute twine tied around.


Links to the Reverse Confetti products I used on this card are below - click on any of the photos for a closer look:


Product links are all below - including affiliate links where possible, which simply means if you use one of the links below that I receive a small commission at no additional cost to you. Thanks so much for stopping by! Have a wonderful day!!!


Wednesday, April 5, 2017

Unity Hip Hop - Vellum Graduation Cards

Good evening! It's that fun time when the Unity Stamp Company Design Team has their monthly Hip Hop! Tonight I'm sharing a couple of graduation cards using some fabulous new kits - and not one but TWO Quick Tip videos!


This first one I share how easy it is to accent an image on vellum using a white gel pen:


Really nothing too it - and I love the soft subtle effect it gives!


And then we have to have the guy version too, right?


On this one I used colored pencils on vellum - they go on super smooth, and it was a fun medium to color on!


Colored pencils aren't always my favorite medium - I always seem to struggle with blending and such, but I loved using them on vellum like this!


As always, there is a prize up for grabs - so make sure and leave a comment before you hop along! 


All the new releases - plus more! - are all on sale too, so make sure and check all that out as well!


Here are links to the products I used on this including affiliate links where possible - and below that the rest of the stops along the hop - make sure and visit them all! Thanks so much for stopping by! Have a wonderful evening!