Good morning! Today is an amazing blog hop to celebrate Pinkfresh Studio's March Washi, Stamp, Die, Stencil, and Hot Foil Release! This release was supposed to happen earlier this month, but shipping delays pushed it to the very last minute this time around! Hopefully you find it worth the wait! You aren't going to want to miss a stop along the way - TONS of inspiration and prizes up for grabs! YAY! You can find links to all of the new release items I used on today's cards at the bottom of this post!
If you know my by now, you know I generally share lots of cards for these release hops - so as usual, be prepared to scroll a bit!
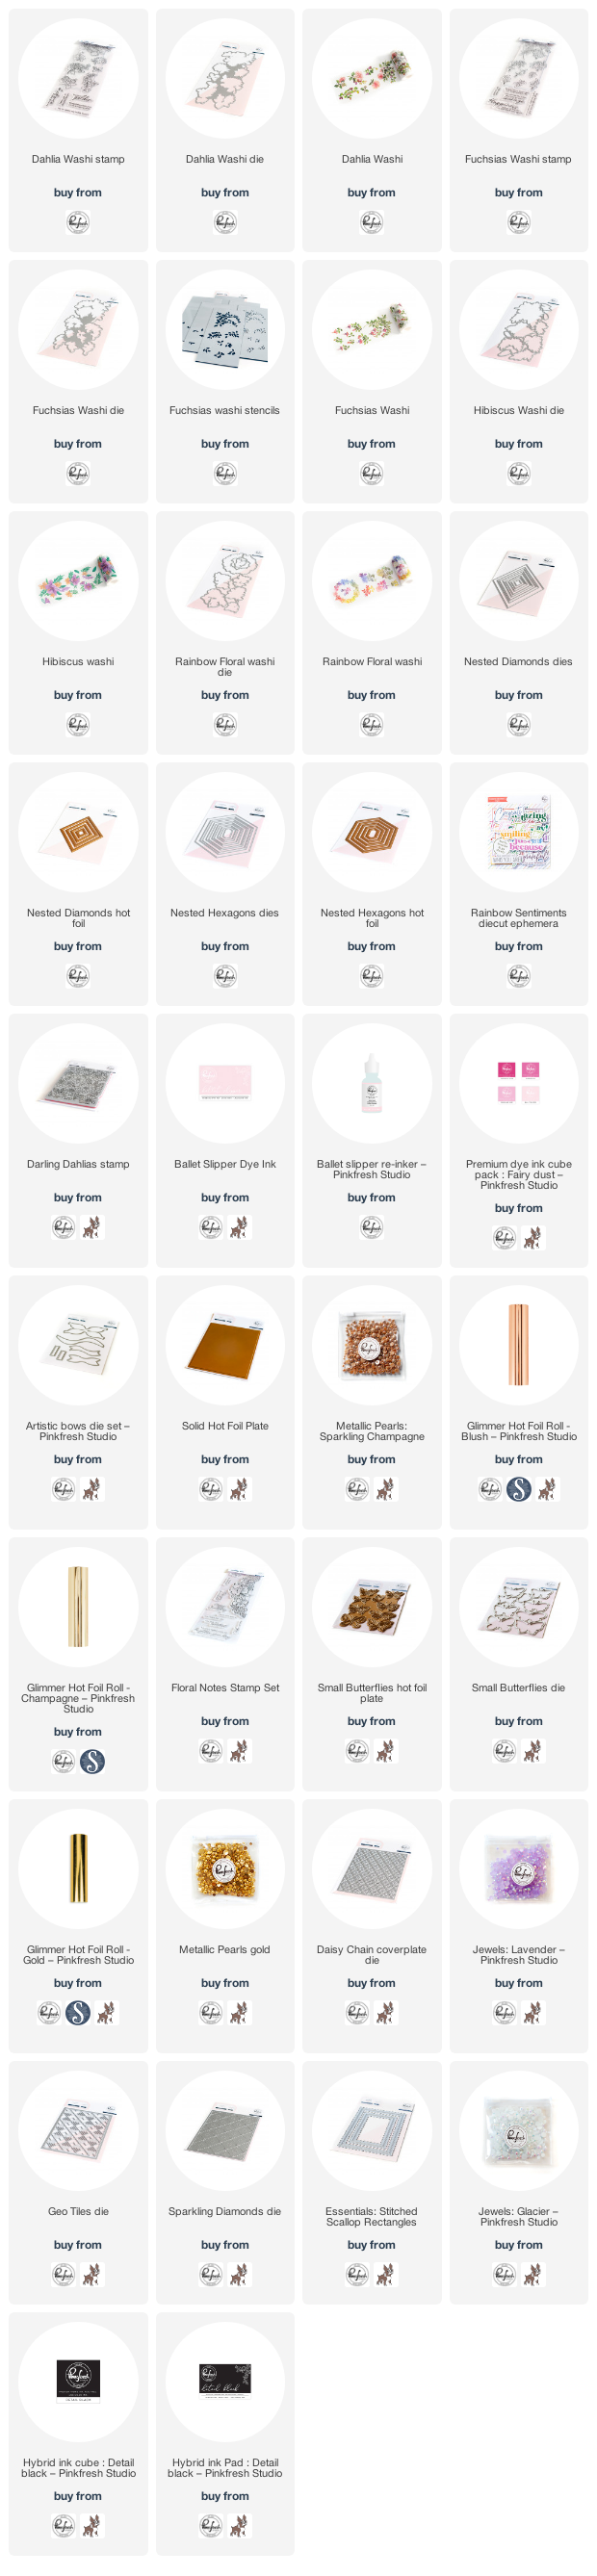
First up, I'm sharing this layered card using the gorgeous new
Dahlia Washi, and a couple of the new nesting hot foil and die sets! I hot foiled one of the Nested Hexagons hot foil frames on some Concord and 9th Grapefruit cardstock using
Blush hot foil. I
die cut a smaller one of the same set from white cardstock to layer over the top. THEN...on top of that, I layered one of the
Nested Diamonds - this one I had created by using the leftover negative foil, and foiling it with the
Solid Foil plate. This allowed me to then
die cut the frame, and have a reverse hot foiled image - white in the center, with foil along the outer edges.

Before adhering that frame panel to my ivory cardbase, I stamped it with
Darling Dahlia's cling rubber stamp and
Ballet Slipper ink. This added the softest and prettiest touch of color and texture to the cardbase. I then applied the
Dahlia washi to vellum, and die cut with the coordinating dies. I love washi on vellum - it adds an ethereal feel to it that is so gorgeous! I chose a couple to layer in the center of the frame, tucking a couple edges in.
Sentiment was heat embossed using the
Dahlia washi stamp set and Rose Gold embossing powder. I trimmed it into a thin strip, and hand cut the edges into banner shapes. I then layered that directly over the florals.
I had slipped when doing my hot foiling, and had a bit of a flaw at the bottom of that hexagon shape. Sooo...it was an opportunity to embellish more, right? So I created a bow using
Artistic Bows die. I used vellum for part of it, and then die cut from some more of the negative space of some of the hot foil that I foiled to some white cardstock using the
Solid Foil Plate. This gave me my own custom foil paper that PERFECTLY matched the rest of the foiling on the card. LOVE that so much!
I just love how the foiling on this card all works together - from the foil on the washi tape, to the foiled frames, to the custom foil on the bow, ending with the perfectly coordinating pearls!
Next up - the new
Rainbow Floral washi tape is hands down one of my FAVORITES from this release! I know this one will be super popular, so if you like it, I suggest grabbing it soon!
For this card, I used all the loose elements on the washi tape - saving the wreath for another card. I decided to layer the florals in rainbow order along the bottom of my frame.
For the background on this card, I used
Daisy Chain coverplate, die cut from white cardstock, and layered over a white cardbase for a tone on tone look. I love texture like this that still preserves white space!
I layered the frame over the top with foam adhesive, and then tucked and adhered my florals around it. I curled up the edges of each one slightly, then adhered with liquid glue for some faux dimension without additional foam adhesive.
In my stash, I've had some of the
Small Butterflies that I hot foiled on heat resistant acetate a while back. They have been just sitting there, waiting to be used - and this card felt perfect to tuck a few on! I added 3 on this card - they are fairly subtle, but I love what they add! By tucking them under things, I was able to use liquid adhesive to adhere them, but since it is hiding under other elements, you don't see the adhesive. :)
Finally, a few
Metallic Gold Pearls finish this card off! Sigh...rainbows, florals, gold...what's not to love?!?
And now another favorite of mine from this release! This is so unique and different from so many Pinkfresh designs - and I love it!
The soft texture and colors on the
Hibiscus washi are just lovely, and there are so many fun elements to build your own custom cards with.
For this card, I die cut a window from white cardstock using the
Nested Hexagons dies - while they work perfectly with the hot foil plates, they are so versatile that you can use them alone as well! I added some texture to the panel underneath by dry embossing the
Daisy Chain die.
I layered and arranged my florals around the frame, using foam adhesive for the parts in the center of the frame, and liquid glue for the additional elements tucked around.
Sentiment is from the new
Rainbow Sentiments Ephemera Diecuts - another super fun and versatile item for quick and easy cardmaking! LOVE these! Finished off with a few
Lavender jewels tucked around the frame to coordinate with the flowers and add a touch of sparkle.
And now - moving on to a couple cards using the
Fuchsias washi - and some negative foiling from last week's
YouTube live sneak peek (that I will be sharing for the Instagram hop tomorrow!).
Again, this set of washi tape has beautiful gold foiling accents - and is SOOO gorgeous!
I wanted some texture for this background as well, so I die cut the
Geo Tiles die from white cardstock to layer over a white cardbase. I had used several of the
Nested Diamonds hot foil shapes for my YouTube Live card last week - and since I hot foiled them with my
Solid Foil plate, I had to put them to good use! I used the largest one for this card, popped up with foam adhesive on that background.
Over this, I layered the
Fuchsias washi, applied to white cardstock, and die cut with the coordinating dies. I used most of the smaller elements for this card, adhered with liquid glue after curling up the edges slightly for dimension.
I also tucked a few more of those
Small Butterflies hot foiled on Acetate as with the rainbow card - tucking them in the florals or under the sentiment to hide the liquid adhesive.
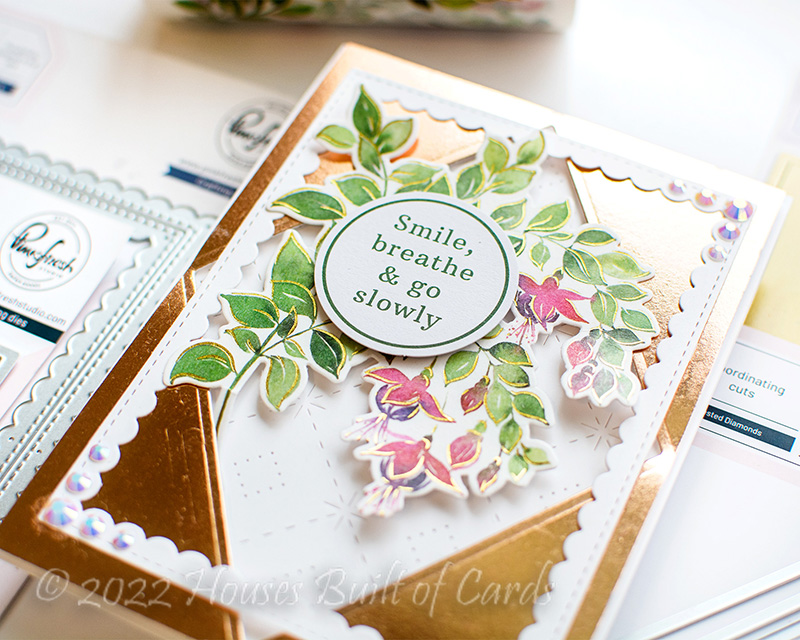
And...because I just couldn't bring myself to waste the outer frame leftover after foiling my negatives with the
Solid Foil plate, I used that for this next card - featuring lots of that beautiful
Blush Gold foil!
Since I die cut the other frames out of it, I also had a perfect window. I used a panel die cut with
Sparkling Diamonds coverplate to back that panel, and popped the frame up with foam adhesive on that.
I added the large cluster of
Fuchsia washi over the frame, tucking the end under the frame, and adhering with liquid adhesive.
Finally, a few
Glacier Jewels adhered on the corners of the scallop frame finish this card off!
Fuchsias are such gorgeous flowers - and I love that this washi tape does them justice - and all the gold accents just add to their beauty!
GIVEAWAY INFO:
Make sure and leave a comment before you leave for a chance to win one of 10 $25 gift certificate to
Pinkfresh Studio chosen from comments left across the hop! All winners will be chosen and posted on the
Pinkfresh Blog on Tuesday, April 5, 2022 - so make sure and check back to see if you were a winner! Winners must check that page and claim their prize within 2 weeks.
Here is the entire blog hop line-up so you don't miss a single stop - and product links are below - including
affiliate links where possible, which simply means if you use one of the links below that I receive a small commission at no additional cost to you. Thanks so much for stopping by! Have a wonderful day!!!