Showing posts with label Machine stitching. Show all posts

Saturday, September 5, 2020

STAMPtember Collaboration - Altenew

Hello - and HAPPY STAMPtember - a month long party by Simon Says Stamp to celebrate all things stamping. 


Today we are getting to see the next in the progression of the special SUPER SECRET collaboration stamp sets that will be happening throughout the month! Today we have...Altenew!


Here is the card I created using this lovely set:


I stamped the floral, corner frame, and sentiments on a panel of white cardstock, and colored them in with Copic markers and some simple coloring - so easy to fill this image in!


I used my distress tool to rough up the edge of the panel, added some machine stitching, and layered together over some coordinating cardstock - then finished off with a few enamel dots for some dimension and texture!


Here is a closer look at this beautiful stamp set:


Product links are all below - including affiliate links where possible, which simply means if you use one of the links below that I receive a small commission at no additional cost to you. Thanks so much for stopping by! Have a wonderful day!!!


Friday, January 24, 2020

Pinkfresh Studio January 2020 Stamp & Die Release Blog Hop

Good morning! Today is an amazing blog hop to celebrate Pinkfresh Studio's January 2020 Stamp and Die Release! You may have seen some of the sneak peeks of this HUGE and GORGEOUS new release in Creativation photos this past week - and now it's time to officially reveal them all! You aren't going to want to miss a stop along the way - TONS of inspiration and prizes up for grabs! YAY! You also might want to pop over to the Pinkfresh Studio Facebook Page at 10 AM Pacific Time this morning - I will be going LIVE featuring some of the new releases, and there will be a gift certificate up for grabs as well!


I have lots of cards to share with you today - definitely more than I usually would on this blog hop! But I ended up creating a total of 33 cards in less than a week right before Creativation to help make sure there were enough samples to put in the booth, so I have a LOT of cards to share, and figured I may as well start now!

So let's jump right in with this layered beauty featuring one of my favorite new dies from the release!


For this card I used the lovely Foliage Frame Die. I cut it once from a lighter green cardstock, and once from a deeper shade. This allowed me to alternate and layer them together to build lots of extra dimension! So fun!


I did a bit of soft ink blending around my card base using Lemon Whip dye ink, then adhered both of my frames over the top. I layered together one of the words in the beautiful new Phrase Builder Sending Die Set, cutting the main layer once from gold glitter cardstock, and once from black - then layering them together slightly offset for a soft shadow effect.


Finally, I added some add on sentiments from the Just Because Stamp Set, a few jewels from Essentials Jewels Mix, and a good bit of gold splatters with my Starry Colors palette! I love that additional sparkle!


Next up, I used that same Foliage Frame Die, but with only one layer for a different and more simple look:


This time, I die cut it from white cardstock and layered over some pretty pattern paper from the Just a Little Lovely 6x6 paper pad.


I die cut a sentiment from another sentiment die set - Phrase Builder You Die Set, this time cutting the outline layer from vellum to go underneath the glitter cardstock layer.


I added an additional sentiment, again from the new Just Because Stamp Set - heat embossed on a hand trimmed thin banner of black cardstock, then before adhering those layers down, I added a bit of the tiniest gold splatters I could manage with my Licorice Liquid Watercolors!


Next up, I have a card using a similar die, but with a slightly different design called Foliage Frame Inset Die! If you stop by my Facebook Live today, I'll show you how beautifully THIS die layers together as well!


For this card, I kept things fairly clean and simple - and just went for a fun color palette. I die cut this lovely die from white cardstock, and layered over a panel of aqua cardstock that was just *slightly* smaller than my white cardbase, which allowed for a slight border around the blue panel.


I added the large die cut word from Phrase Builder Sending Die set, die cut once from gold glitter cardstock, then layered on two more of the same word die cut from white cardstock. This gives a nice dimensional effect.


I finished off with a sentiment from the new Curvy Floral Branch stamp set, heat embossed on a thin strip of coral cardstock and tucked under and around the other die cut elements.


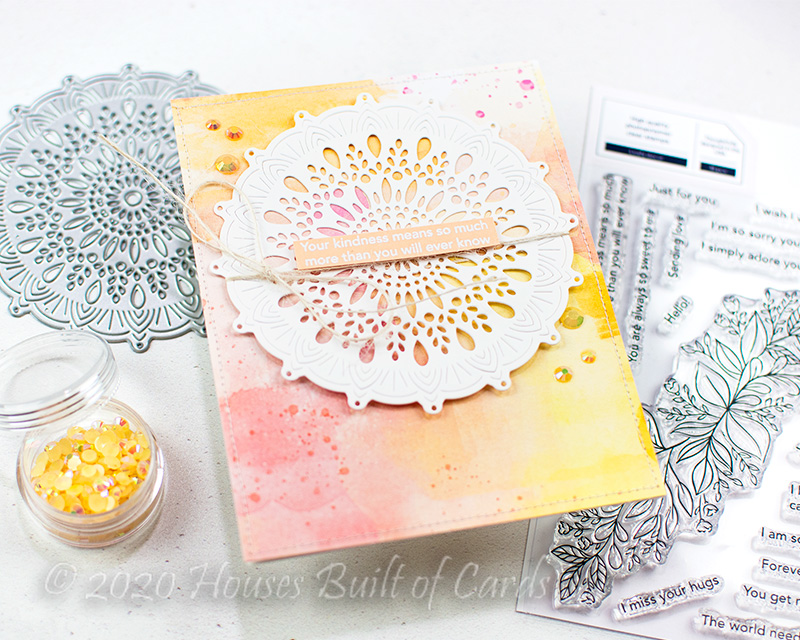
And finally - I'm so super excited about this beautiful Intricate Mandala die! Isn't it lovely?!? If you haven't heard yet, this die was designed by the 13 year old daughter of Kinnari, the owner of Pinkfresh. Isn't that amazing? I got the privilege of meeting and spending some time with her in Phoenix too - so happy for her and her beautiful design!


For this card, it looks like I perhaps spent a lot longer and put more time and effort into it than I actually did. I used some more of the lovely pattern paper from the Just a Little Lovely 6x6 Paper pad, and for some additional interest, I added a bit of machine stitching around the outer edges.


I heat embossed a sentiment from the new Leafy Decor Stamp set on some coordinating solid cardstock, adhered that with foam adhesive to my mandala die cut from white cardstock. I used this to hide some liquid glue behind and adhere the entire thing to my cardbase.


Before adhering it down, I added some ivory jute string wrapped around and tied in a bow. Finished off with a few jewels from Essentials: Jewels Mix.


GIVEAWAY INFO:

Make sure and leave a comment before you leave for a chance to win a $25 gift certificate to Pinkfresh Studio! All winners will be chosen and posted on the Pinkfresh Blog on Friday, January 31, 2020 - so make sure and check back to see if you were a winner! Winners must check that page and claim their prize within 2 weeks.

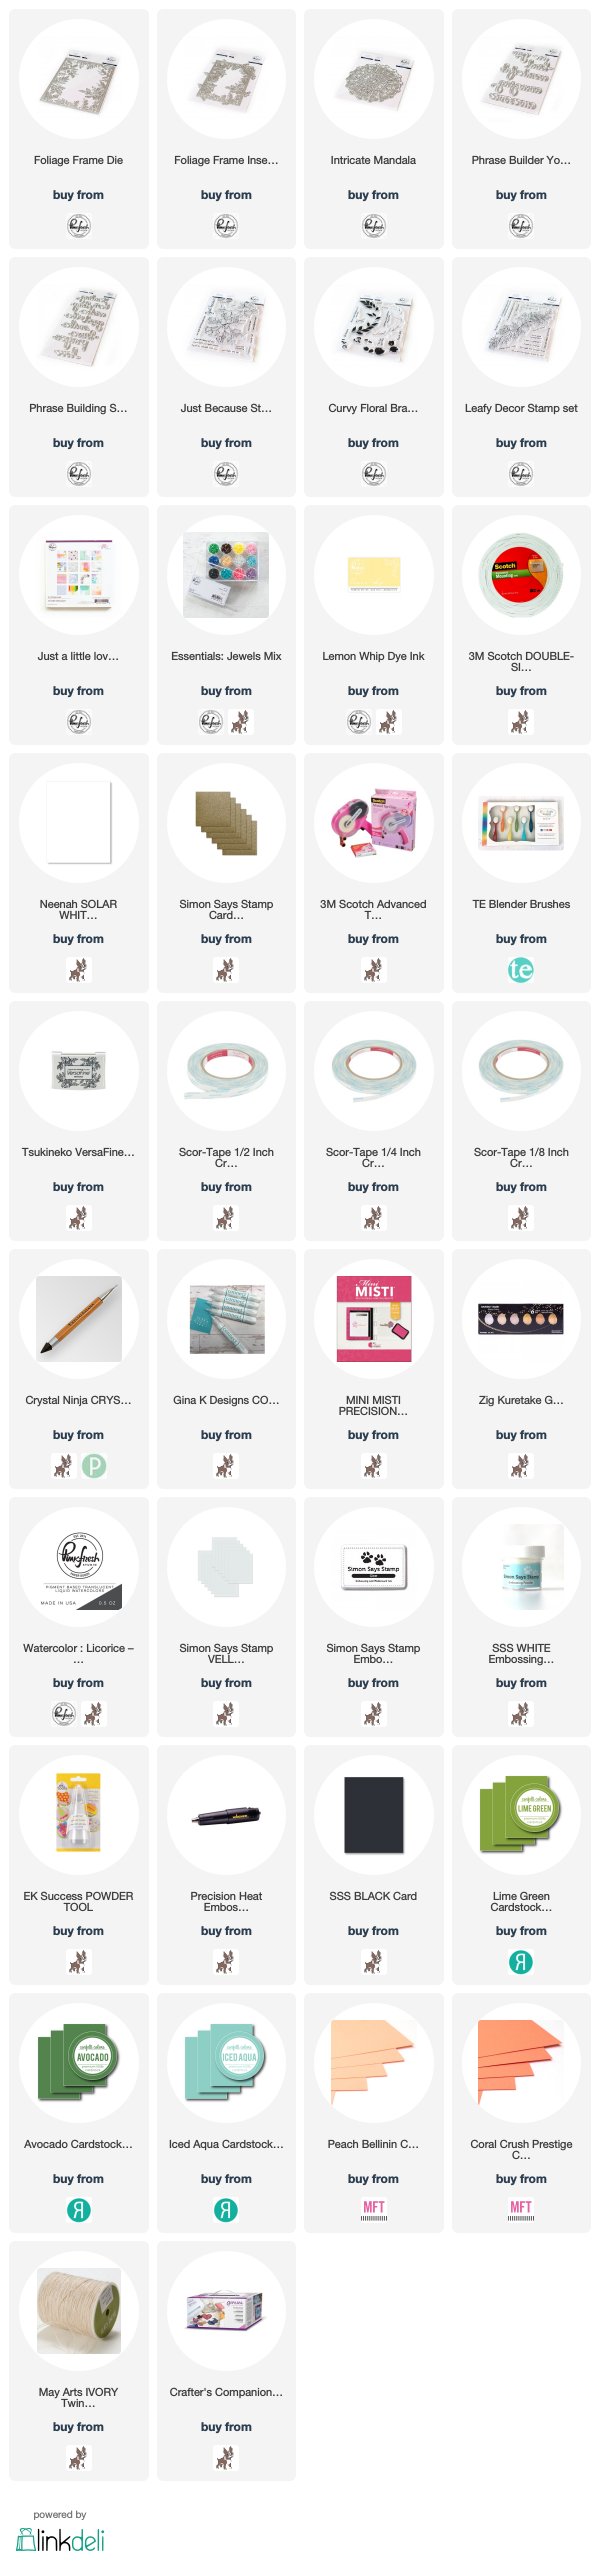
Here is the entire blog hop line-up so you don't miss a single stop - and product links are below - including affiliate links where possible, which simply means if you use one of the links below that I receive a small commission at no additional cost to you. Thanks so much for stopping by! Have a wonderful day!!!


You are invited to the Inlinkz link party!
Click here to enter

Monday, October 21, 2019

Critters, Birch Trees, and Hearts - Simon Says Stamp November Card Kit

Good morning! I'm stopping by to share a few more cards created with the BRAND NEW November Simon Says Stamp Card Kit - Woodland Whimsy! This is an ADORABLE kit - the included large stamp set by the same name is absolutely DARLING, the pattern paper is BEAUTIFUL, the adorable deer die is the CUTEST - not to mention the beautiful pre-printed Suzy's Doodles Watercolor cards, the full set of watercolor paints, and several other adorable additions!

Today I used all those cute critters in the Woodland Whimsy stamp set in the kit, as well as those lovely birch tree images!


I started off by stamping the birch trees on panels of kraft cardstock with Khaki Dye Ink to cover and create a background on each one. Once colored, this gives a lovely no line look on the kraft paper, so  I colored them in with Copic colors, one with a darker shade, an done with a lighter shade. I then die cut a window from each panel using Wonky Hearts Dies, and since I couldn't bear to waste either piece, I was able to create 4 cards!


These first two cards use the panels with the windows die cut into them. I backed them with some of the simpler and softer designs of the pattern paper in the kit, stamped a simple sentiment from the stamp set, added two of the critters colored with Copics, and wrapped some twine around and tied in a bow to finish.


For the die cut pieces, I trimmed down some more of that pattern paper from the kit, added some machine stitching around the edges for interest, then mounted the hearts with foam adhesive. I added two more colored critters and a sentiment - both also popped up on foam adhesive. Bumpy cards are fun, right? A bit of twine tied in a bow finish these cards off as well.


Here is a closer look at the entire kit contents - you can find all the details HERE:


The possibilities with this kit are so fun and endless! I can't get enough of this sweet woodland theme!


Product links are all below - including affiliate links where possible, which simply means if you use one of the links below that I receive a small commission at no additional cost to you. Thanks so much for stopping by! Have a wonderful day!!!


Friday, October 18, 2019

Birthday Map Card - Simon Says Stamp

Good morning! Today I'm stopping by to share the card I made for my daughter's 15th birthday in September - I know, a bit late, but I had it done in time for her, just hadn't had a chance to get a post written up and shared here! :)

This might seem like an unusual card for a teen girl, but there is kind of a story behind it - not to mention she is generally not into pink and sparkly girly things! I got back from my trip to Italy 3 days before her birthday, and since she is very much into medieval and ancient history, she wanted me to bring her back a birthday gift from Rome and/or Italy. I was only too happy to do that! She also loves travel - this summer we went as a family to Iceland/Norway/Sweden - and she would love to visit Scotland, Ireland, and England someday as well!


 So, right in the middle of this pattern paper from Carta Bella's 6x6 Cartography paper pad is Italy, where all of her birthday gifts came from this year. In the top left corner is somewhere she would also love to travel, and the very tip of Norway is just off the edge of the map at the top.


The sentiment was easy - she also has a fabulous sense of humor, and since she was little has kept us smiling and laughing all the time! So I enjoyed this dry humor sentiment from Simon Says Stamp Big Birthday stamp set, and thought it would be perfect! Heat embossed it in Antique Gold on some vellum, then attached it to the map paper my sewing machine and a simple line of machine stitching.


Finished off by distressing the edges of the paper a bit, layering some solid cardstocks underneath, and finished off with a few wood veneer stars - like sequins, but less sparkly!


Product links are all below - including affiliate links where possible, which simply means that if you use one of the links below, I receive a small commission at no additional cost to you. Thanks so much for supporting my blog, and stopping by! Have a wonderful day!!!


Friday, August 16, 2019

Somewhere Over the Rainbow - Simon Says Stamp September Card Kit

Good morning! I'm back to share one last card created with the BRAND NEW September Simon Says Stamp Card Kit - Look for the Rainbows! This is a STUNNING kit - the included large stamp set by the same name is absolutely GORGEOUS, the pattern paper couldn't be any more lovely - not to mention the fabulous 3D Embossing Folder and the envelopes, cardstock, and even fun bit of Nuvo Embellishments are all fun additions!

Today's card is super simple, featuring some of the gorgeous pattern paper and the perfect sentiment!


I loved this rainbow sunburst pattern paper, and knew I wanted to use it on a card where I could really let it shine! So I used it as the entire background for my card. I die cut a Basic Banner from vellum, and then heat embossed my sentiment from the Look for the Rainbows stamp set in white over the top. I folded one edge over the back of my pattern paper, and added a row of machine stitching to adhere it together.


Finished off with a few of the enamel hearts from the kit - using them to help hold the edges of my vellum banner in place. I added a touch of extra liquid adhesive behind the enamel hearts that I had over the edges of the vellum to help them hold even sturdier and make sure to keep that vellum in place.


Here is a closer look at the entire kit contents - you can find all the details HERE:


Product links are all below - including affiliate links where possible, which simply means if you use one of the links below that I receive a small commission at no additional cost to you. Thanks so much for stopping by! Have a wonderful day!!!


Sunday, August 4, 2019

Pinkfresh August Challenge - All About Stitching

Pinkfresh Studios is kicking off a BRAND NEW August Challenge: All About Stitching - paired of course with the option a fun color combo! I hope you'll come play along for a chance to win some amazing prizes - you can enter cards OR scrapbook layouts!!!


Here is the challenge info and inspiration photo:


Since this month's color combo is centered around the Just a Little Lovely Collection, and it just so happened that my package with the collection arrived on the exact day I was working on this card...I decided to feature lots of this GORGEOUS collection on my card!


I die cut the smaller Essentials: Braided Ovals from vellum, then layered a few of the gorgeous Acetate Ephemera along with a sentiment from Phrase Stickers that I matted with a bit of white cardstock.


I used my sewing machine to stitch all those elements directly onto my Pattern Paper (leaving the threads hanging loose), and also added a line of machine stitching around the outside of my pattern paper. Finished off with a few Enamel Dots from the collection!


Product links are all below - including affiliate links where possible, which simply means that if you use one of the links below, I receive a small commission at no additional cost to you. Thanks so much for supporting my blog, and stopping by! Have a wonderful day!!!