Sunday, April 30, 2023

Foliage Circle Note Cards - Simon Says Stamp

 Good morning! I'm popping in to share a trio of cards I created using a mix of supplies from Simon Says Stamp - I love how soft and bright these cards turned out!


These cards came together so quickly - and I love the soft pastel colors. I used the Foliage Circle die to die cut panels for the front of my cards, and then backed them with some of the gorgeous Pastel Color Blend cardstock - the glossy surface, and the pretty color blends were perfect for these cards! I then added simple sentiments from the Poppy Perfection stamp set in black, and embellished with a few Iridescent Color drops to finish off! Here are some more photos and close ups of these cards:


Product links are all below - including affiliate links where possible, which simply means if you use one of the links below that I receive a small commission at no additional cost to you. Thanks so much for stopping by! Have a wonderful day!!!


Friday, April 28, 2023

Fruitalicious Thank You Card - Pinkfresh Studio YouTube Live

Good morning! I'm stopping by today to share a card I created for Pinkfresh Studio's YouTube Live  a couple weeks ago. I had lots of fun with an older die, and some of the more recently released circle stamp sets, as well as the brand new (at the time!) washi tape! You can watch the video replay HERE if you want to see more details and watch this card come together. 


Here is the replay of the live video if you'd like to watch it here:


I started off by die cutting the Fancy Diagonal Stripes background from white cardstock - and tucked some Ivory Glitter paper behind it. I hot foiled a circle using Nested Circles Hot foil set, and one of the Satin Metallics foils. I die cut just the outer circle edges using the coordinating Nested Circles dies, and then stamped the sentiment from Around the Shape: Circles stamp set in Detail Black. I ended up trimming off a bit of the side of that circle, so I could offset it on my card. I used one panel of Fruitalicious washi tape, and die cut with the coordinating die, then tucked the smaller elements into some of the stripes, and around and over the circle. I finished off with a hefty dose of Ombre Glitter drops in TwilightGlittering Mountains, and Sparkle and Shine! Here are a few more photos and close ups of this card:


Product links are all below - including affiliate links where possible, which simply means that if you use one of the links below, I receive a small commission at no additional cost to you. Thanks so much for supporting my blog, and stopping by! Have a wonderful day!!!


Thursday, April 27, 2023

Leafy Encouragement - Simon Says Stamp

 Good morning! I'm popping in to share a couple cards I created using a mix of different releases from Simon Says Stamp - everyone goes through rough times, and I love how a card can be so uplifting in those times. Some simple heartfelt sentiments are a perfect way to convey your love and care for someone! I have two cards to share, using slightly different sentiments, and different color schemes, paired with the same cling stamp set that has two different looks!


For both of these cards, I stamped one of the edges from Leaf Edges cling stamp. I used Sage ink for one, and Twilight for the other. I then added sentiments stamped in black from Well Wishes stamp set. I rounded off the top right corner, just to add some interest, and draw the eyes up to the sentiment a bit extra. I decided it needed a bit more color, so I grabbed one shade lighter in each of the inks - Aspen and Morning - and did some soft ink blending over the stamped leaves. It added just a pretty soft bit of color behind the leaves, that helped break up all the white space. Finally, I finished off with a few Pinkfresh Ombre Glitter Drops in Starry Sky and Magic Potion to coordinate with the colors on each card. Here are some more photos, and closer looks at each of these cards:


Product links are all below - including affiliate links where possible, which simply means if you use one of the links below that I receive a small commission at no additional cost to you. Thanks so much for stopping by! Have a wonderful day!!!


Wednesday, April 26, 2023

Faux Painted Floral Background - Simon Says Stamp Beautiful Days Release

Good morning! I'm dropping by to share another card using the NEWEST Beautiful Days Release from Simon Says Stamp! I have a couple other cards finished that I'll be sharing soon as well - I just had some things come up that pushed me a bit later to share, and some travels that slowed me down a bit! I am writing this post up at the airport, waiting for my flight home from Simon Says Stamp Create event in Columbus, Ohio - so finally getting some of these posts caught up and scheduled. This will of course be posting later than that, but it's nice to have the time to prepare at least!

This card features some fun inking with a background stamp!


For this card, I started off by stamping the fun new Geo Leaf background stamp on white cardstock with Peachy Ink. I left the stamp lined up, and then used a tiny ink blending to add Blush ink to the center of each leafy cluster, then restamped. It gave a fun layered blotchy look - so I went another layer and used Watermelon ink in just the very centers. I love how they kind of look painted! I added a stamped sentiment over the top using Hi There Greetings and black ink, then added some Pinkfresh Ombre Glitter drops in Pixie Dust to the centers for a bit of extra sparkle. If it weren't for those, this would be another one layer card! But I couldn't resist the sparkle - so I went with it! Here are more photos and closer looks at this card:


Product links are all below - including affiliate links where possible, which simply means if you use one of the links below that I receive a small commission at no additional cost to you. Thanks so much for stopping by! Have a wonderful day!!!


Tuesday, April 25, 2023

Party Balloons - Pinkfresh Studio Instagram Release Hop

 Hello! Today I am part of a fun Instagram hop to celebrate the new Pinkfresh Studio release. There are giveaways up for grabs, so hop on over to check that out if you haven't yet! I have had so much fun creating with this release - yesterday was the blog hop, and I shared a TON of cards for that! Today I'm sharing an INTERACTIVE card I created on last week's YouTube Live with Lea Lawson as a sneak peek. We used the some different elements of the same product suites in different ways to create two completely different cards. It was so fun! You can watch that video HERE if you want to see more details!


Here is the replay of the live video if you'd like to watch it here:


I stamped the new Ribbons and Balloons stamp set in Warm Buff ink (what we affectionately call "faux gold") - and then used the layering stencils to color the image in. I then restamped over the top in the same ink to add a finished crisp feel to the ink. I stenciled the new Rosettes in coordinating colors, and die cut everything with their coordinating dies. I layered the rosettes around the edges, trimming and using the scraps to add a fun background. I layered the balloons over the top with foam adhesive, then added a sentiment from the new Foiled Sentiments 6 - which are all celebration and birthday themed, a much requested set! I added some coordinating jewels for some extra sparkle. After the live, I ended up adding one of the die cut bows from Wrap Around Elements die to finish it off.


Product links are all below - including affiliate links where possible, which simply means if you use one of the links below that I receive a small commission at no additional cost to you. Thanks so much for stopping by! Have a wonderful day!!!


Wish Big One Layer Birthday Card - Simon Says Stamp May Card Kit

Hello! I'm popping in to share my first cards using the (sort of new) May 2022 Simon Says Stamp Card Kit - Best Year Yet! This month's kit is a fun birthday theme - which I love! Birthday cards are my most frequently needed cards, and my birthday happens to be in May as well, so it couldn't be more perfect. The included stamp set by the same name has some fun birthday images and sentiments, there is some pretty Pastel color blend cardstock, a birthday word die, glitter pens, embellishment wand...that's all not to mention the cardstock, envelopes, and more!

Today I have a truly one layer card to share - the stamp set in this kit is perfect for this style of card! 


For this card, I started with the large sentiment from the Best Year Yet stamp set, and stamped in in gradiating stages of ink, starting with Seafoam at the top, stamped two times, Surf next two times, and finishing one time with Ocean. I staggered and slightly overlapped each of them. Then I filled in the images and secondary sentiments with black ink. Nice and easy, graphic and fun! And would be super easy to recreate in different color tones as well!


Here is a closer look at the entire kit contents - you can see it all HERE:


Product links are all below - including affiliate links where possible, which simply means if you use one of the links below that I receive a small commission at no additional cost to you. Thanks so much for stopping by! Have a wonderful day!!!


Monday, April 24, 2023

Pinkfresh Studio April 2023 Stamp, Die, Stencil, and Hot Foil Release

 Good morning! Today is the blog hop to celebrate Pinkfresh Studio's April 2023 Stamp, Die, Stencil, and Hot Foil Release! You aren't going to want to miss a stop along the way - TONS of inspiration and prizes up for grabs! YAY! You can find links to all of the new release items I used on today's cards at the bottom of this post! This release is focused on celebrations, since Pinkfresh is celebrating 9 years in business - so crazy how fast the time flies, isn't it?


I have a few cards to share - so I'm going to hop right into it!

First up, this note card set that uses the new With Love stamp, die, and stencil set:


I used a soft color palette of Coral Reef, Passion Fruit, Mint, and Meadow to ink blend the florals, and die cut with the coordinating die. I created three square card bases sized 4 1/4" x 4 1/4", then used Stitched Squares and Shaker Hearts dies to create windows. I ink blended a bit softly from the top of the cardbases, masking off the outer border to keep it white, then arranged the florals and embellished with Emerald City and Bubblegum Jewels. Here are some more photos and close ups of these cards:


Next up, when I was creating these cards, I ended up without the stencils for the Rosettes set, but fortunately, the dies are pretty fun all on their own!


I die cut the Rosettes from 3 different shades of Spellbinders cardstock, and the centers from ivory glitter cardstock. I used the previously released Elongated Lattice to create a background panel for texture, using white on white cardstock. I also used the new Basic Banners: Celebrate, and heat embossed my sentiment in gold on white cardstock. I used some foam adhesive to adhere everything together, then added some Matte Gold Pearls to embellish! Here are some more photos of this card:


Next up - another card featuring lots of die cutting!


For this one, I used that fun fringe die from the new Wrap Around Elements die. I used some pattern paper from the Simply the Best 6x6 pattern paper pad - using up scraps mostly. I used Stitched Diamonds coverplate to create a textured background, then added the fringe pieces from the bottom up, adhering with liquid glue, and curling up some texture on the bottom of them. Added another one of those sentiments from Basic Banners: Celebrate, and a little secondary sentiment from With Love stamp set, hand trimming that into a smaller banner shape to coordinate. Finally, I embellished with some sparkly Ombre Glitter Drops in Sparkle & Shine. Here are more photos of this card:


Another super fun set from this release is the Sweet Day set - which I'm using on the next two cards!


I started off by hot foiling the image in Aura foil, then coloring in with the layering stencils using Ballet Slipper, Coral Reef, Passion Fruit, Ocean Breeze, Aquamarine, and Warm Buff. I die cut it with the coordinating die, then set the cupcake aside for the next card. I stamped the sentiment in Passion Fruit, and die cut with the coordinating die. I die cut Floral and Diamond Tiles coverplate from white cardstock to layer over my coordinating pink cardbase, and then used one of the Nested Arches, reverse foiled using the Solid Hot Foil plate and using Satin Pastel hot foil. I also die cut some florals from the previously released Garden Wreath die, and then embellished with a mix of Ombre Glitter Drops in Sparkle & Shine and Pixie Dust. Here are lots more photos of this card:


And finally, the second card using the cupcake from the last card!


For this card, I used the largest Blanket Stitched Rectangle for the base, and the reverse foiled Nested Hexagon created with the Solid Hot Foil plate, and foiled with Moondust foil. I also die cut the ribbon and bow from Wrap Around Elements from gold cardstock to embellish. The sentiment is from the new BIRTHDAY foiled sentiments. That's right - by popular request, we have a little more themed set of pre-foiled die cut ephemera, and they are fabulous! I finished off with a few Aqua Glitter Drops. Here are more photos of this final card for today:


GIVEAWAY INFO:

Make sure and leave a comment before you leave for a chance to win one of 10 $25 gift certificate to Pinkfresh Studio chosen from comments left across the hop! All winners will be chosen and posted on the Pinkfresh Blog on Wednesday, May 3, 2023 - so make sure and check back to see if you were a winner! Winners must check that page and claim their prize within 2 weeks.

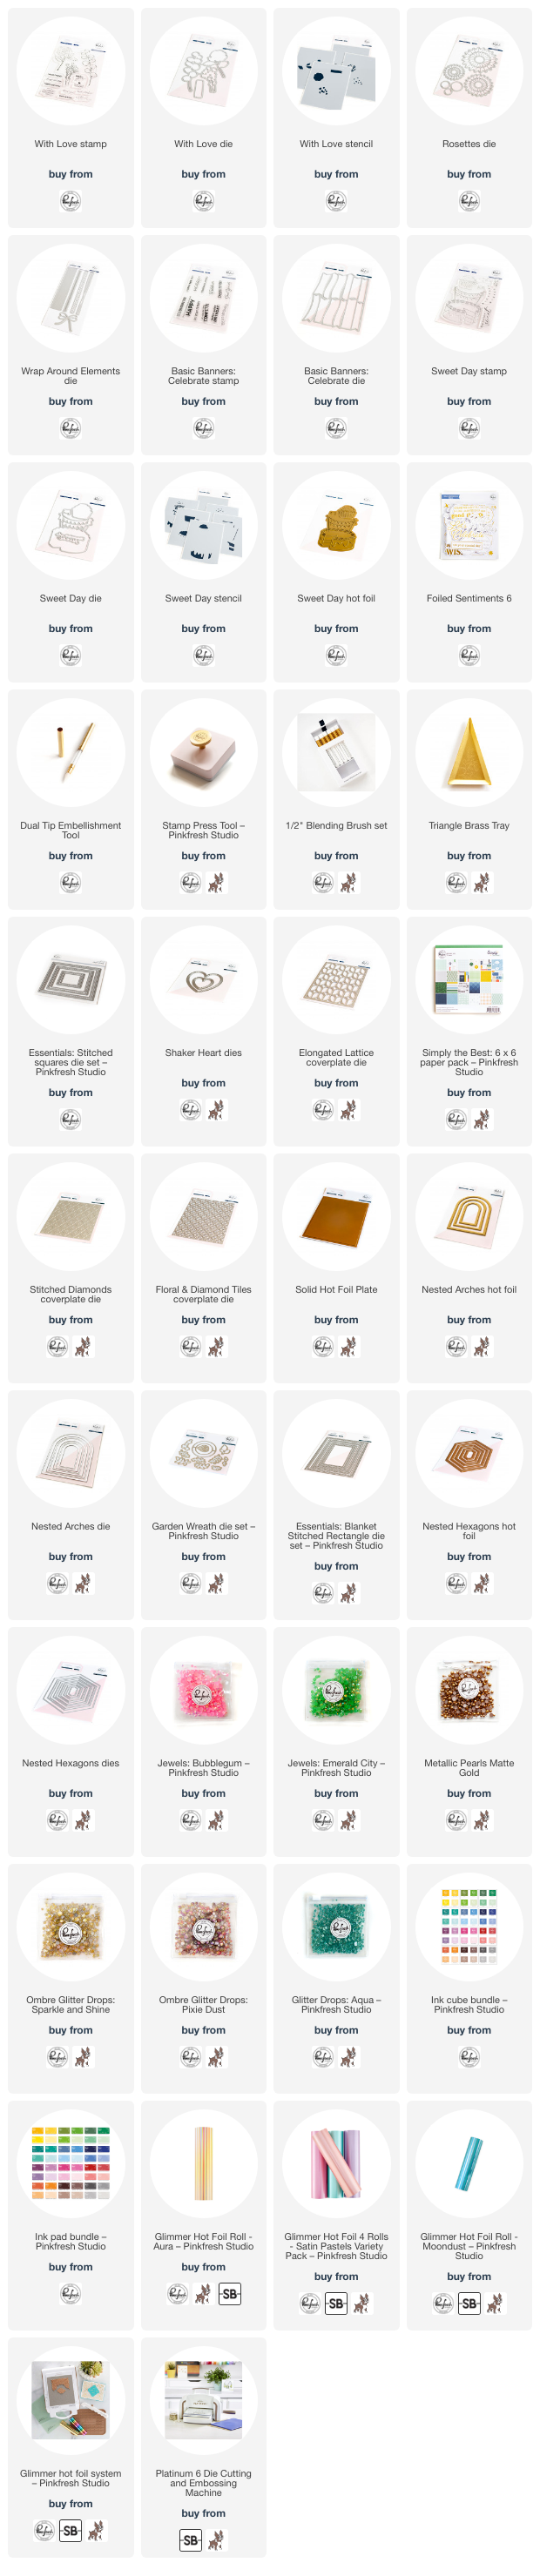
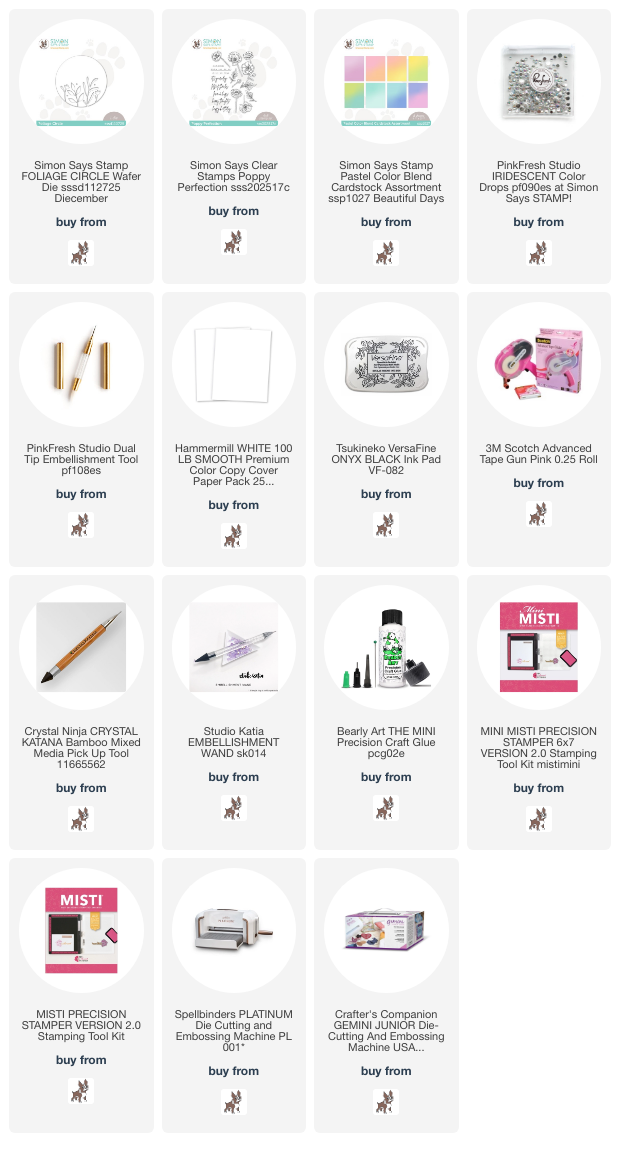
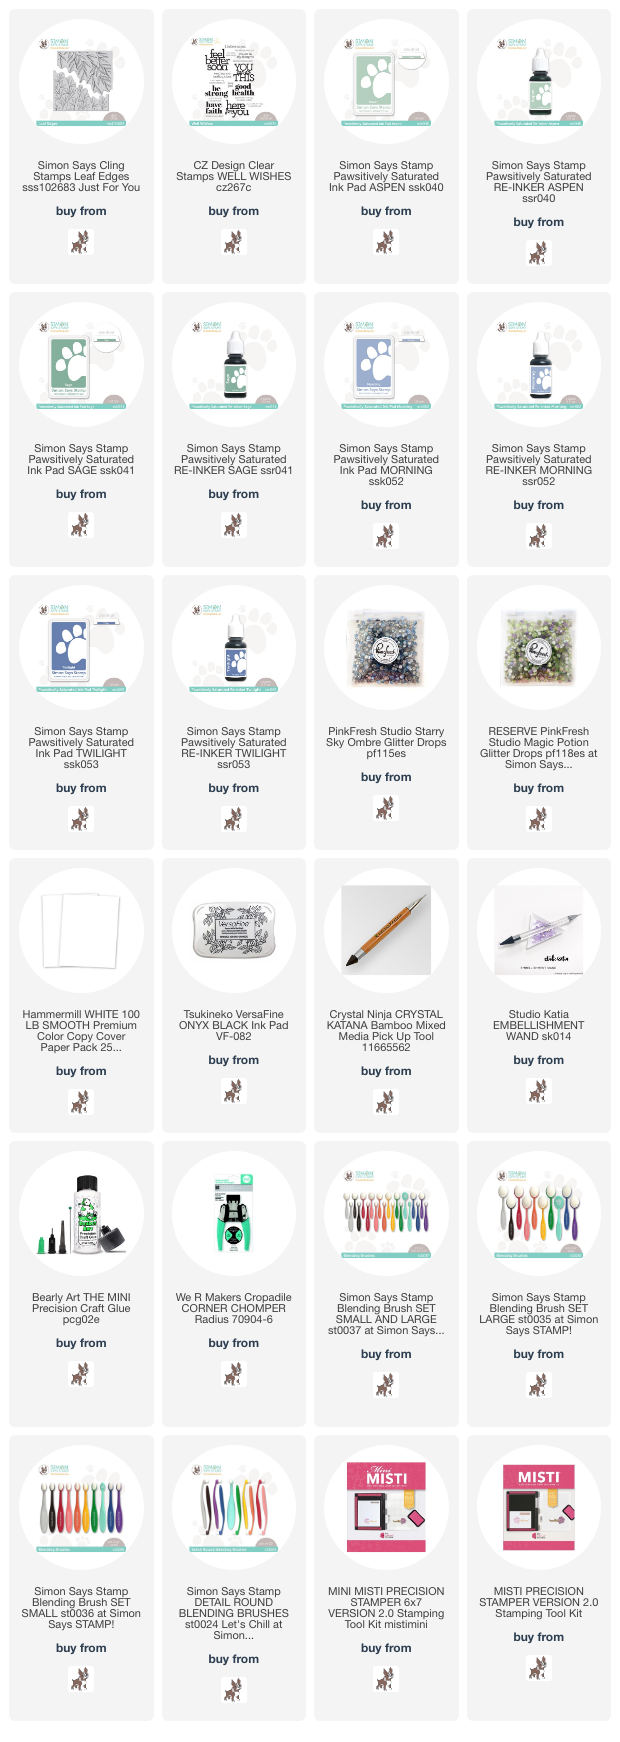
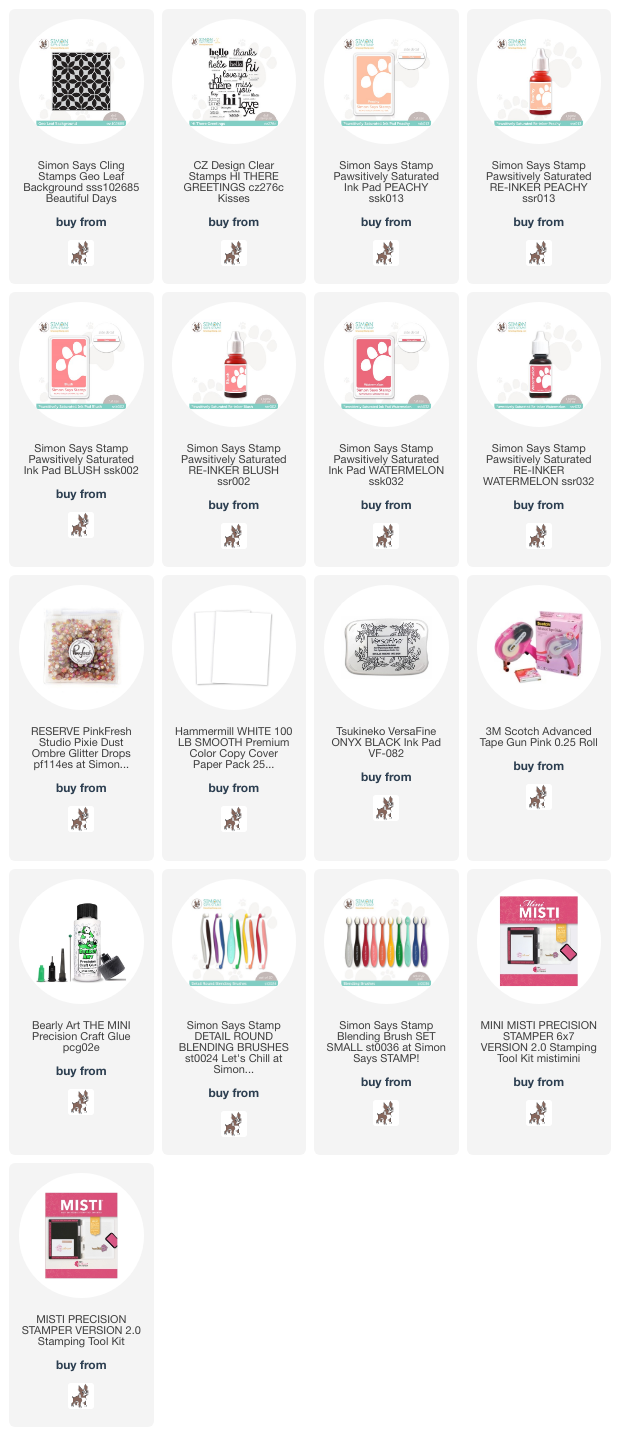
Here is the entire blog hop line-up so you don't miss a single stop - and product links are below - including affiliate links where possible, which simply means if you use one of the links below that I receive a small commission at no additional cost to you. Thanks so much for stopping by! Have a wonderful day!!!

You are invited to the Inlinkz link party!

Click here to enter